Project BRG: Cancer Treatment and New Sounds
1 February 2023
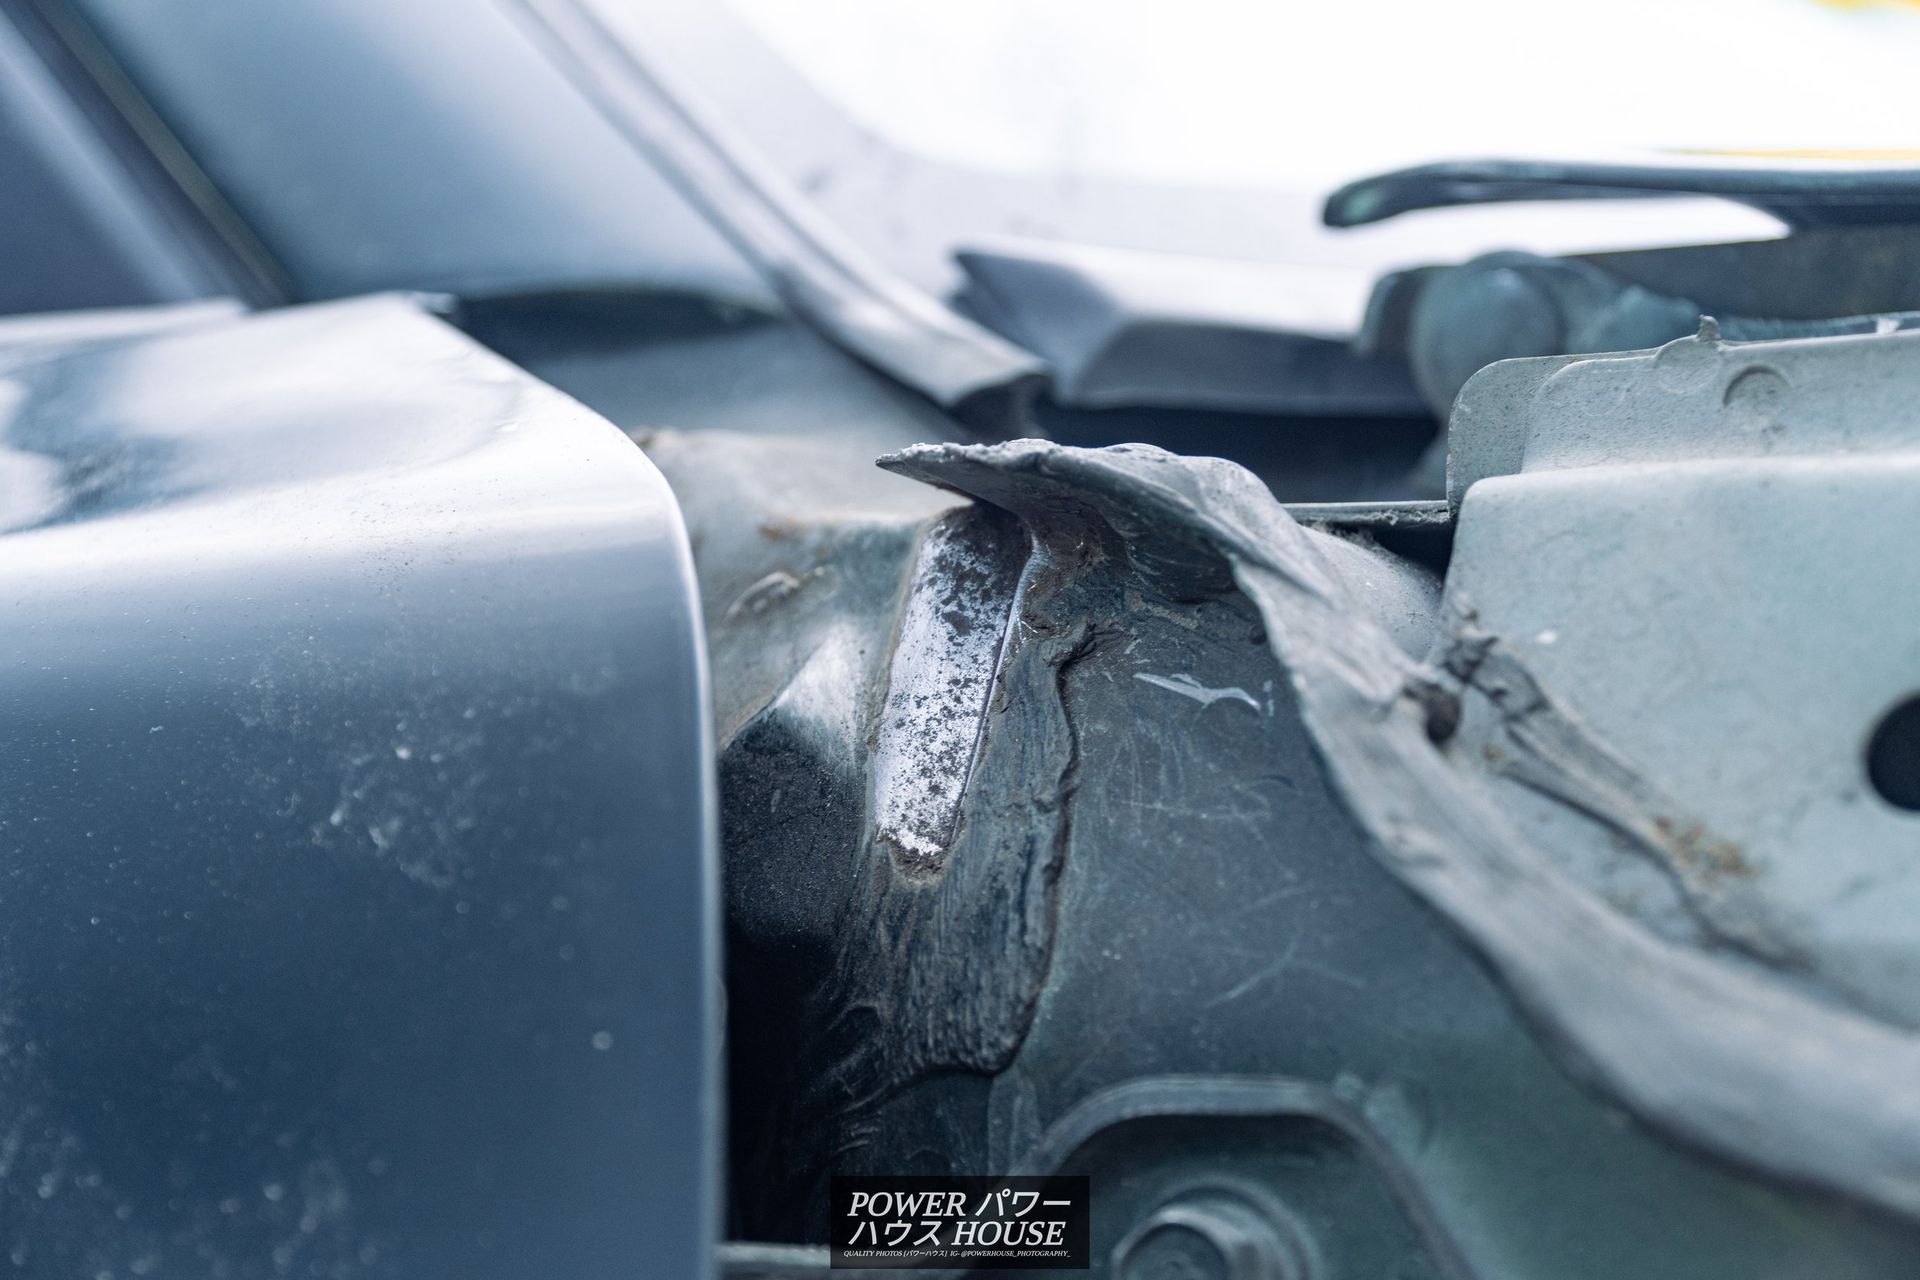
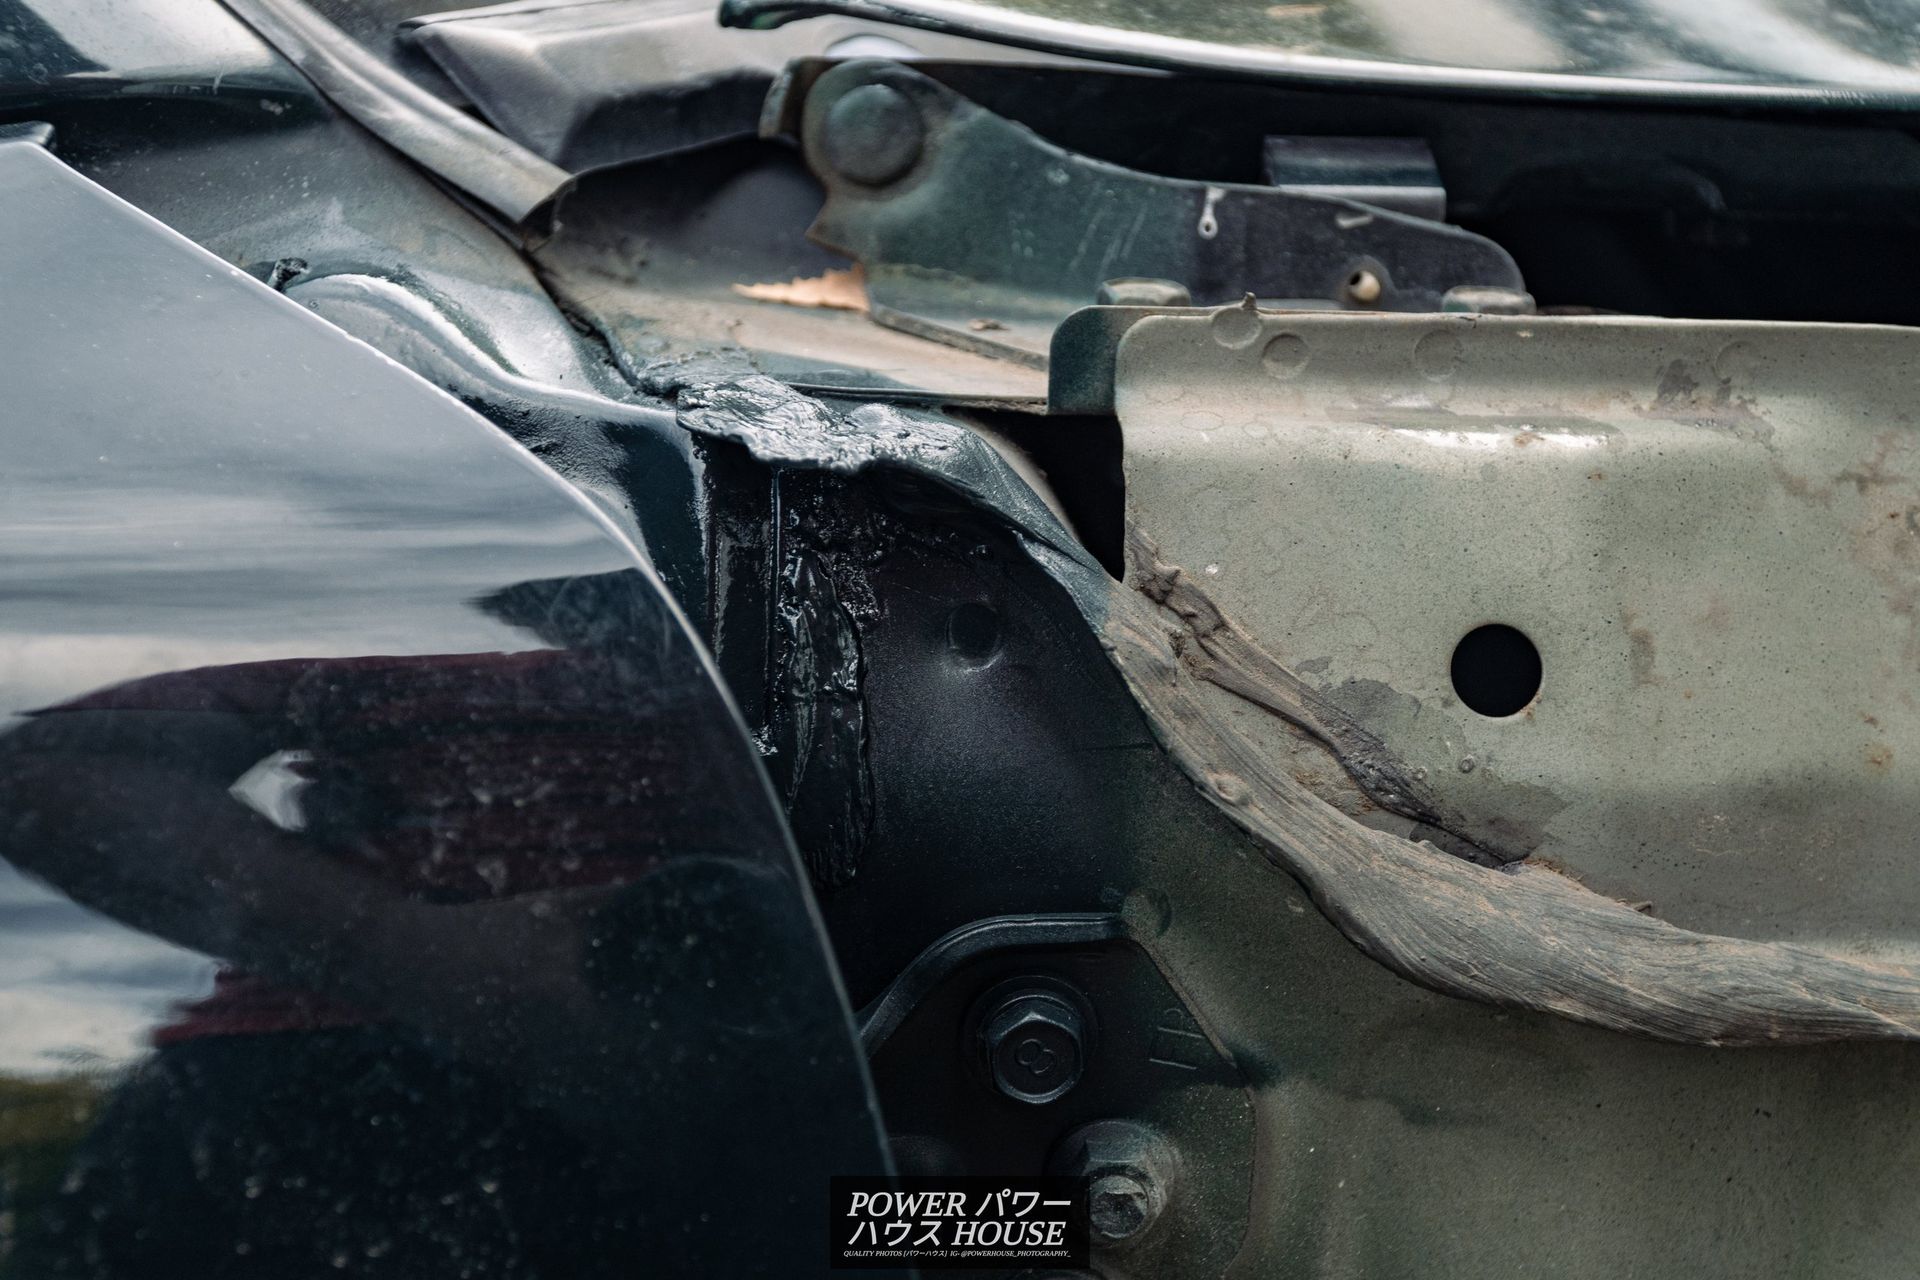
As I previously said, rust is one of the Roadster's worst enemies. Welp, I found some on mine.
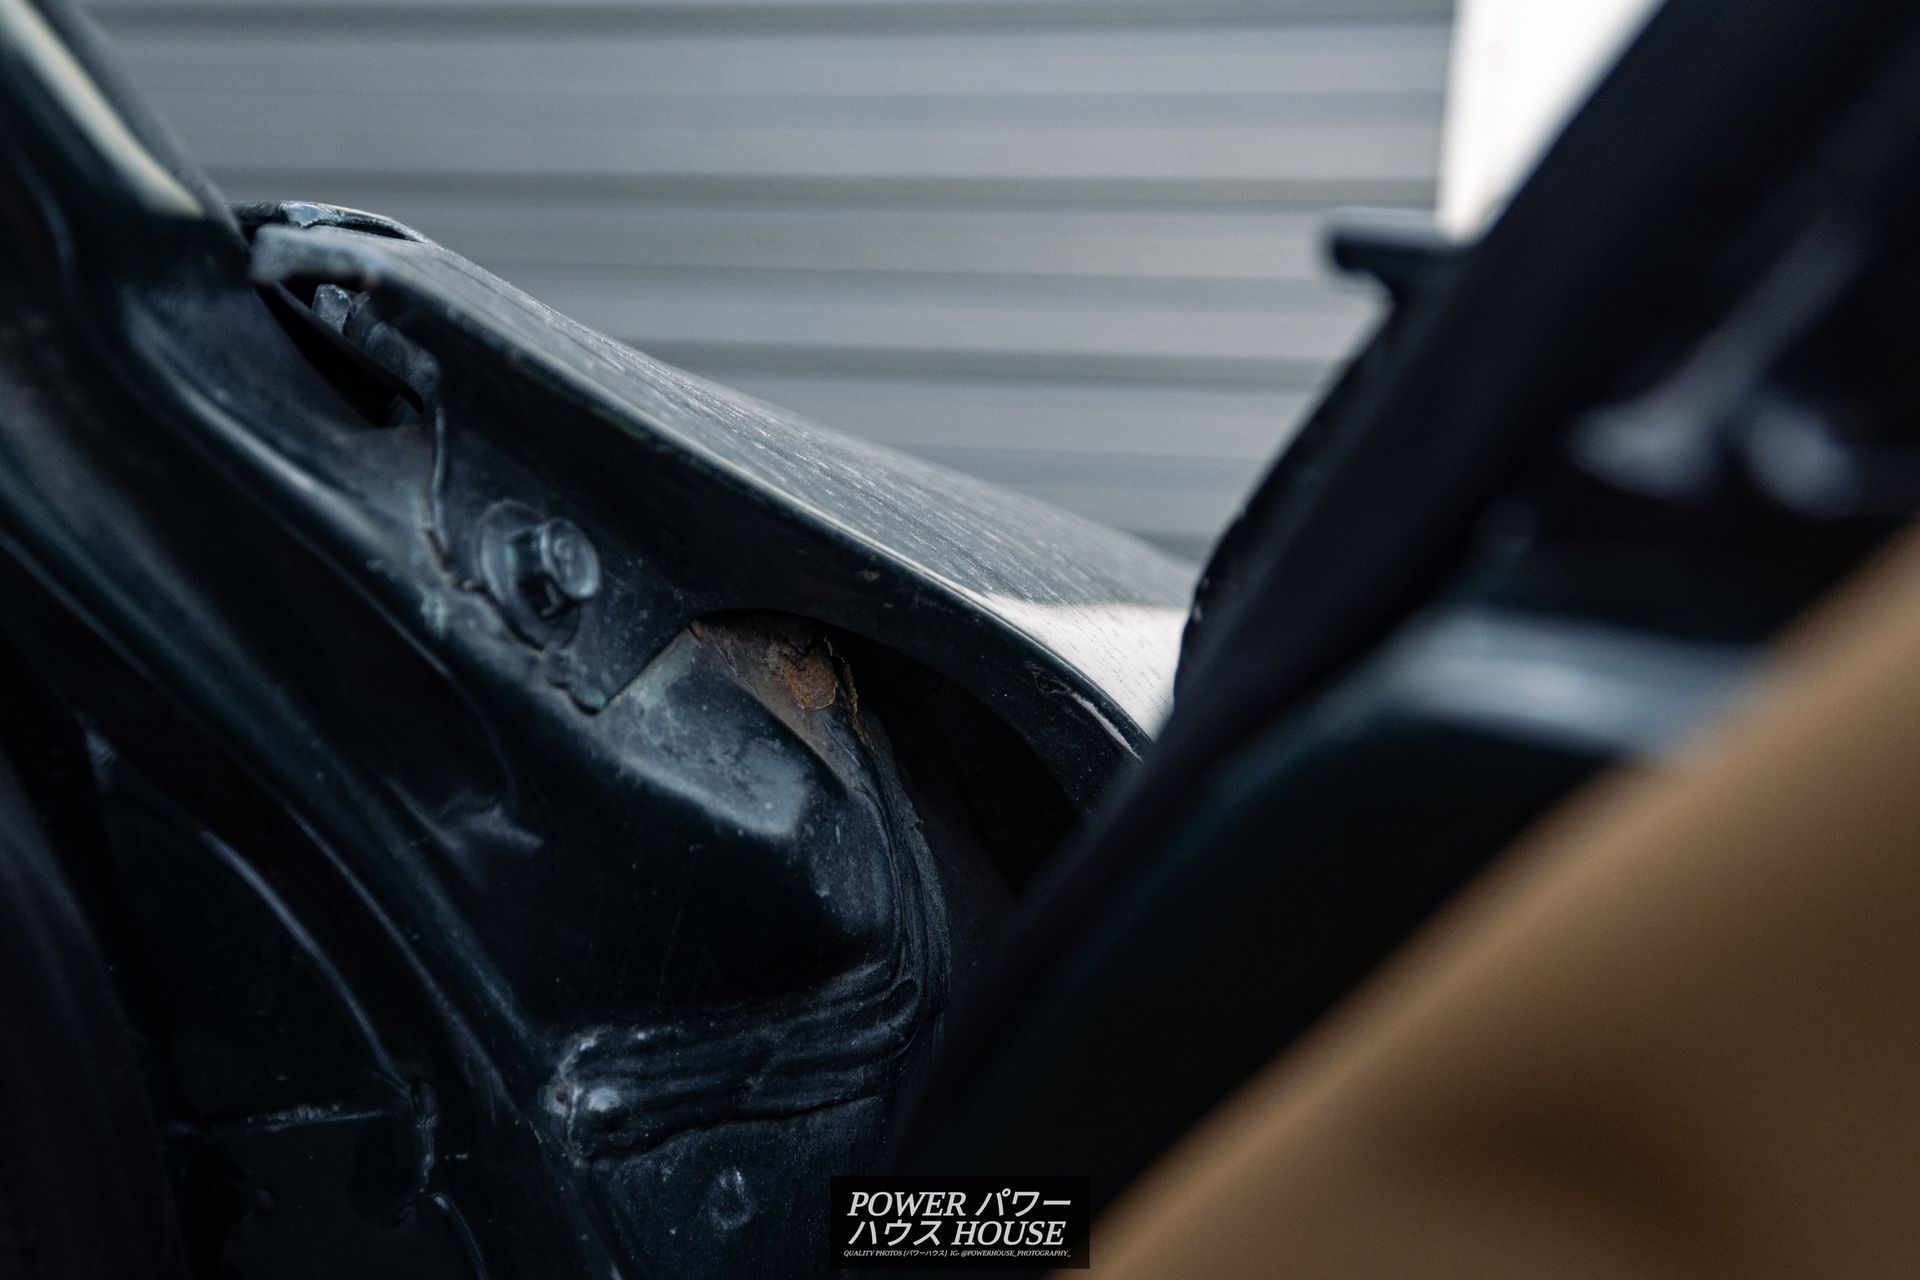
Project BRG was diagnosed with cancer on the drivers side pillar seam. I've been told that this happens to all of these cars and I was lucky that mine only had the rust on one side. After a message to Garage 5, I realized that I would need to take the fender off and fix it as soon as I could.
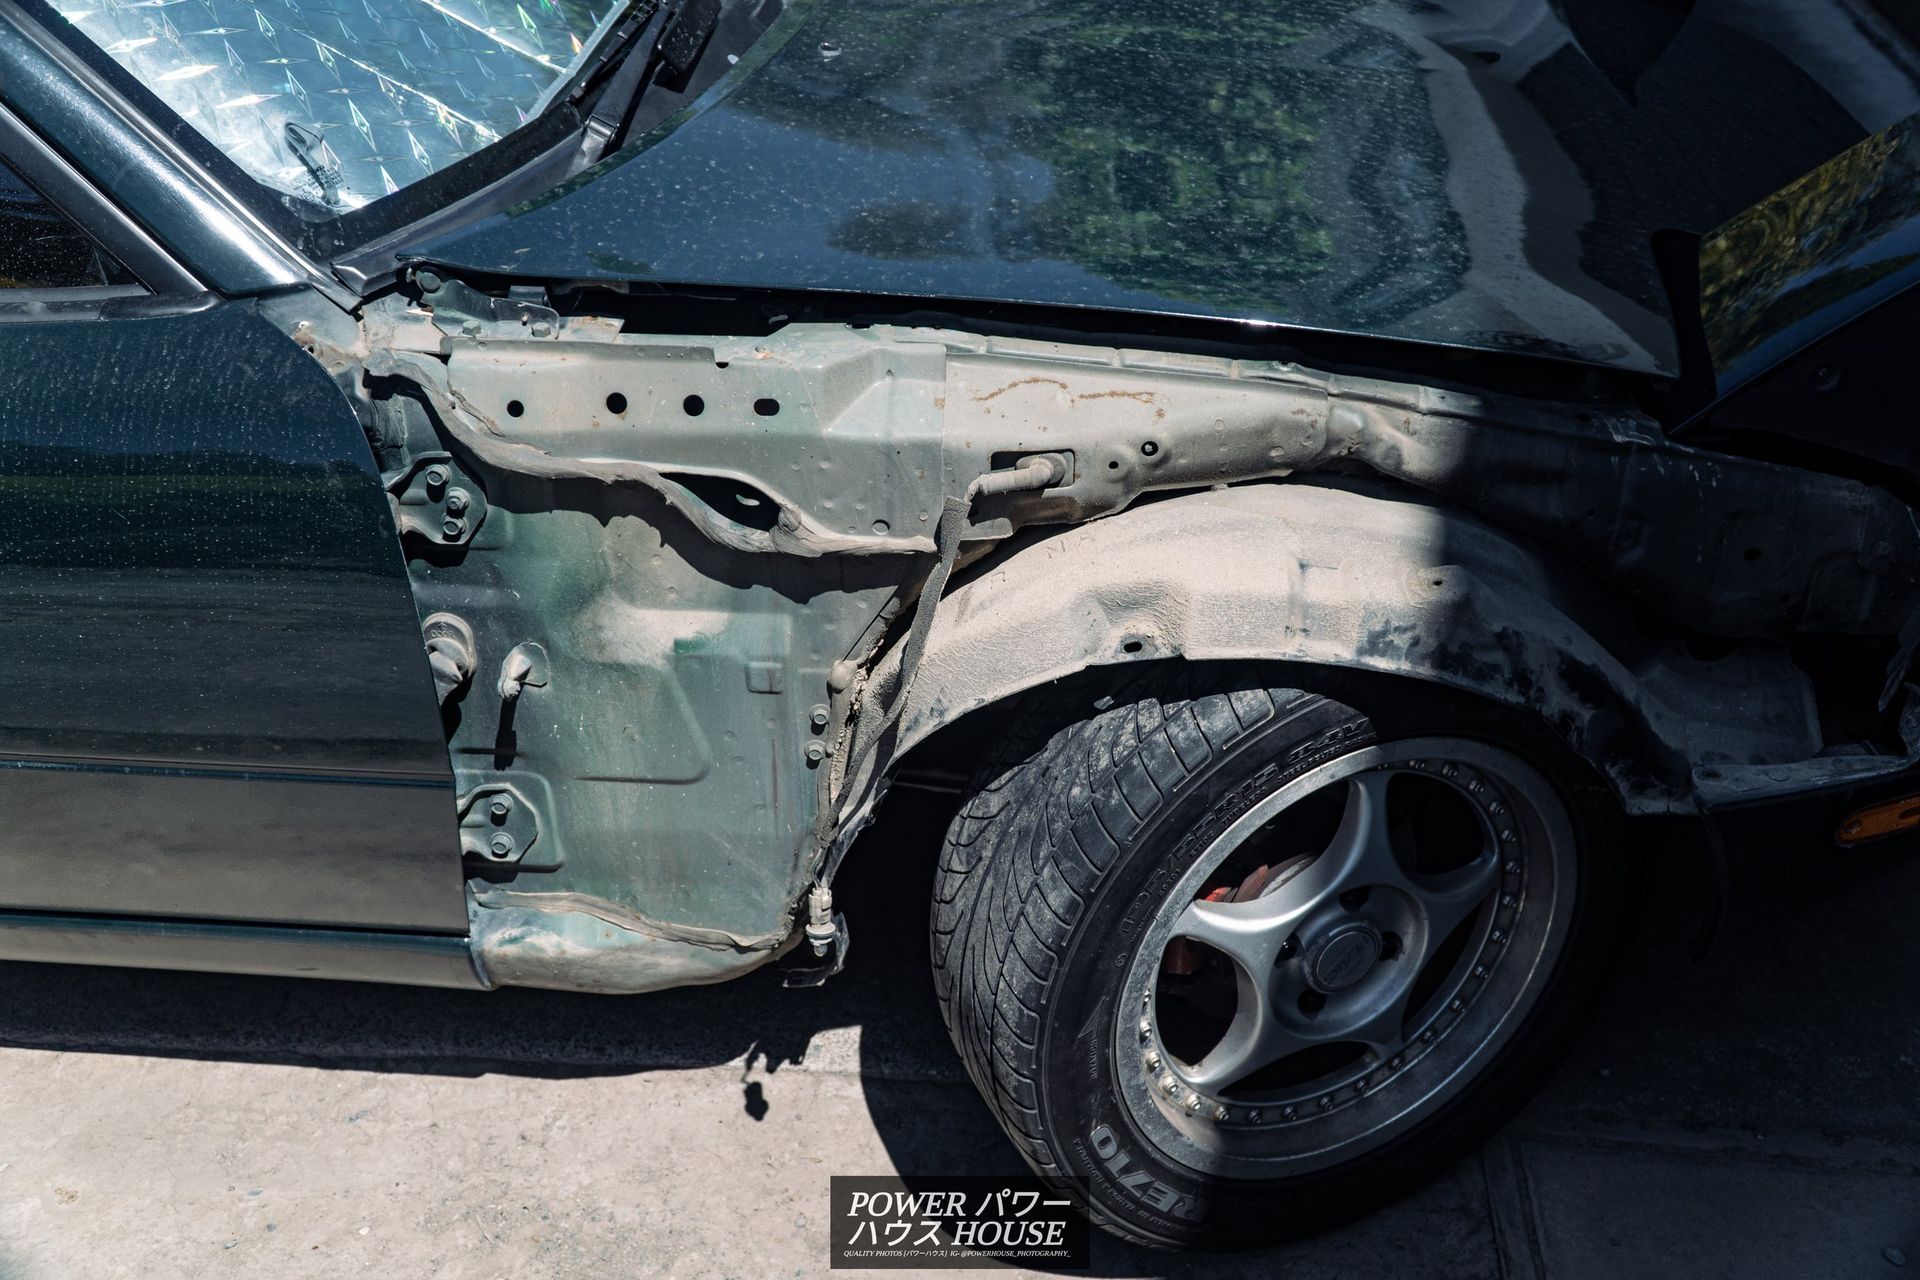
Taking the guard off was actually really simple. Since I didn't have an extension for my socket set, I started off by taking the bolt deep in the guard off first. I did this by connecting my breaker bar to a 10mm socket, then using vice grips for leverage and it surprisingly worked. Other than the fact that I lost my 10mm socket, everything went smoothly. Once the guard was taken off, I chipped the surrounding seam to see how bad the rust was. To my delight, it was actually quite small and was basically just surface rust.
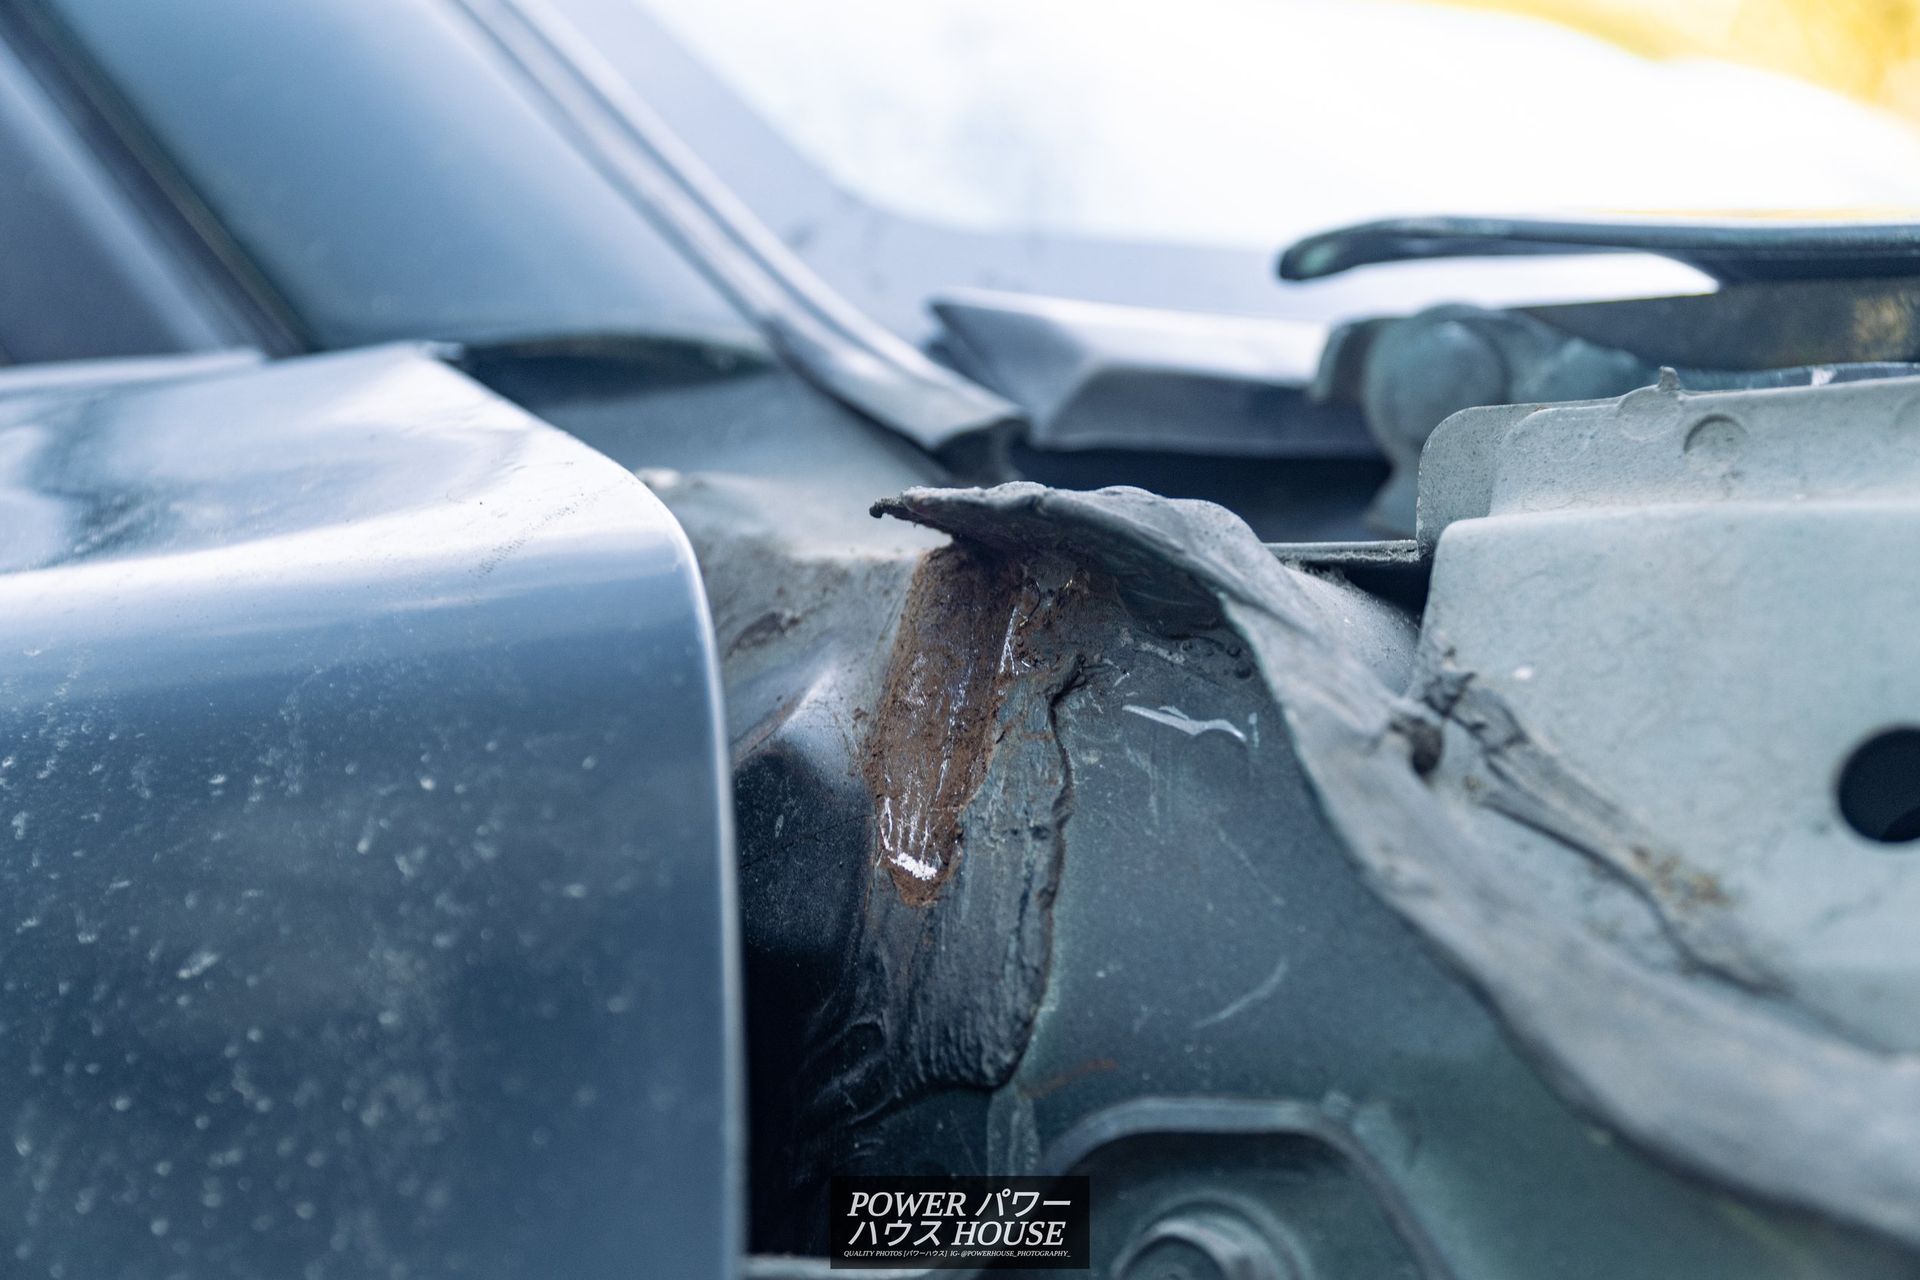
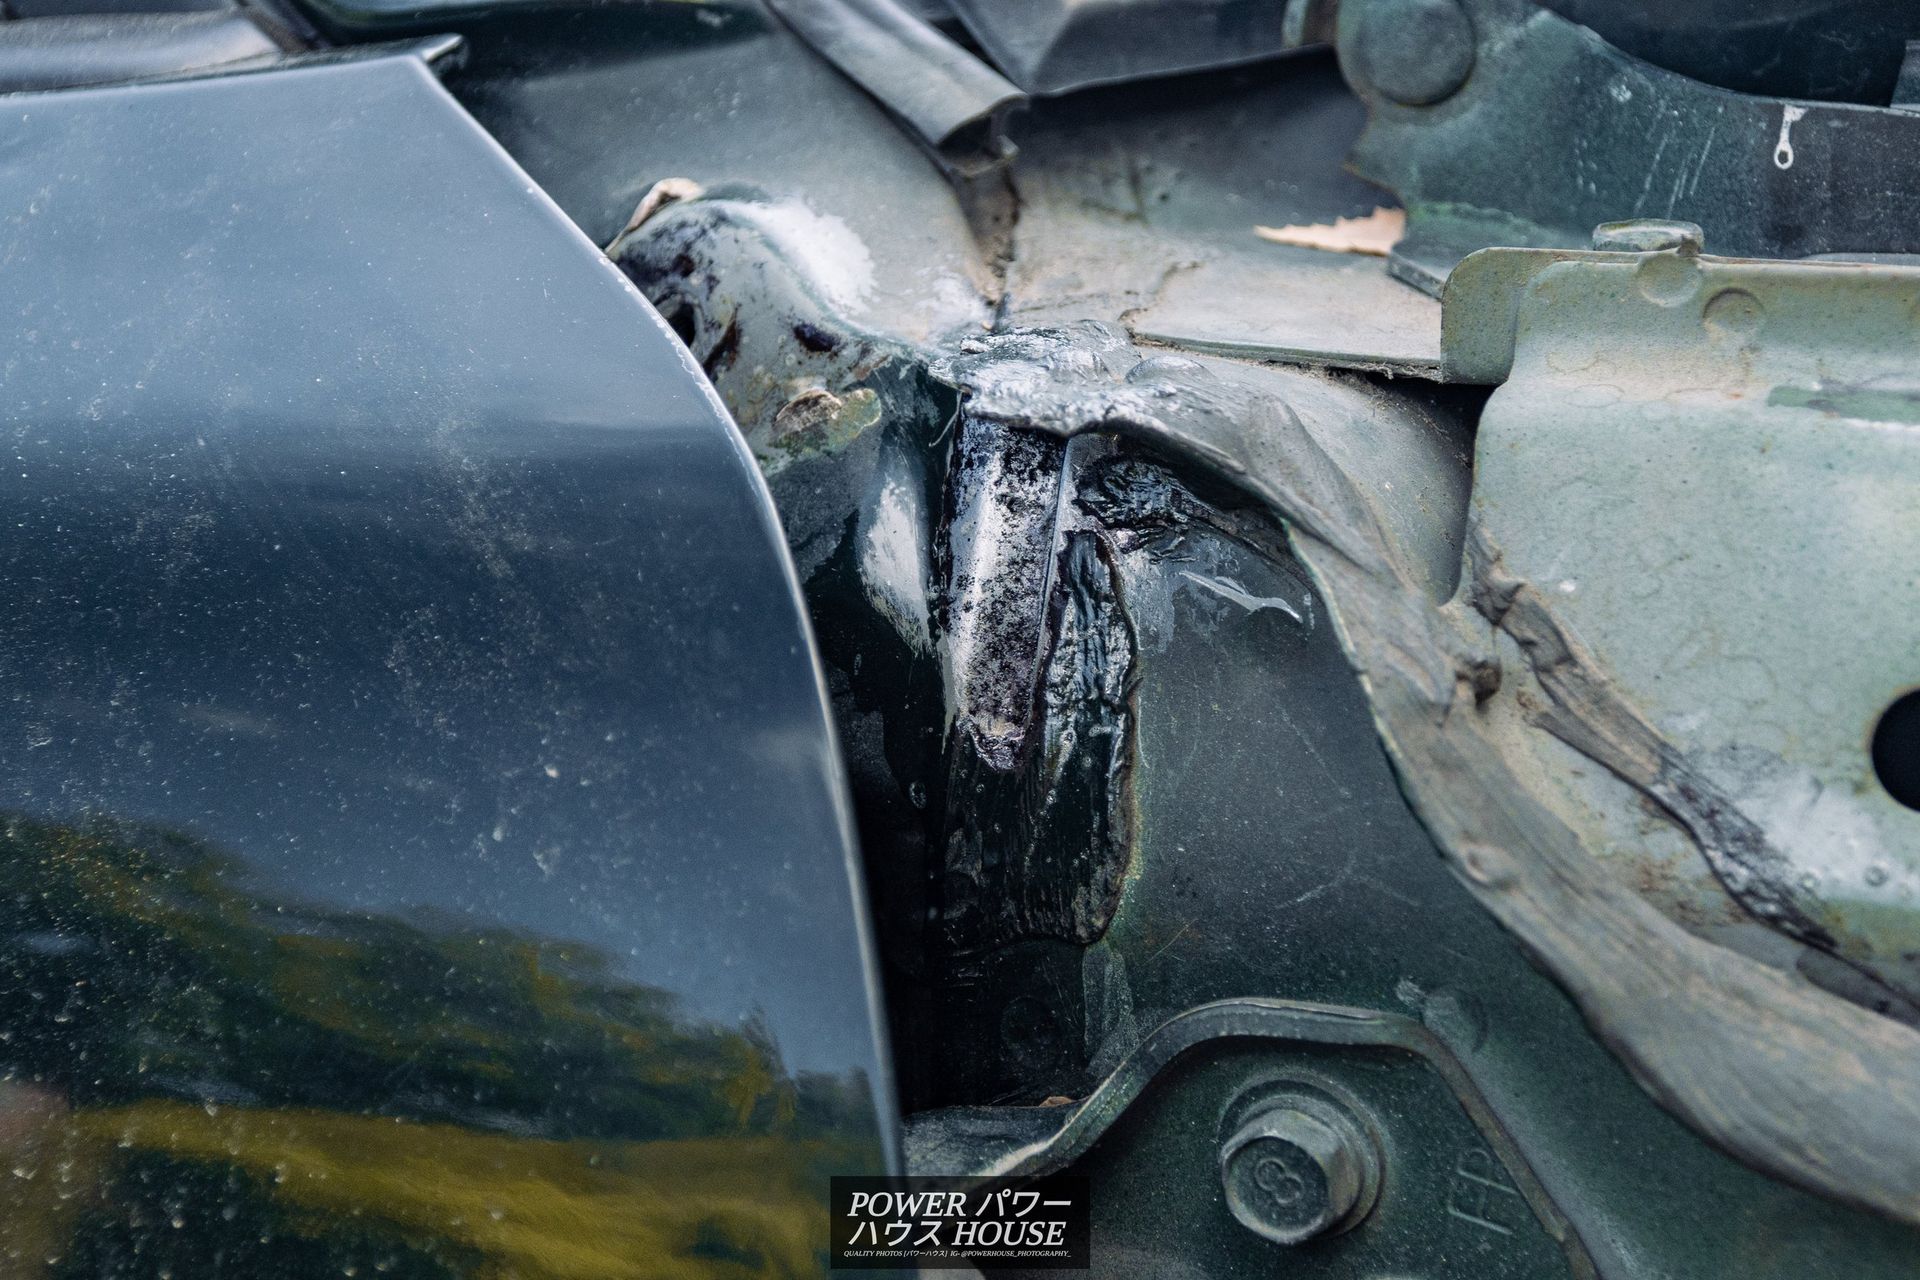
On a slightly less delightful note, I found some more rust on lower sill. Although it looks bad, it turns out that with a sand it is mainly just surface rust.
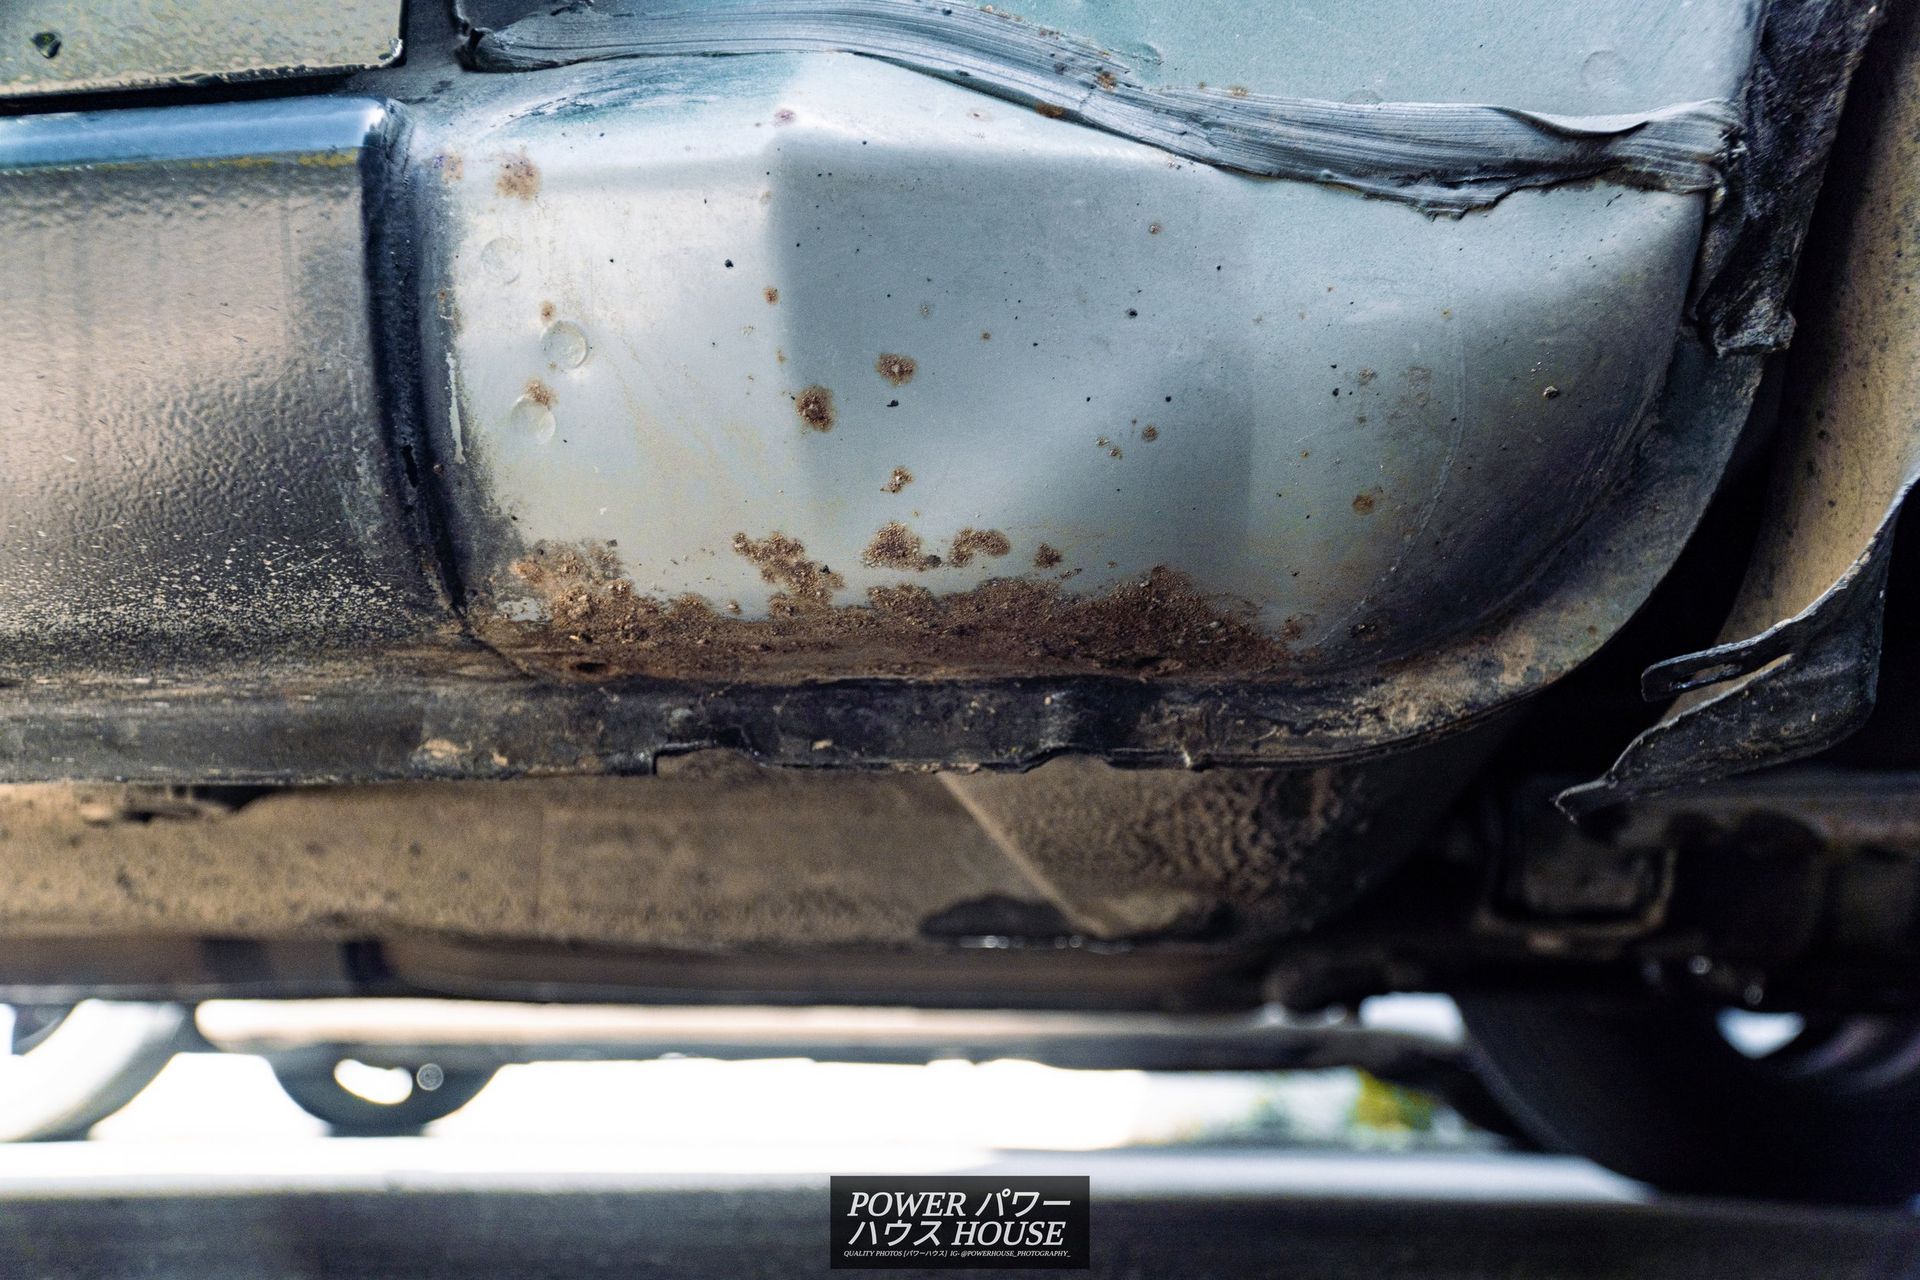
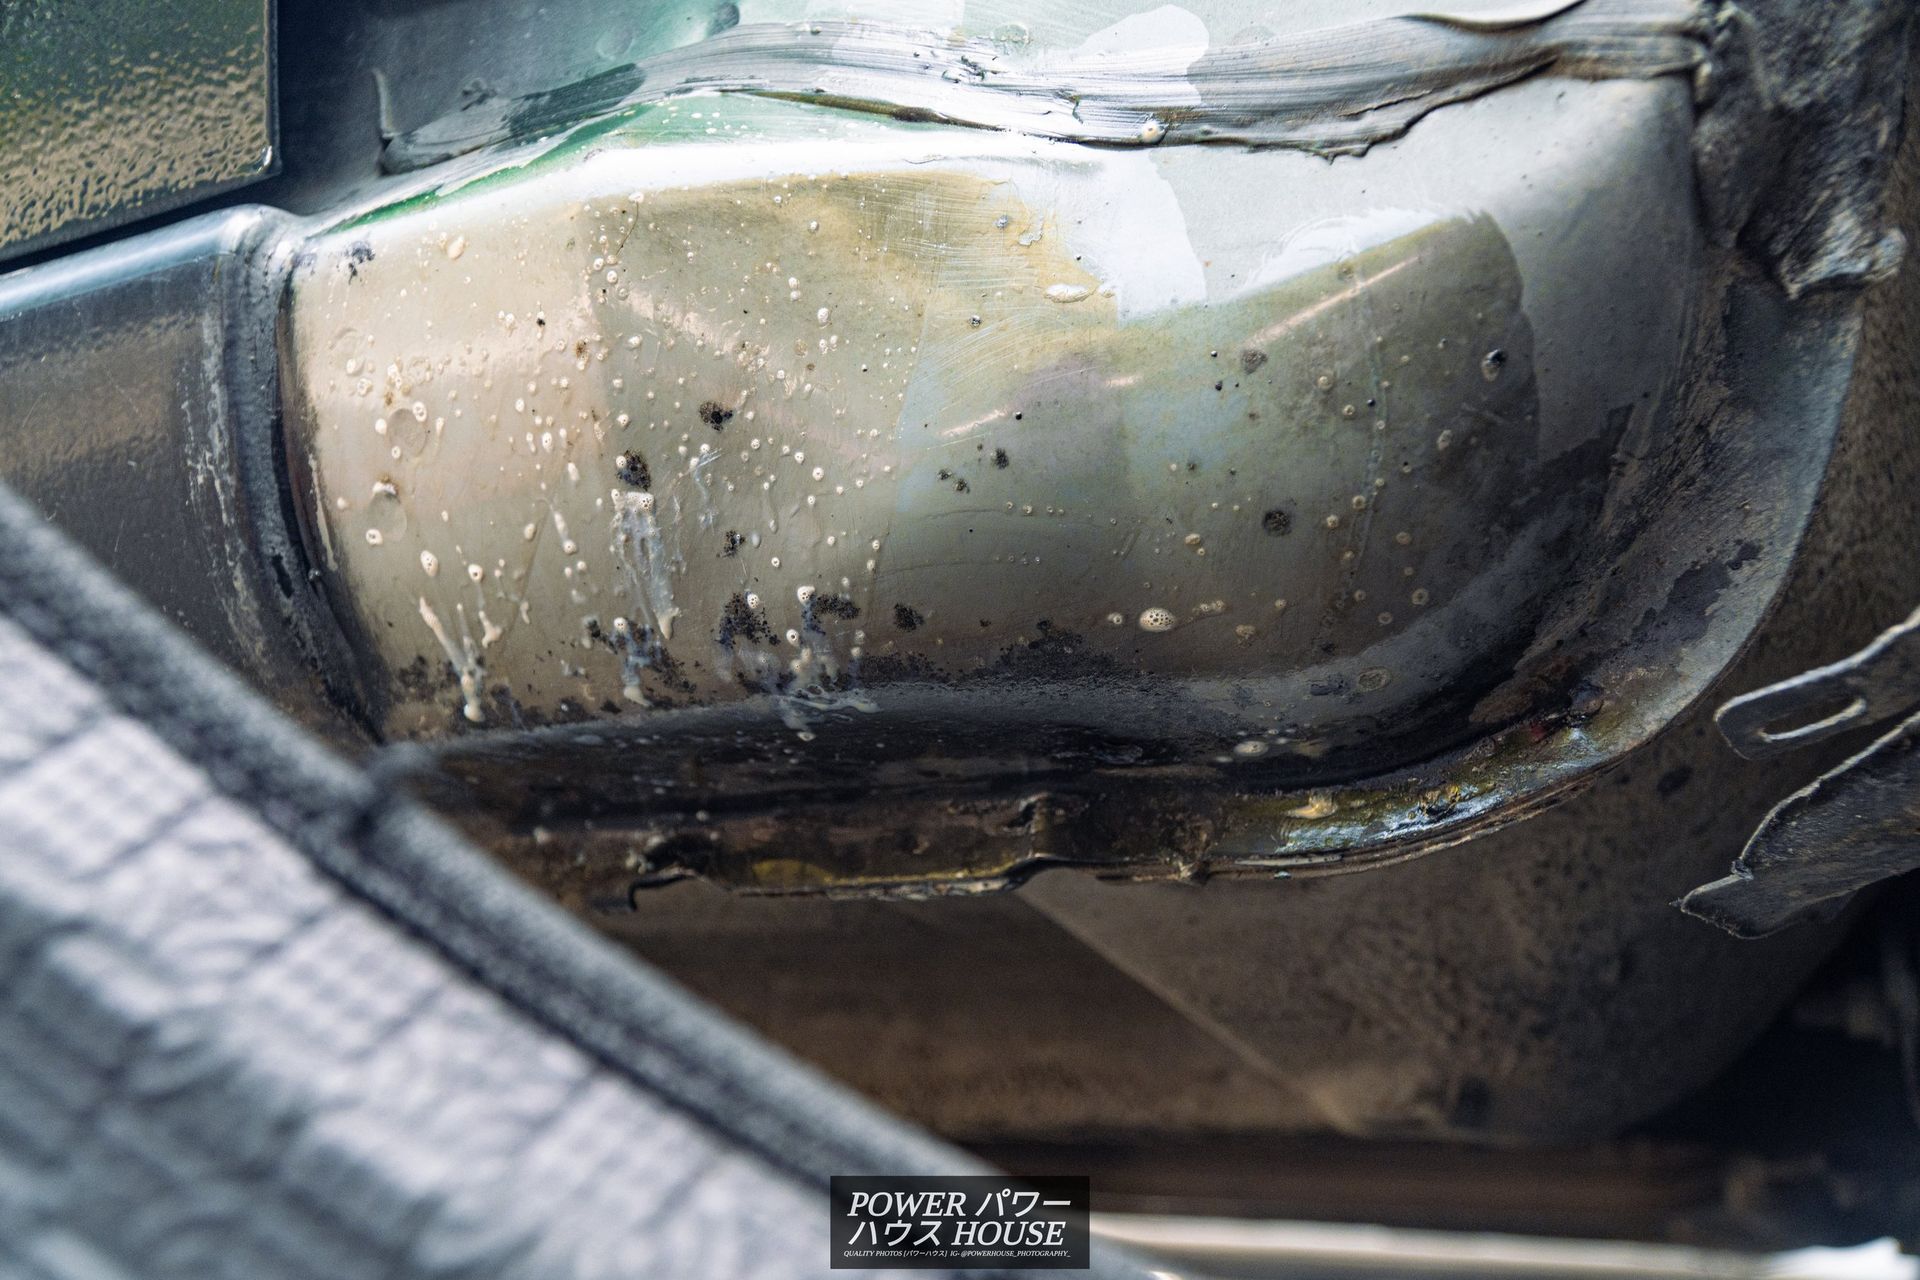
After a quick round with some 80 grit, I cleaned the metal surface with Isopropyl Alcohol and my rust spots were now ready to treat.

I gave the rusty bits a coating of CRC Rust Converter which dries clear and turns the rust into a safe, black, & paintable surface. After letting it set for 3 hours it was ready for further action.
Now paint is all that's left to do.

I gave the area a good coating of colour-matched aerosol paint which mine was Resene Automotive & Light Industrial. I attempted to blend it to the best of my abilities for the OEM look.
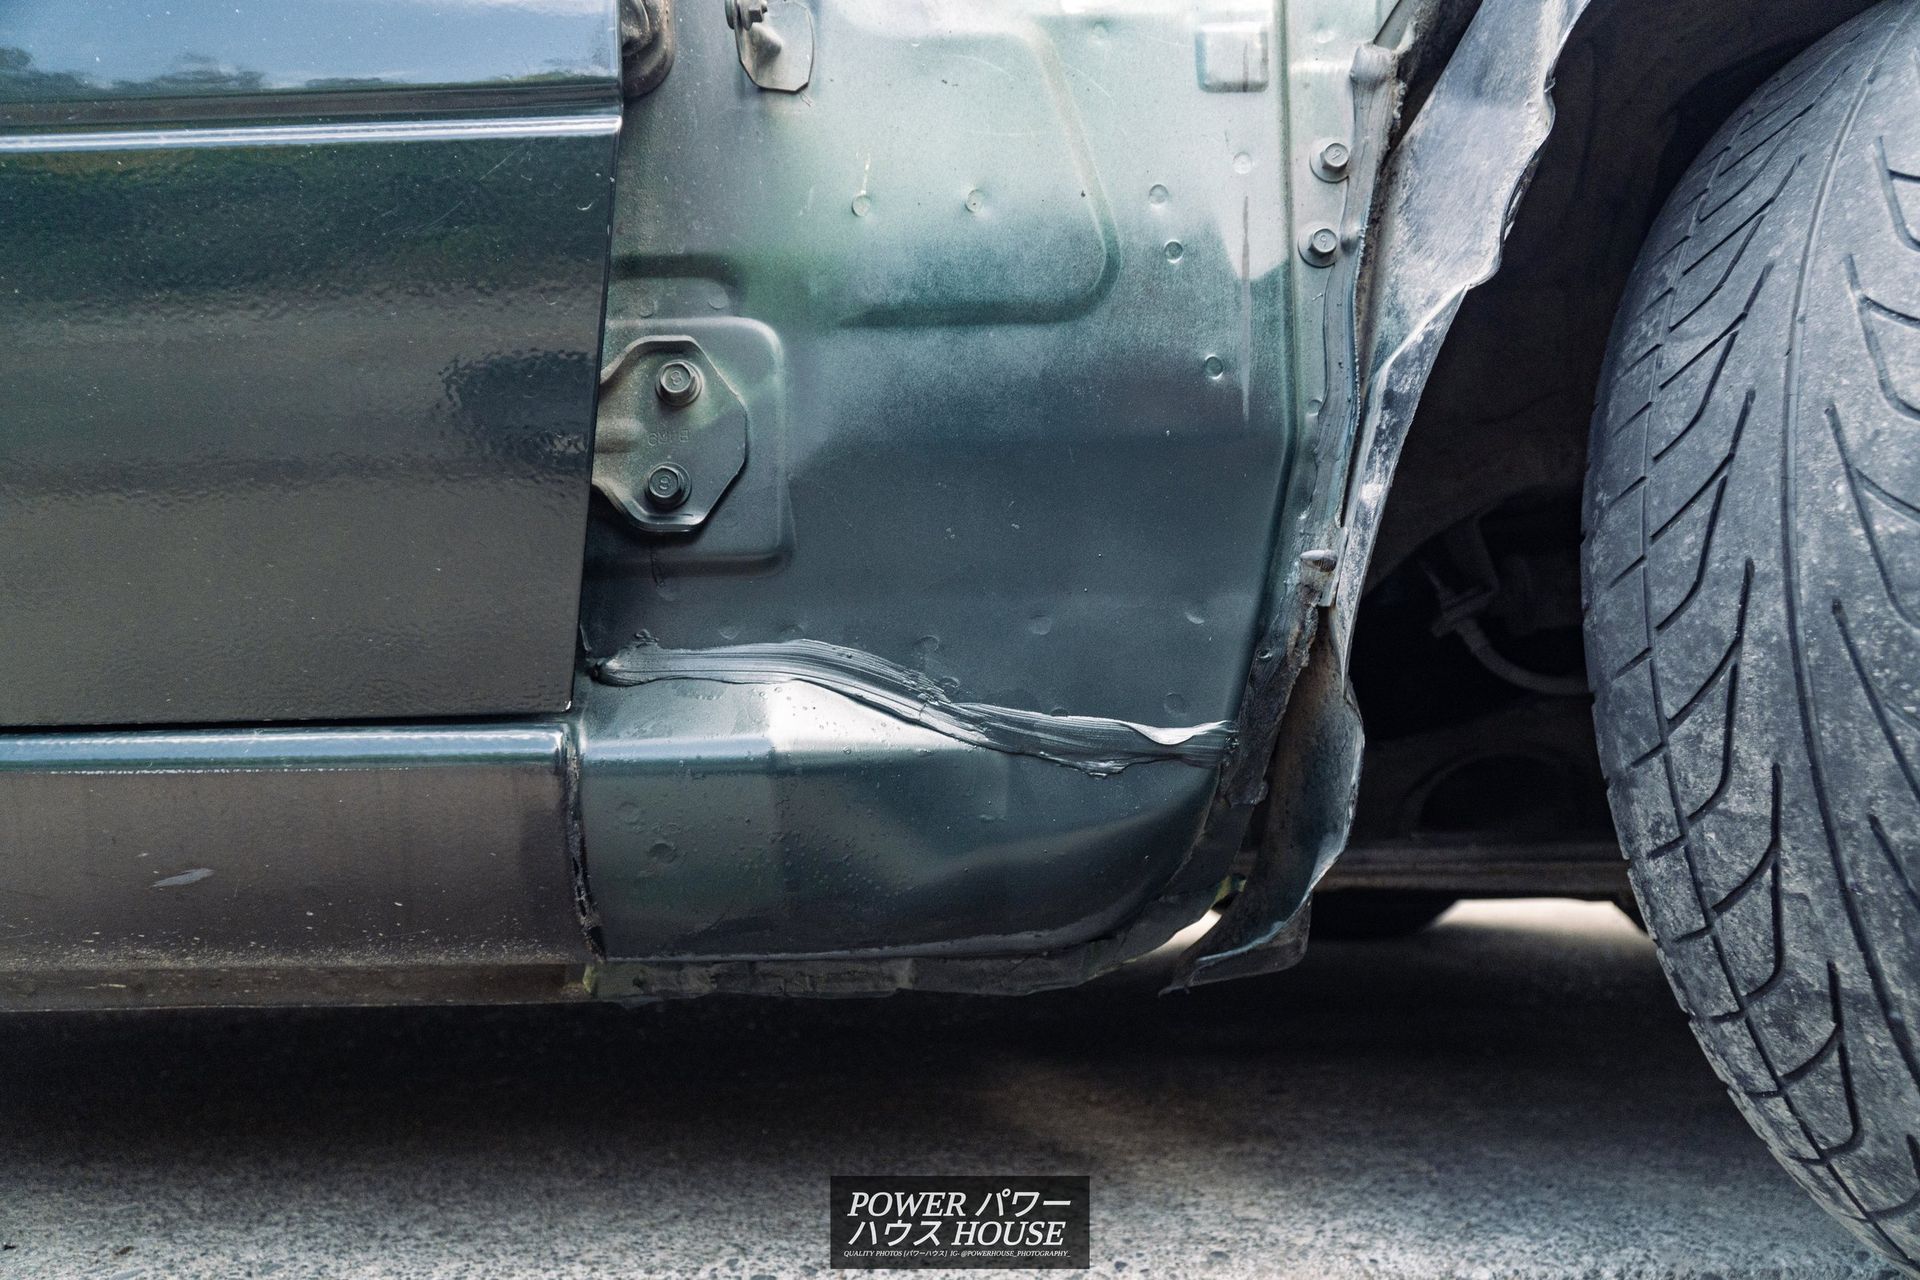
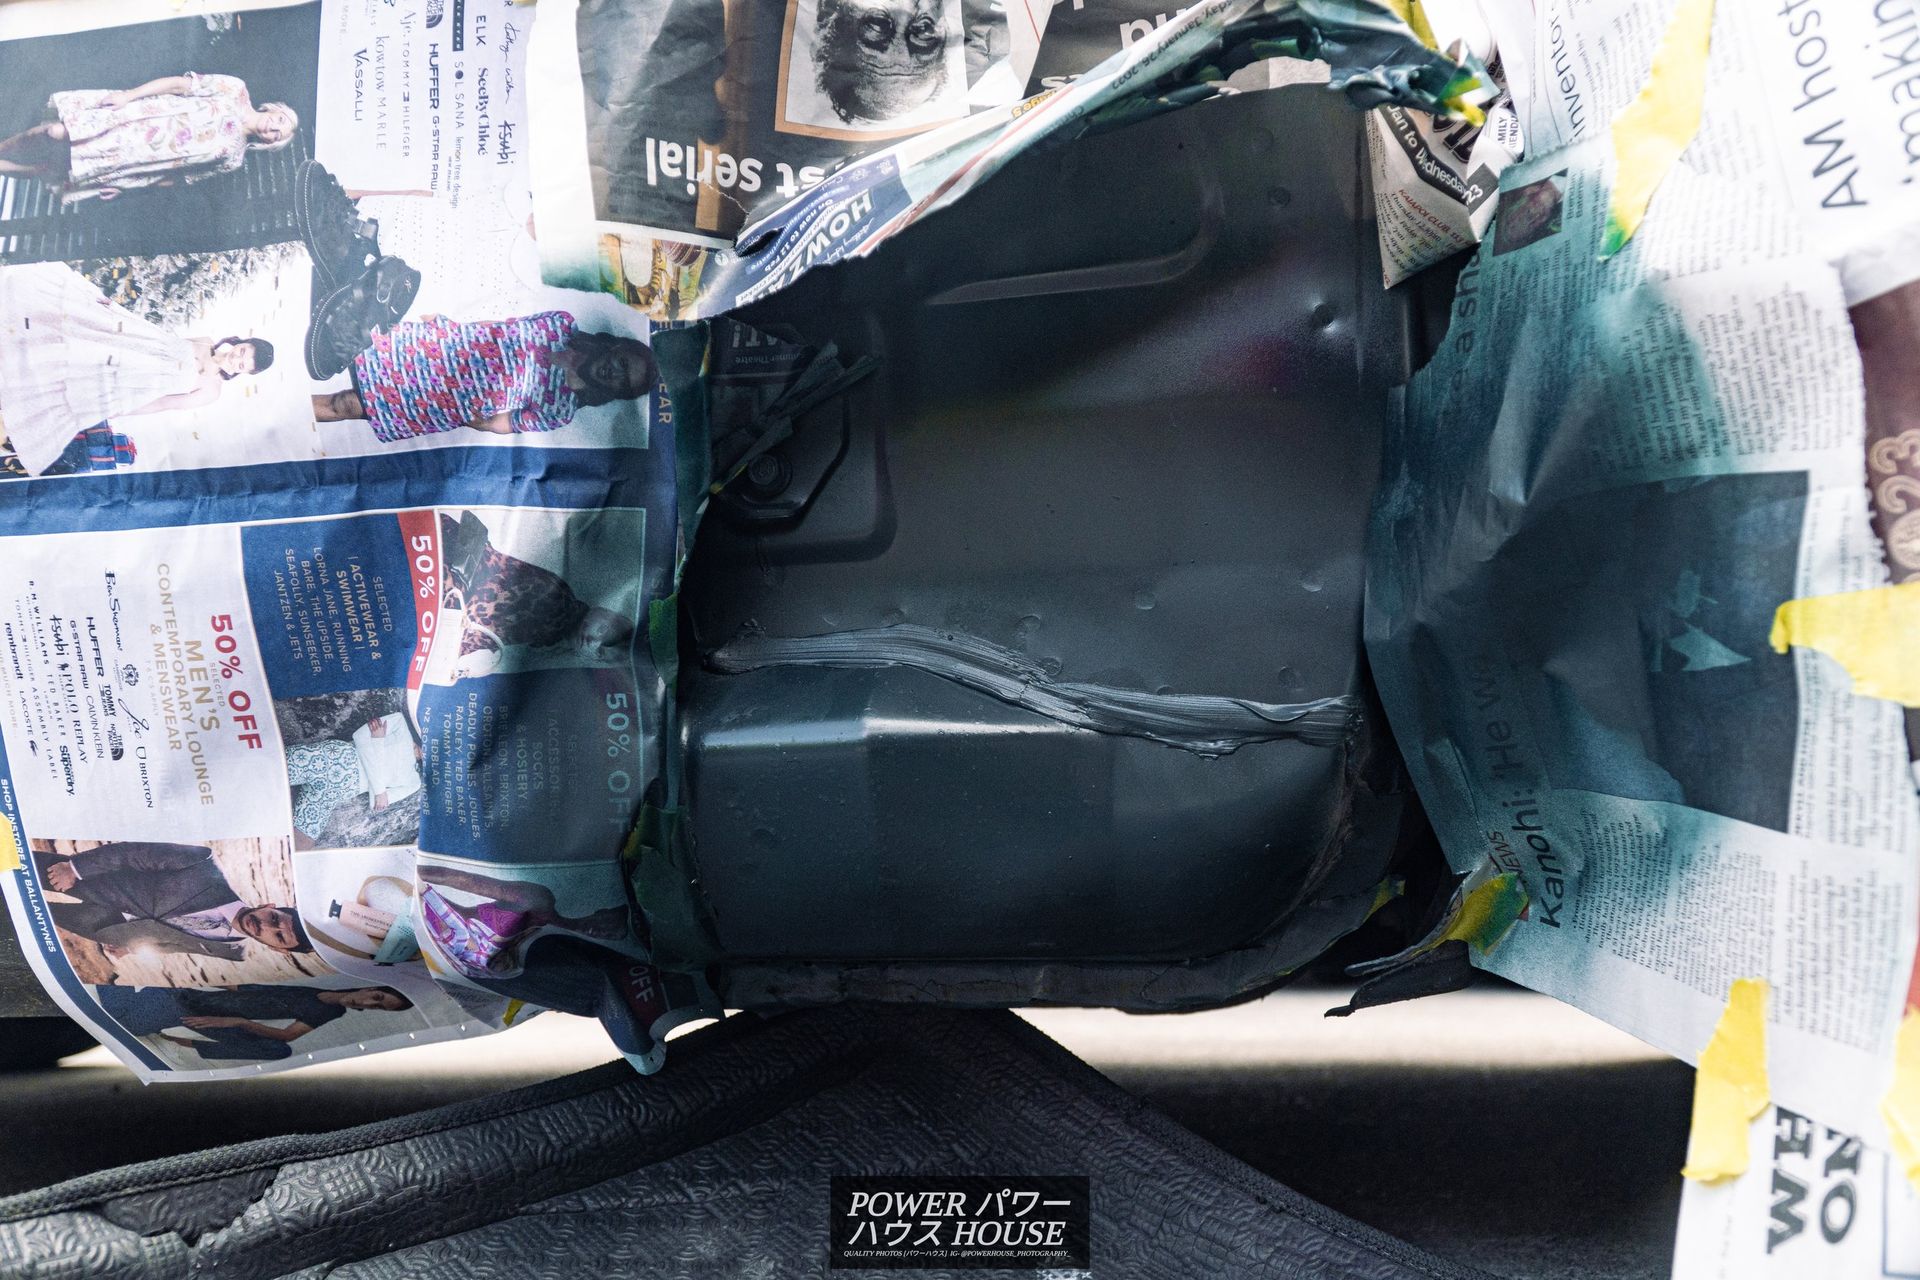
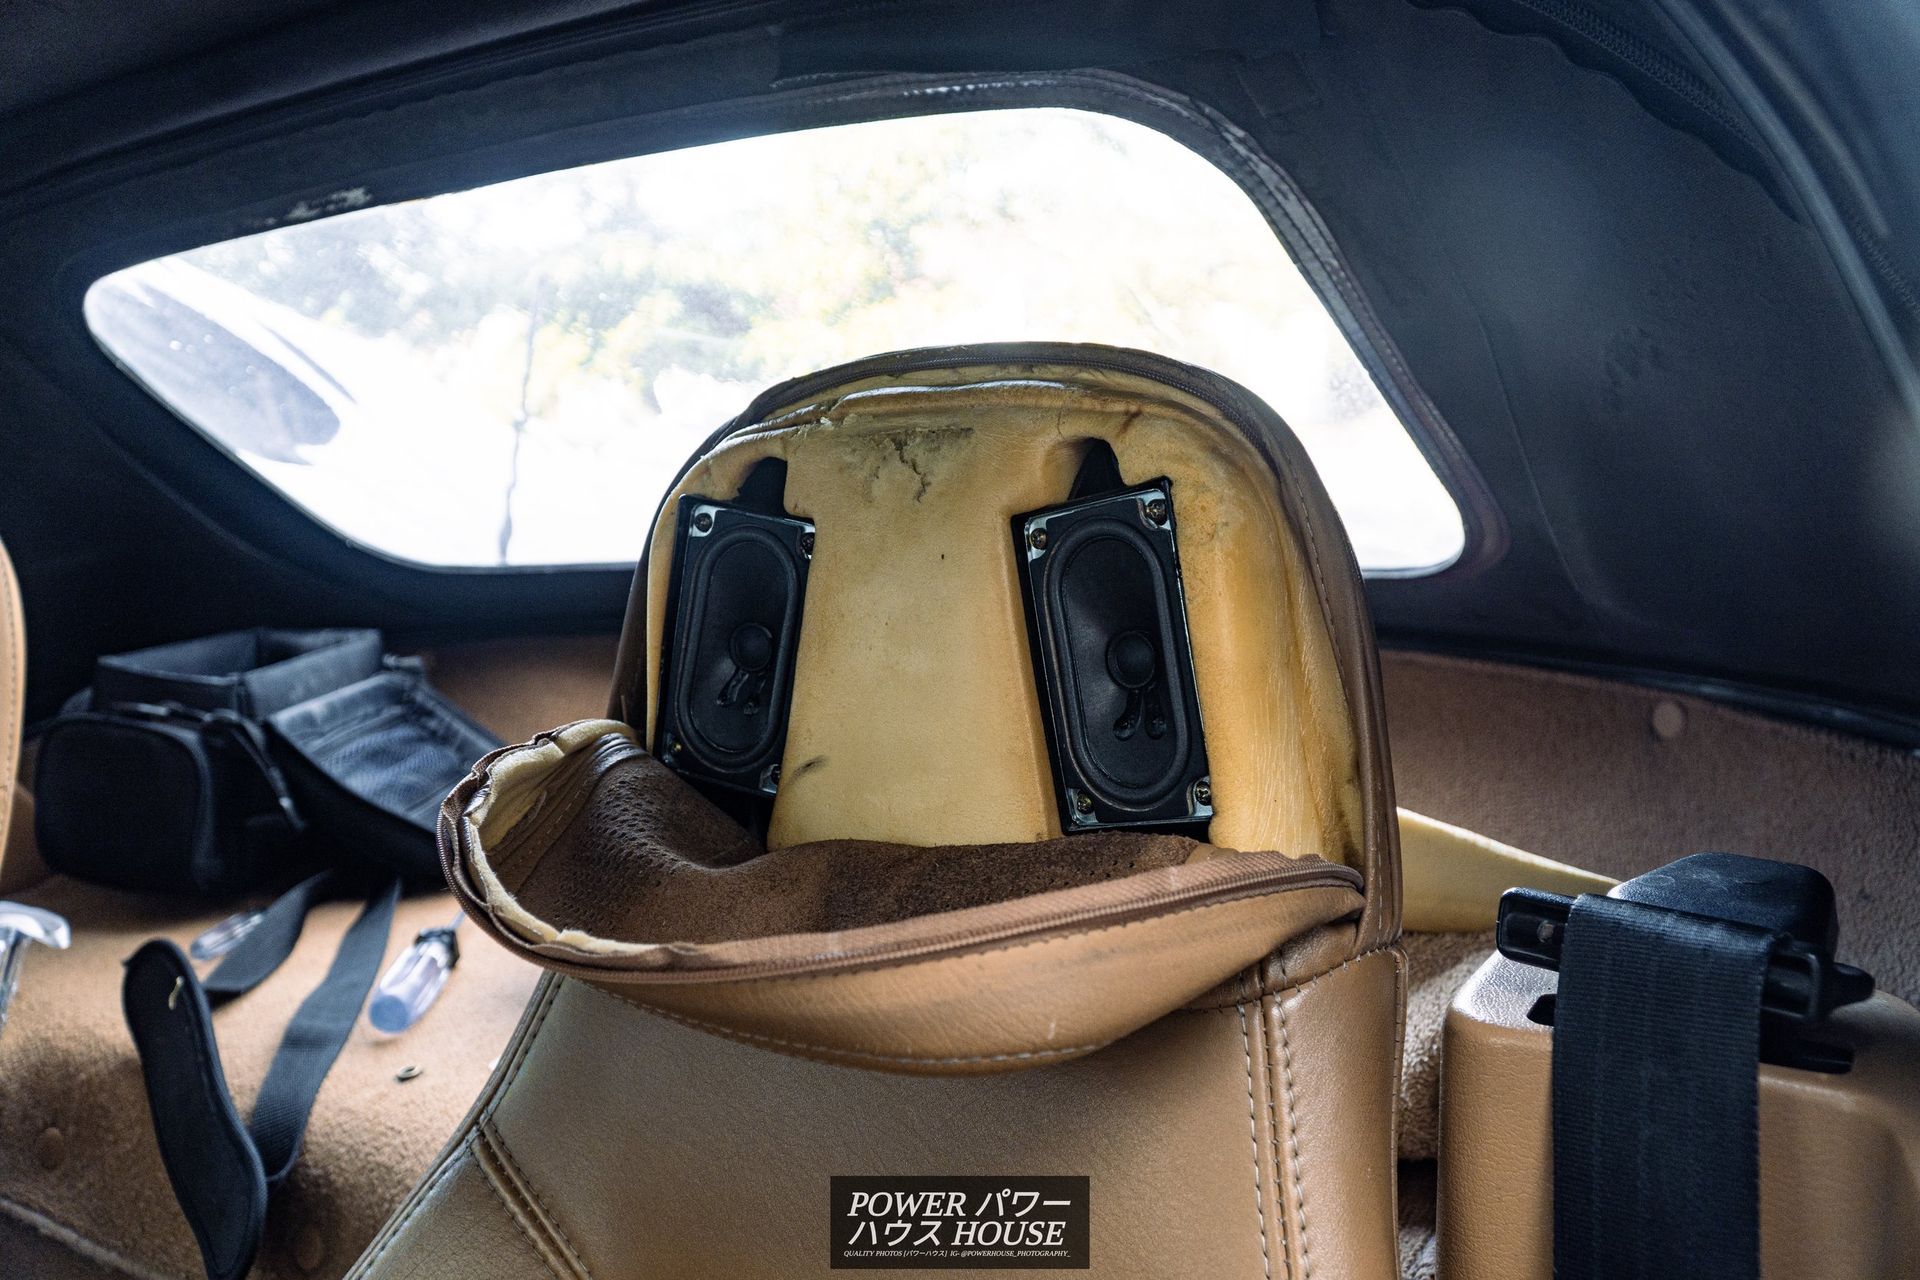
While at it, I also gave the fender the same procedure. Now that it's done and the car is put back together, I can rest easy now. With the serious stuff all finished, the next thing to do were the headrest speakers. These were blown and made a loud fuzzy crackle sound buzzing in the background and it got to the point where music was no longer listenable due to the listeners getting headaches.

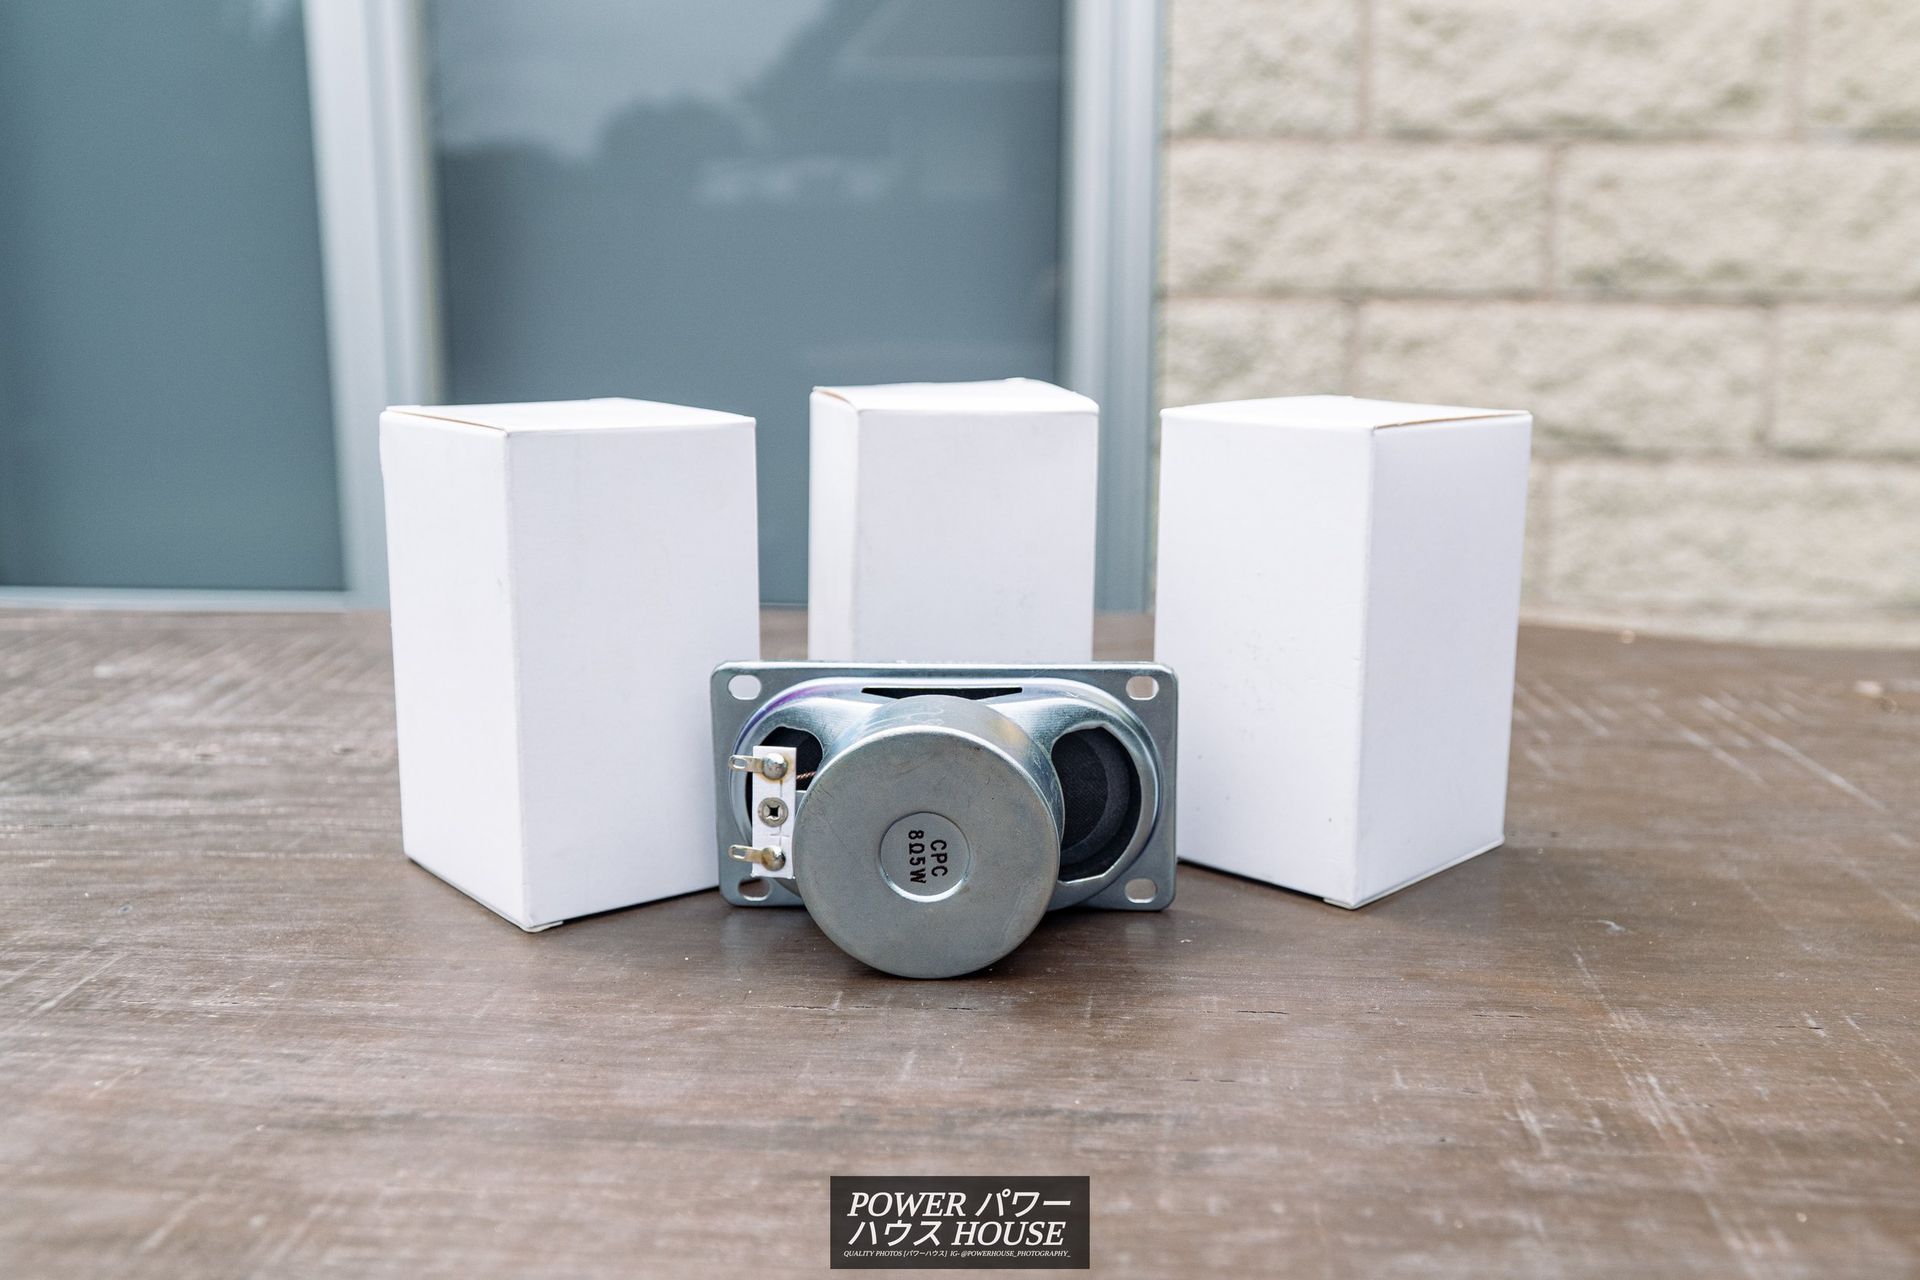
The solution was found at New Zealand's local electronics shop. Listed as "Rectangular All Purpose Replacement Speaker", these puppies measure in at 2 x 3.5 inches with 5 watts of power and importantly have 8-ohm resistance. Although not powerful by any means, it's enough to perform well for its job. After leaving the shop with 4 speakers in hand and being $31.60 lighter, I was excited to hear how these do.
After unzipping the top of the seat and removing the fiberglass cover, I was surprised to find the speakers weren't as dull and exploded as once thought. This doesn't change the fact that they sounded terrible though. Once I unbolted the old speakers, I found out that they actually weren't stock. These had been changed to some 3-watt speakers by the Taiwanese brand DAI-1CHI.
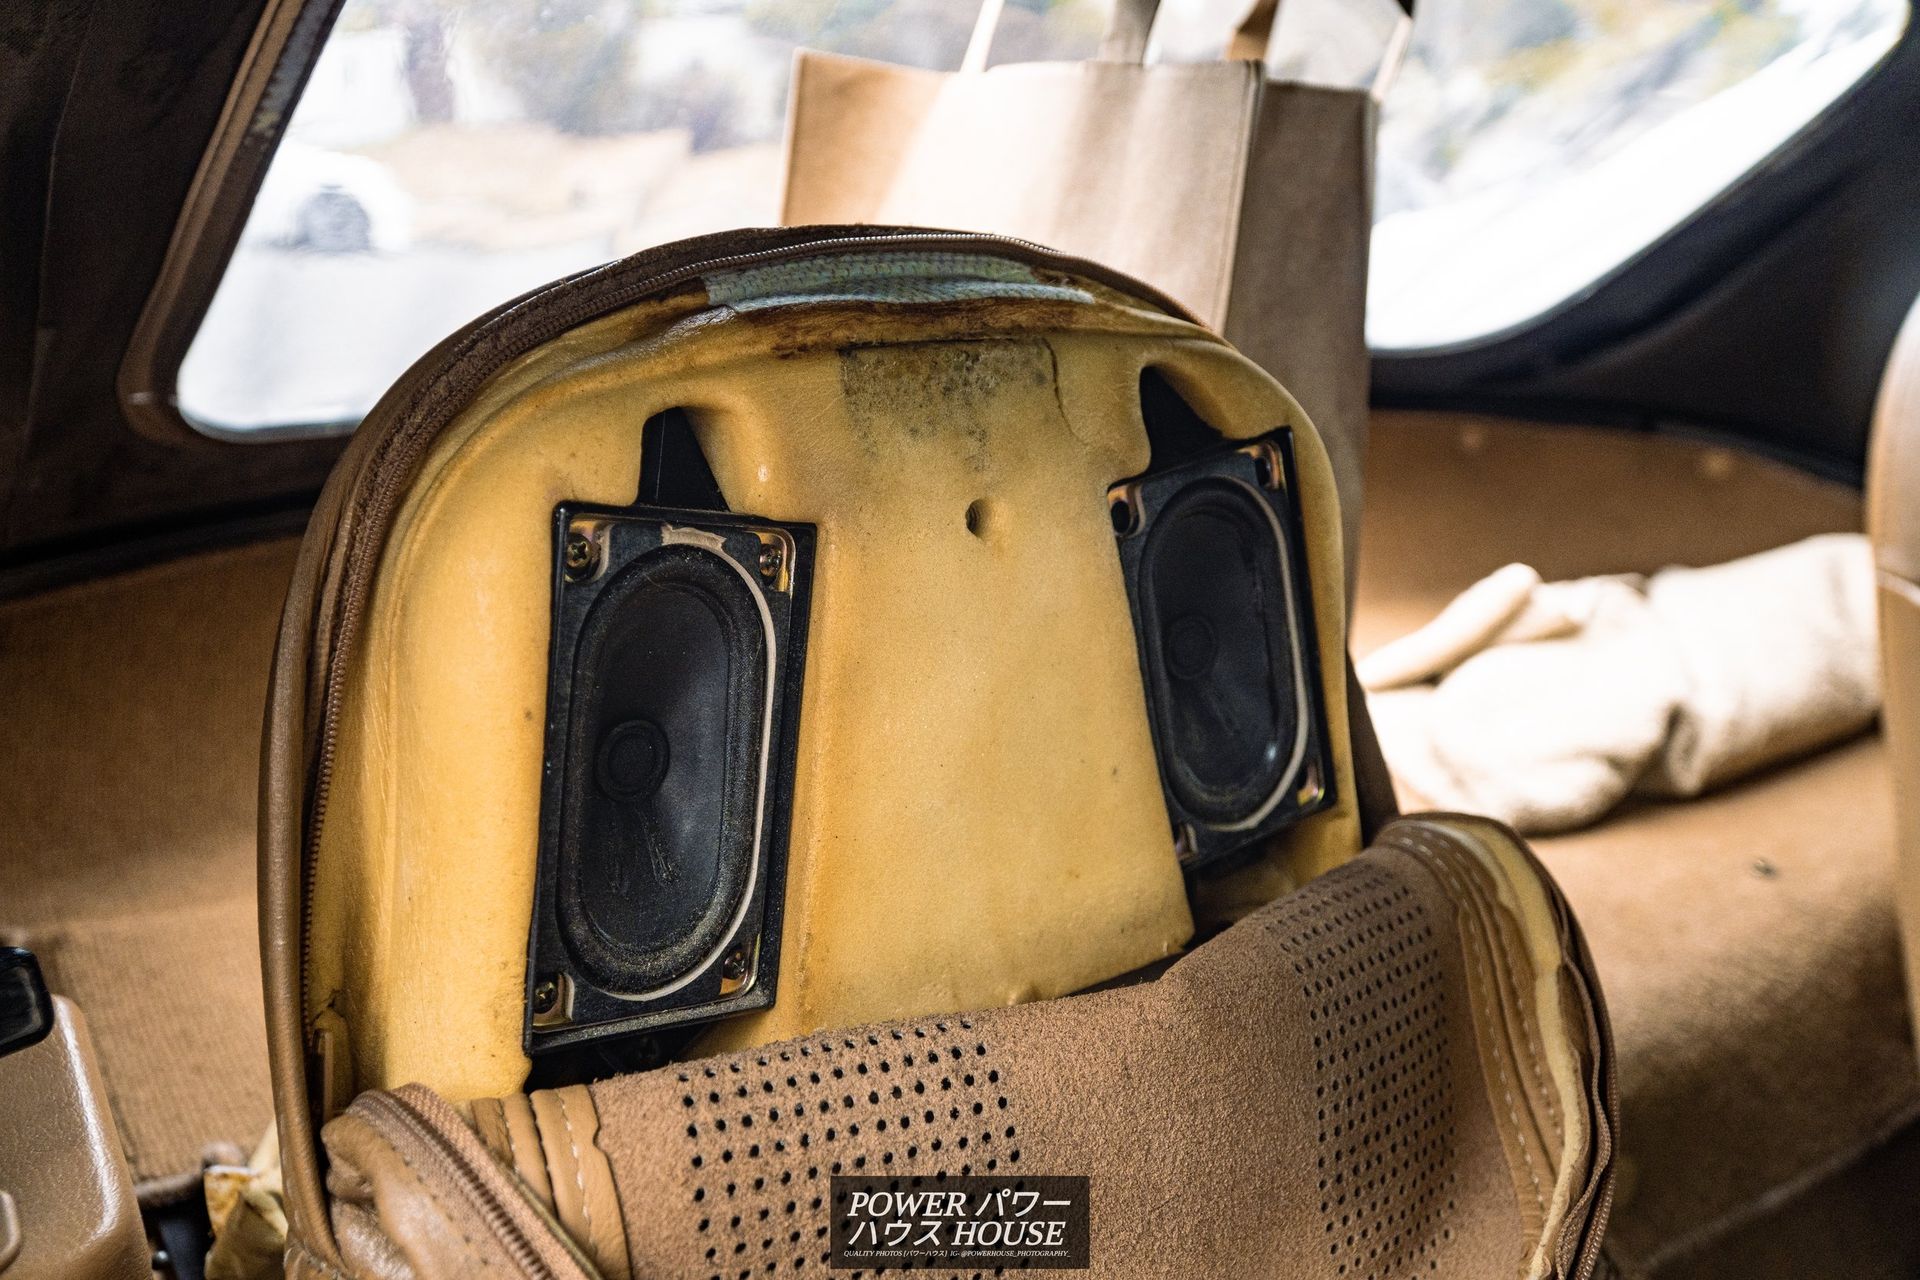
I placed the new speakers over the factory holster and it was immediately clear that I was going to have issues with fitment. Although it was the perfect size, the magnet at the back was to big and would stop the speaker from fitting in the case. After attacking it with a drill, trying to shave it with a heated utility knife, and attempting to sand it, I accepted fate and gave up. This was the exact moment I had the idea of putting the speaker in a vice and squishing the oversized magnet. I did some research but got no answers so I tested the theory on one of the old speakers and to my delight it still worked perfectly.

After some slight massaging with a vice, the speakers slid into place and could finally be installed. The installation was plug and play, just connect the positive and negative to the terminals and then screw them in and you are done.
Now that they are fitted, I'm so happy I decided to do the upgrade, the sound system sounds so much better and this was probably the best band-for-buck upgrade I've done so far. After taking the door speaker covers off, I found out that those are also after-market but they sound good and have excellent bass, unlike my old headrest speakers.