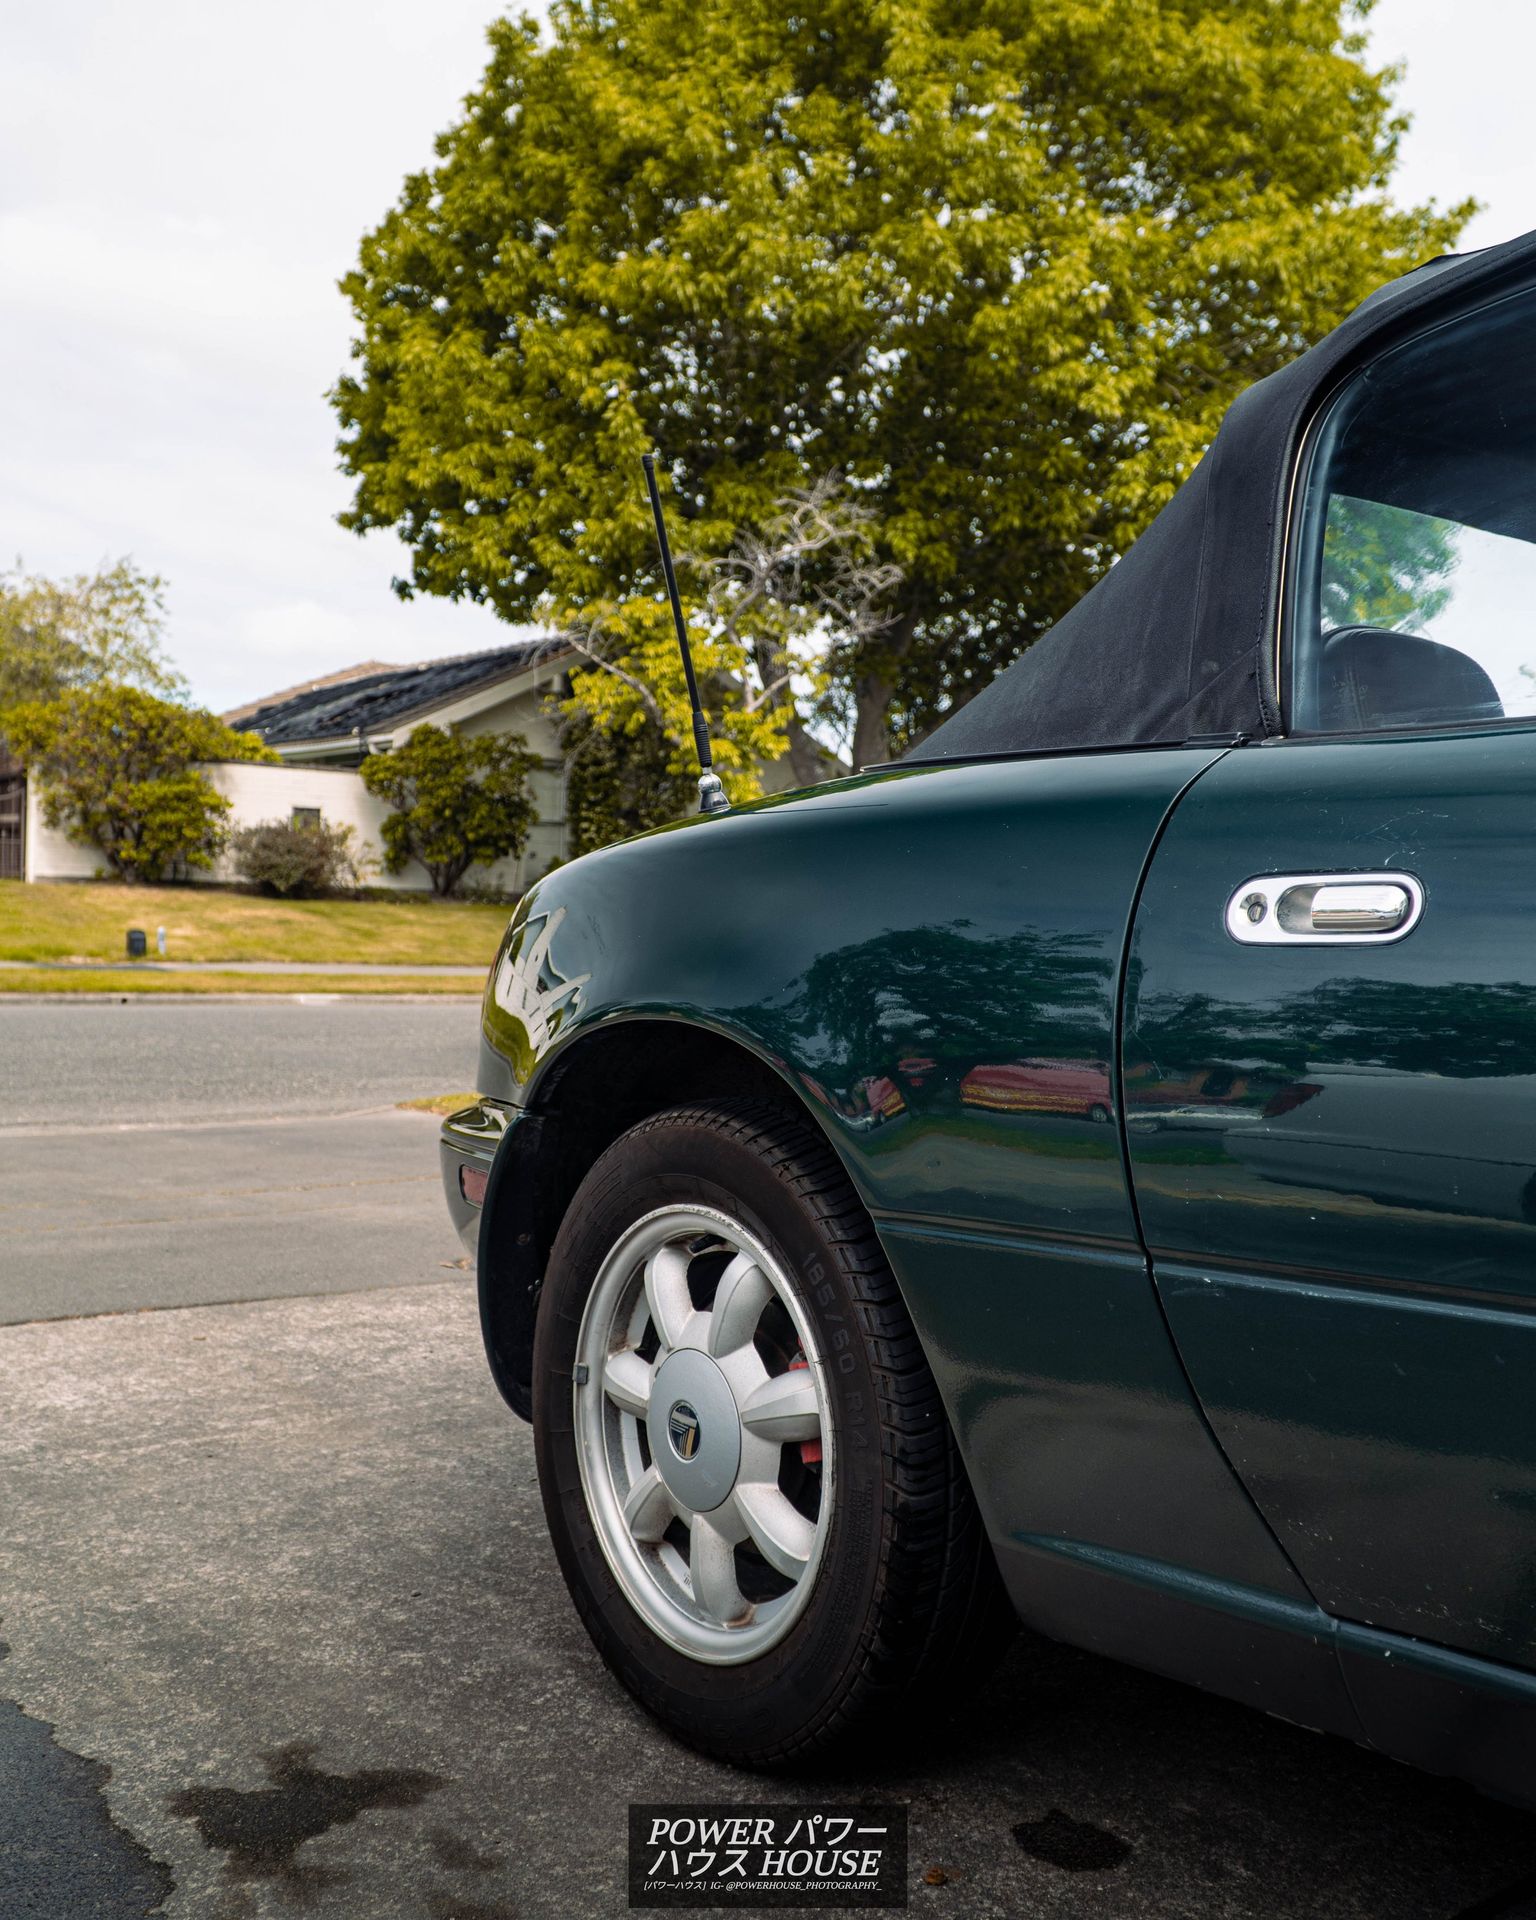
Project BRG: The Fun Begins
09 November 2022
In the last post, I showed you how the little Roadster got into my hands and I showed you a couple of the little issues it had. Well, we went to Mitre10 to get some supplies to fix the roof, but when the brakes were pressed in the parking lot, we heard water splashing in the rear. With my suspicions set on the rear water drains, I watched a couple of YouTube videos, unbent a clothes rack, and planned to unclog the rear drains.
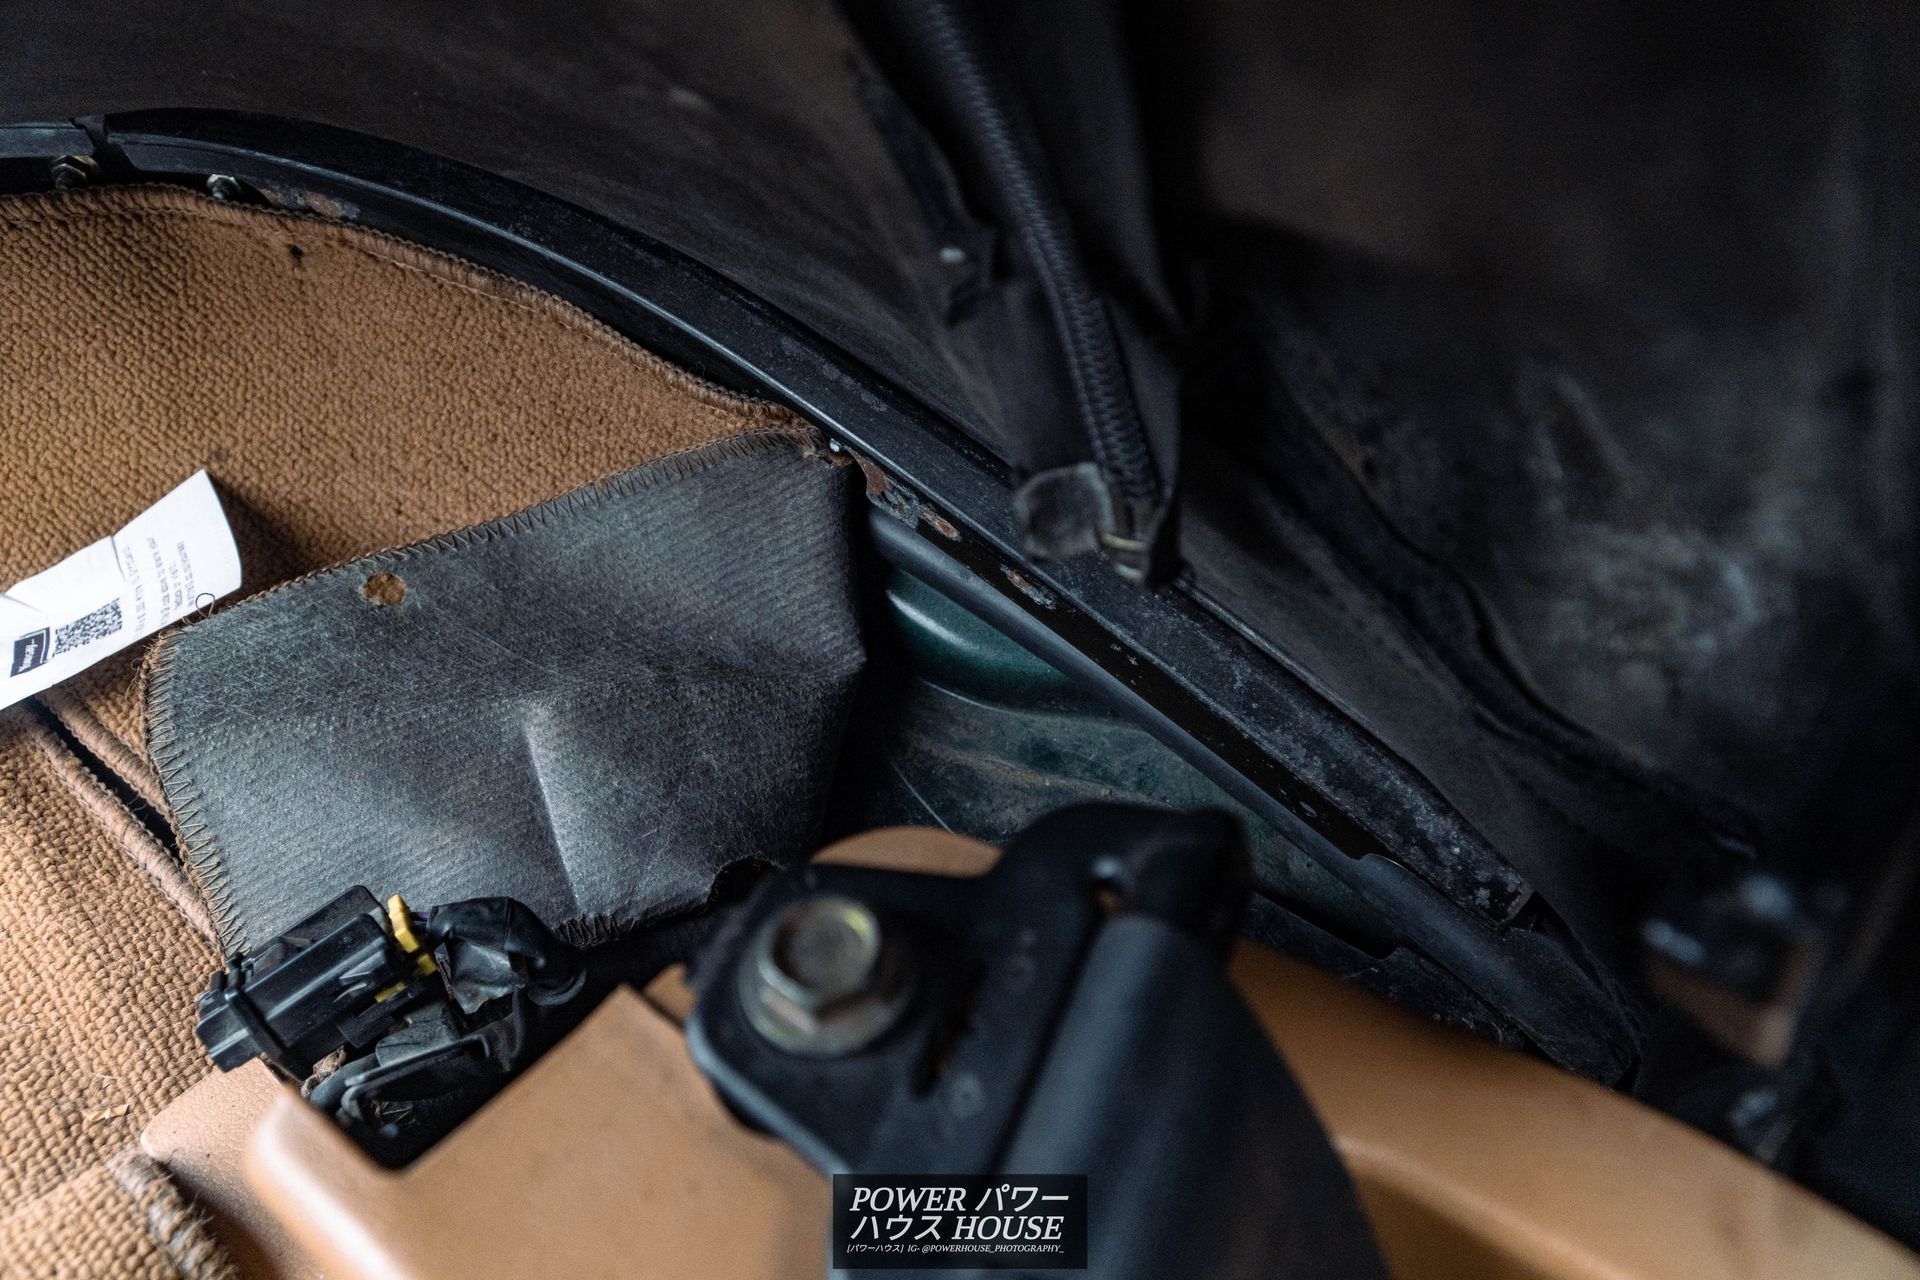
Lifting the rear carpet, and placing my hand where the passenger side drain is, my hand was instantly in a puddle. For the driver's side, although it felt dry, a mysterious tool was left blocking off the top of the drain.
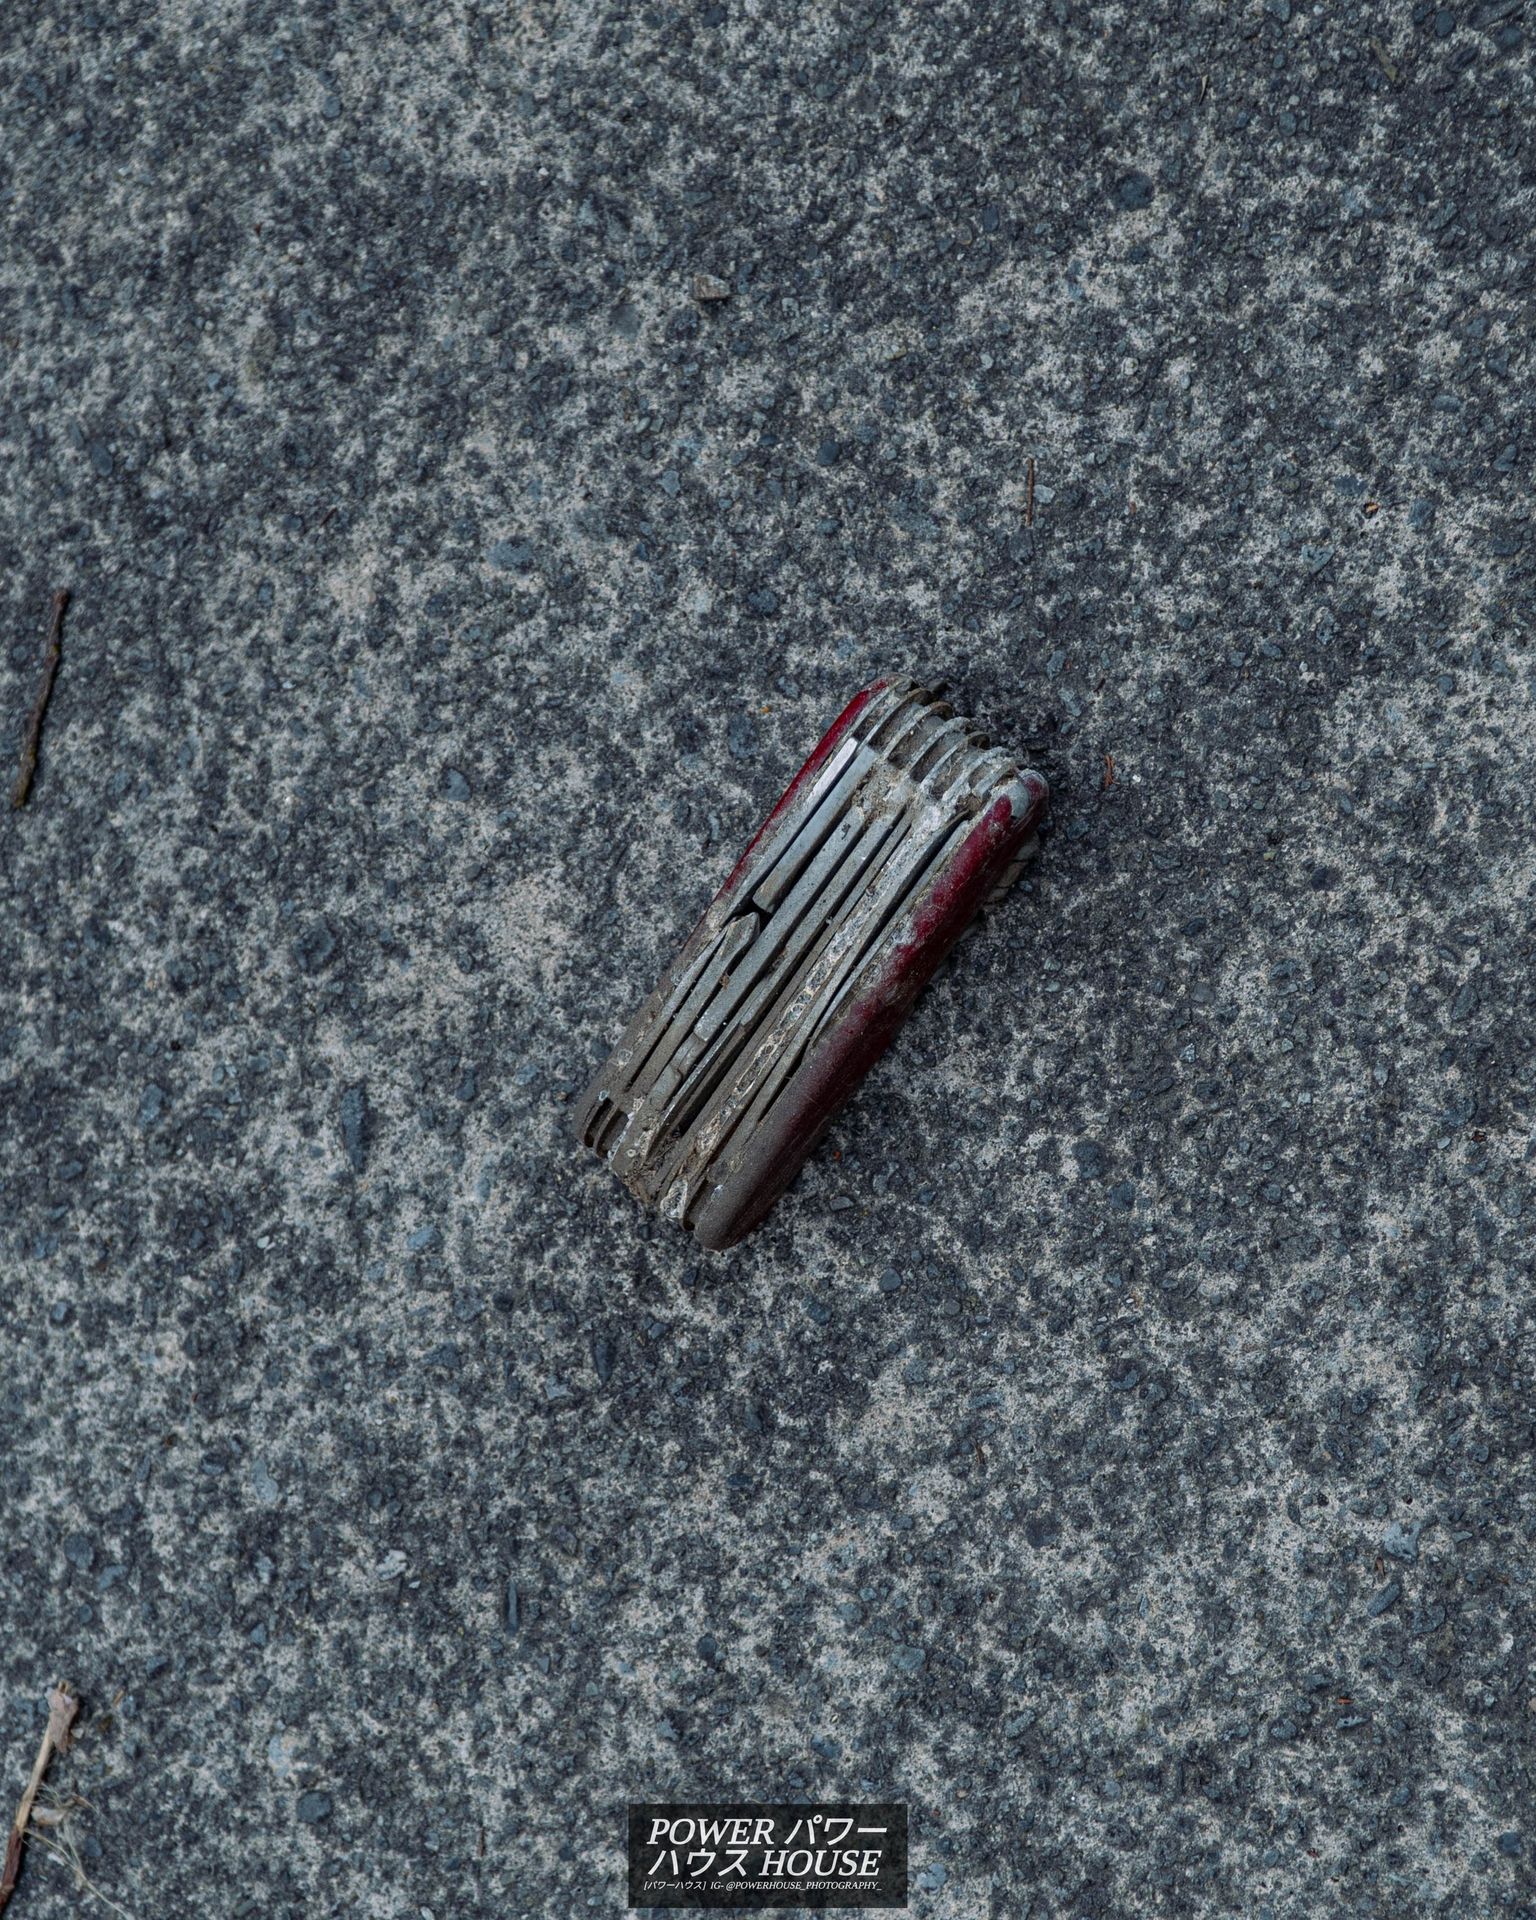
I shoved the straightened clothes hanger down through the top of the driver's side drain and an assortment of rusty bolts came out along with sludge and a lot of mud. We poured a bottle of water down and it all flowed out, job done. Easy, right? Well, the passenger side job turned into a several-hour headache.
For the passenger side, it was a bit more clogged, so with my low experience of working on cars, I pushed down harder on the clothes hanger and reached under the car to find the hose was sitting quite low. At this point, I reached my finger into the top hole and wiggled around to find the hose for the drain was no longer connected.
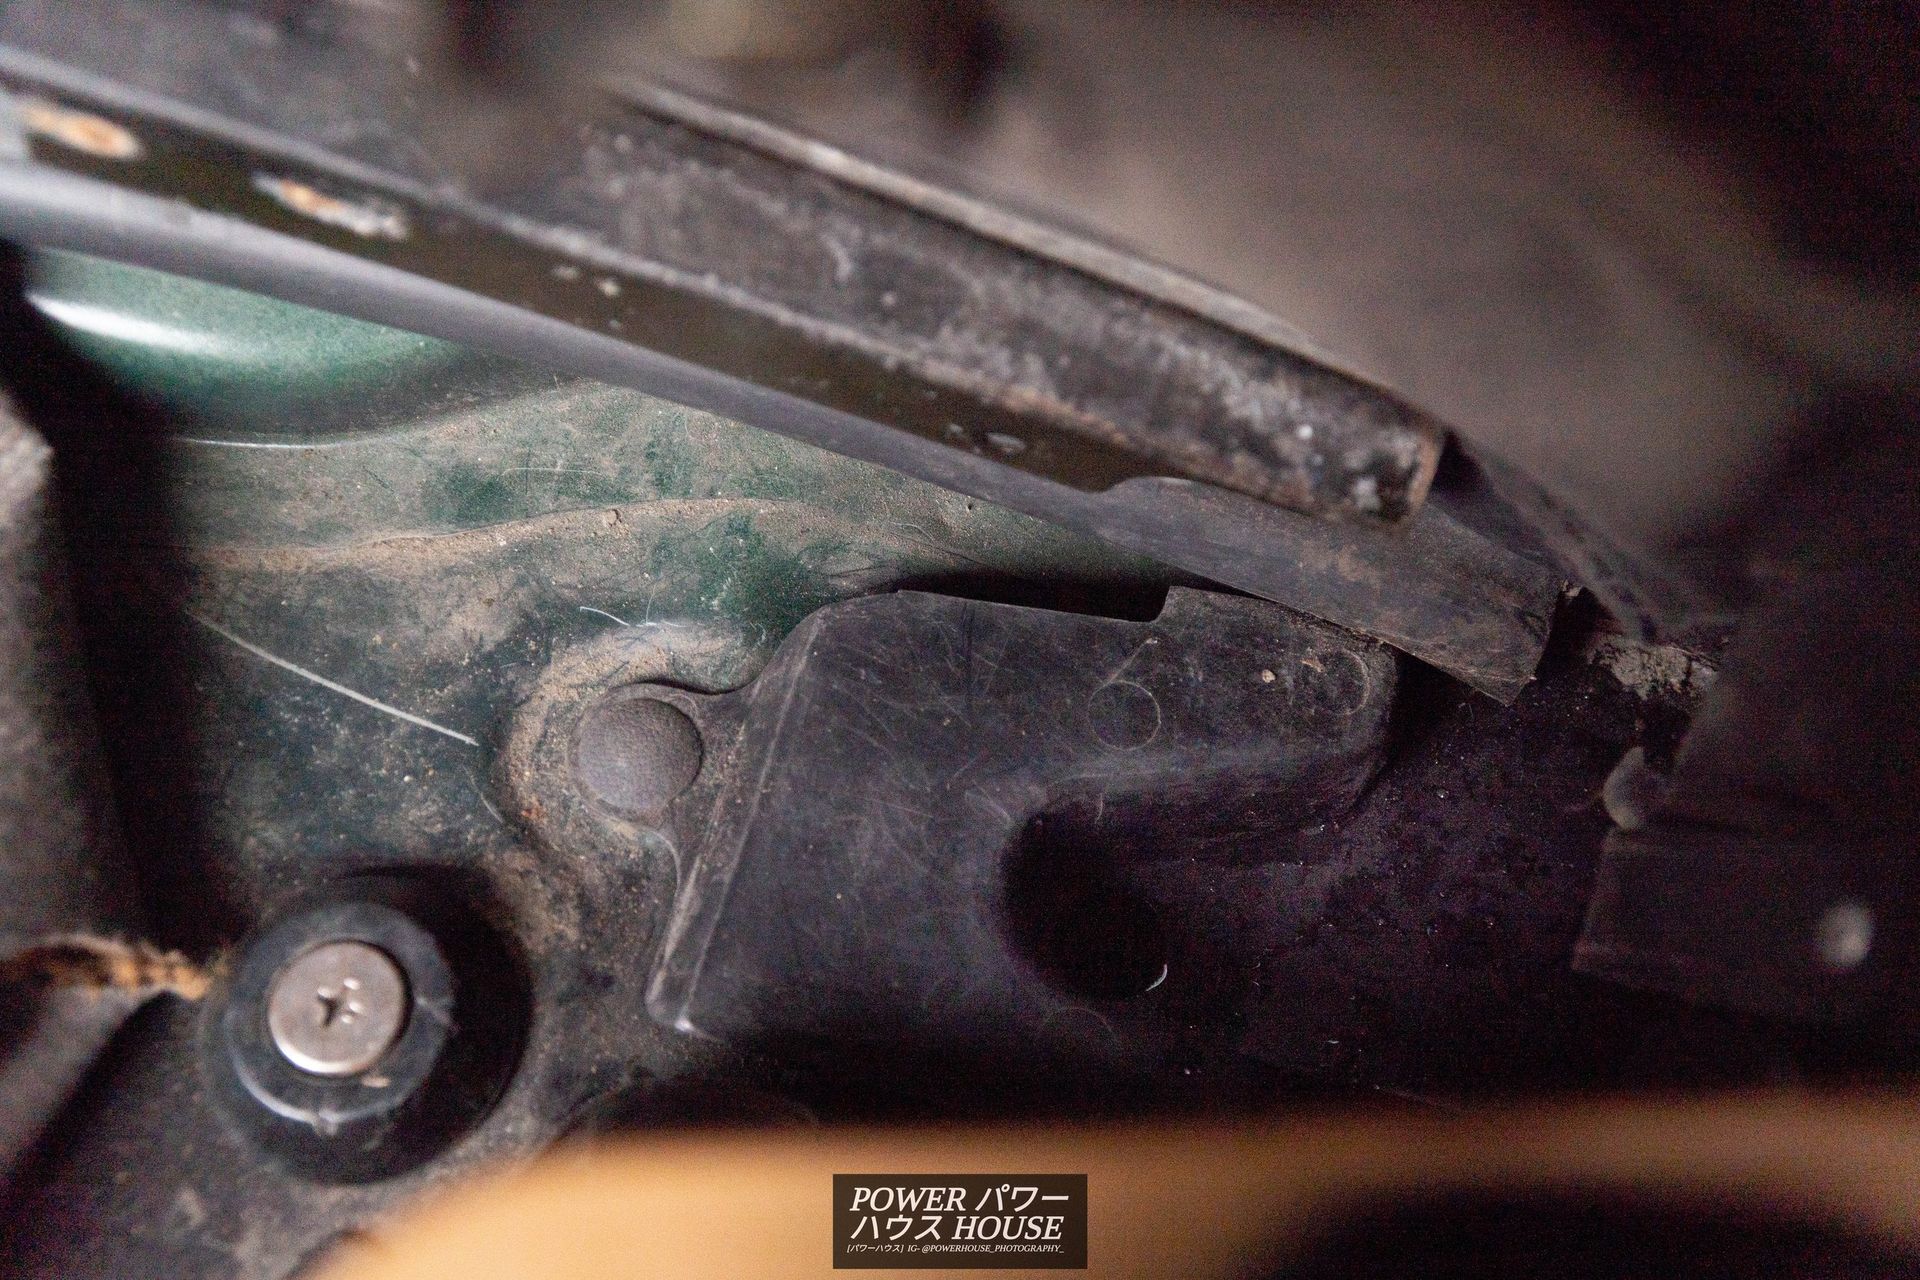
After a very helpful phone call to Garage5, a lot of wiggling, bruised arms, and a couple of new cracks on my phone, the hose was finally connected, most likely due to my low experience and skillset. For those wondering how we did it, we put the clothes hanger down through the top hole, until it aligned (it was very hard), and until the clothes hanger came out the bottom of the hose. At this point, we made a bend at the bottom of the hanger to make a hook. We wiggled from under the car and the top of the drain while pulling upwards which wasn't as easy as it sounds, and eventually, the hose popped back into place. A hug of happiness, and a bottle of water later, the rear water drains were officially unclogged and my little Roadster would be neither wet nor rusty.
The next job I needed to tackle was the roof as the car needed a desperate clean. As a quick and simple easy job, we decided to block the holes off from the top using 3M Electrical Tape.

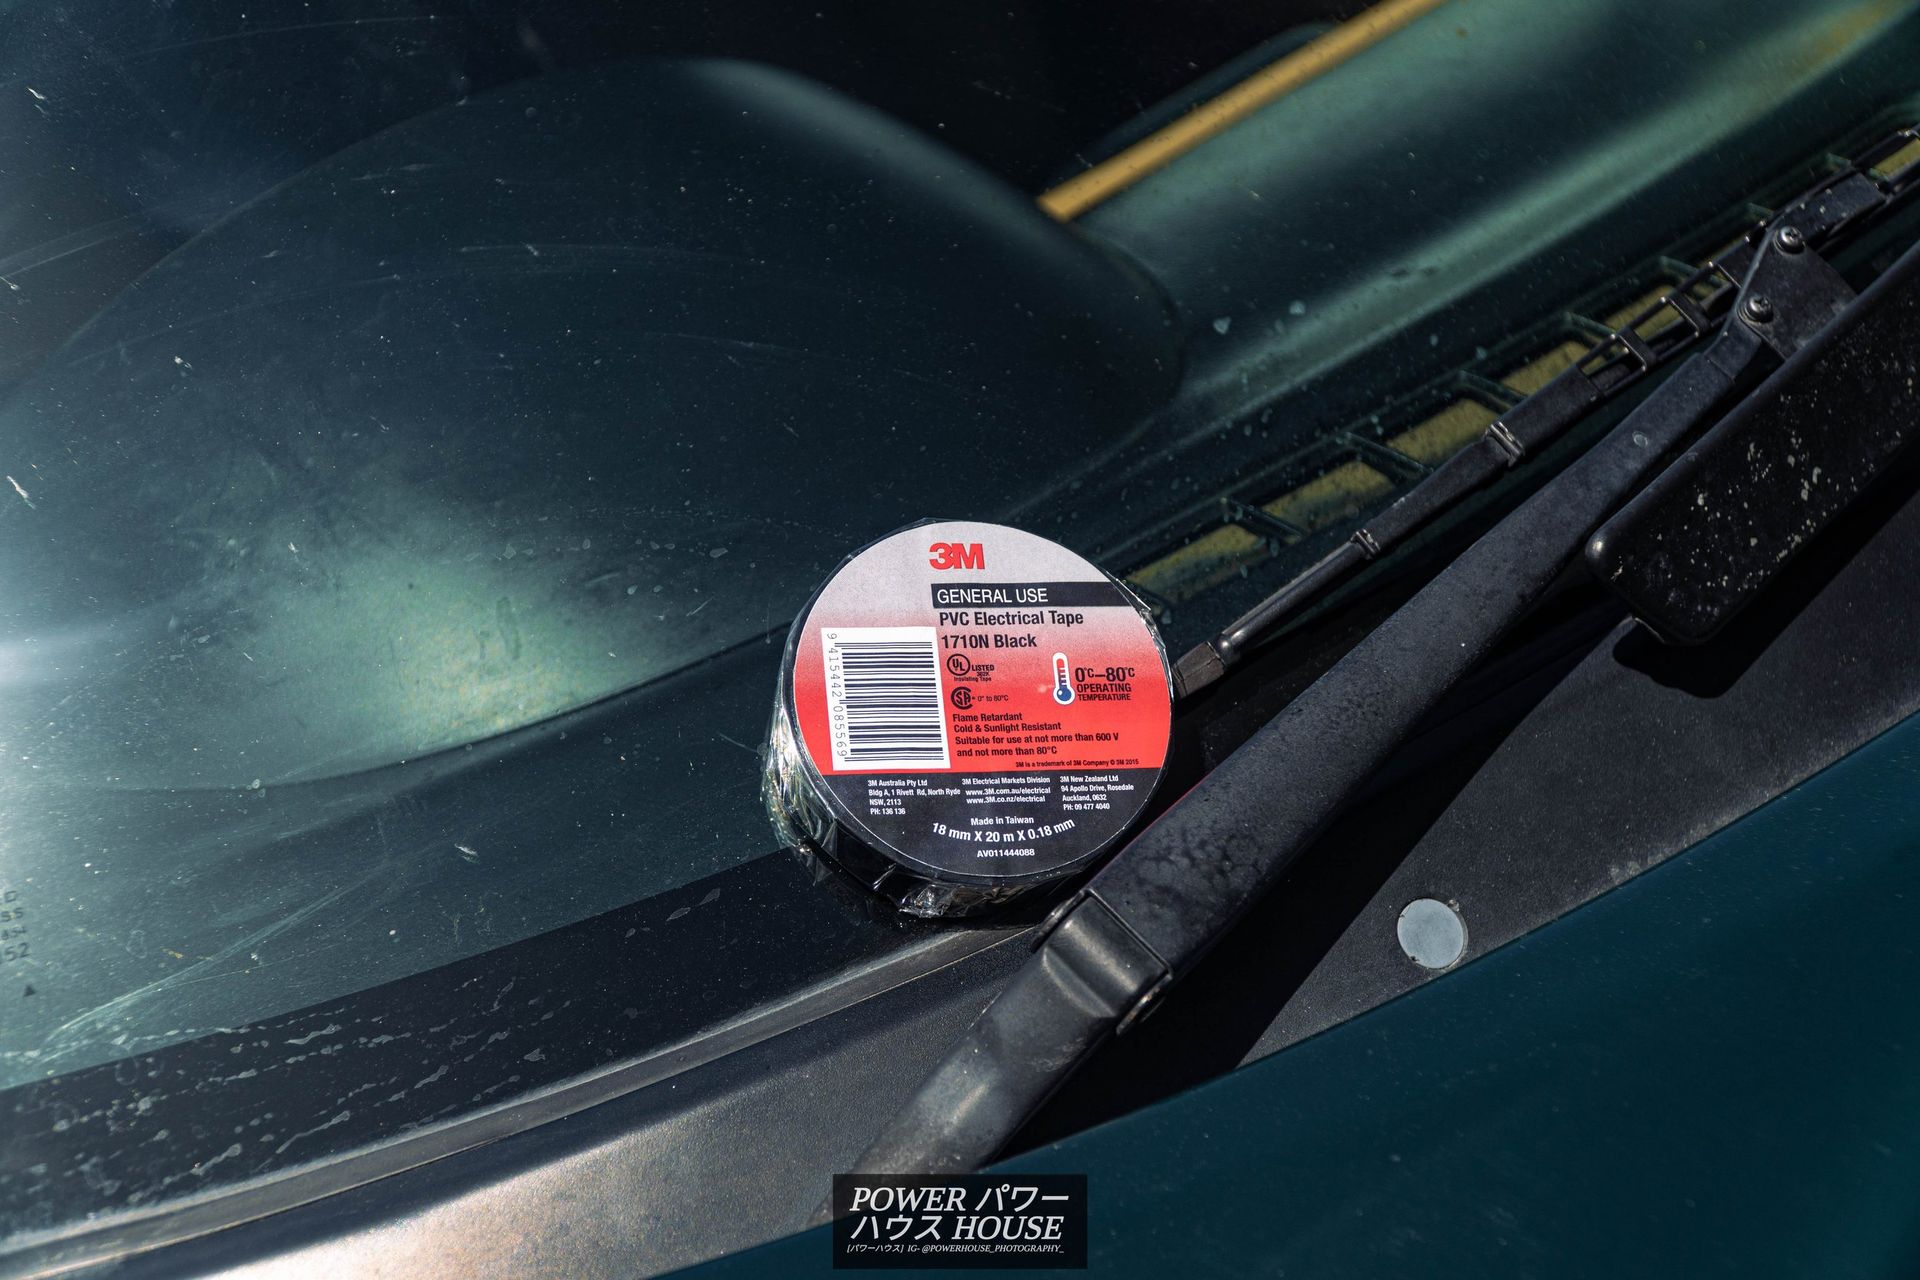
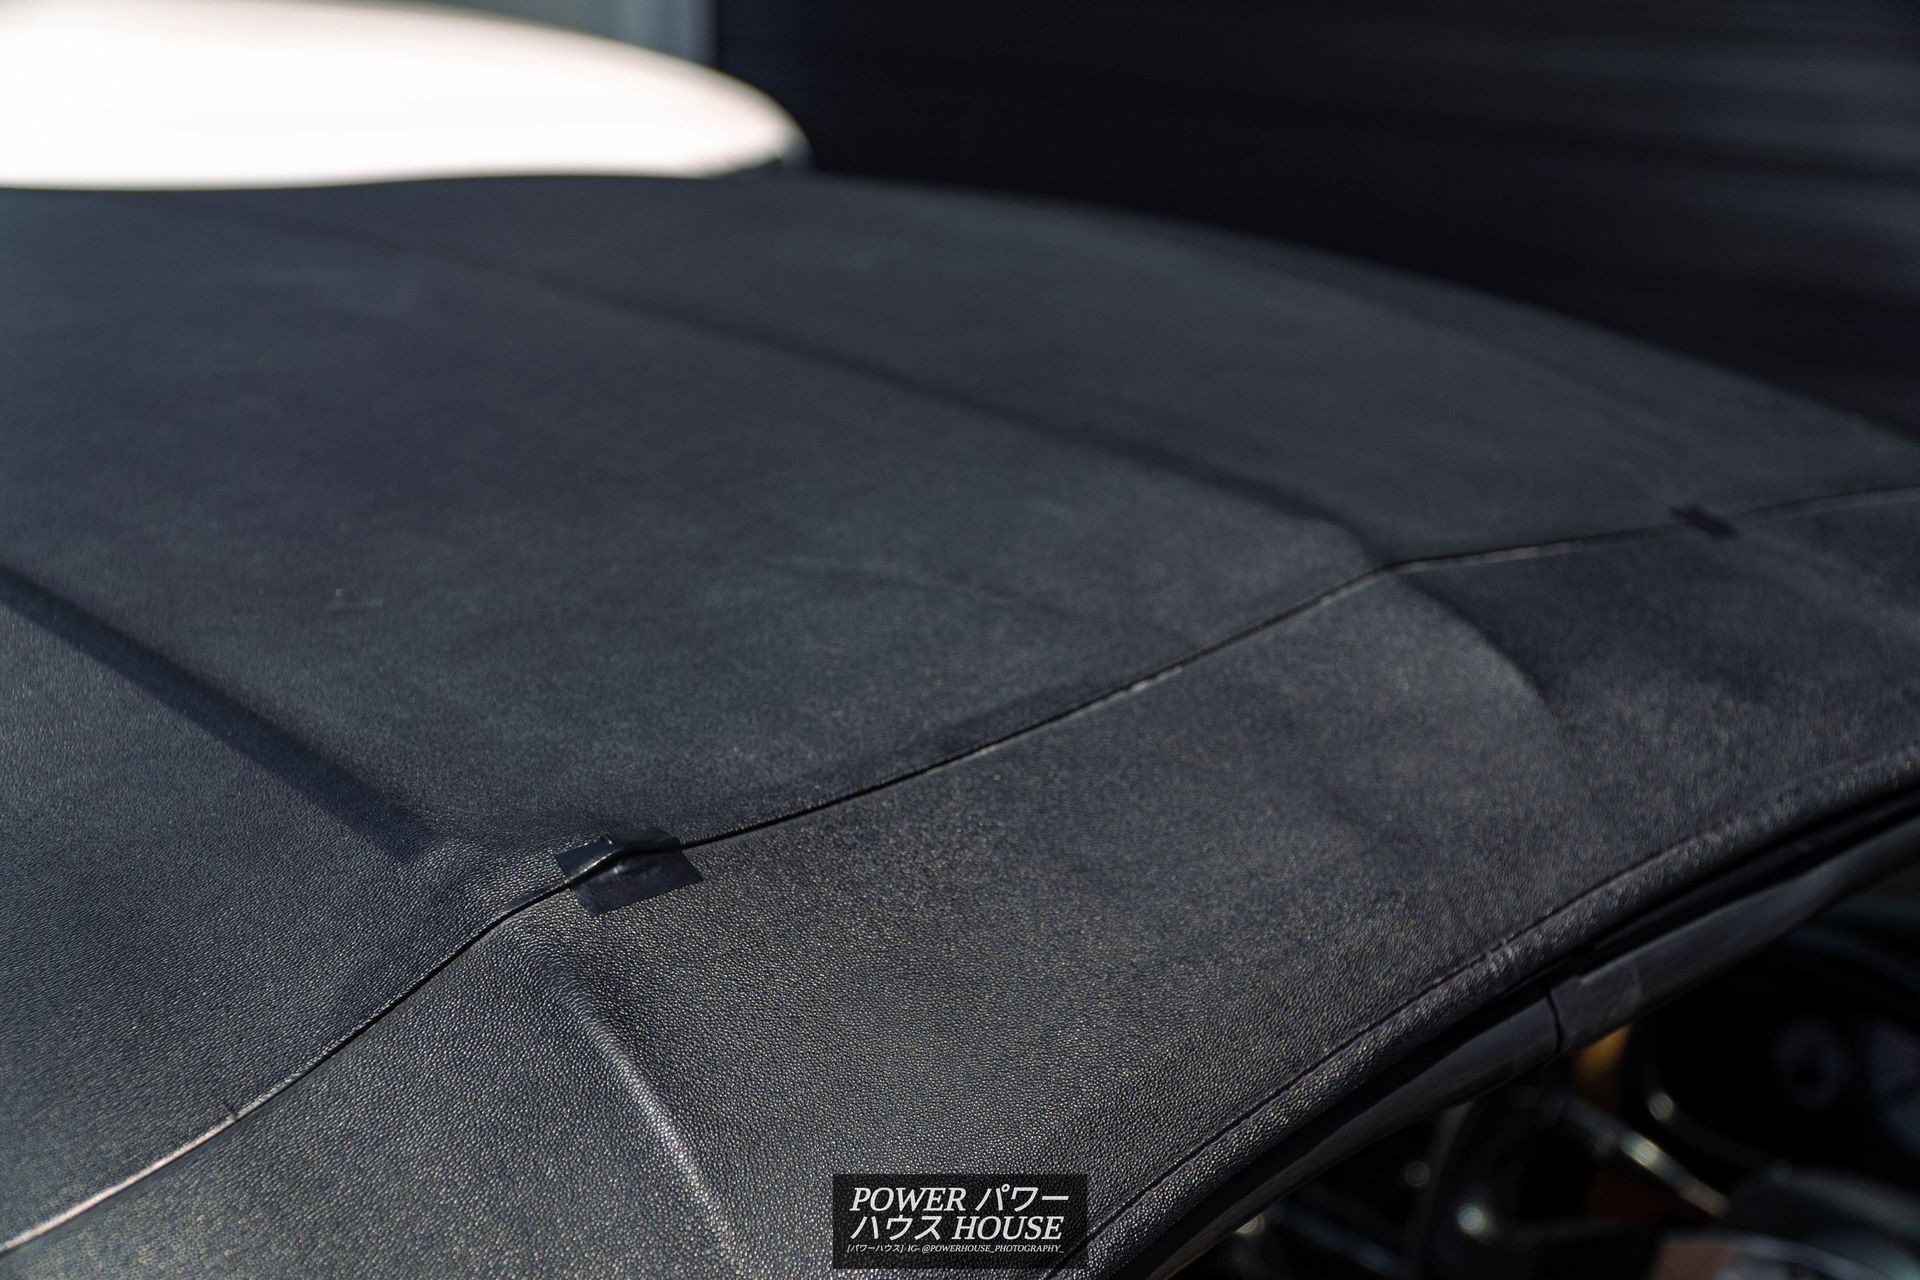
Two small pieces of tape later, the car was ready for a wash and once the wash was done, the car looked way better than I thought, especially without its smudges.
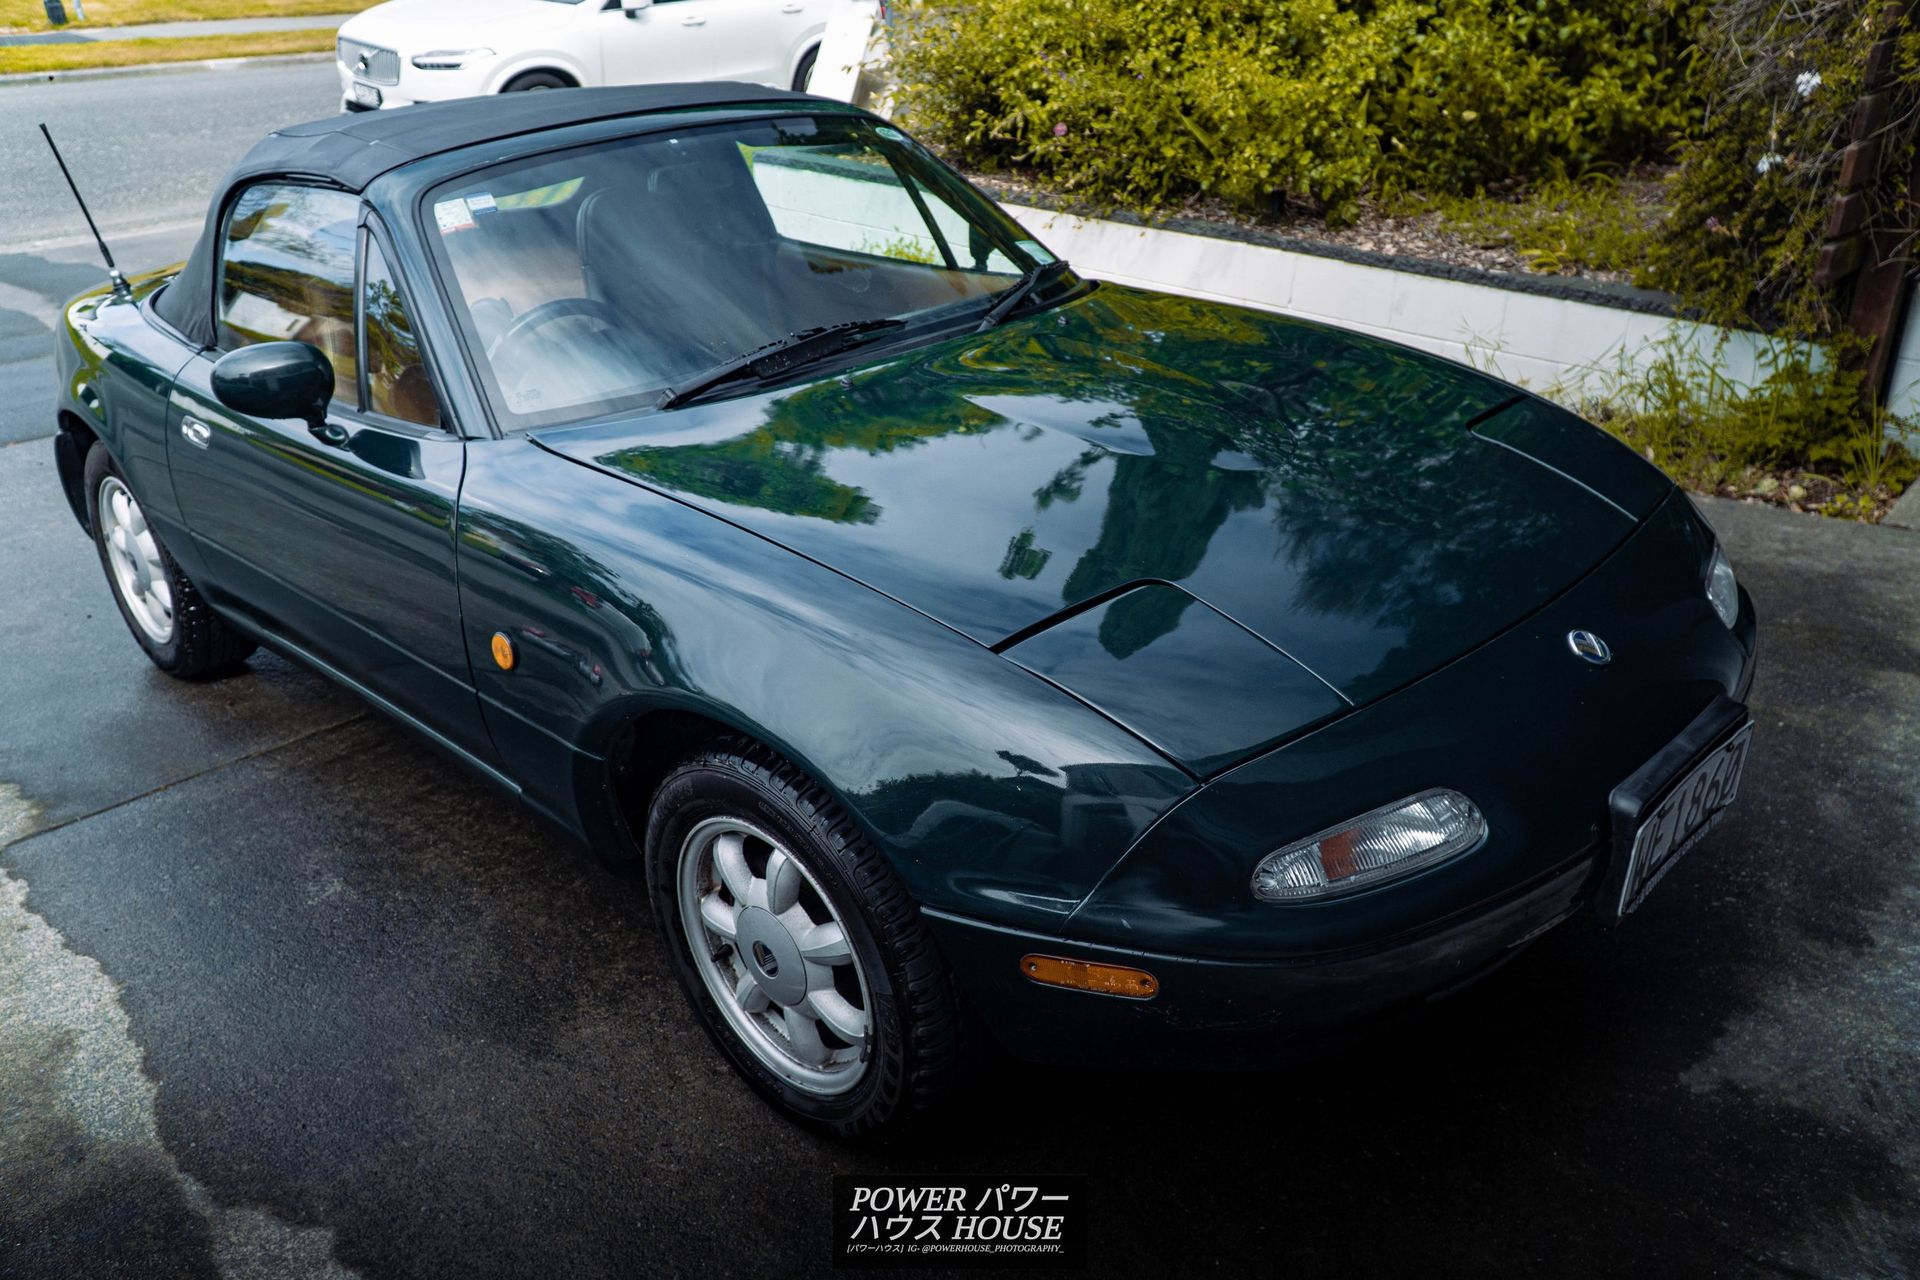
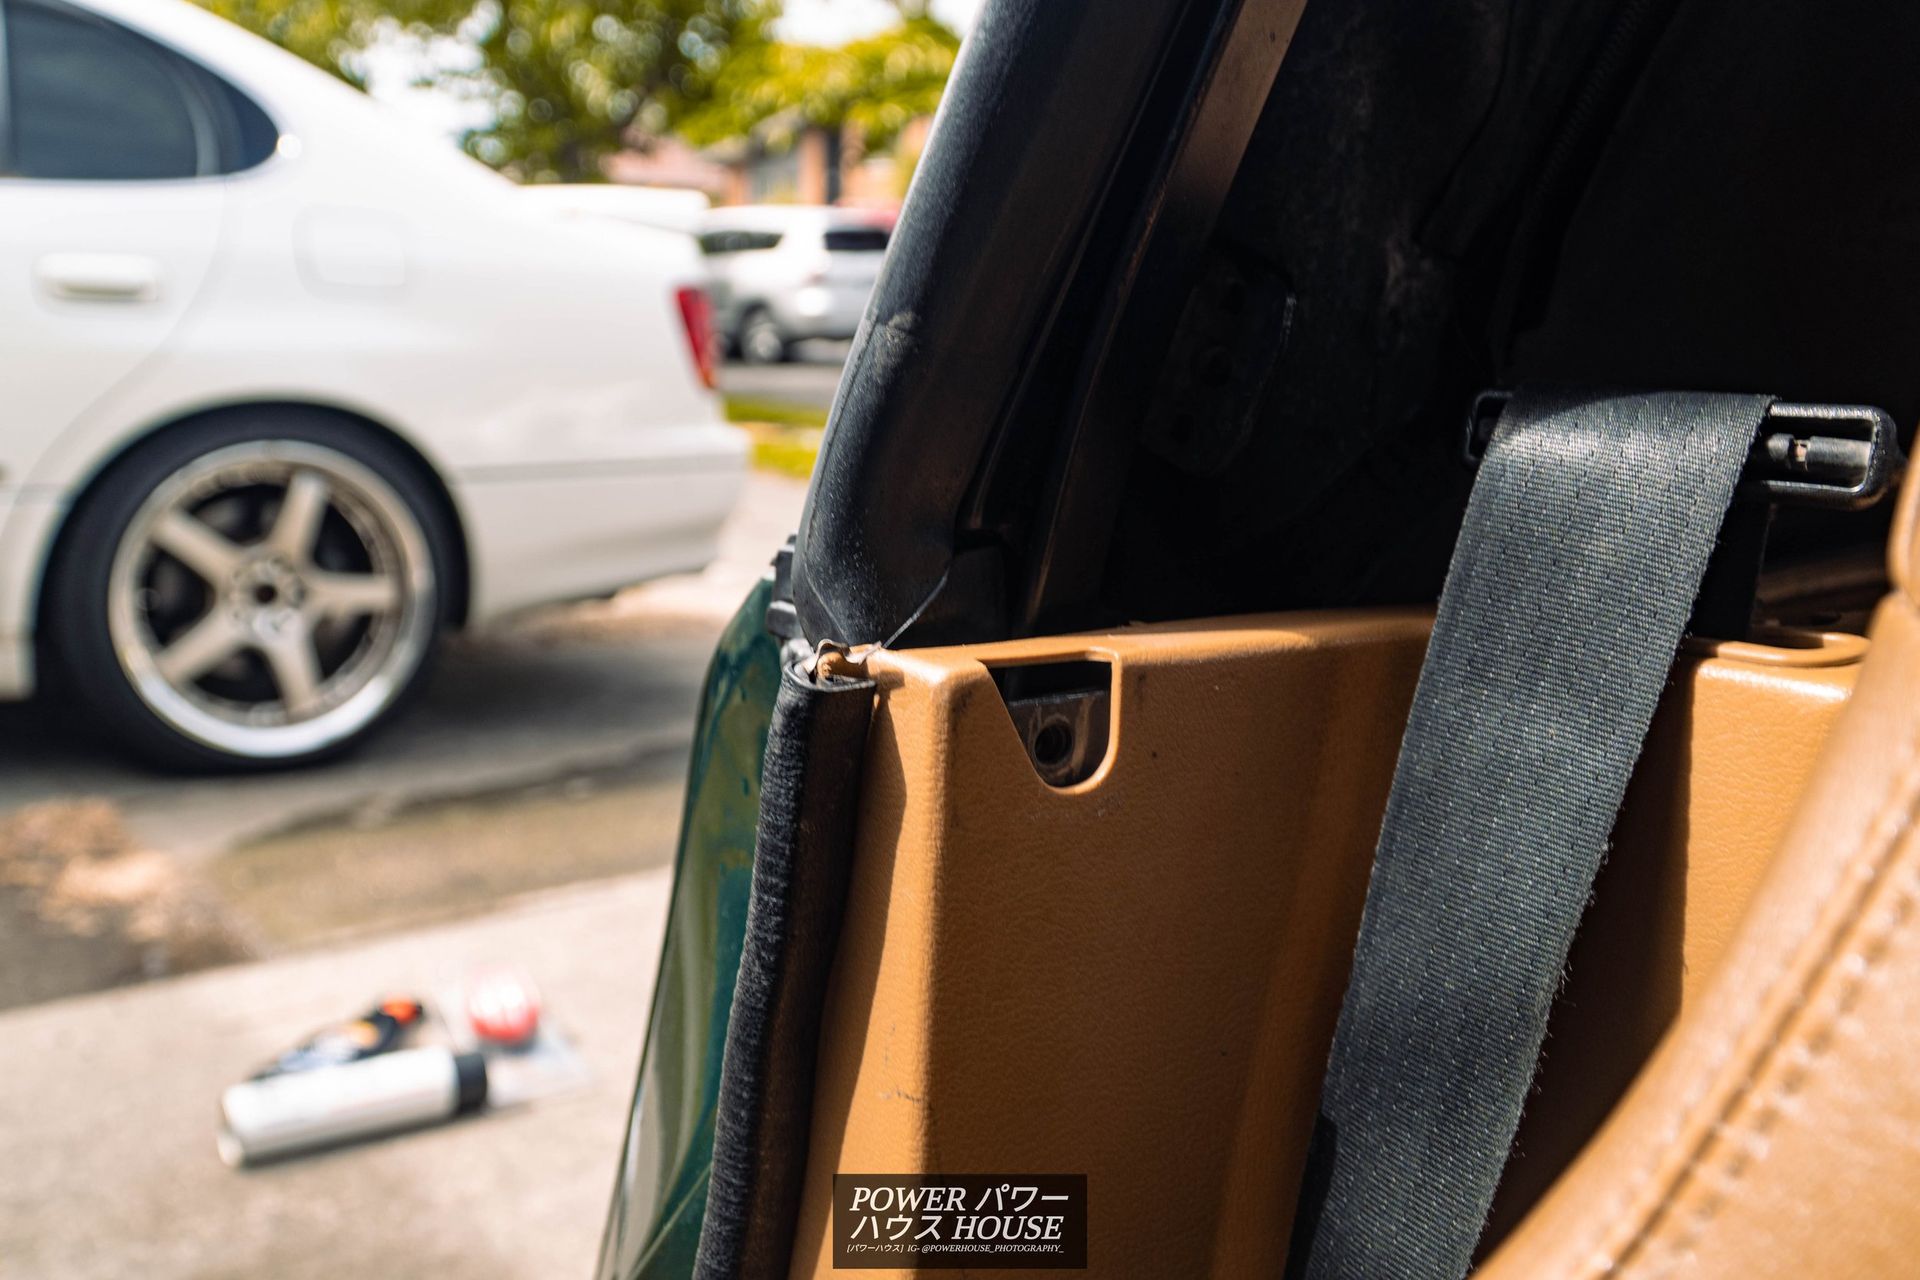
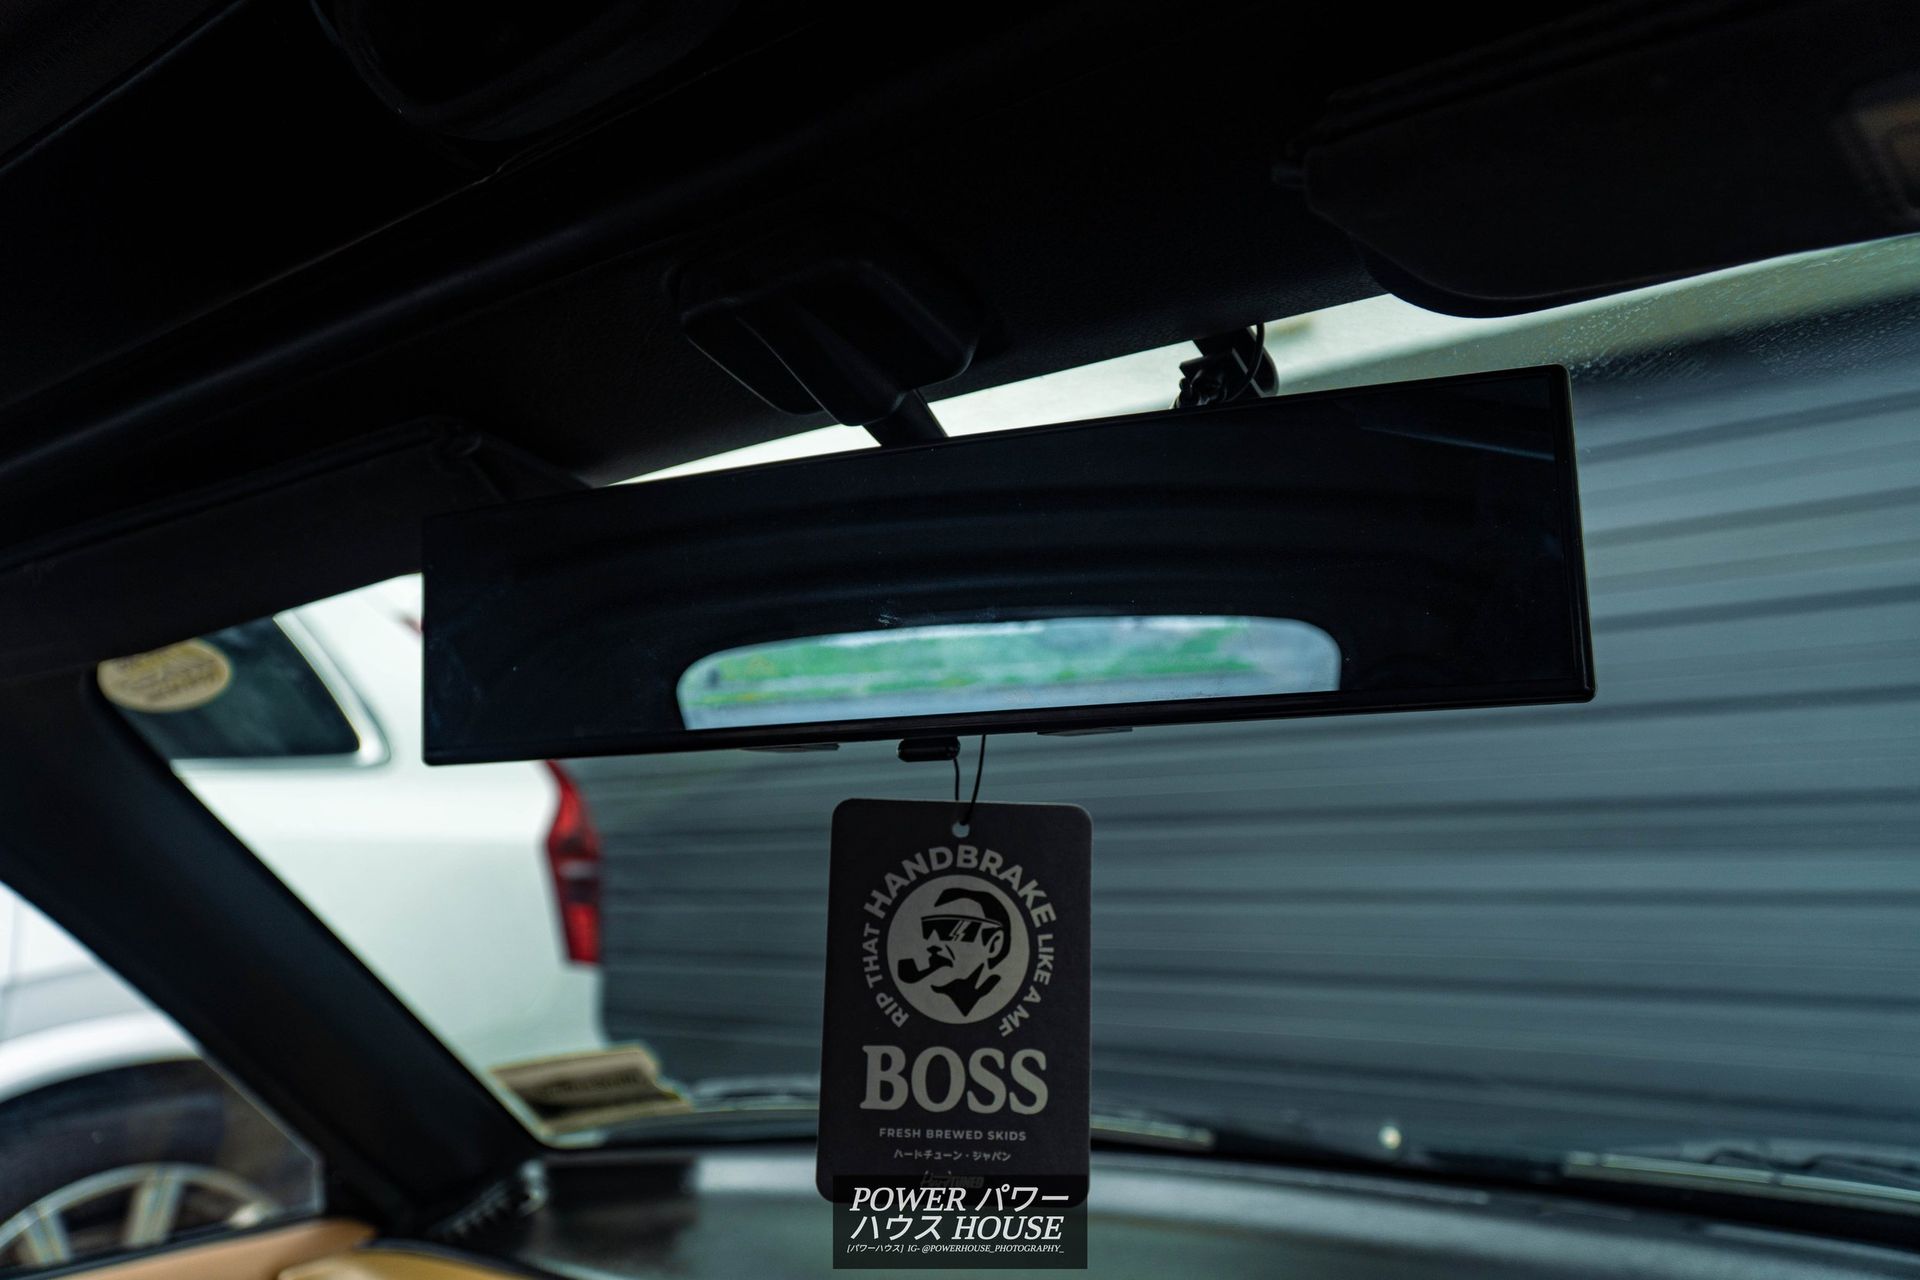
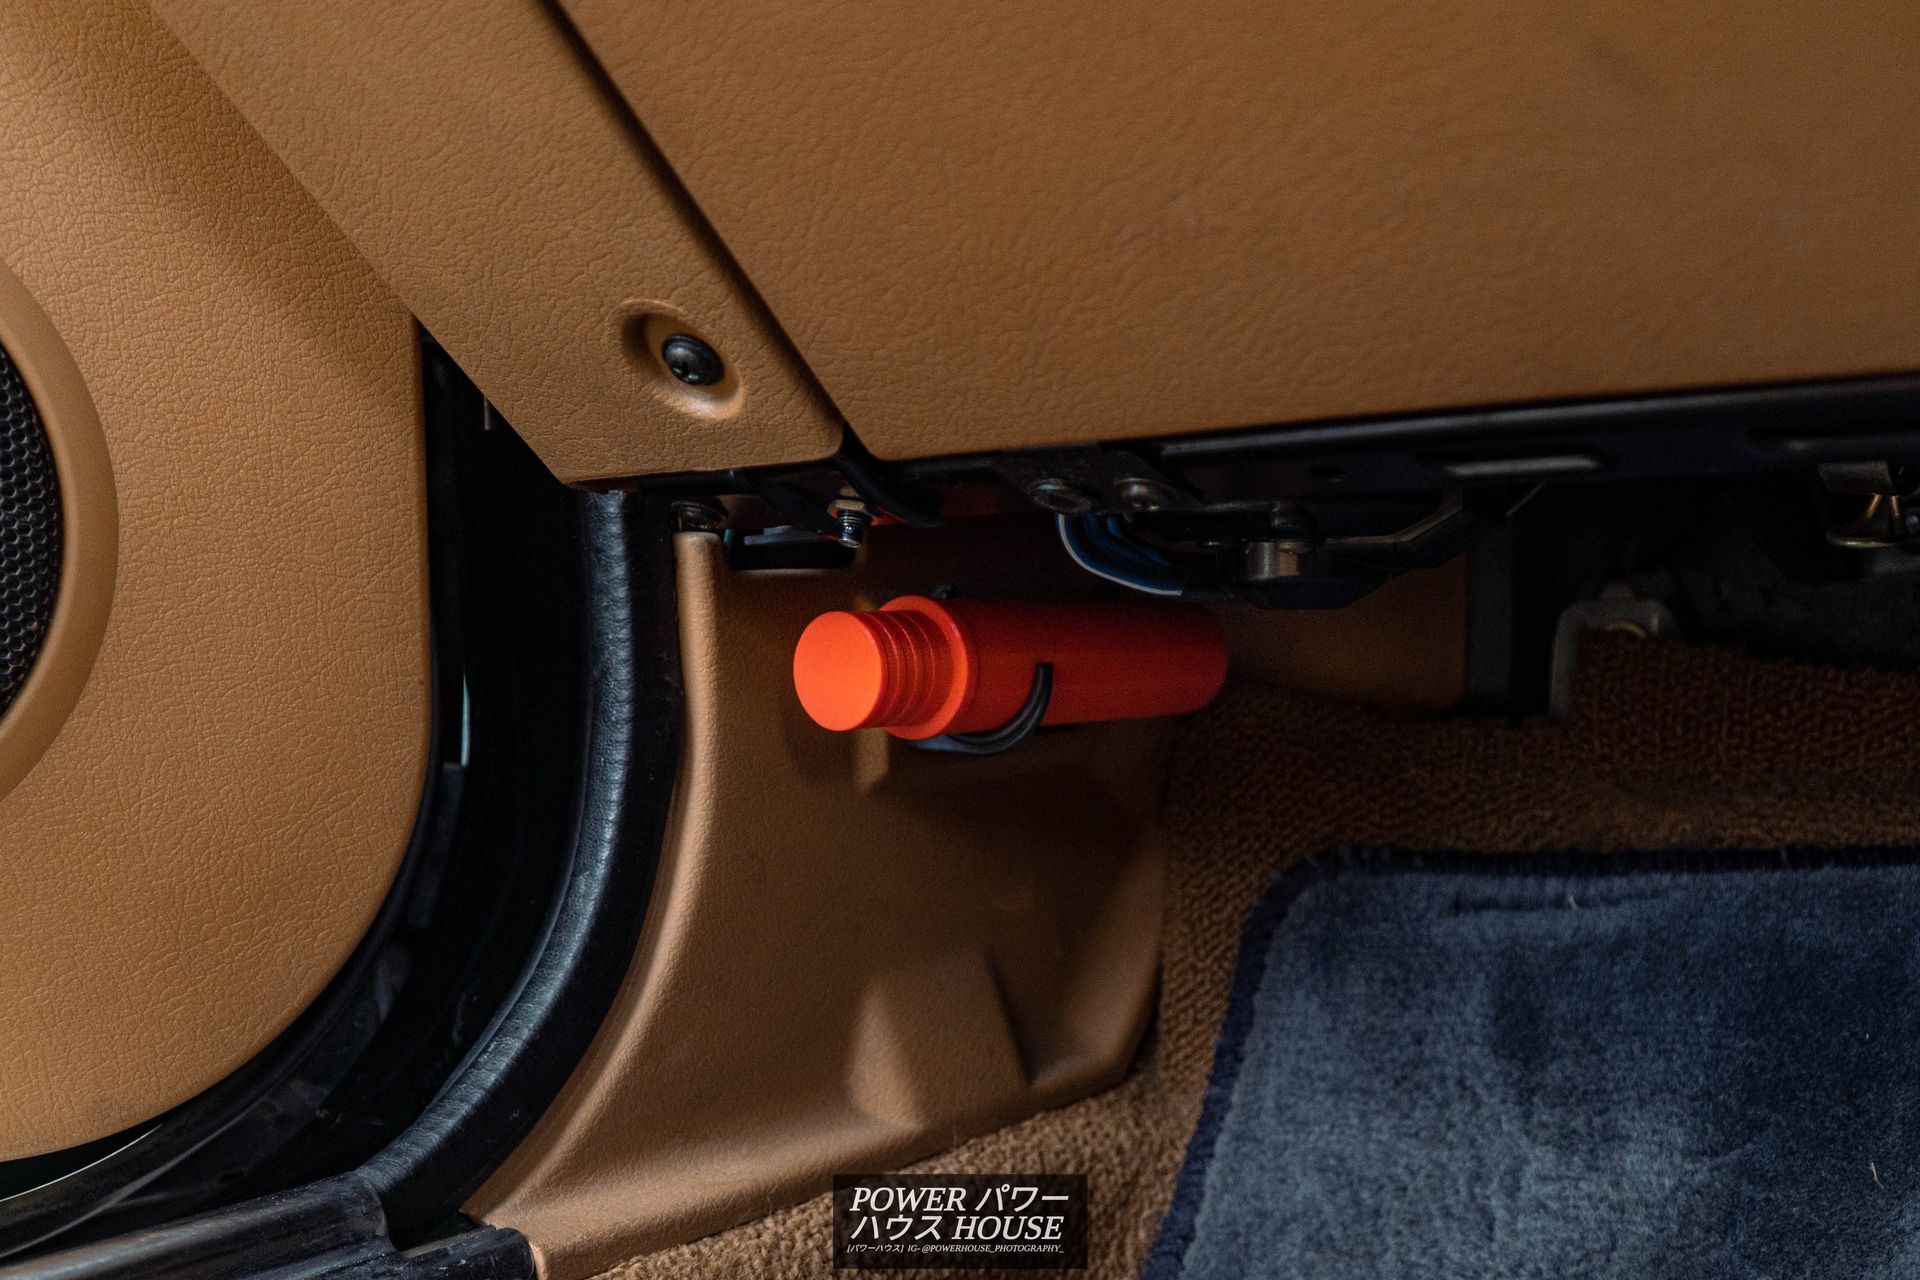
After the exterior and interior washes were completed, on went the little trim pieces found in the glovebox, along with a random 200SX Silvia floor mat for the driver as the original driver's one didn't come with the car. Then came along a box full of old 300ZX parts so I installed a 300mm blue-tint convex rear-view mirror from Oscar Distributors, a Hardtuned air freshener, and a custom-made JDM emergency flare.

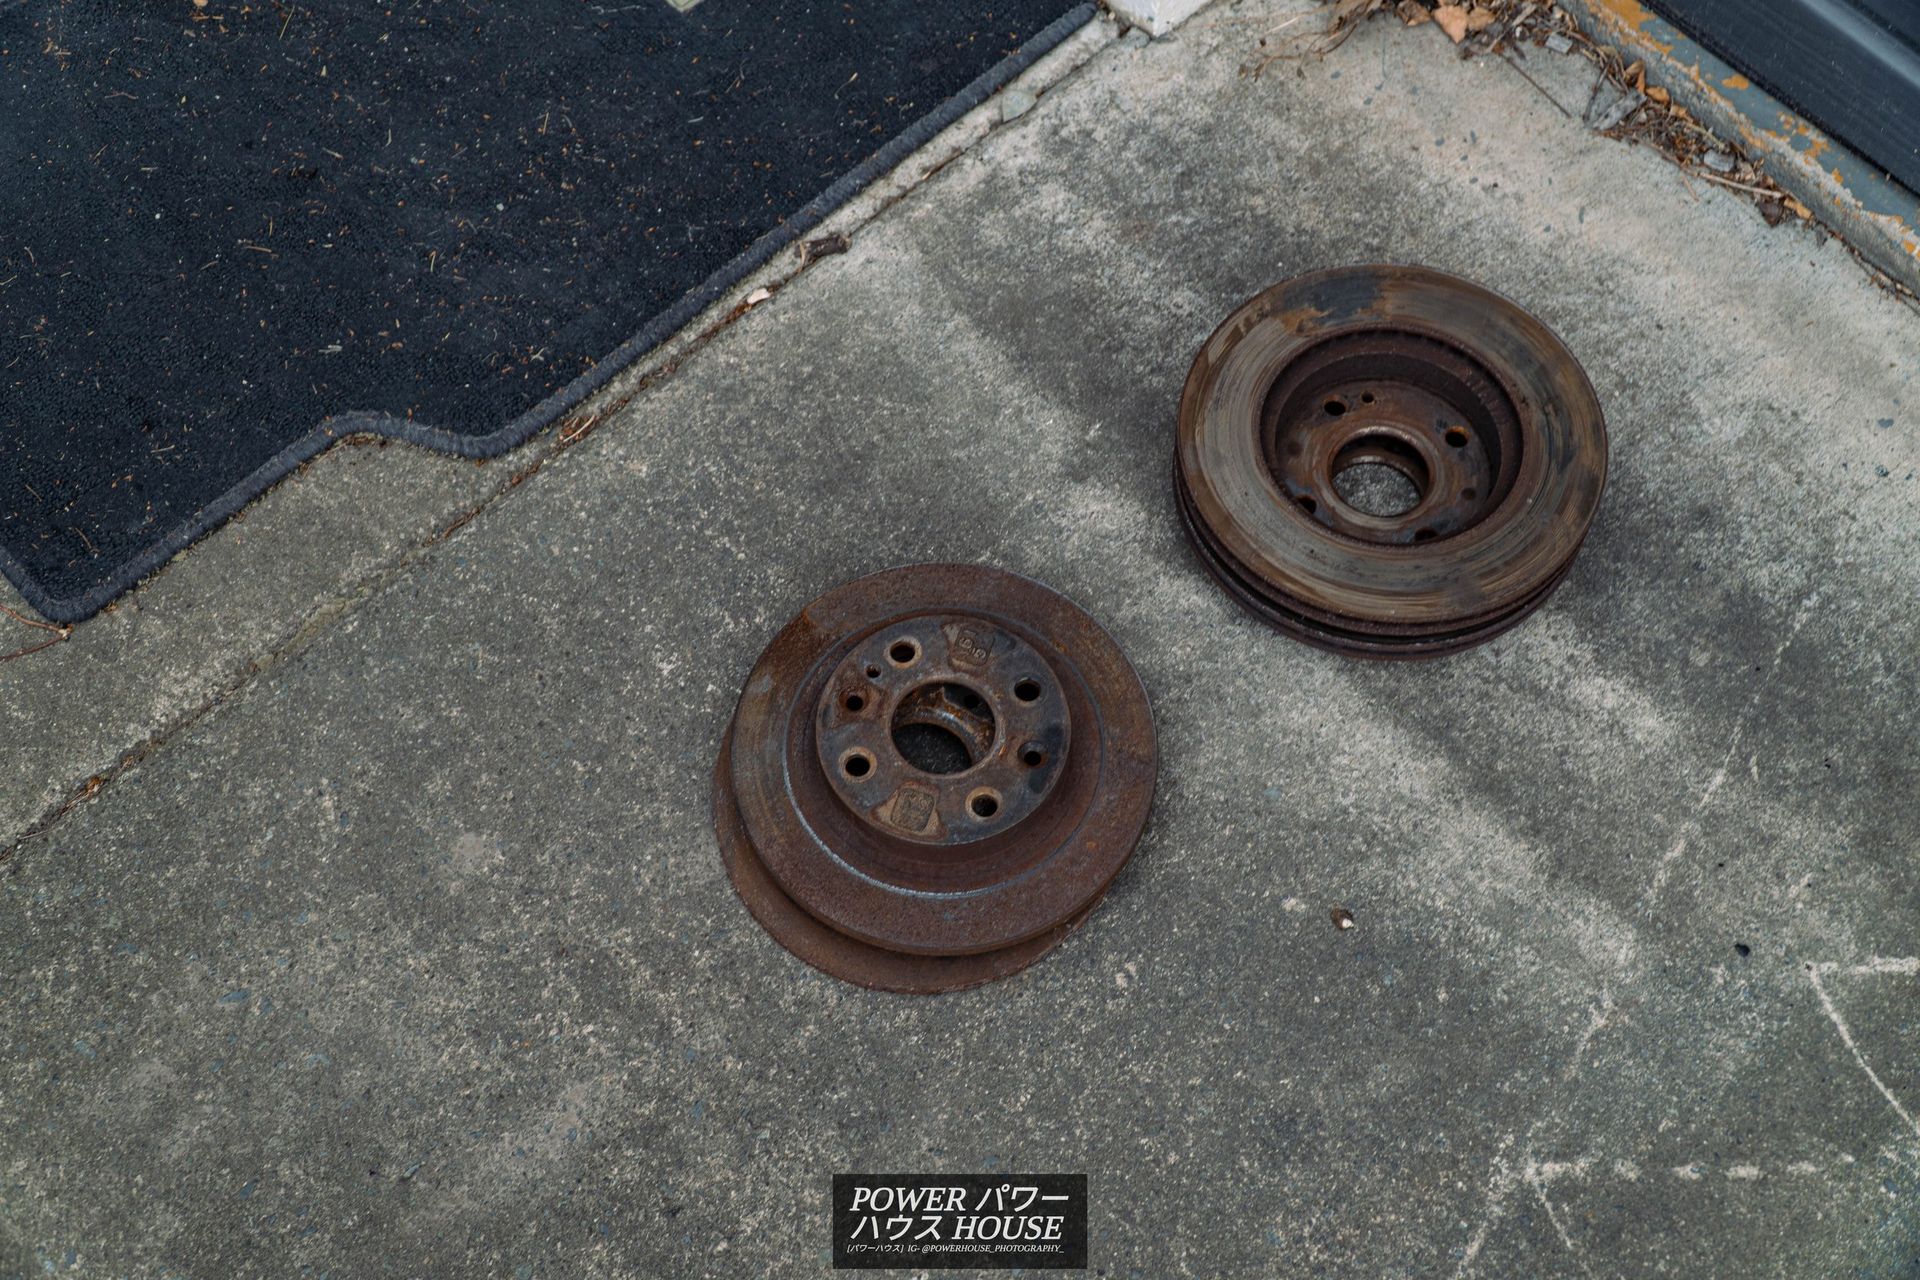
To finish the day off, we visited the MX-5 Specialists of New Zealand Garage5 to get some good-condition used rotors to hopefully get rid of the shuddering from the brakes.
By the next post, the little Roadster should have a new set of wheels, along with a new gauge cluster, an oil change, and some of the interior trim finished off.