Project Crown: Parts Straight from the Motherland
22 April 2024
I was lucky enough to be able to go to Japan for a family holiday. And there was no way I wasn't going to bring back stuff for the Crown from Japan. My dad and I were luckily able to spend a whole day just doing car stuff. The first stop for the day was Super Autobacs APIT Shinonome.
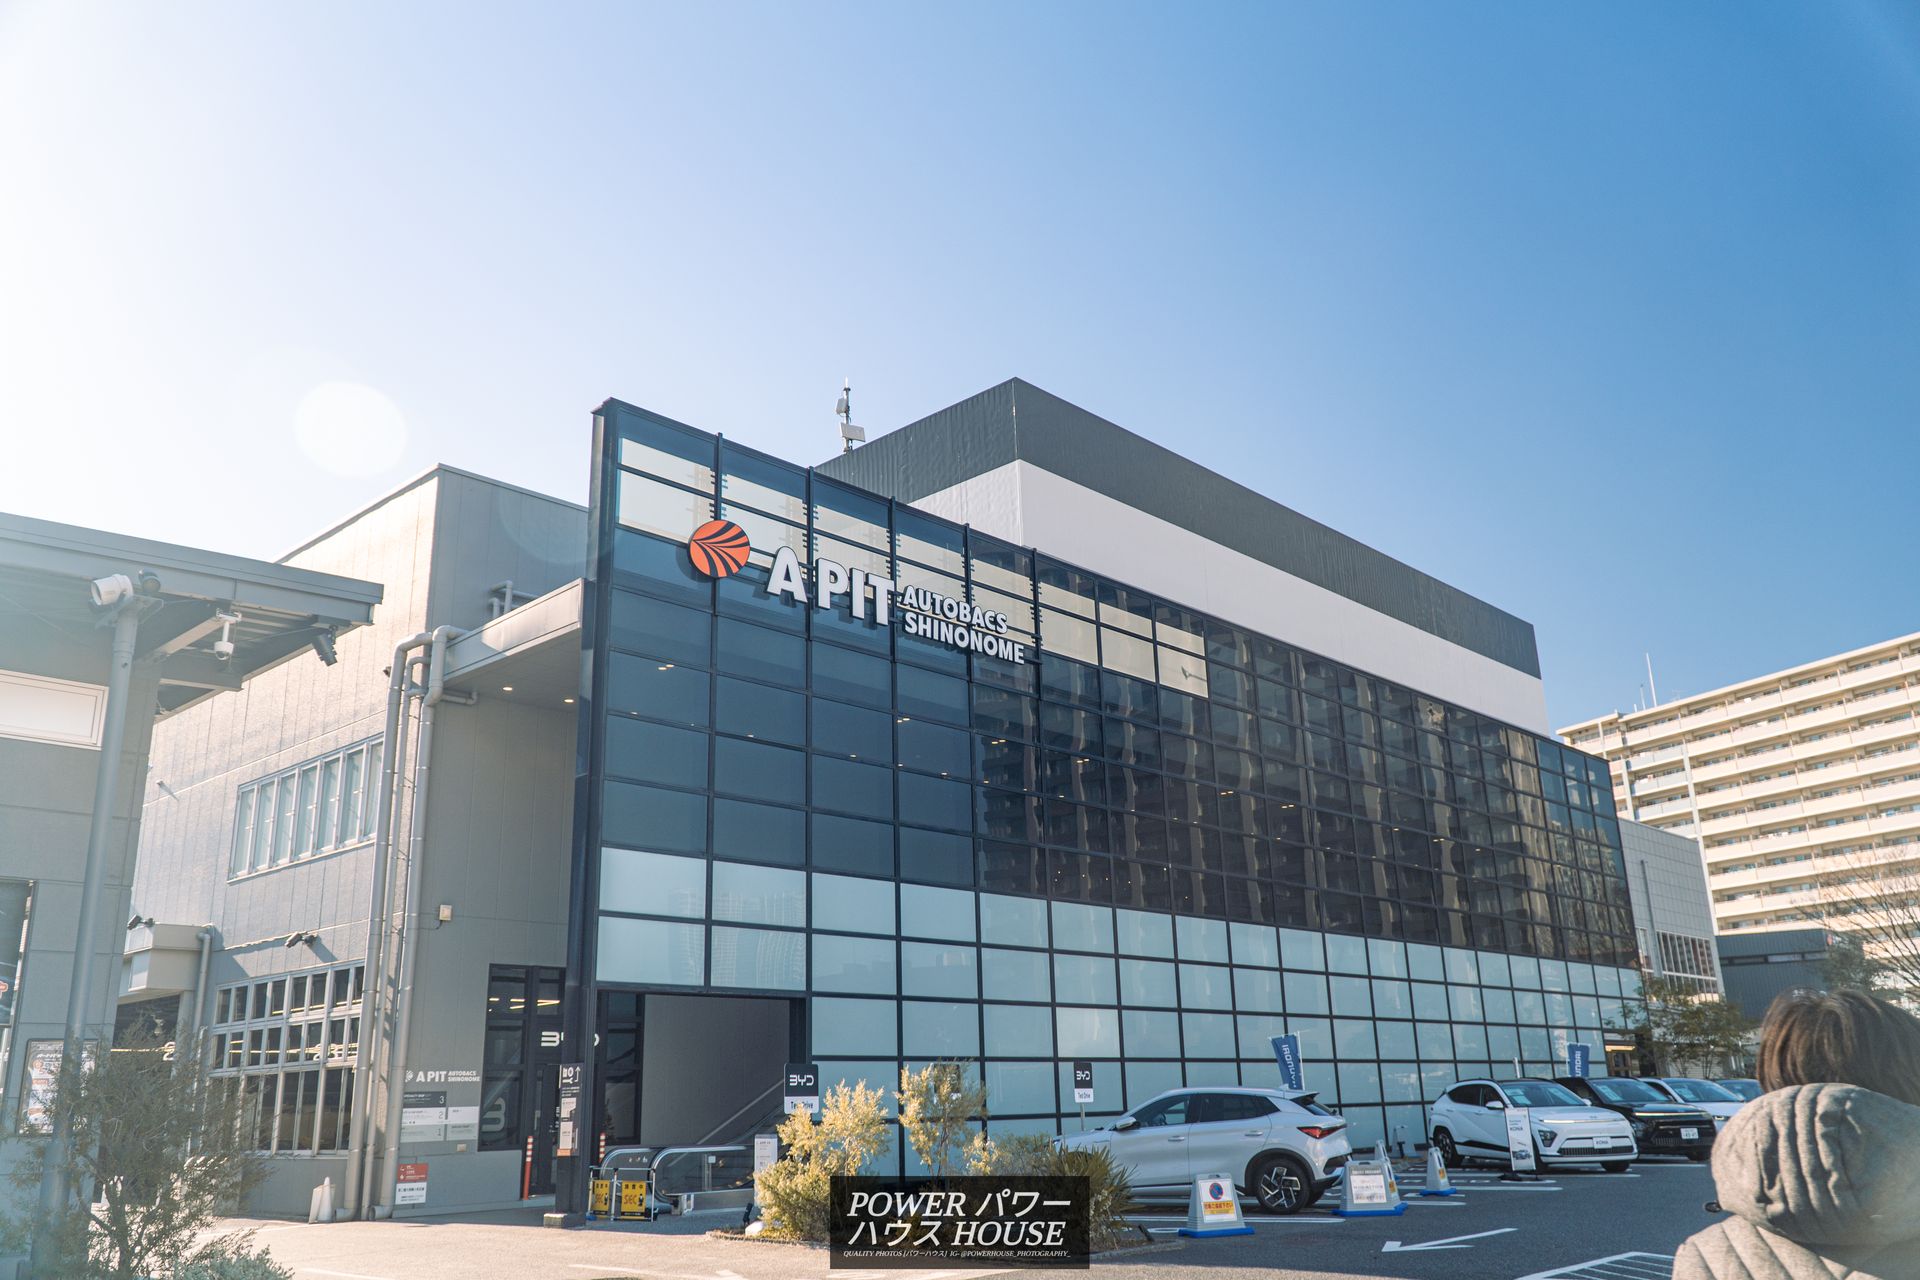
Unfortunately, the sign at the front said no photographs inside, however, here are a few photos of some cool cars outside.
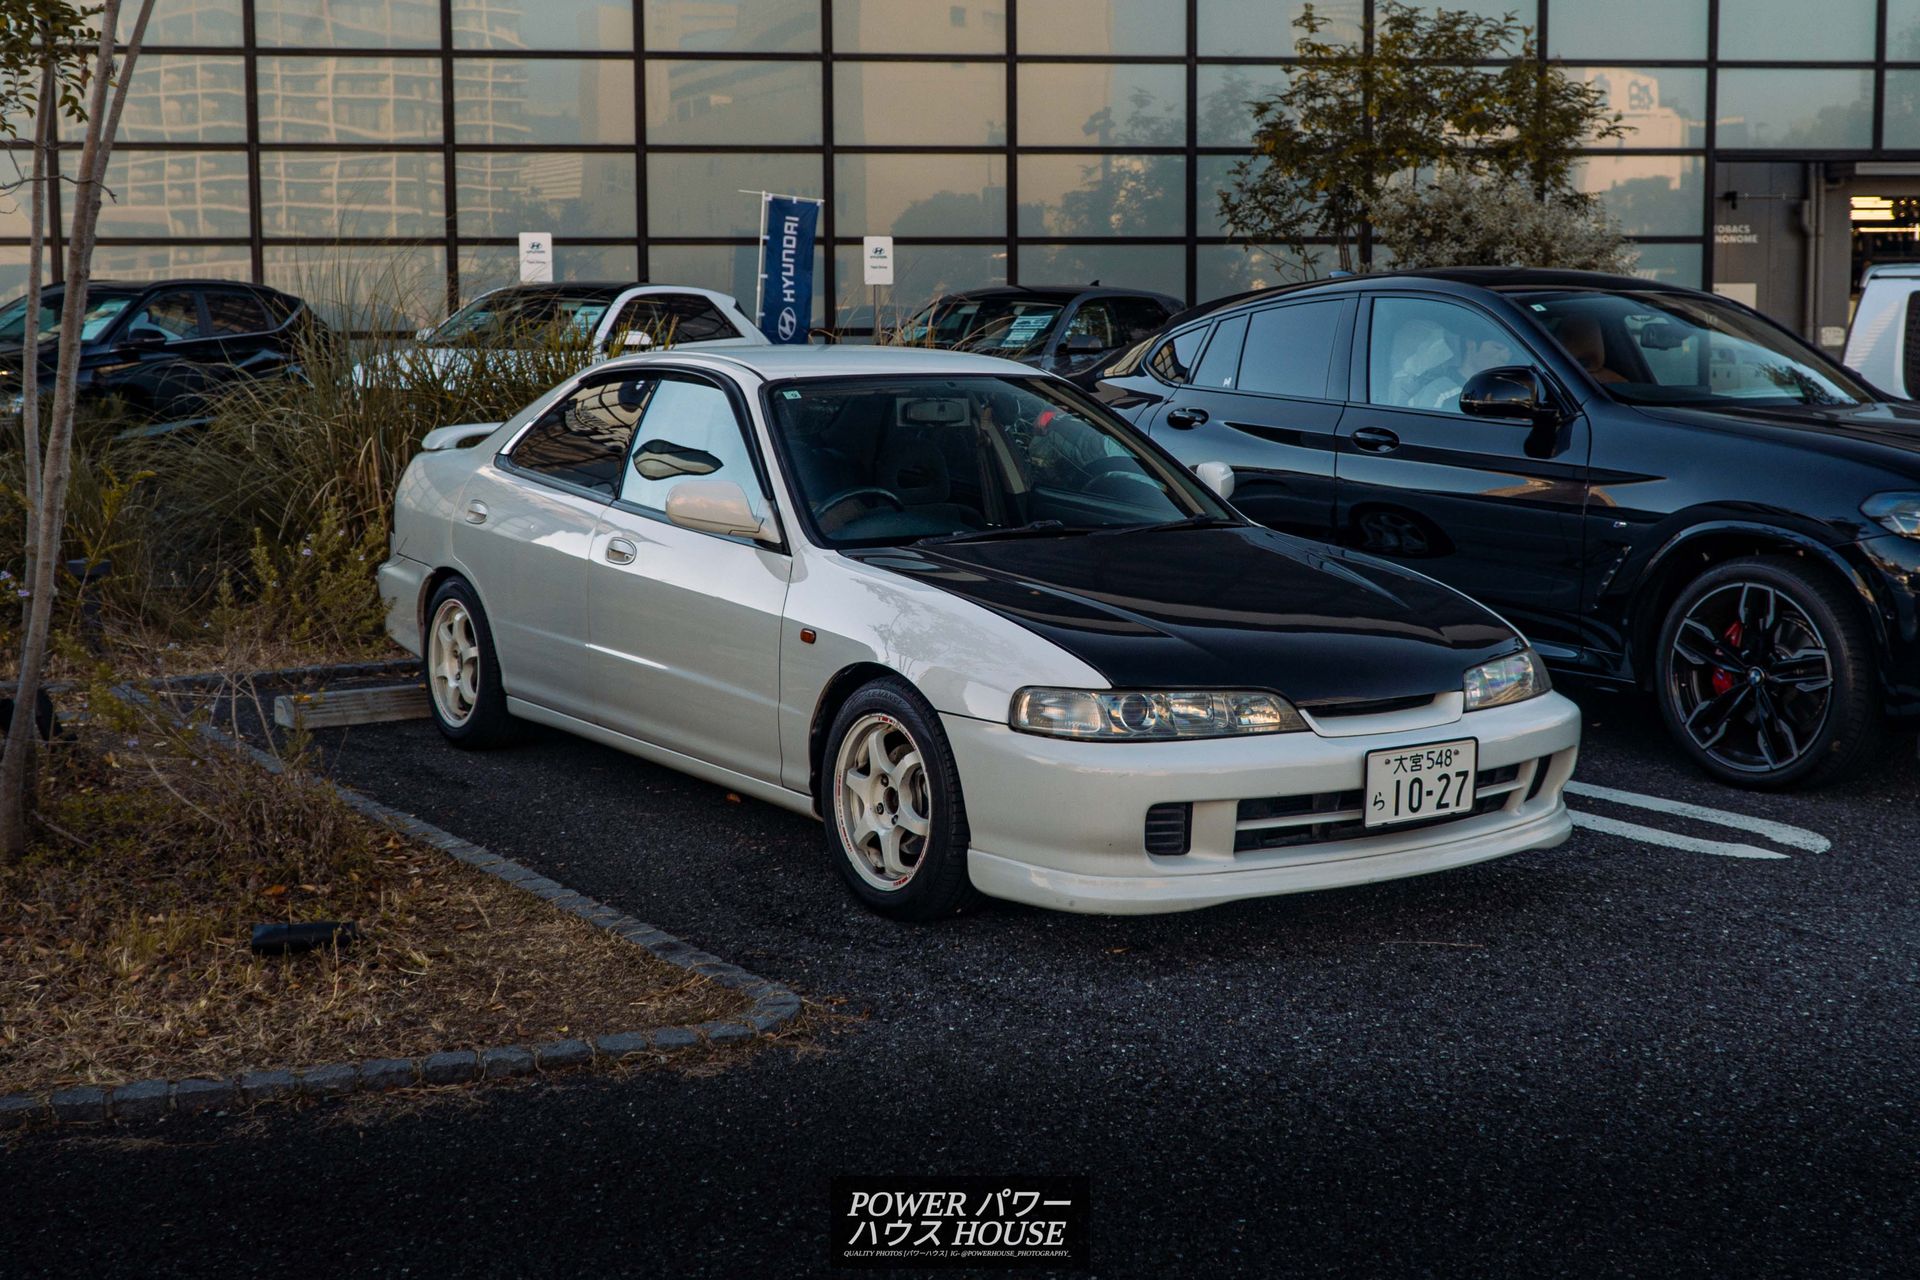
This Honda Integra SiR DB8 has a nice set of Weds Sport wheels, an after-market carbon-fibre bonnet, and a Type R front lip.
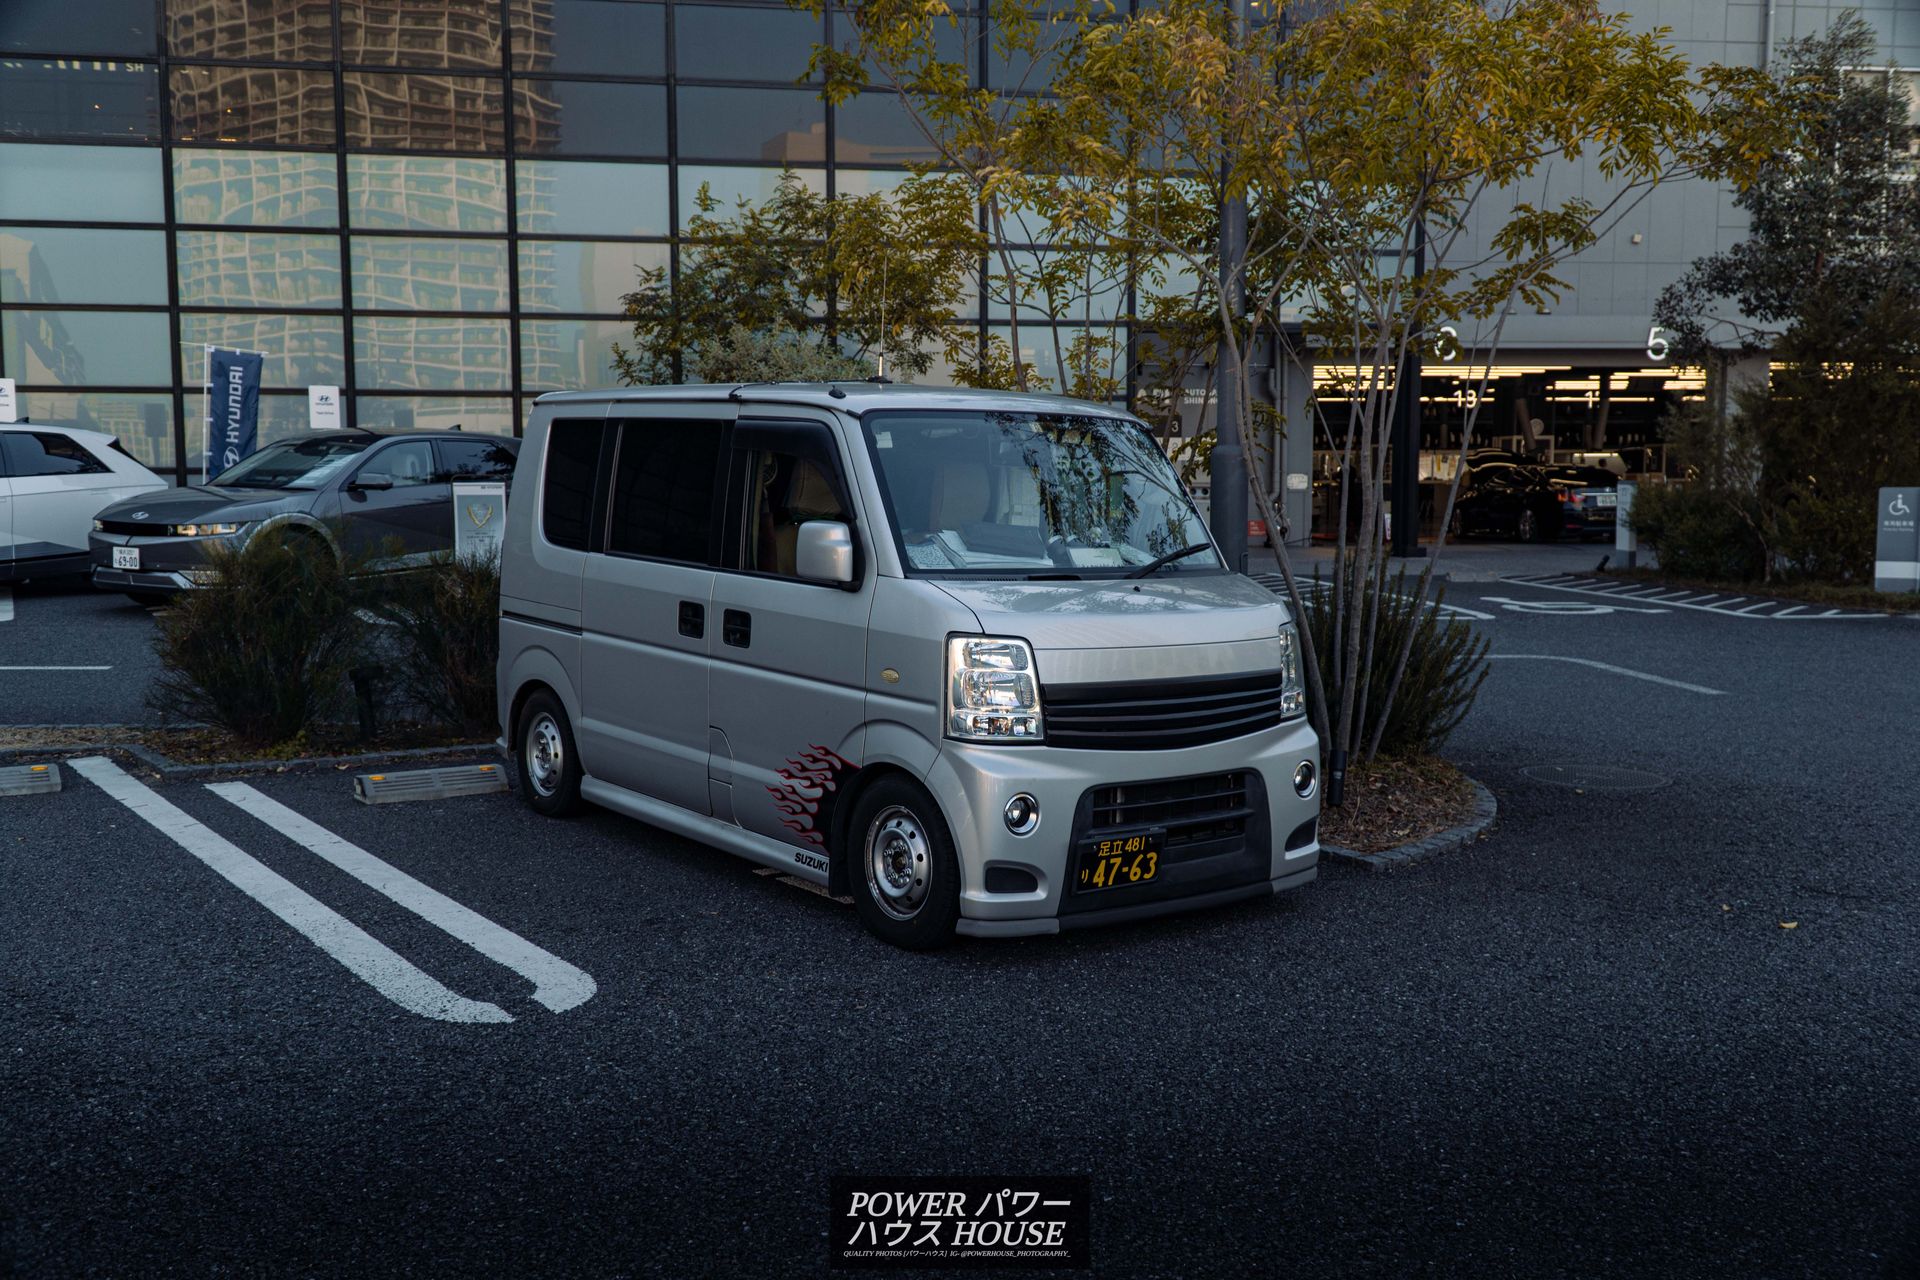
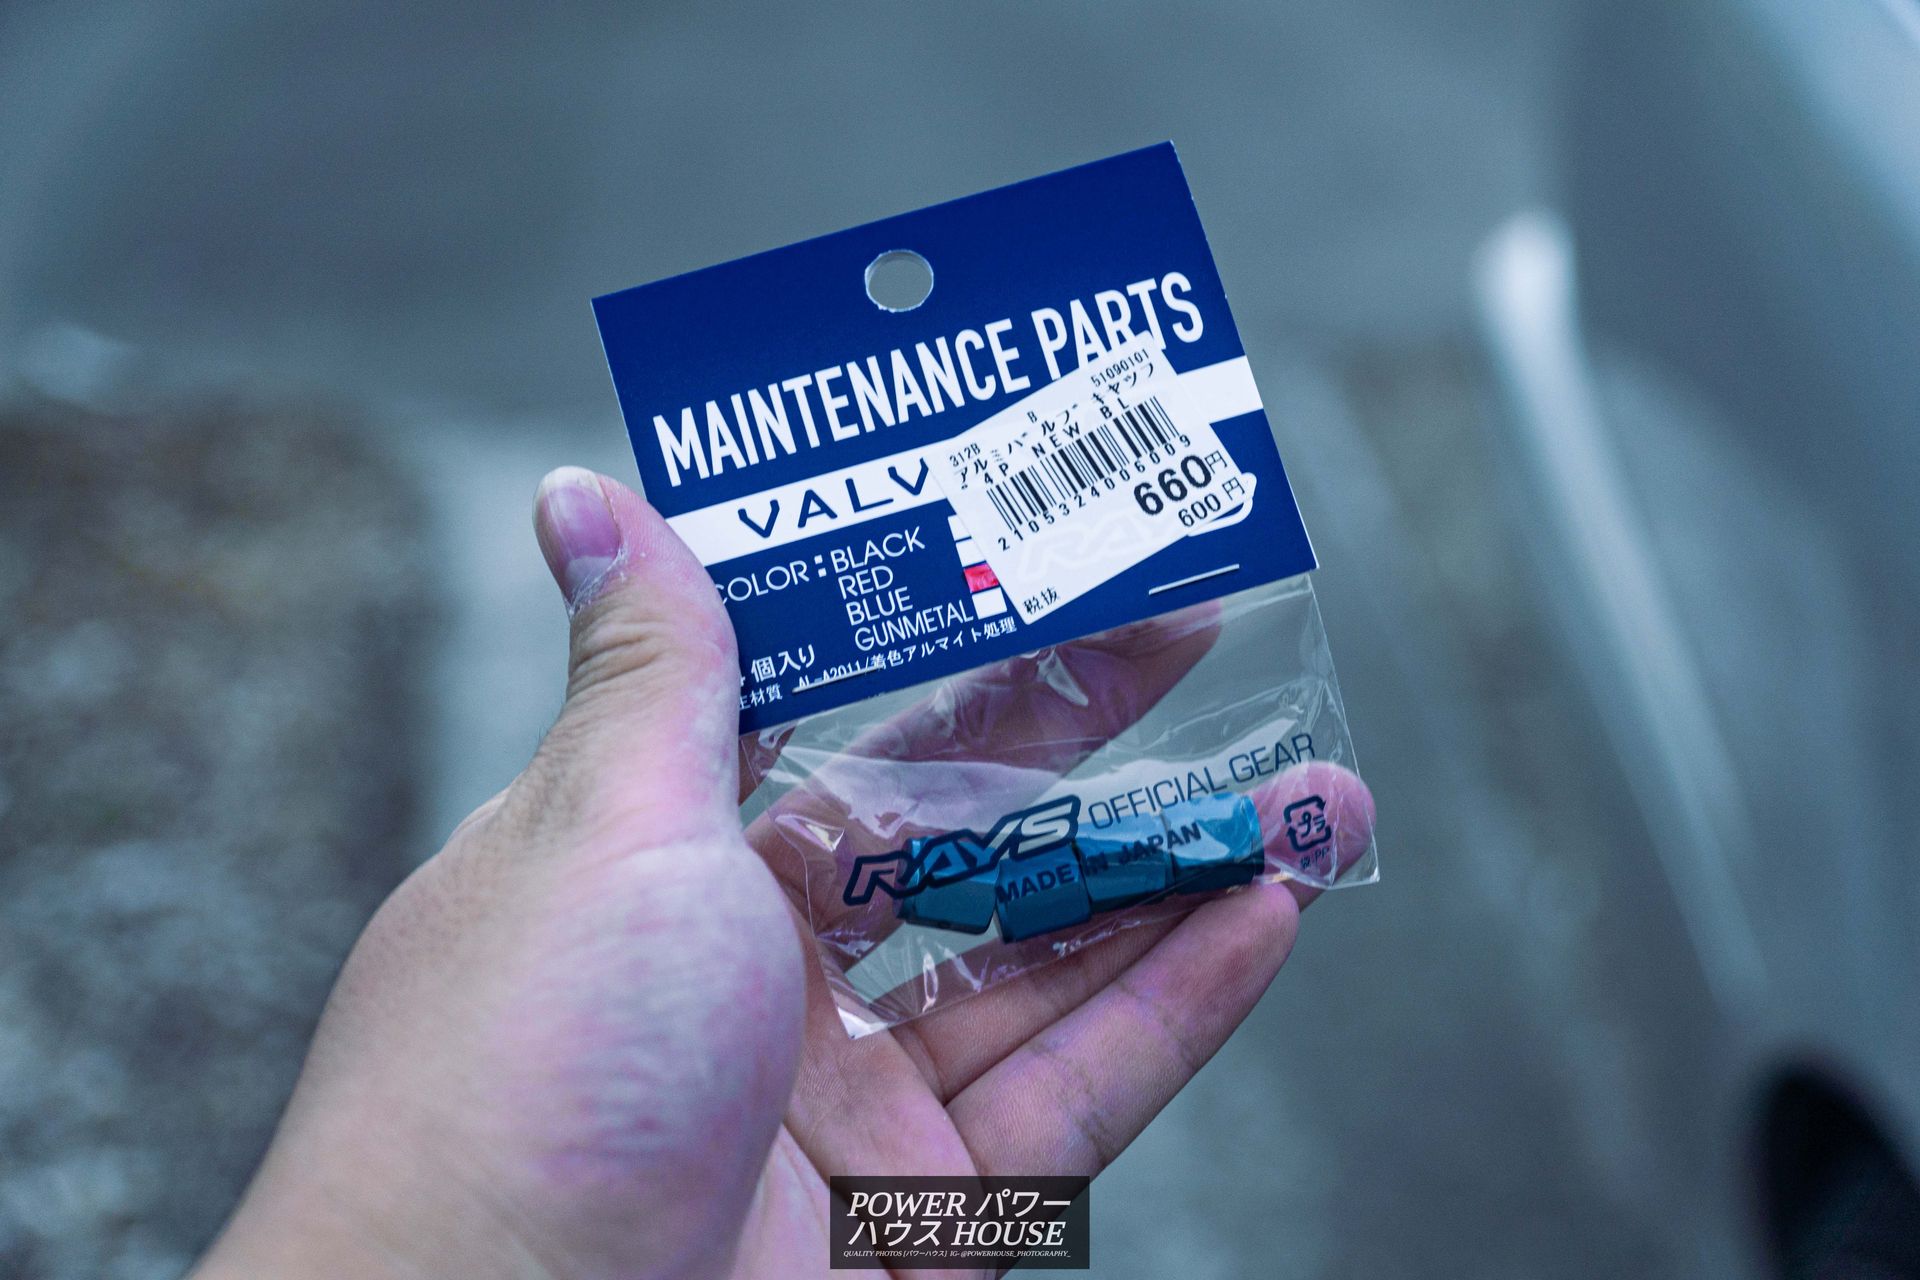
This little van was also modified quite interestingly, being sacked to the ground, and having flames on the side. I spent hours inside, walking around the shelves, looking at all the cool car parts, and going through the magazines. By the end of my time here, I came out with a Project Mu reservoir sock, some Ray's Engineering valve stem caps, a Blitz aluminium badge, some Blitz mechanics gloves, and a GReddy shirt. More on this later. The next stop was to go to Up Garage Yokohama Machida, and here, I came in with a small list of parts to buy.
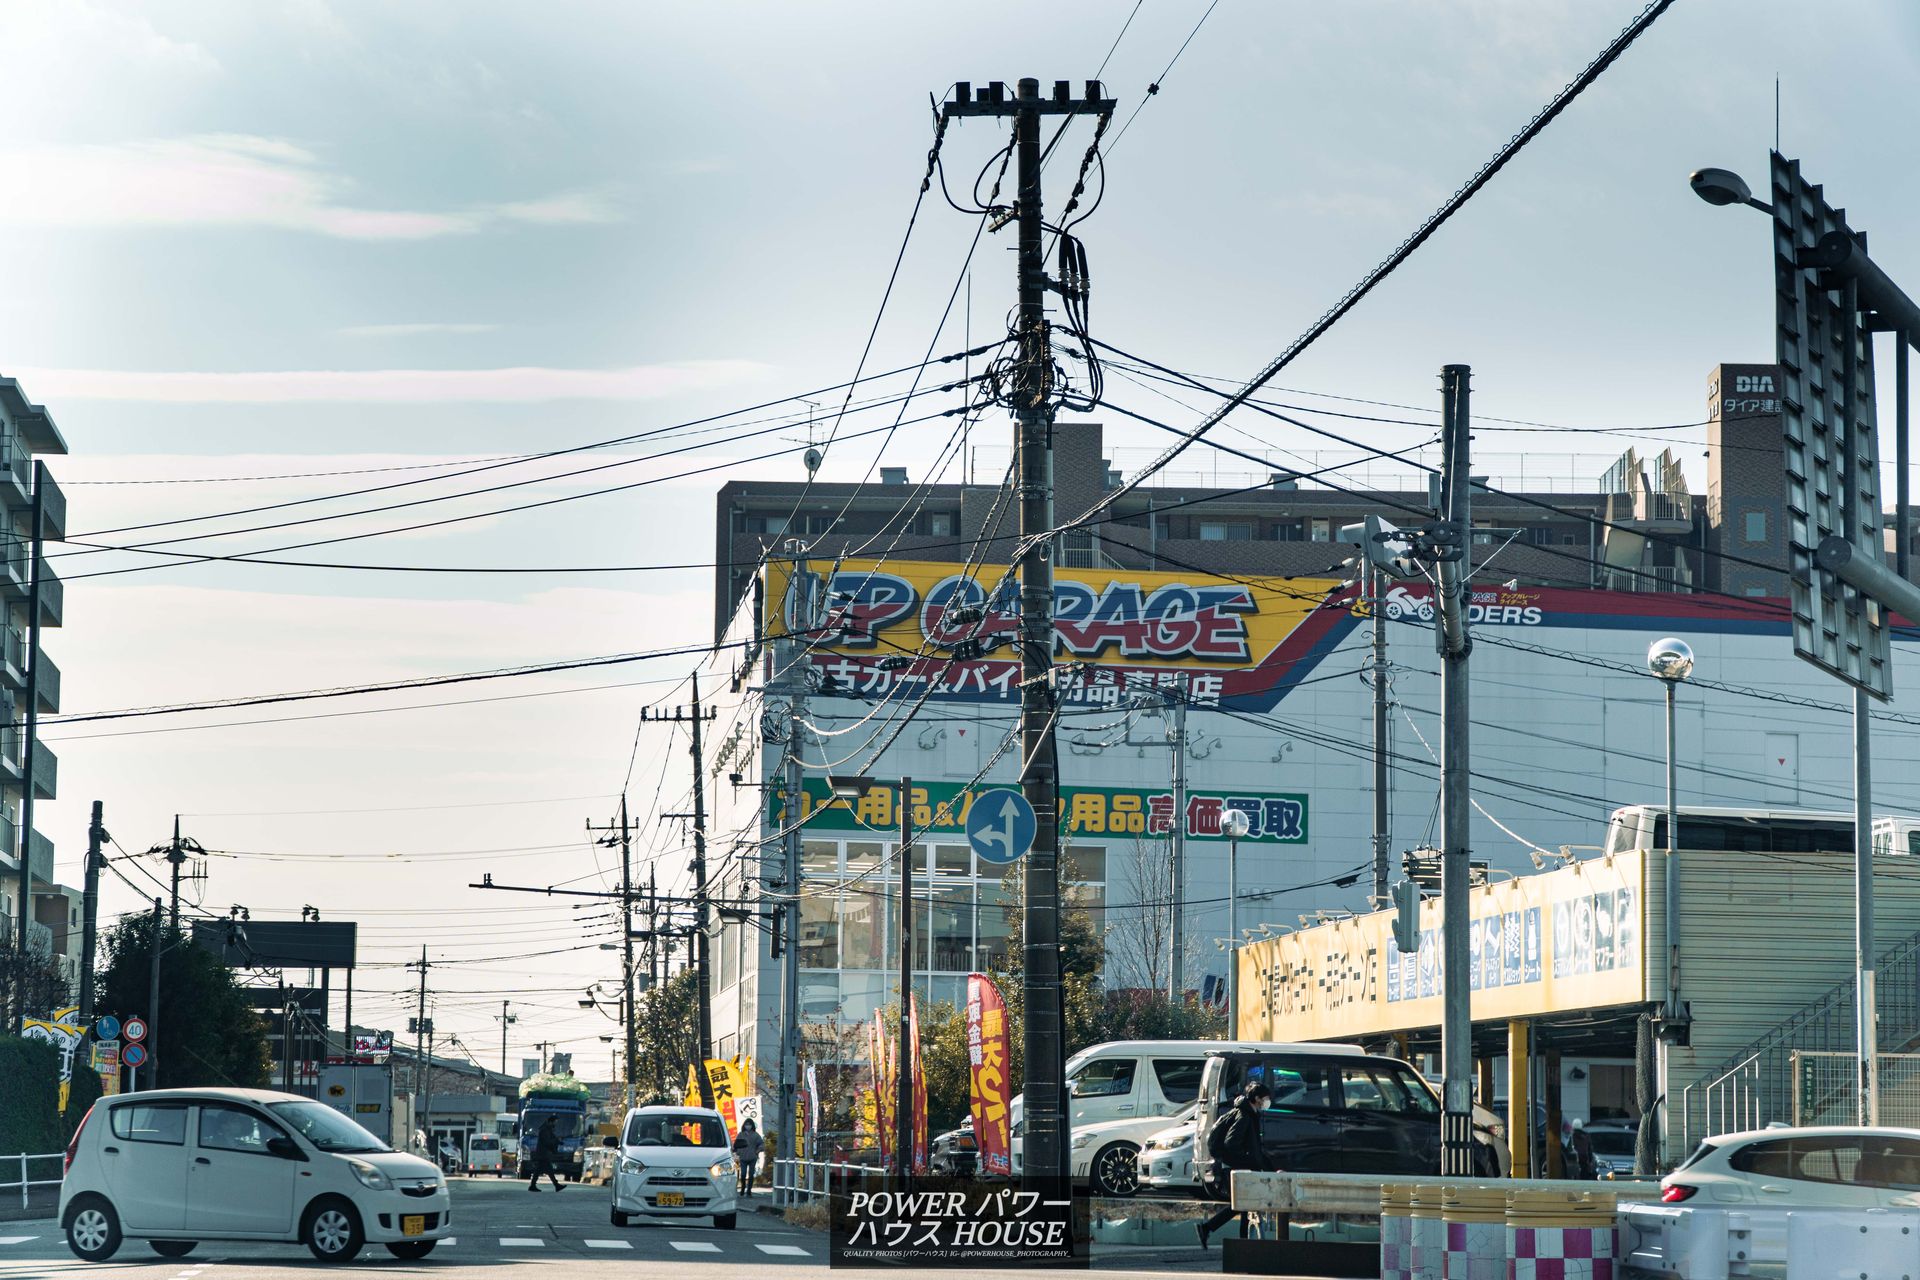
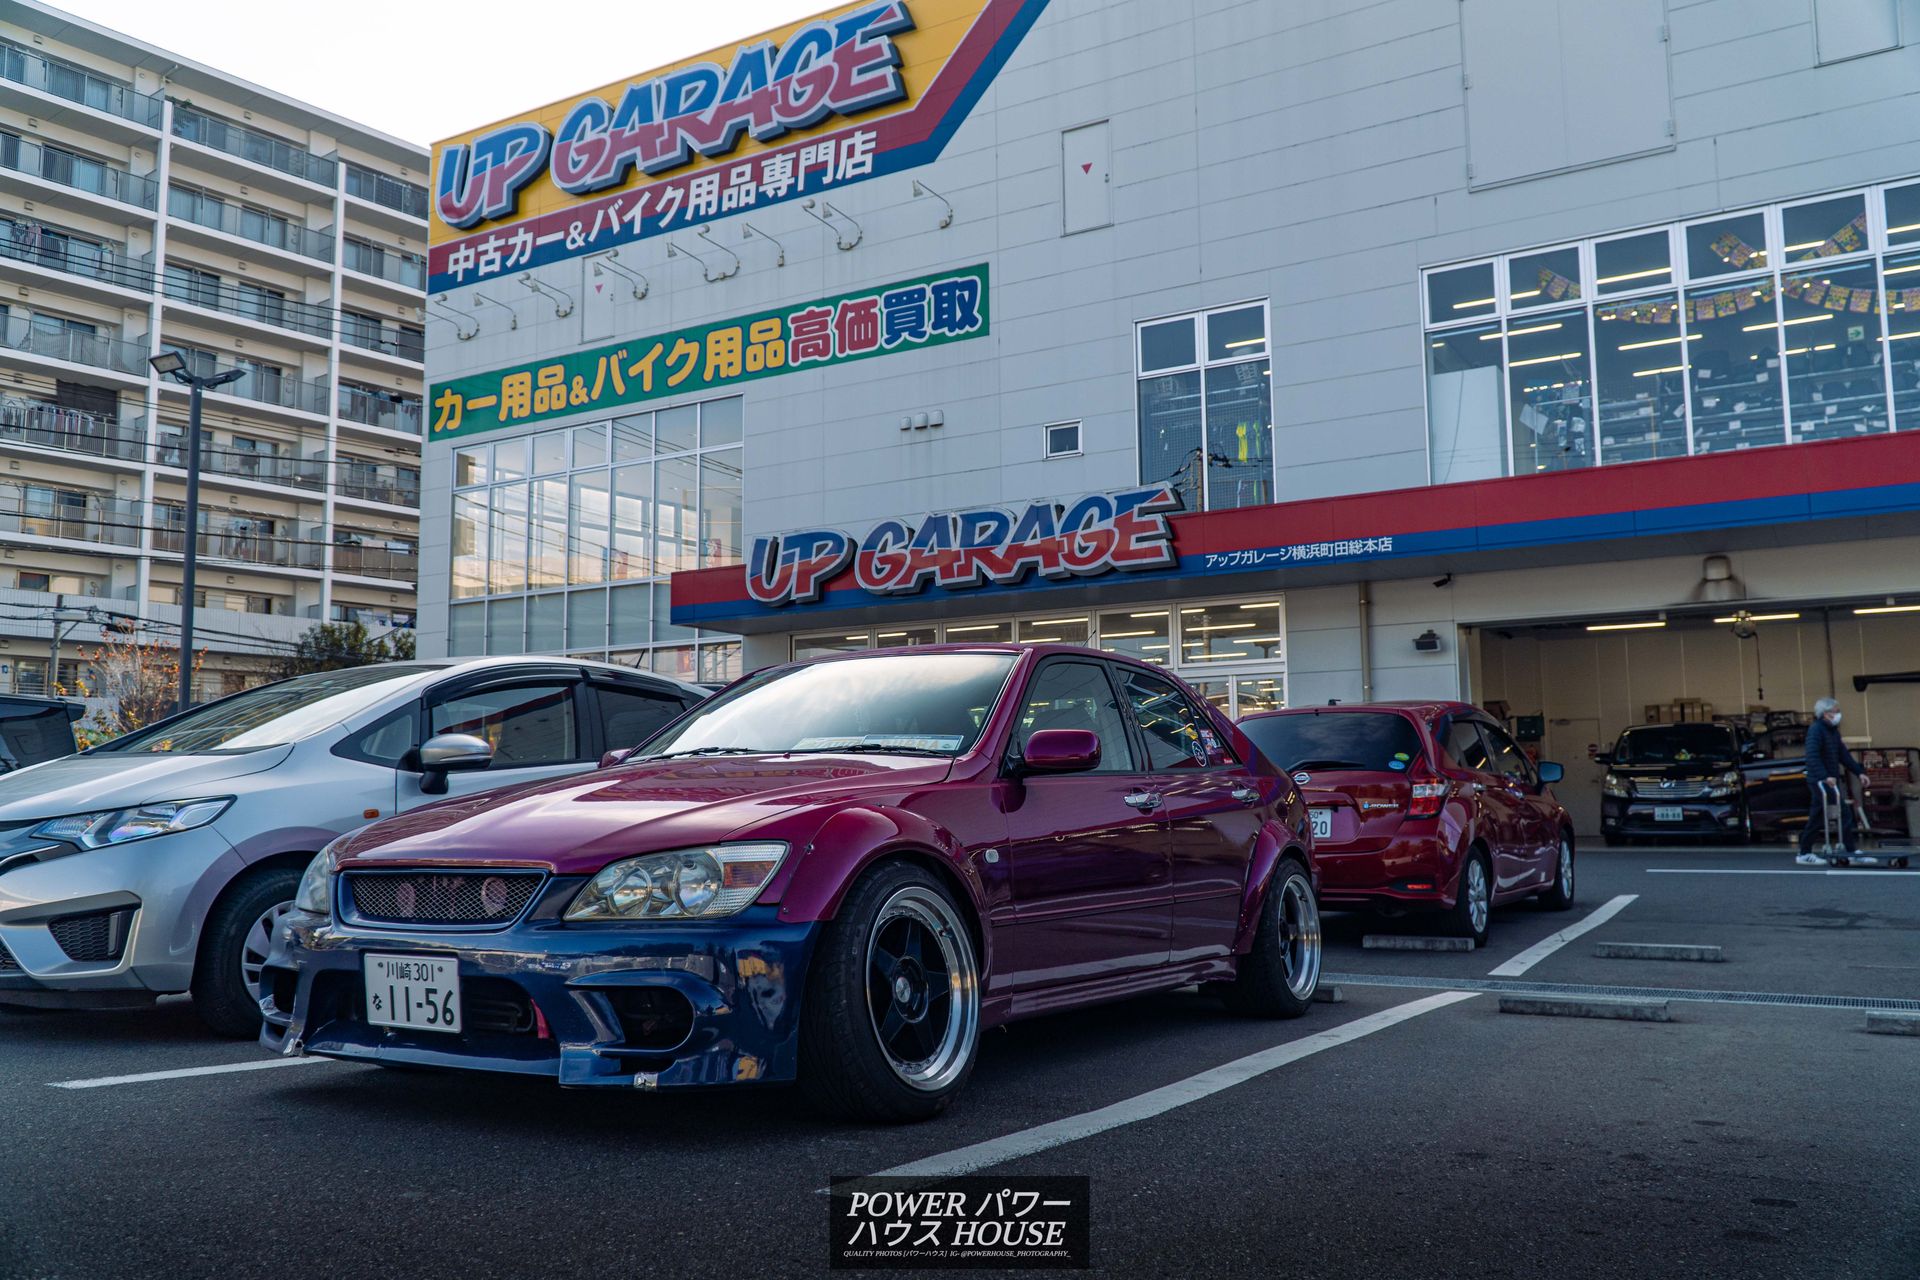
Up Garage was absolute heaven. It was a treasure trove of rare and cool car parts. However, the parking lot here also did not disappoint, with a cool pink drift-spec Altezza.
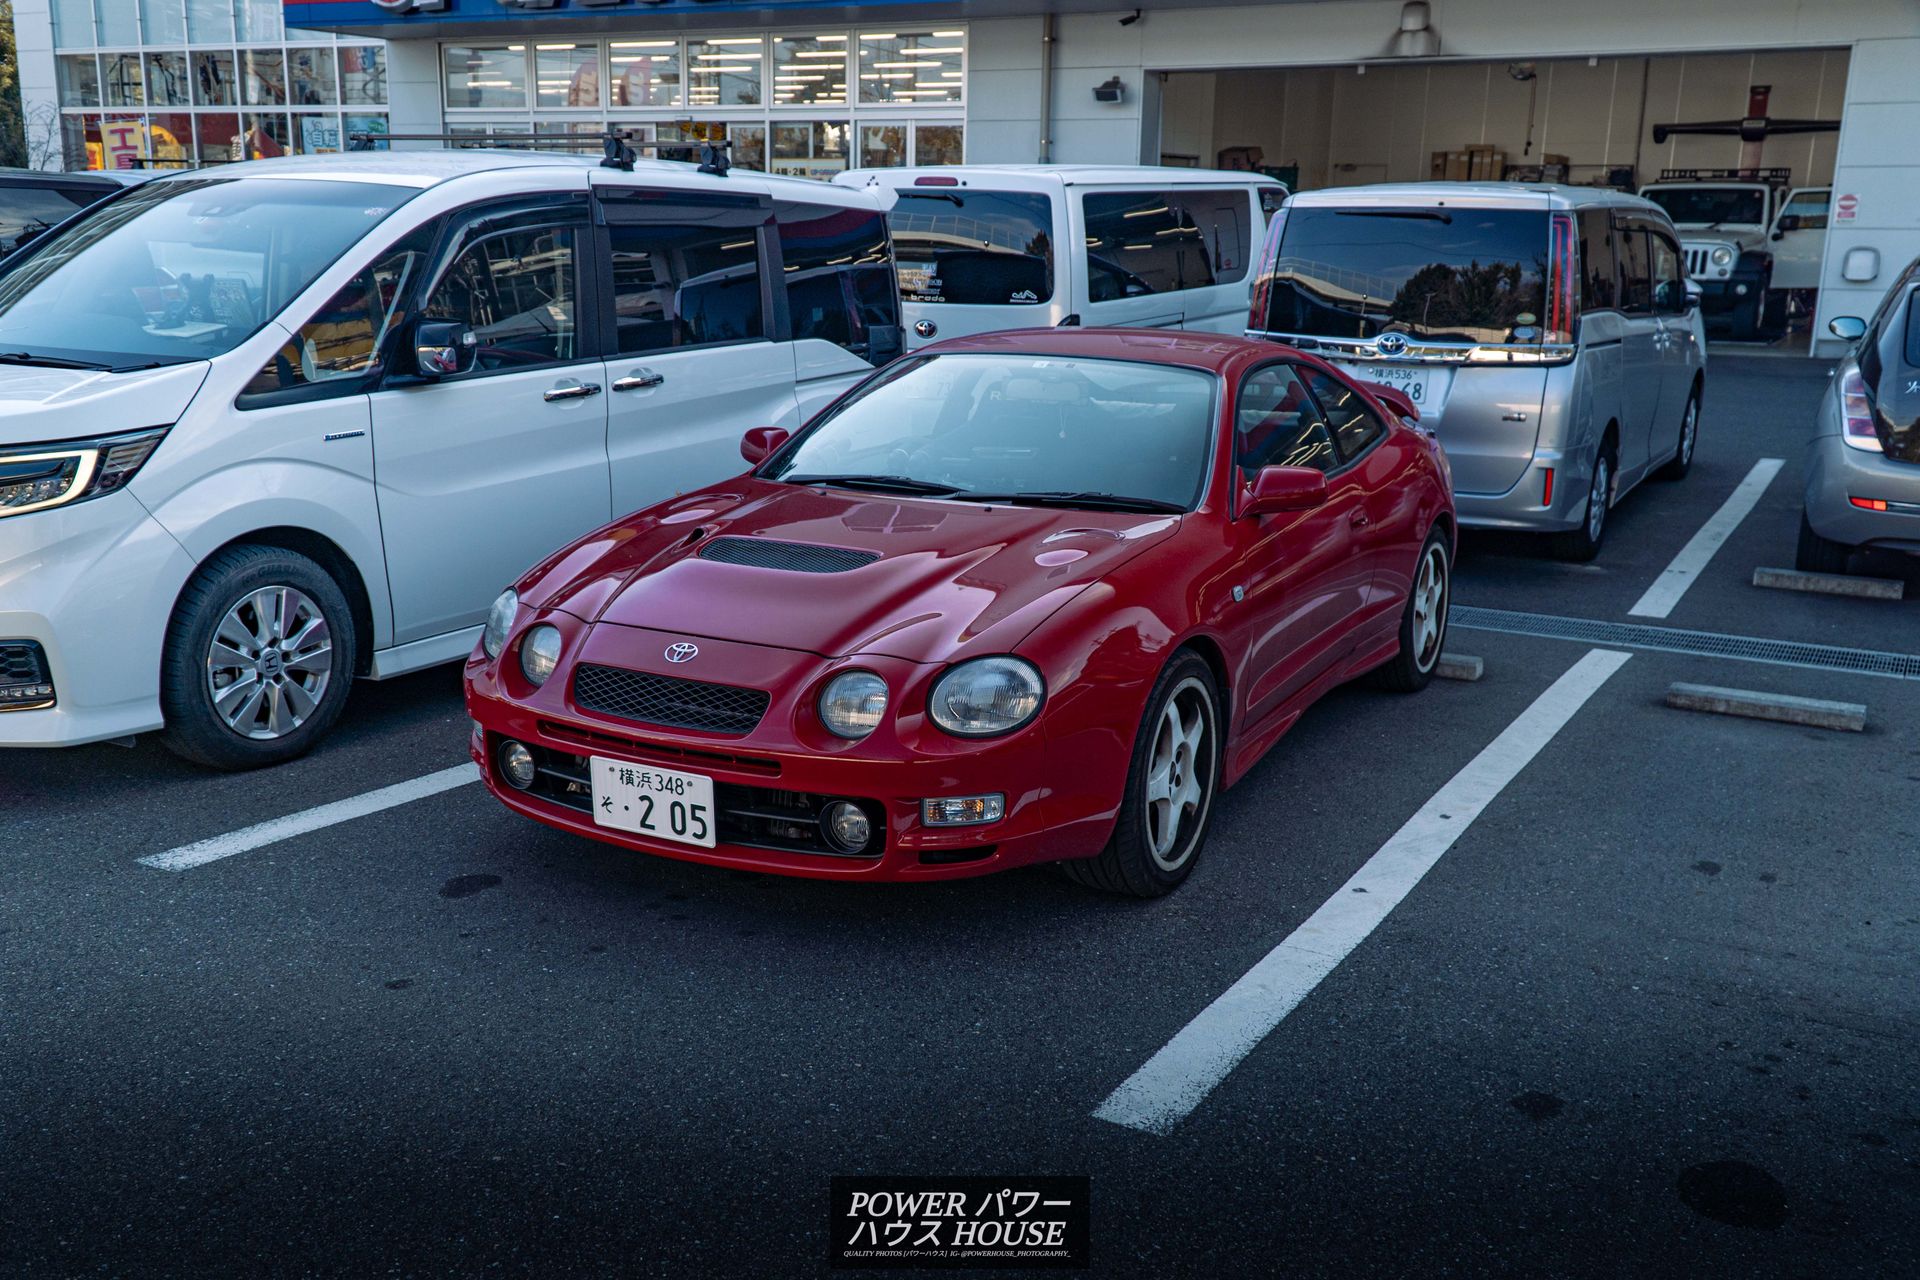
A Toyota Celica GT-Four ST205.
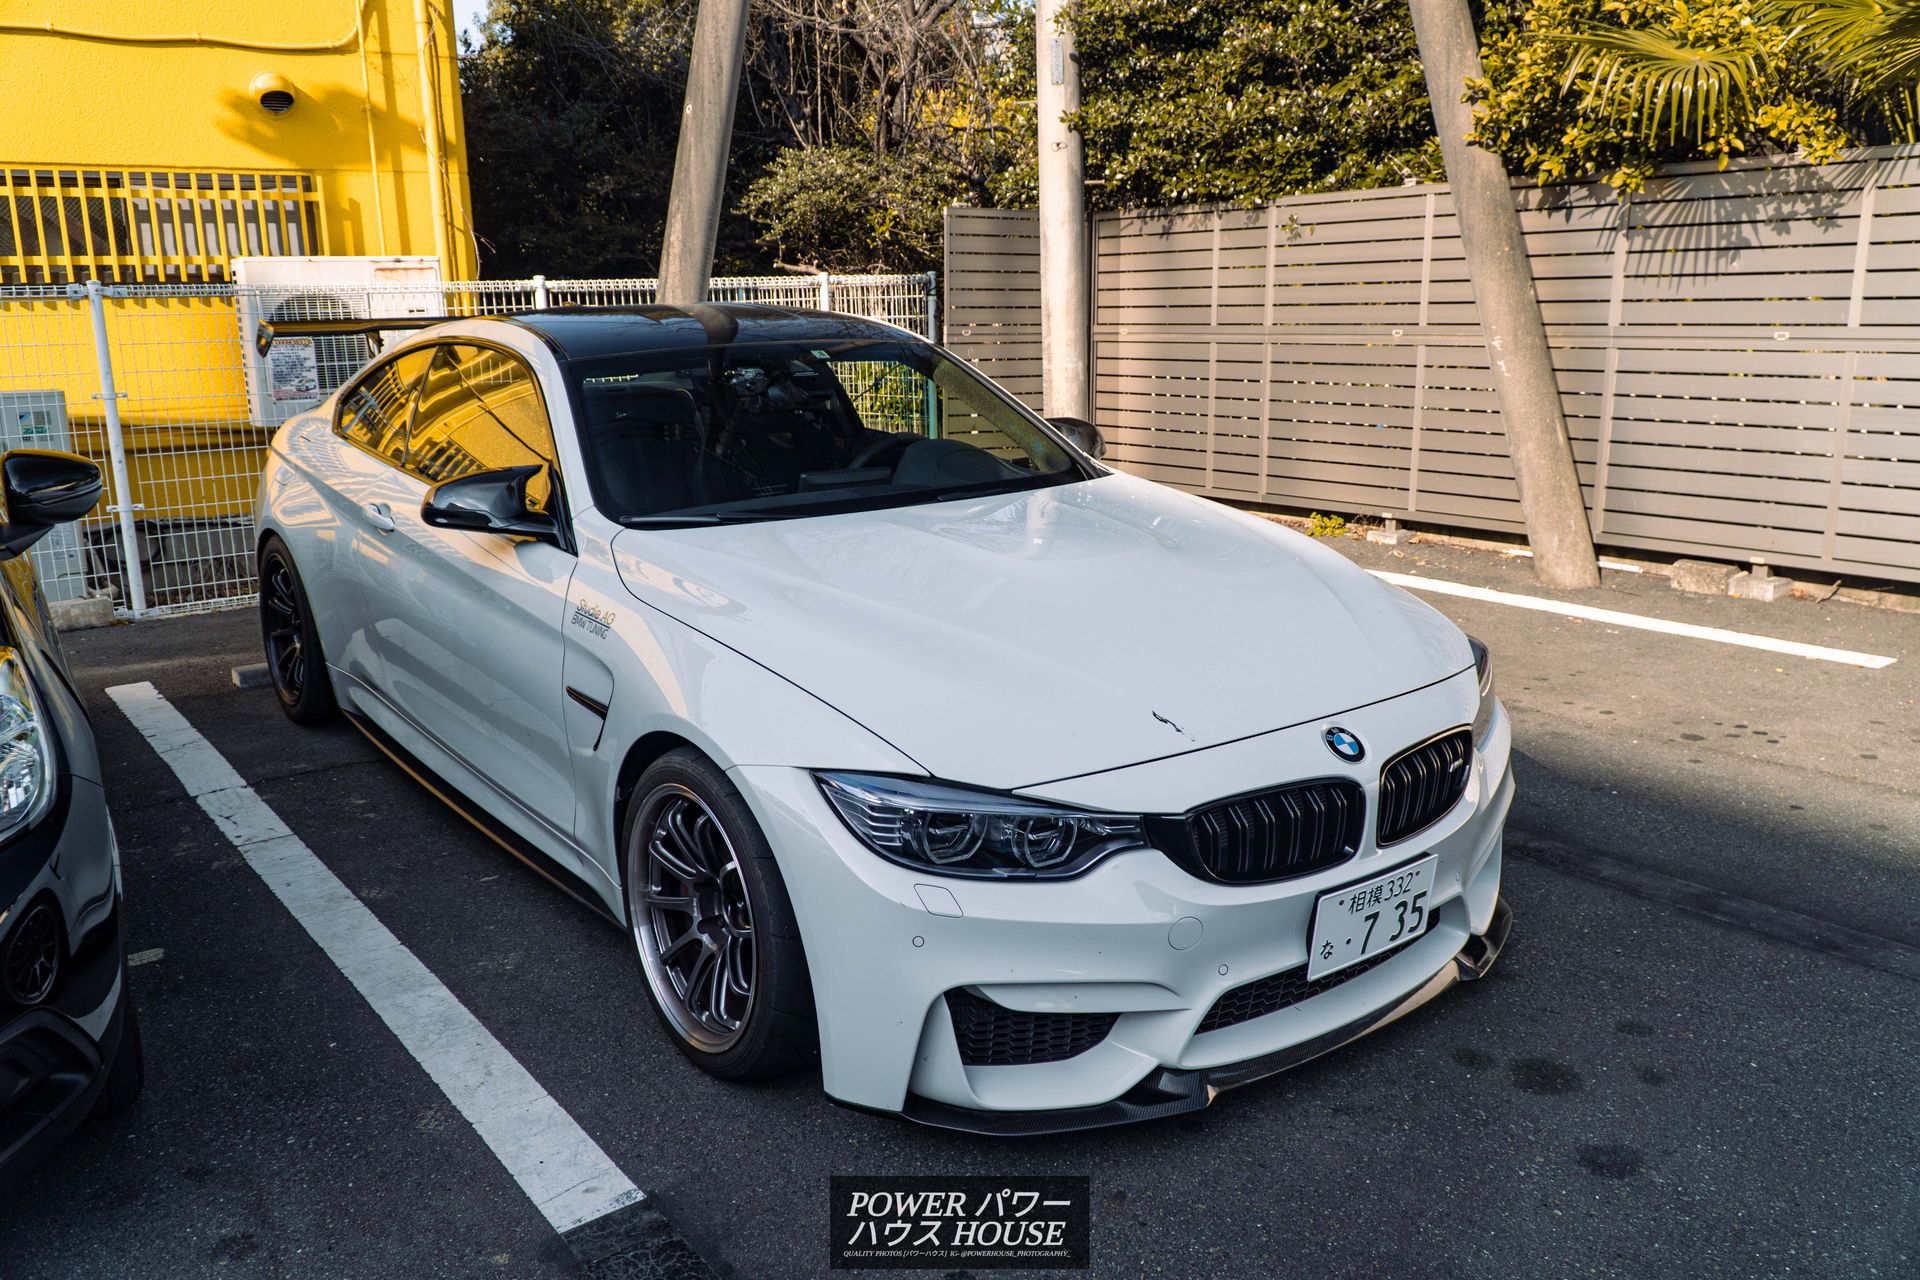
A BMW M4 that looks to have had some track use.
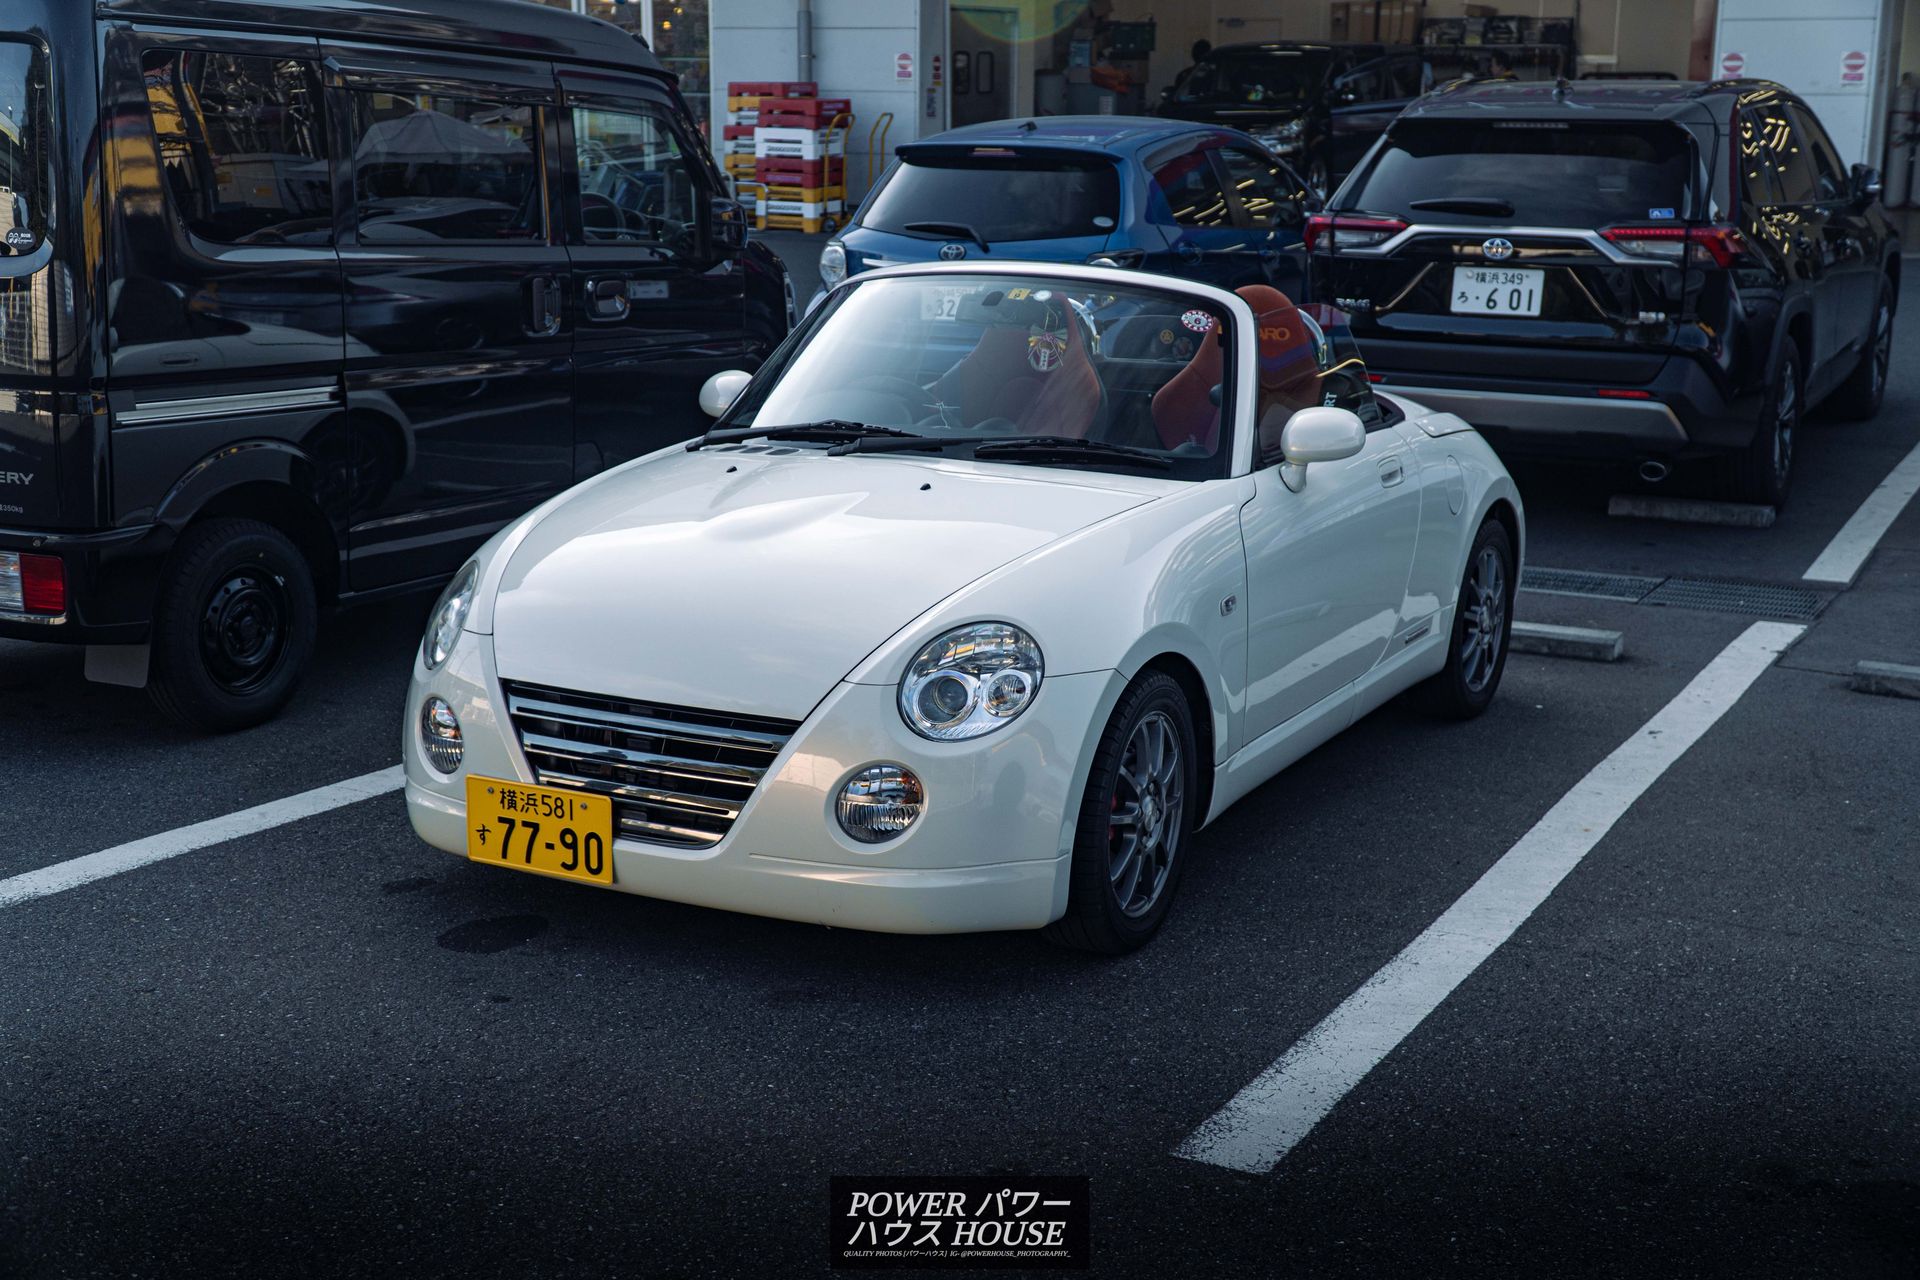
And a cute little Daihatsu Copen Ultimate Edition.
There was also a Autozam AZ-1 sitting across the road.

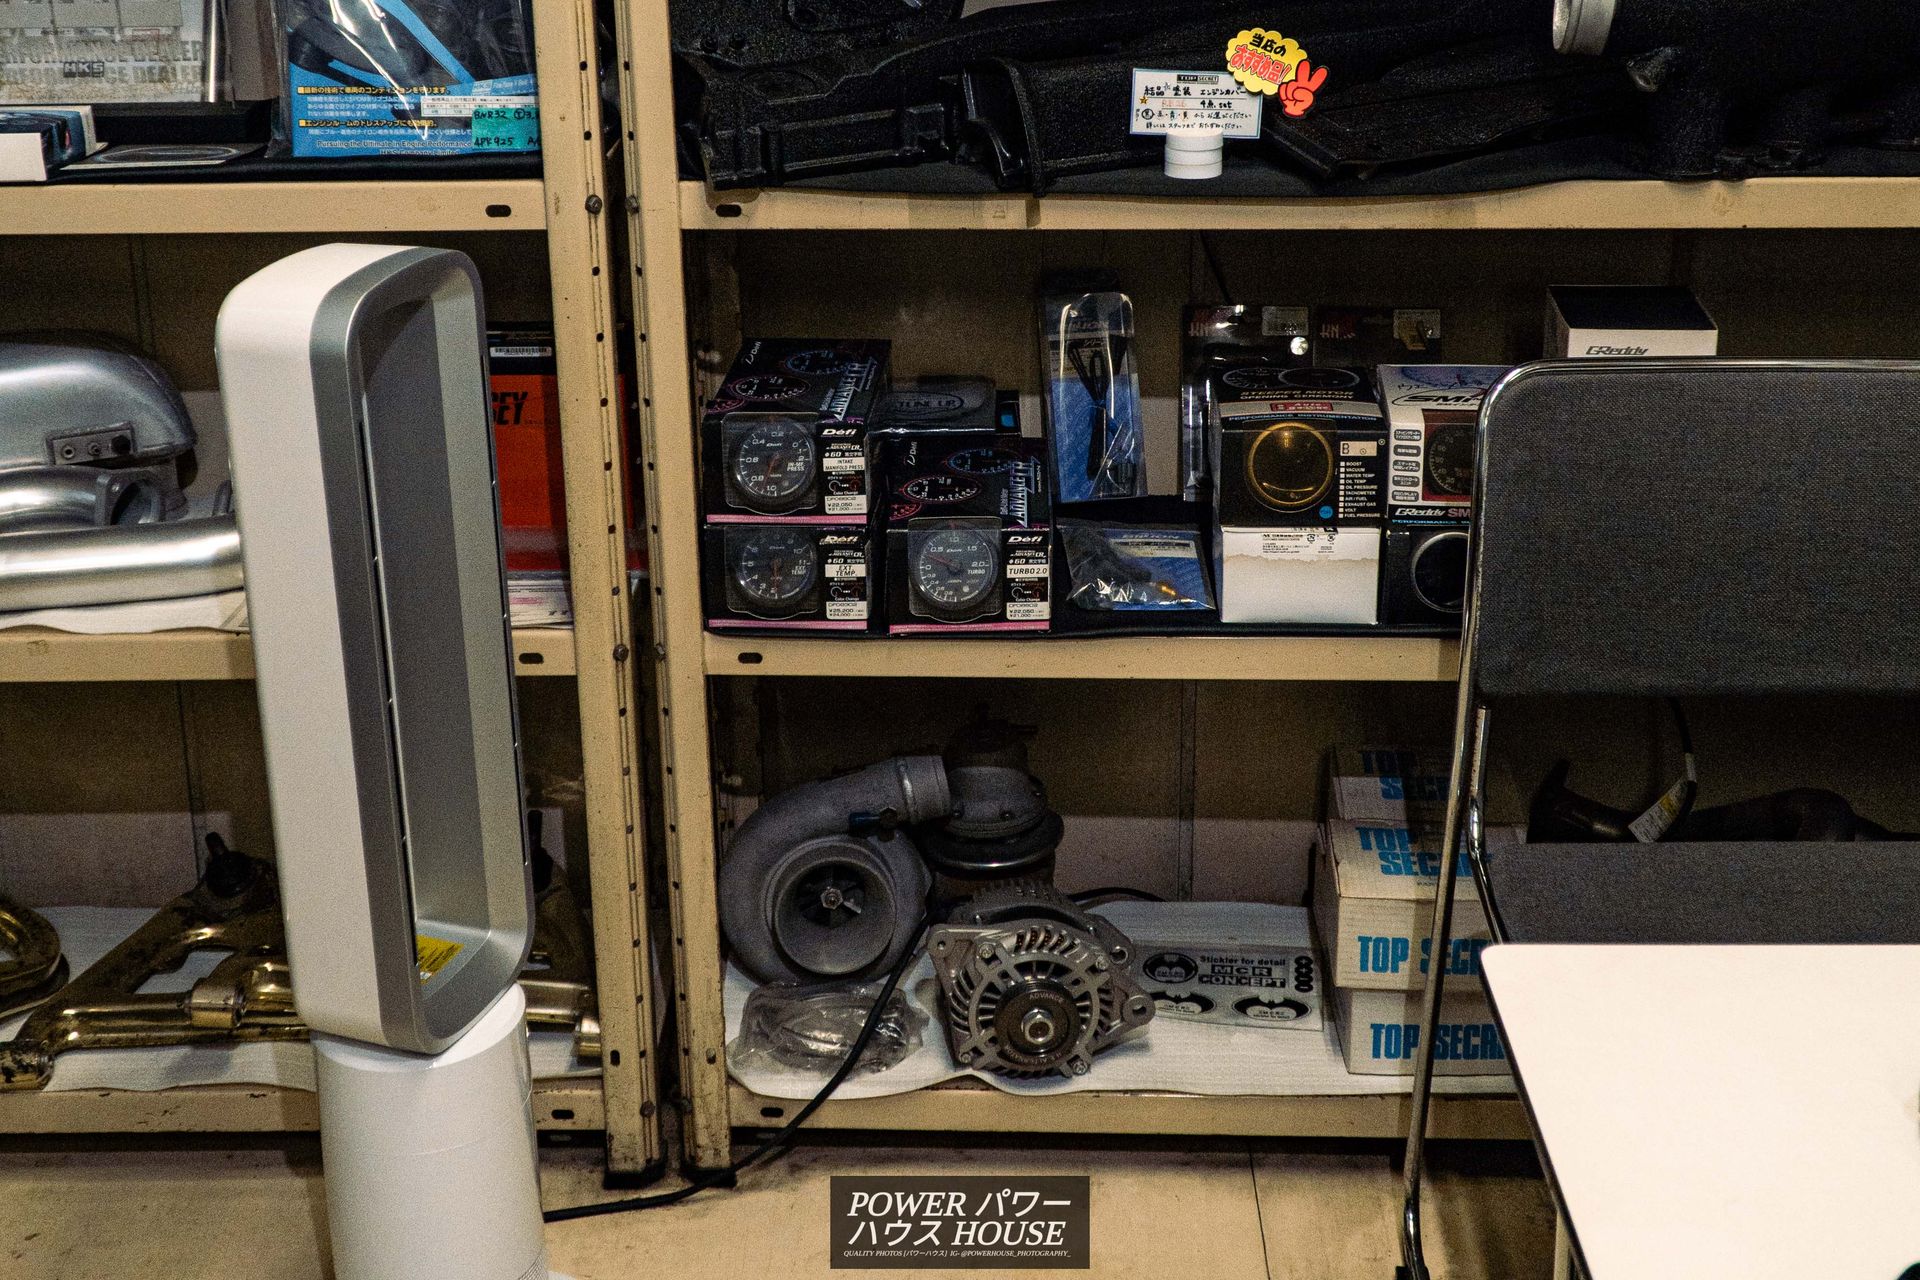
Inside, there were rows and rows of parts I wanted to buy, but unfortunately, I was on a fairly strict budget and didn't have much luggage space to take parts home.
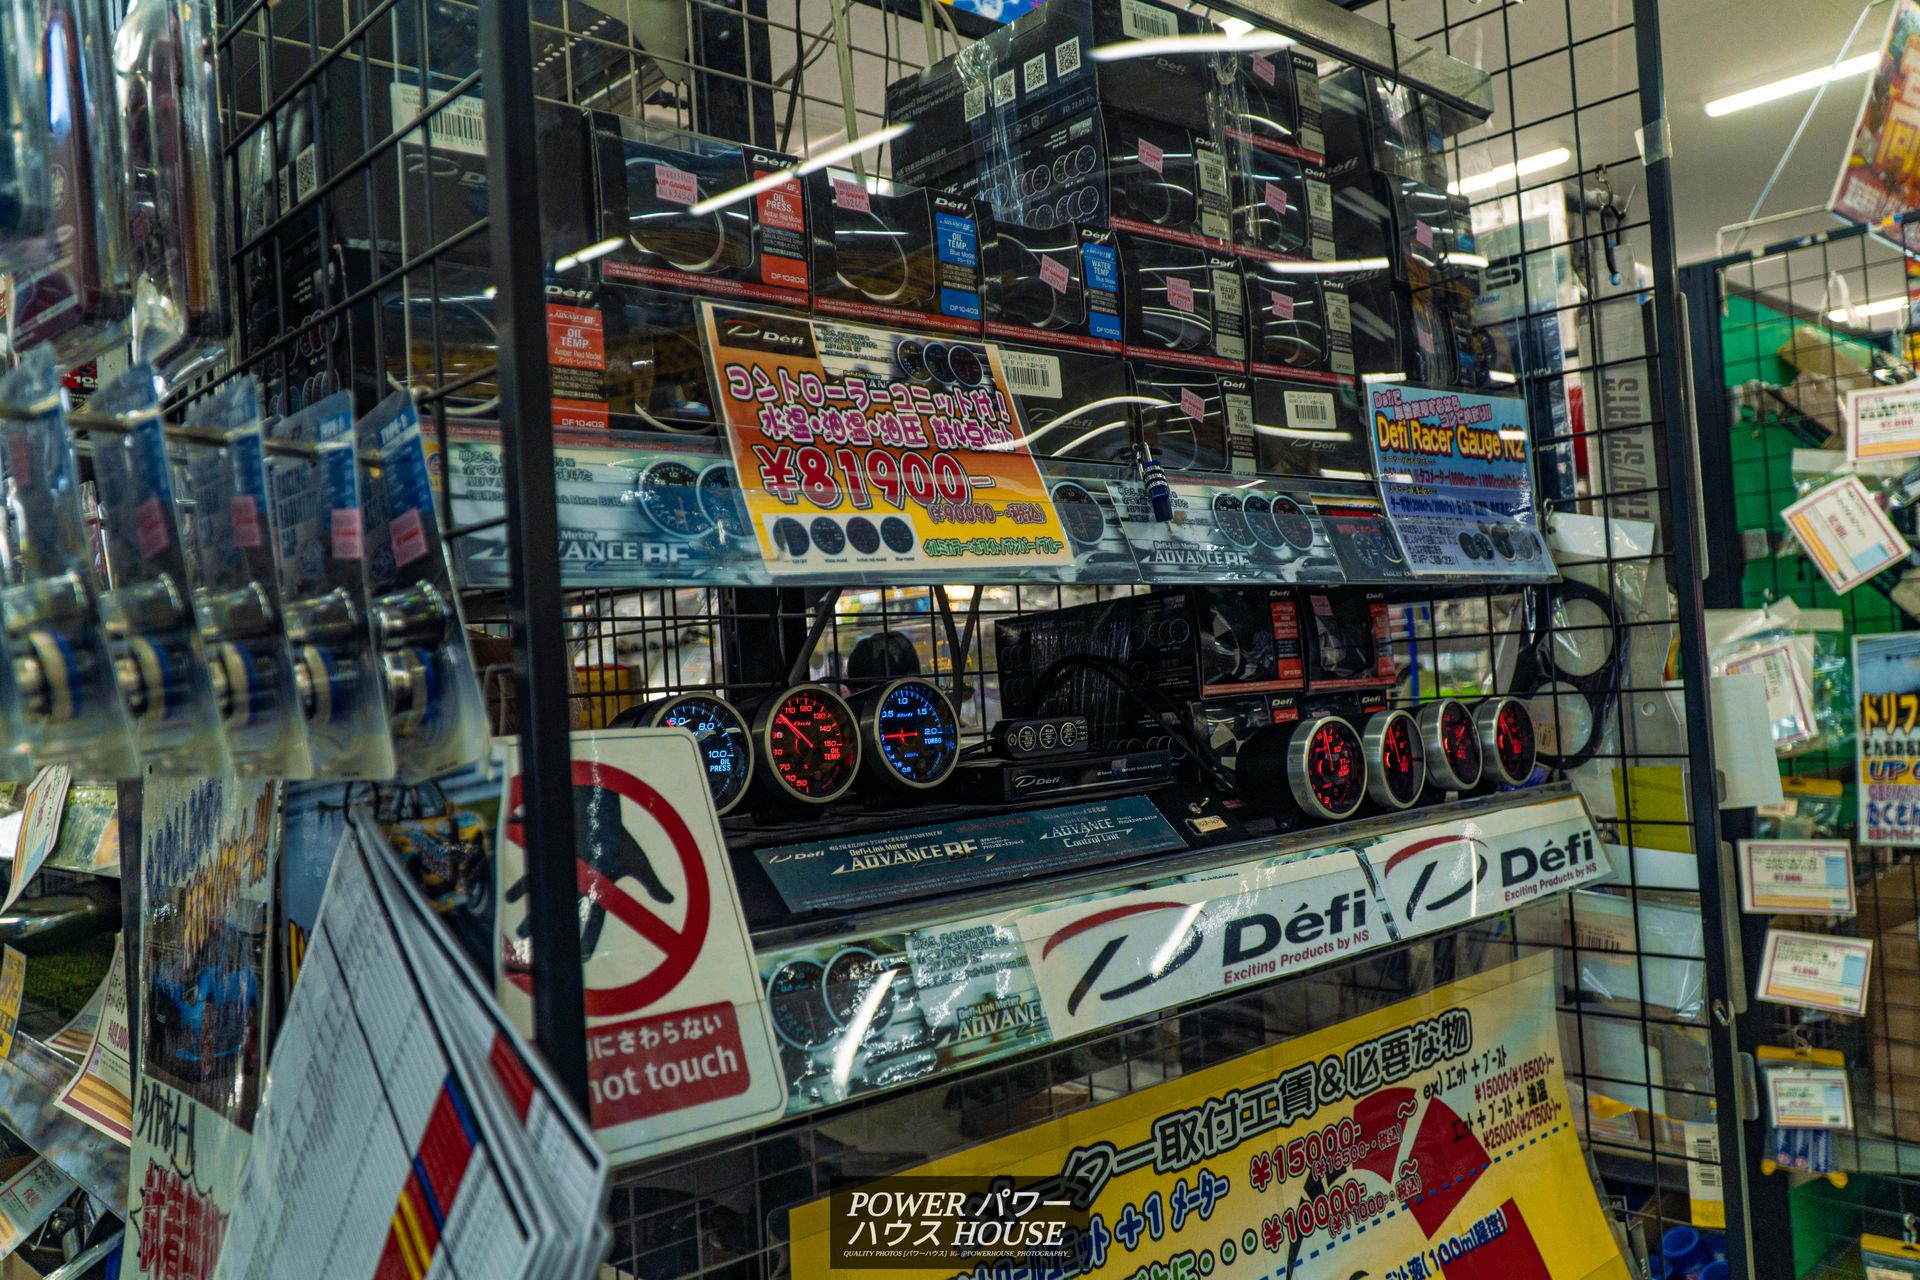
Some Defi gauges.
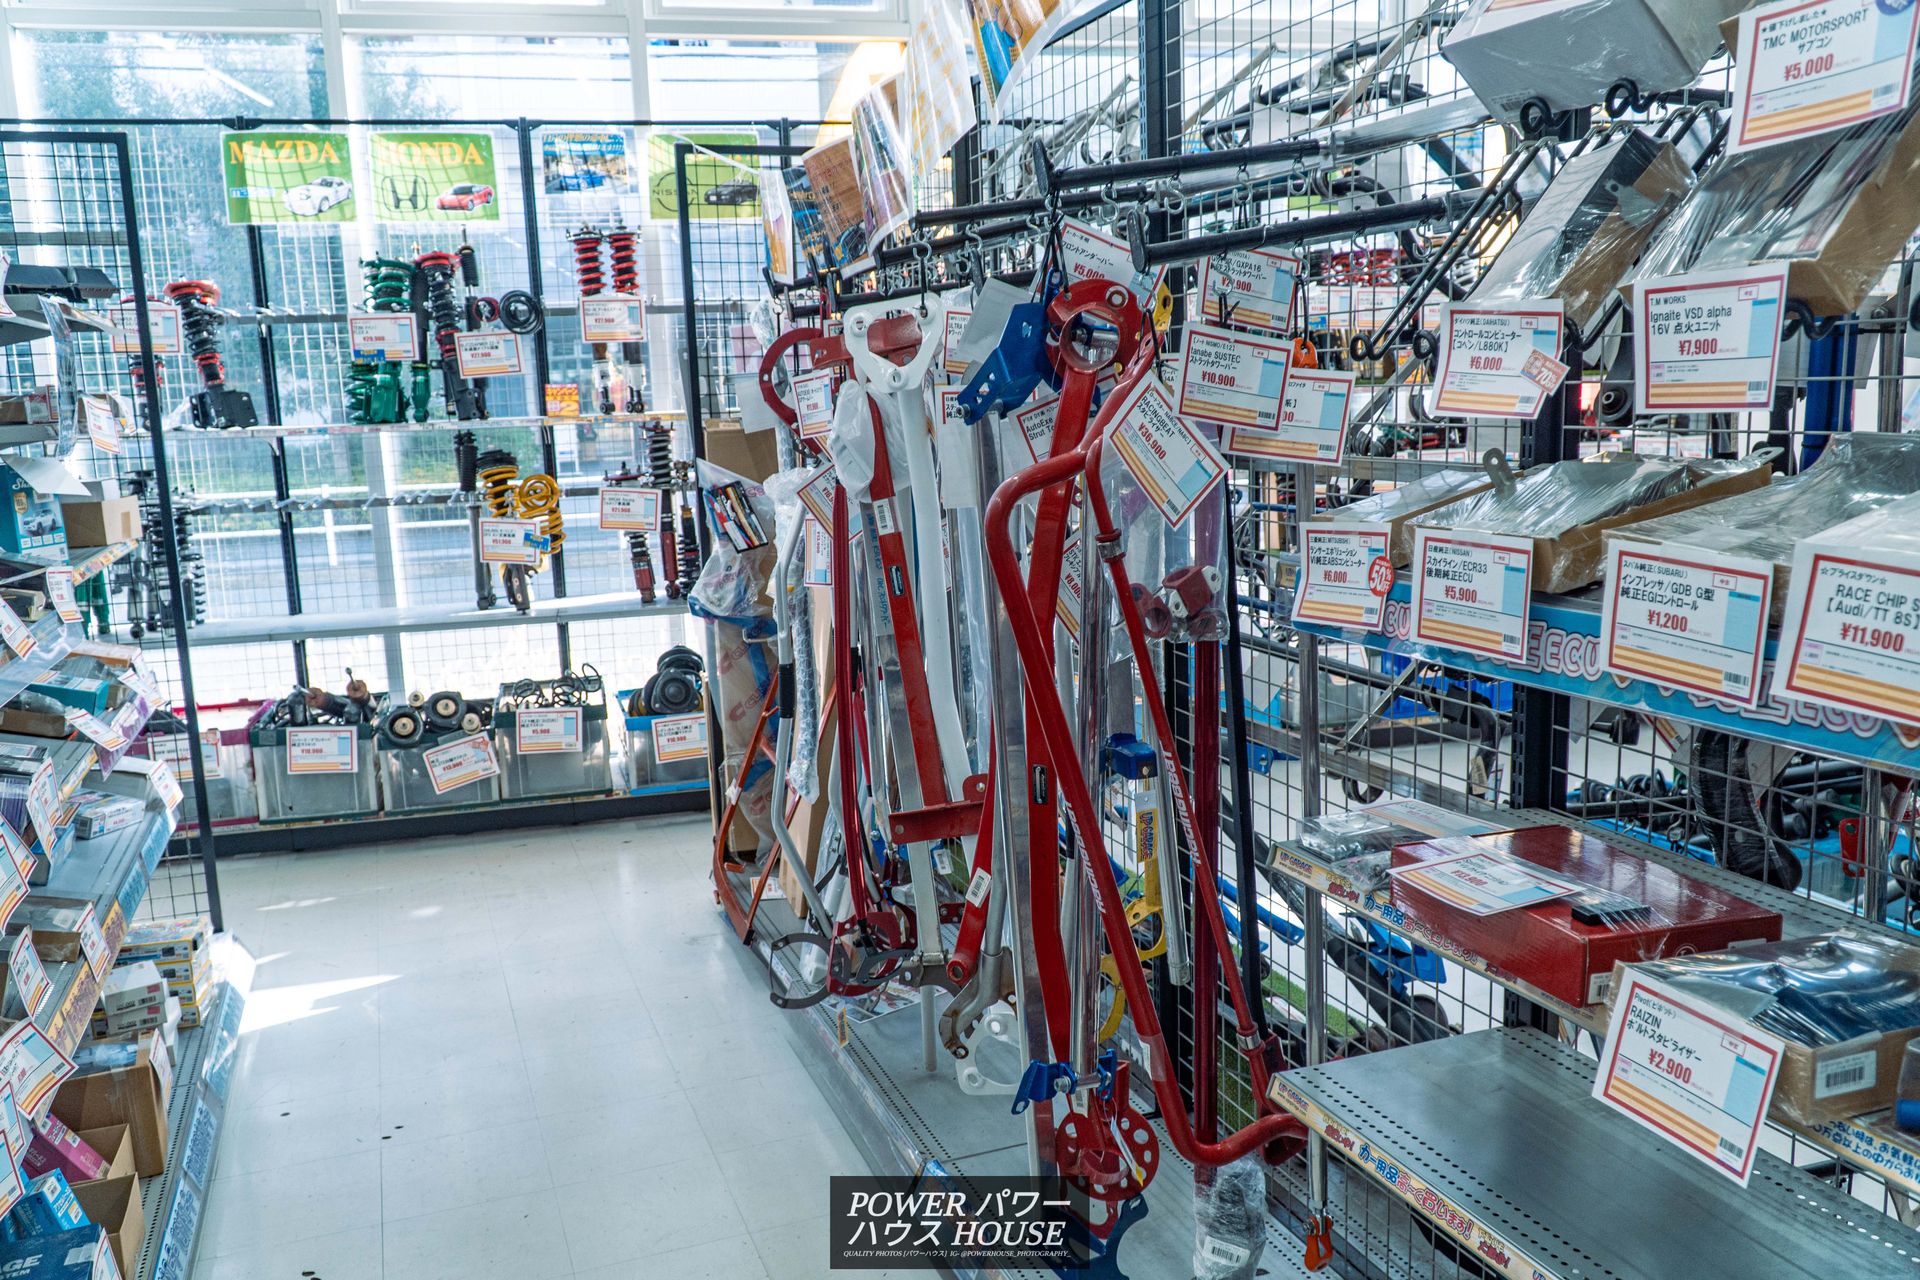
Some bracing.
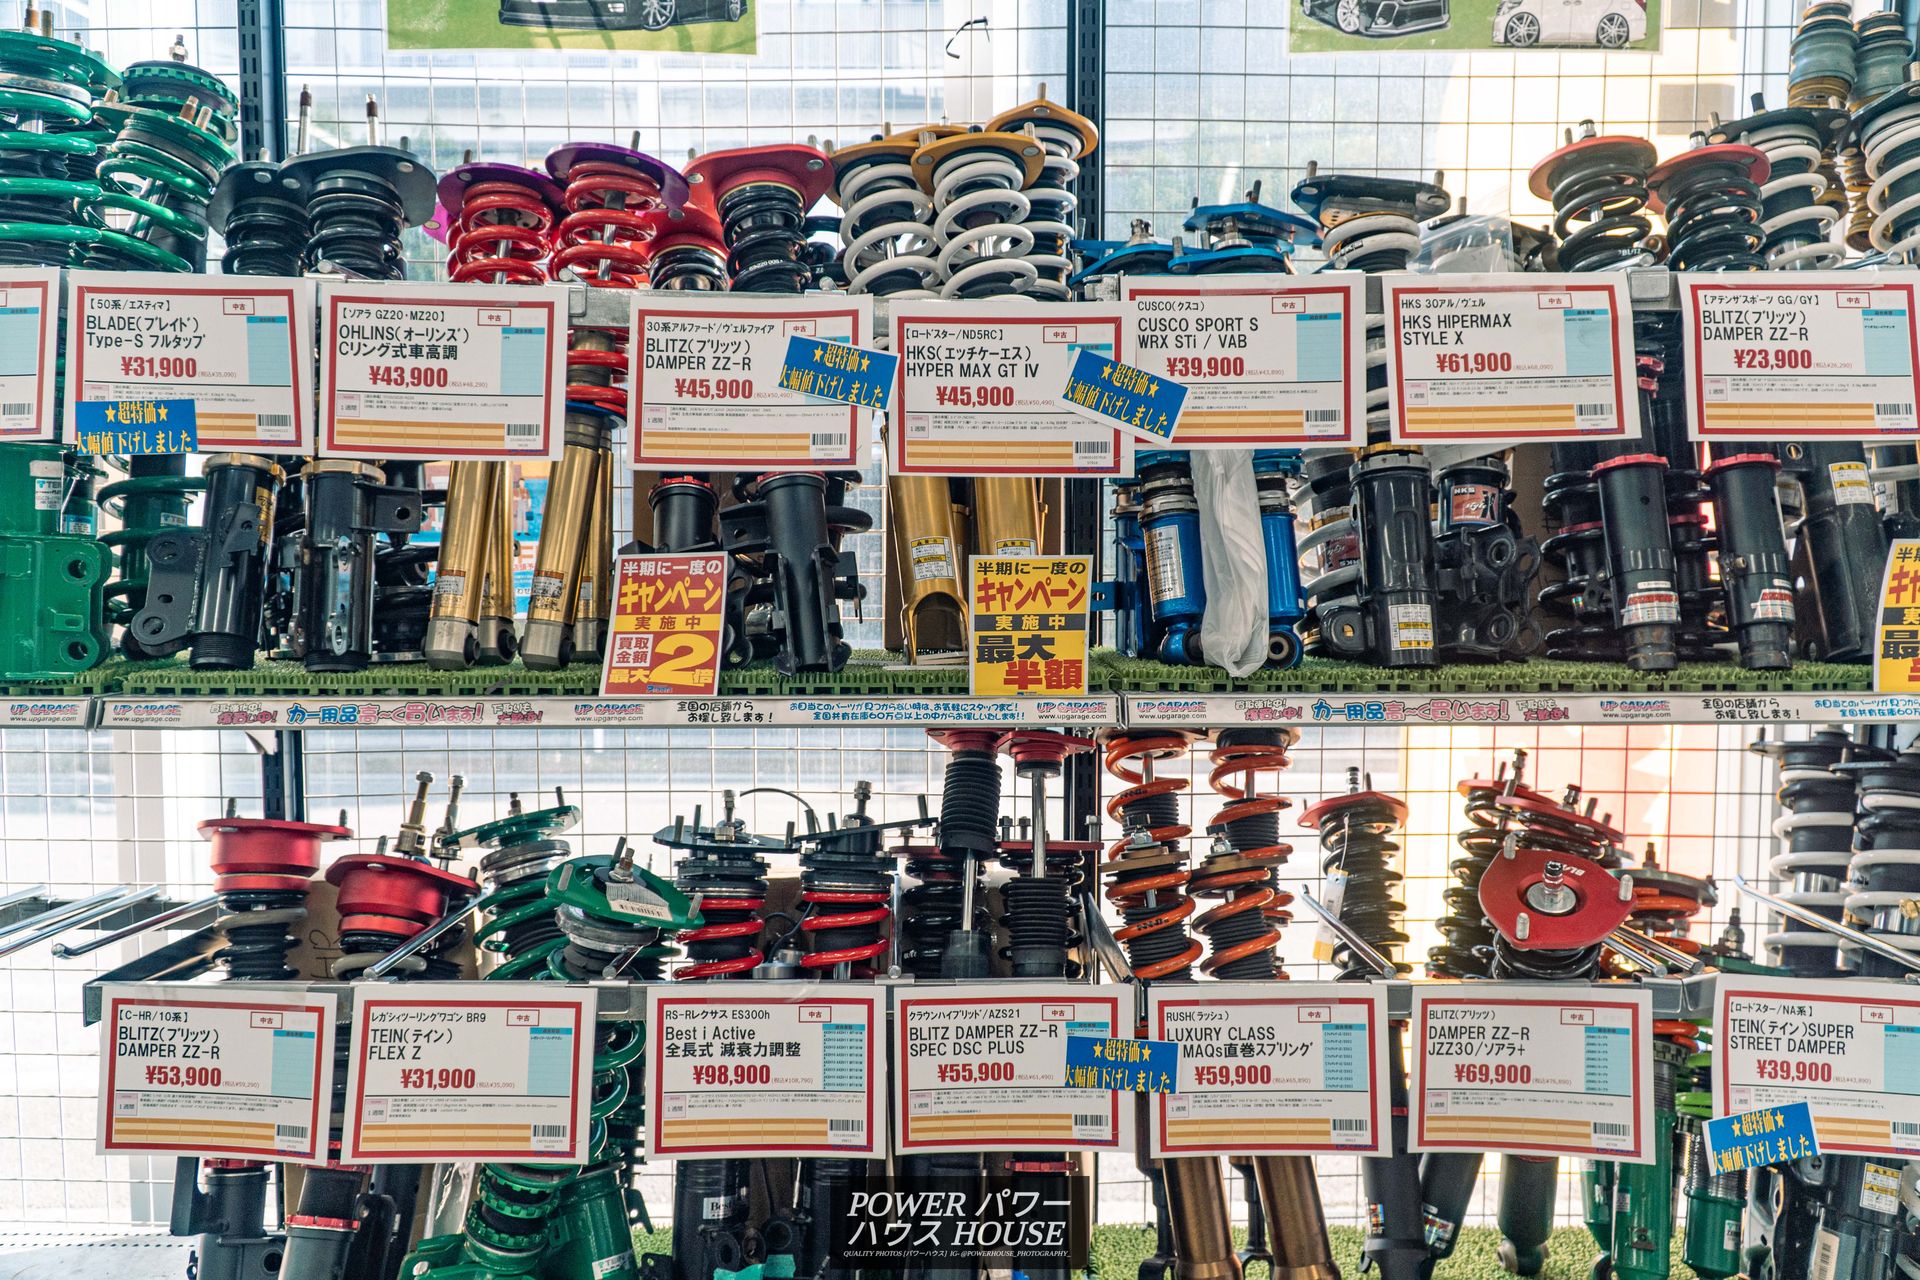
And plenty of suspension. I toured around the shop multiple times and fine-picked a few things.
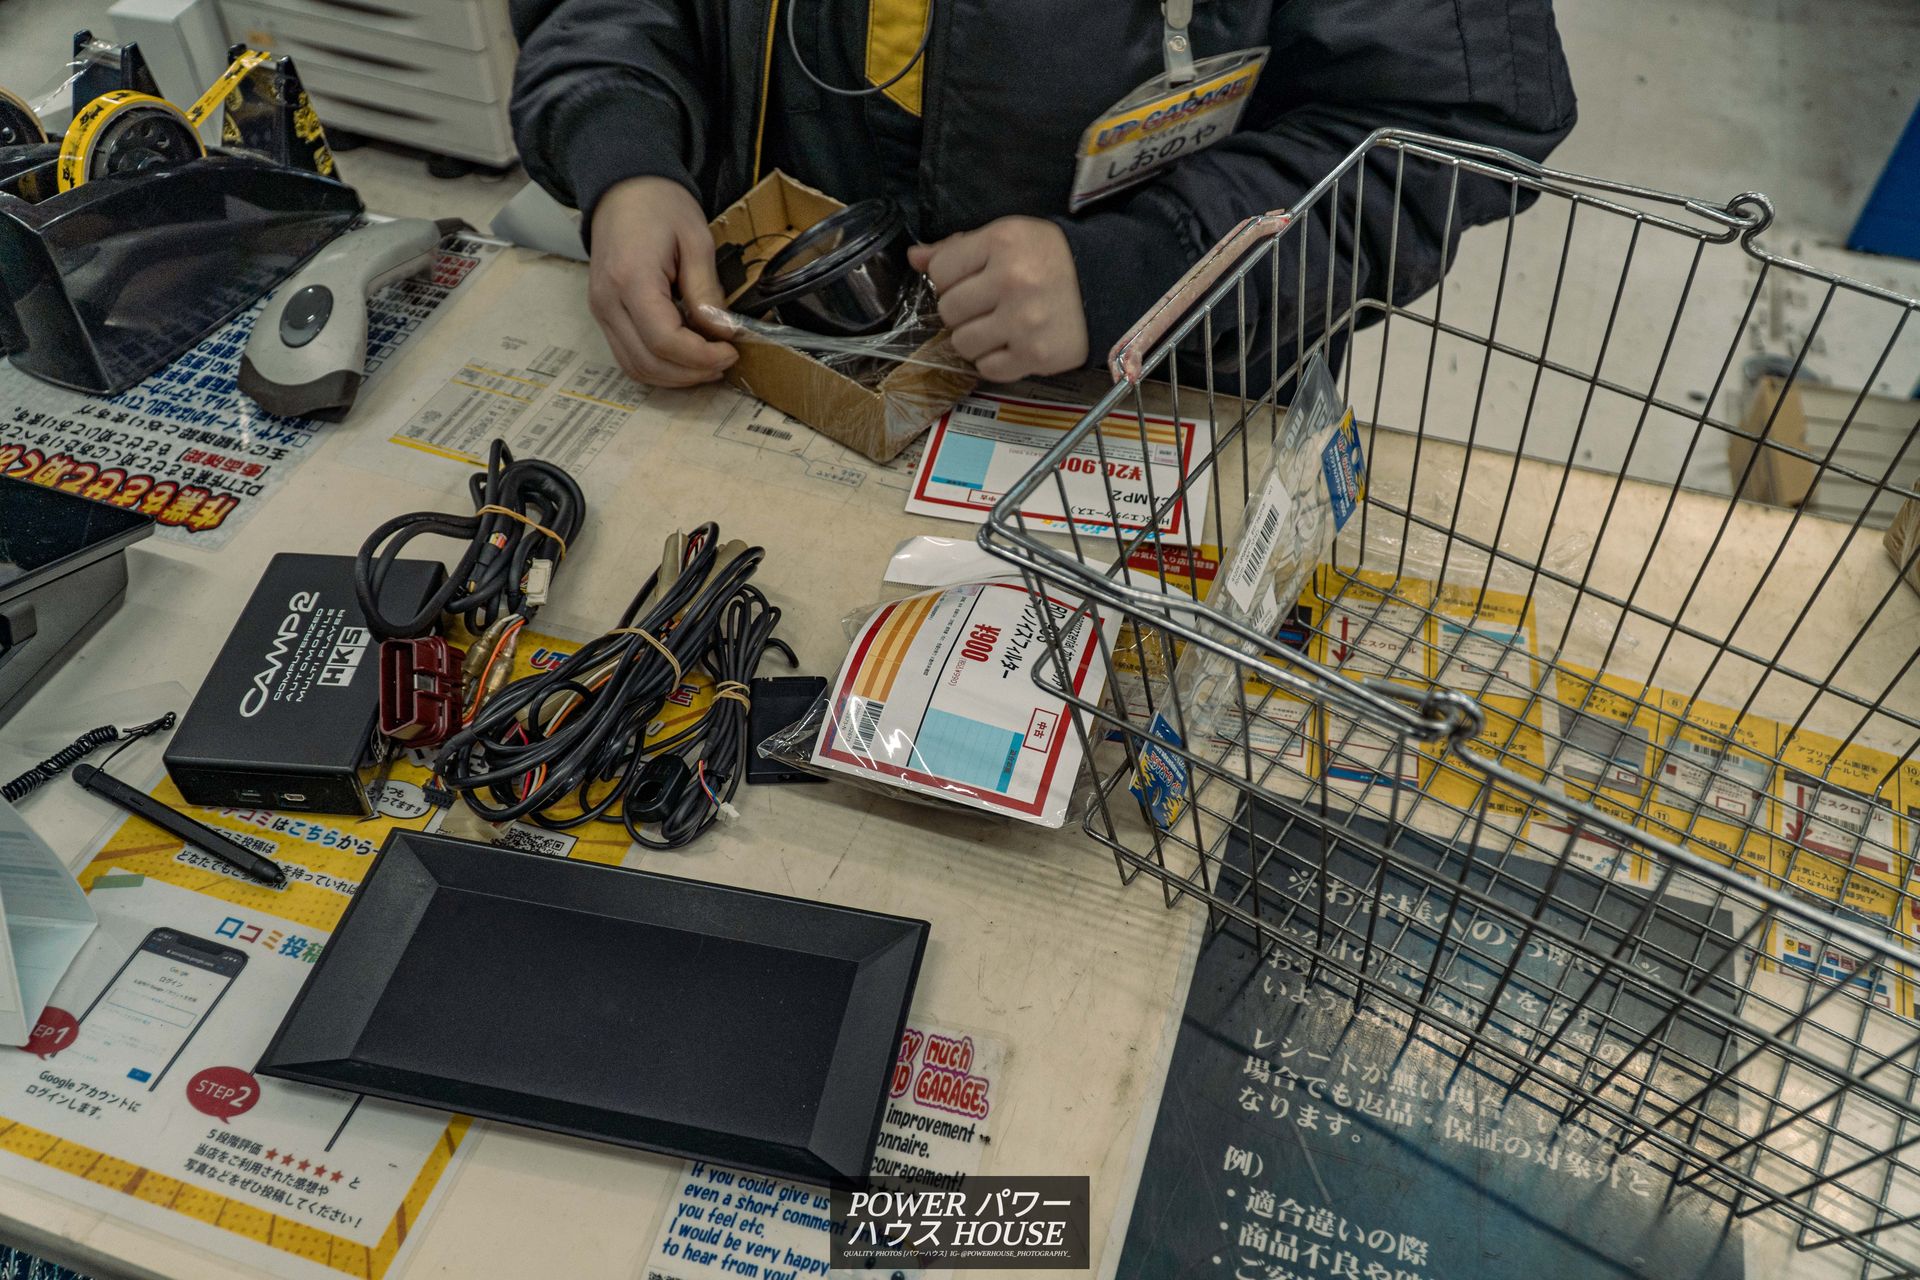
I got an HKS Camp2 system, a Trust GReddy 80mm boost gauge, a Pioneer Carrozzeria RD-038 line noise filter, and a few Up Garage stickers. Since we were in Yokohama, we also visited 130R Yokohama.
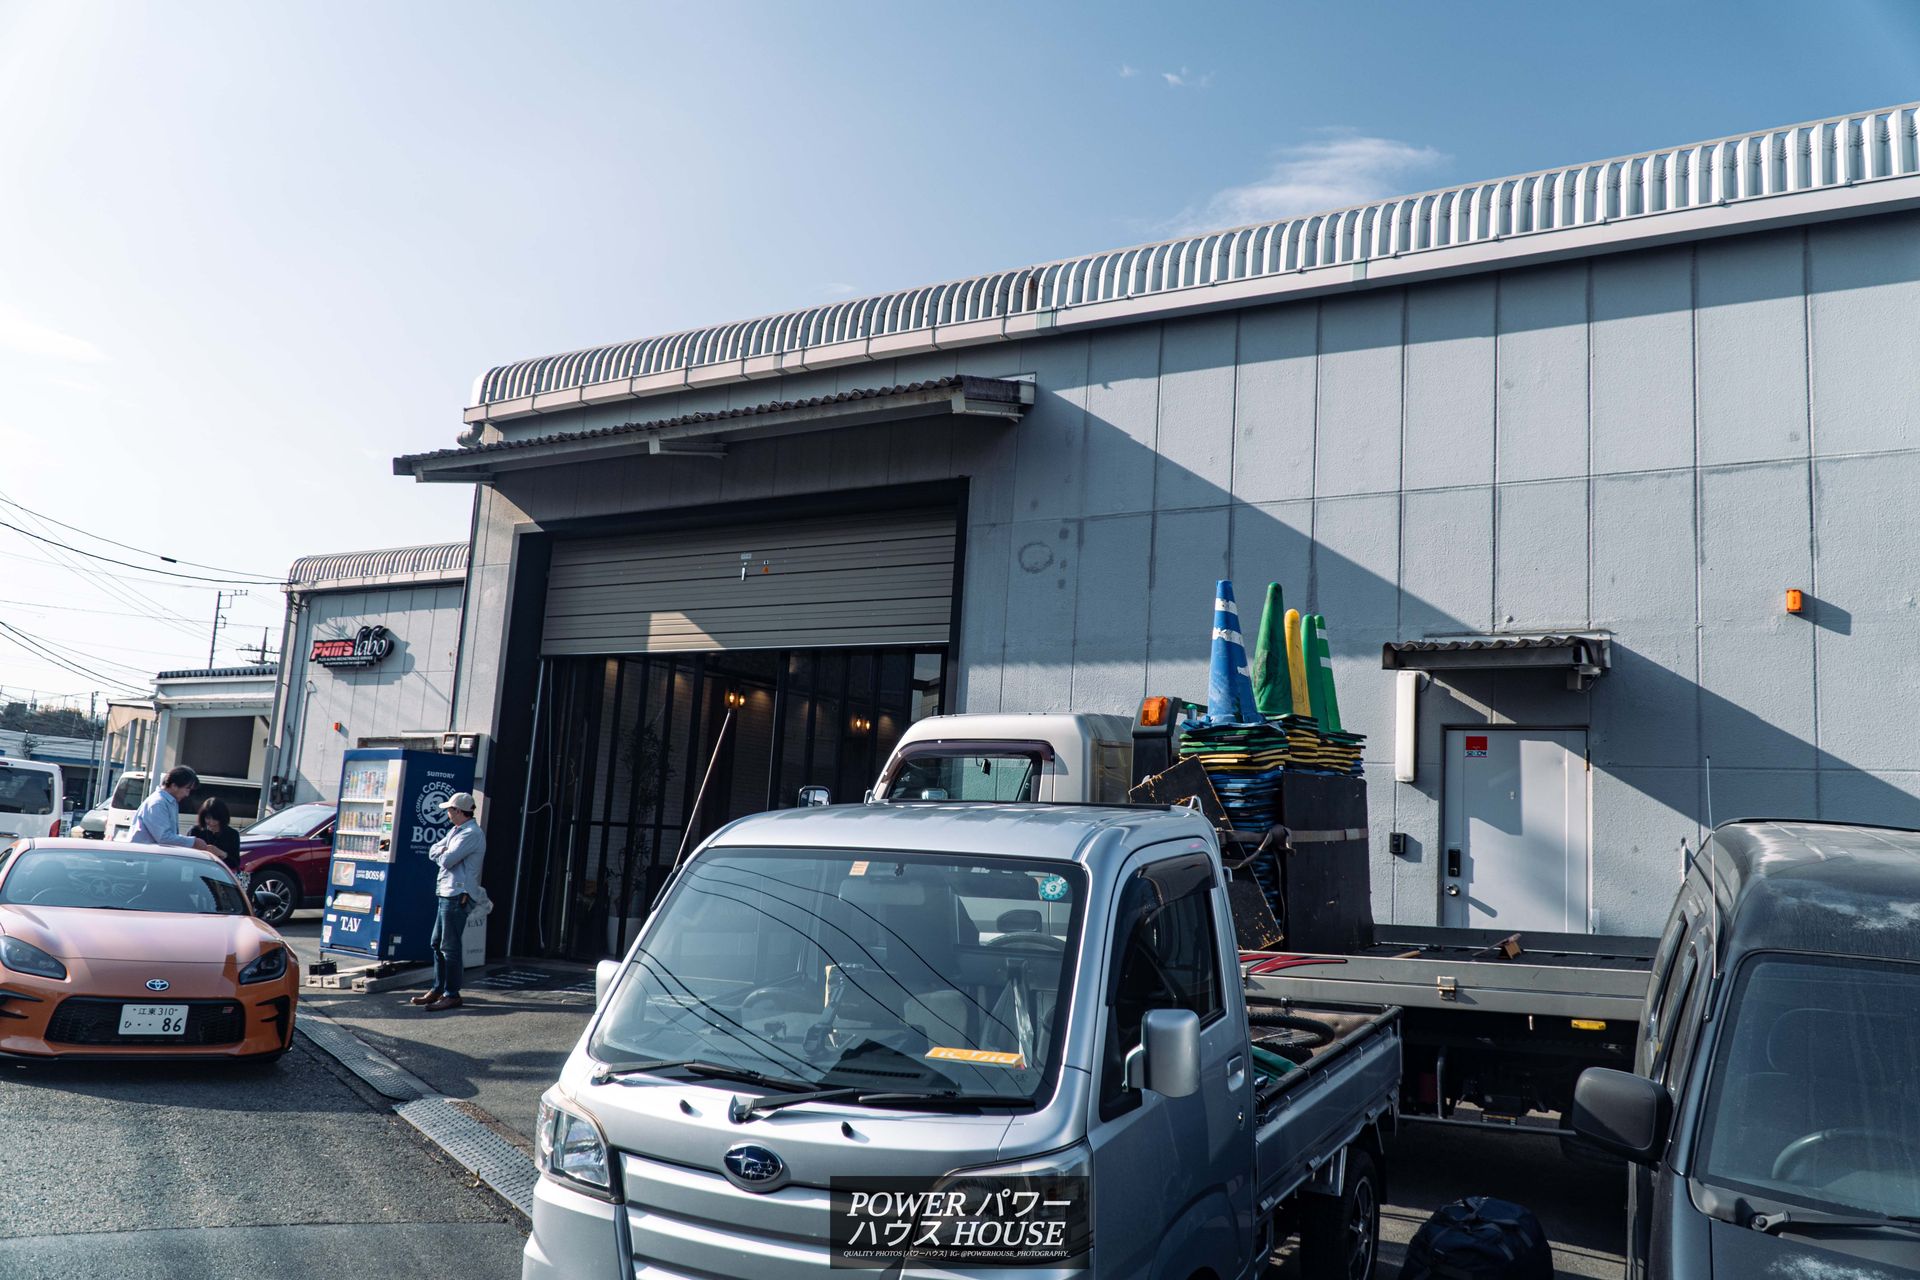
The shop had great vibes and some cool parts. Importantly though, I was lucky to meet Max Orido, shake his hand, and get a photo with him. Meeting one of the legends of Japanese car culture was definitely the highlight of the trip.
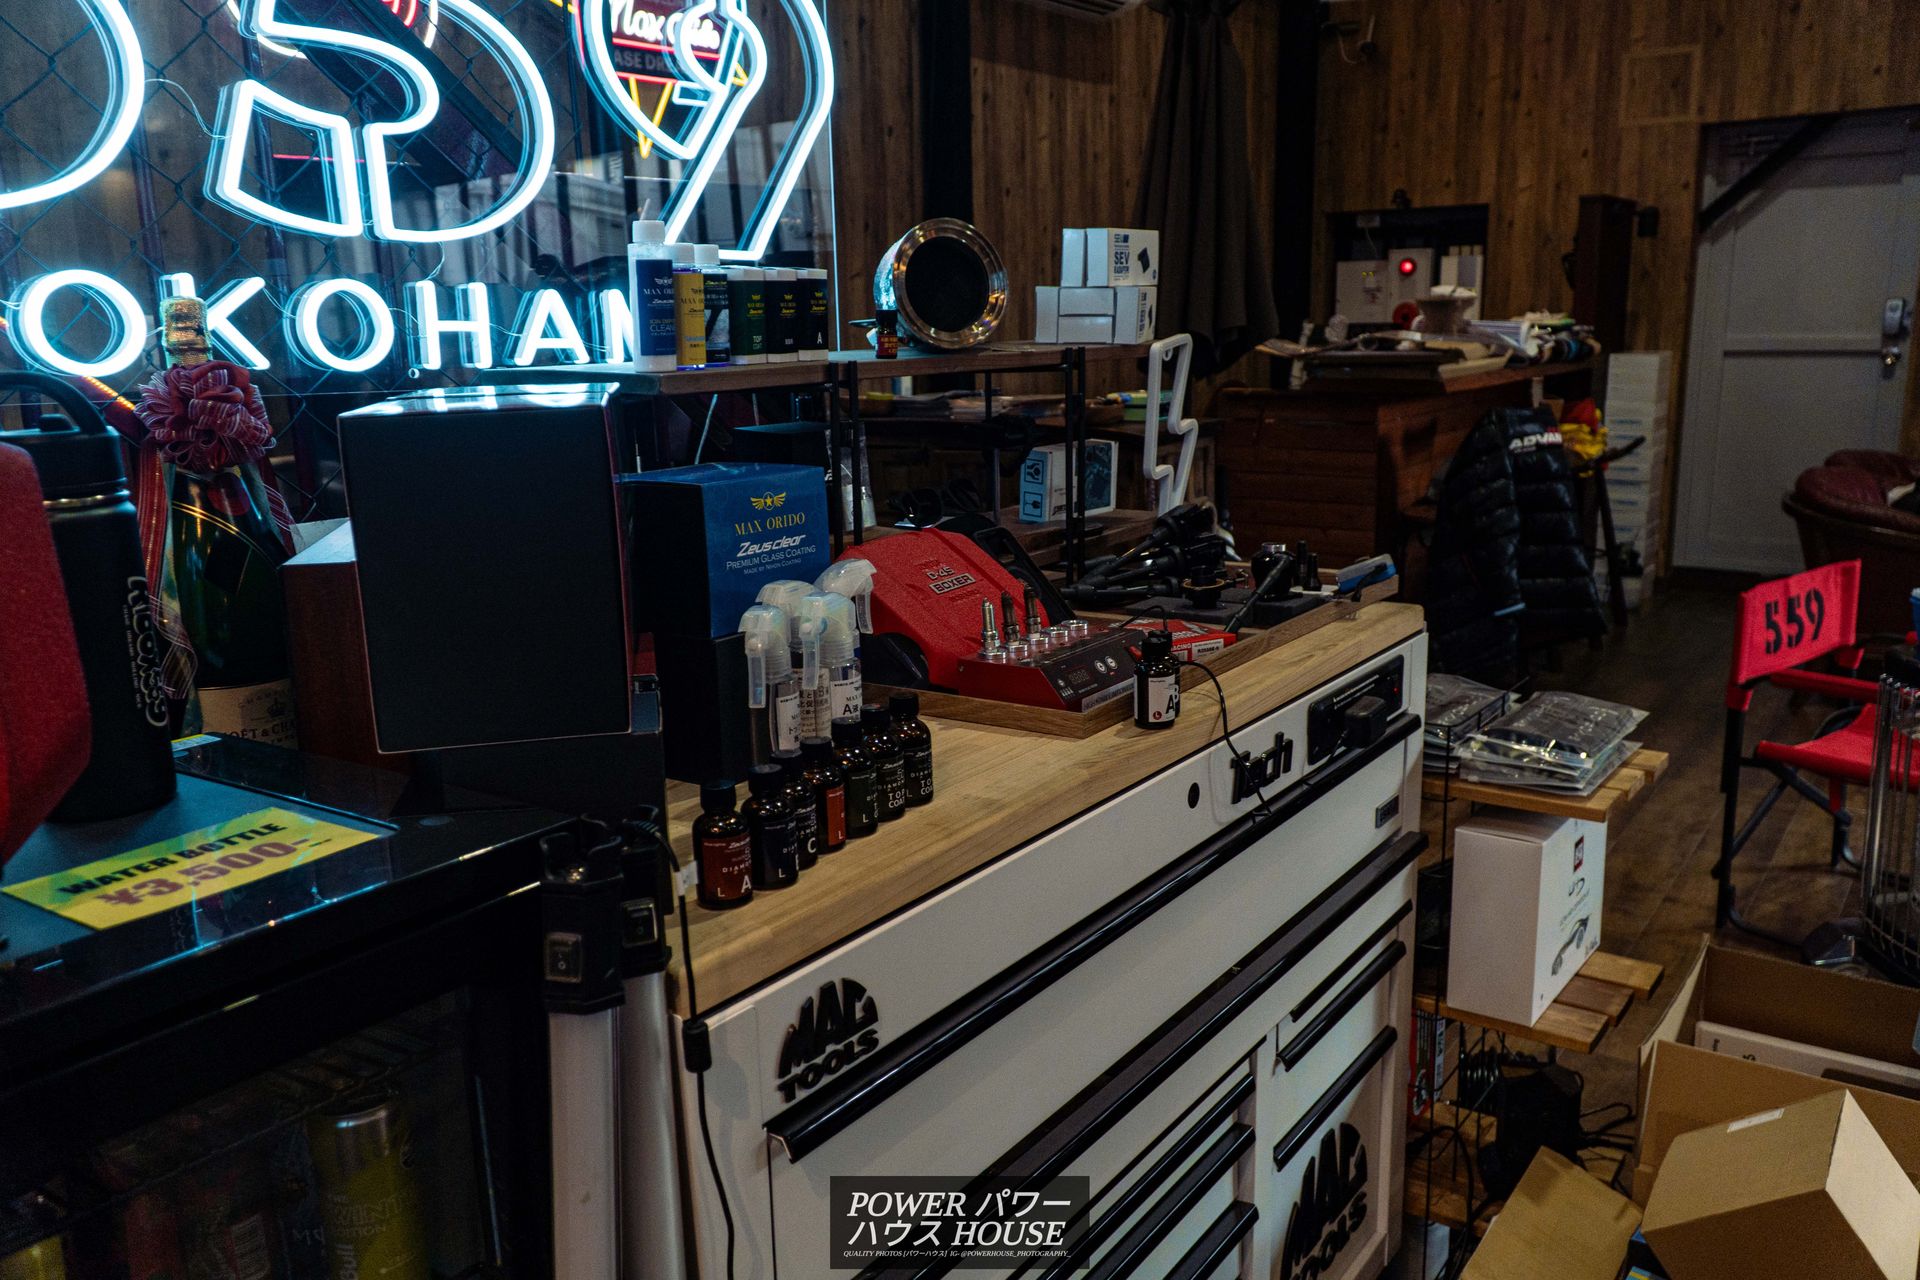
From here, I came out with a photo taken along with Max Orido, a few 559 shirts, a Max Orido metal badge, and some leather Max Orido seat belt pads. After this, we had a quick stop at Daikoku PA before visiting Top Secret.
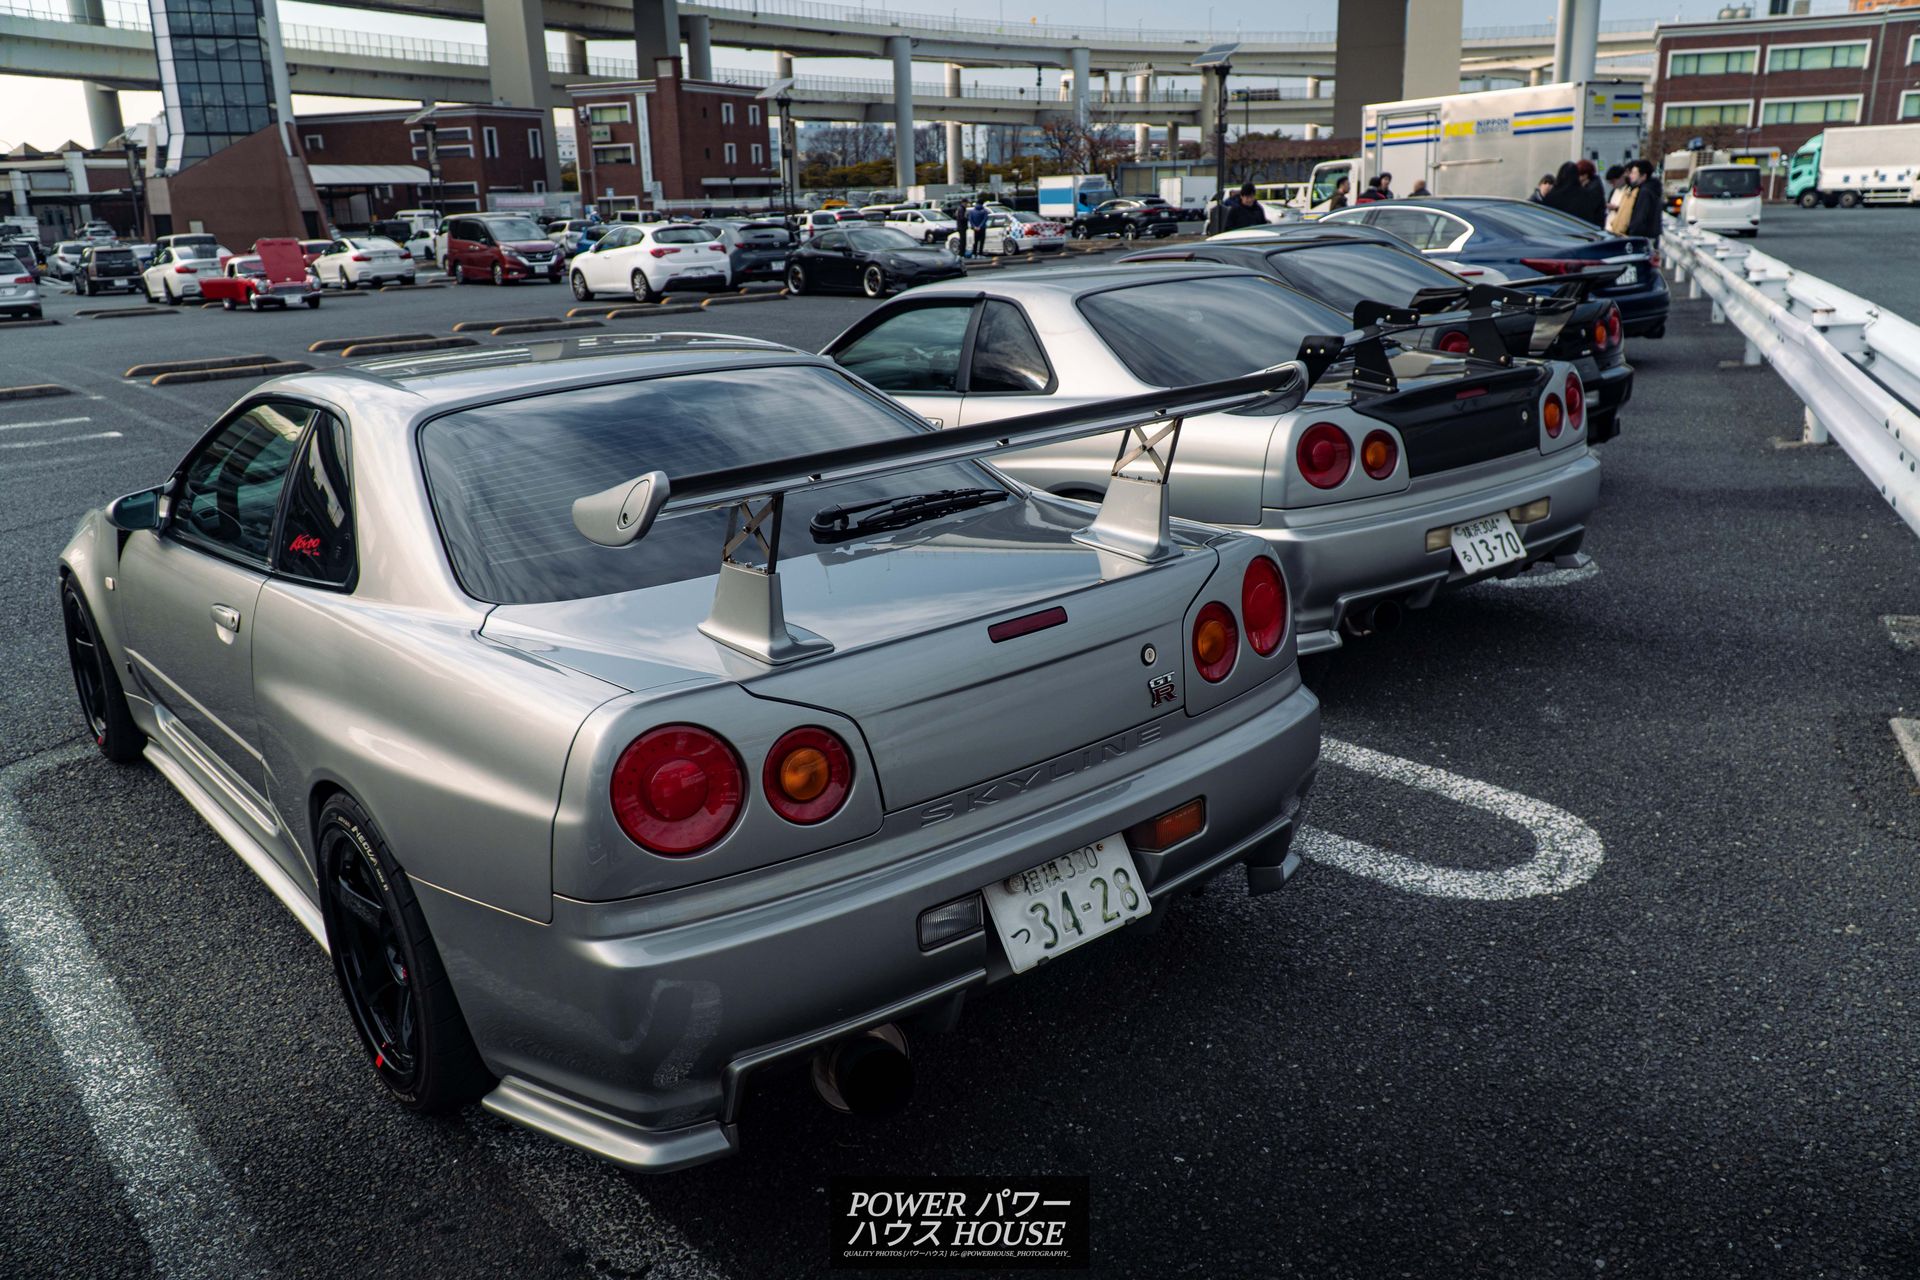
Even though it was mid-day, there were some cool cars, including this row of R34s.

A nice 86, S13, and R34.
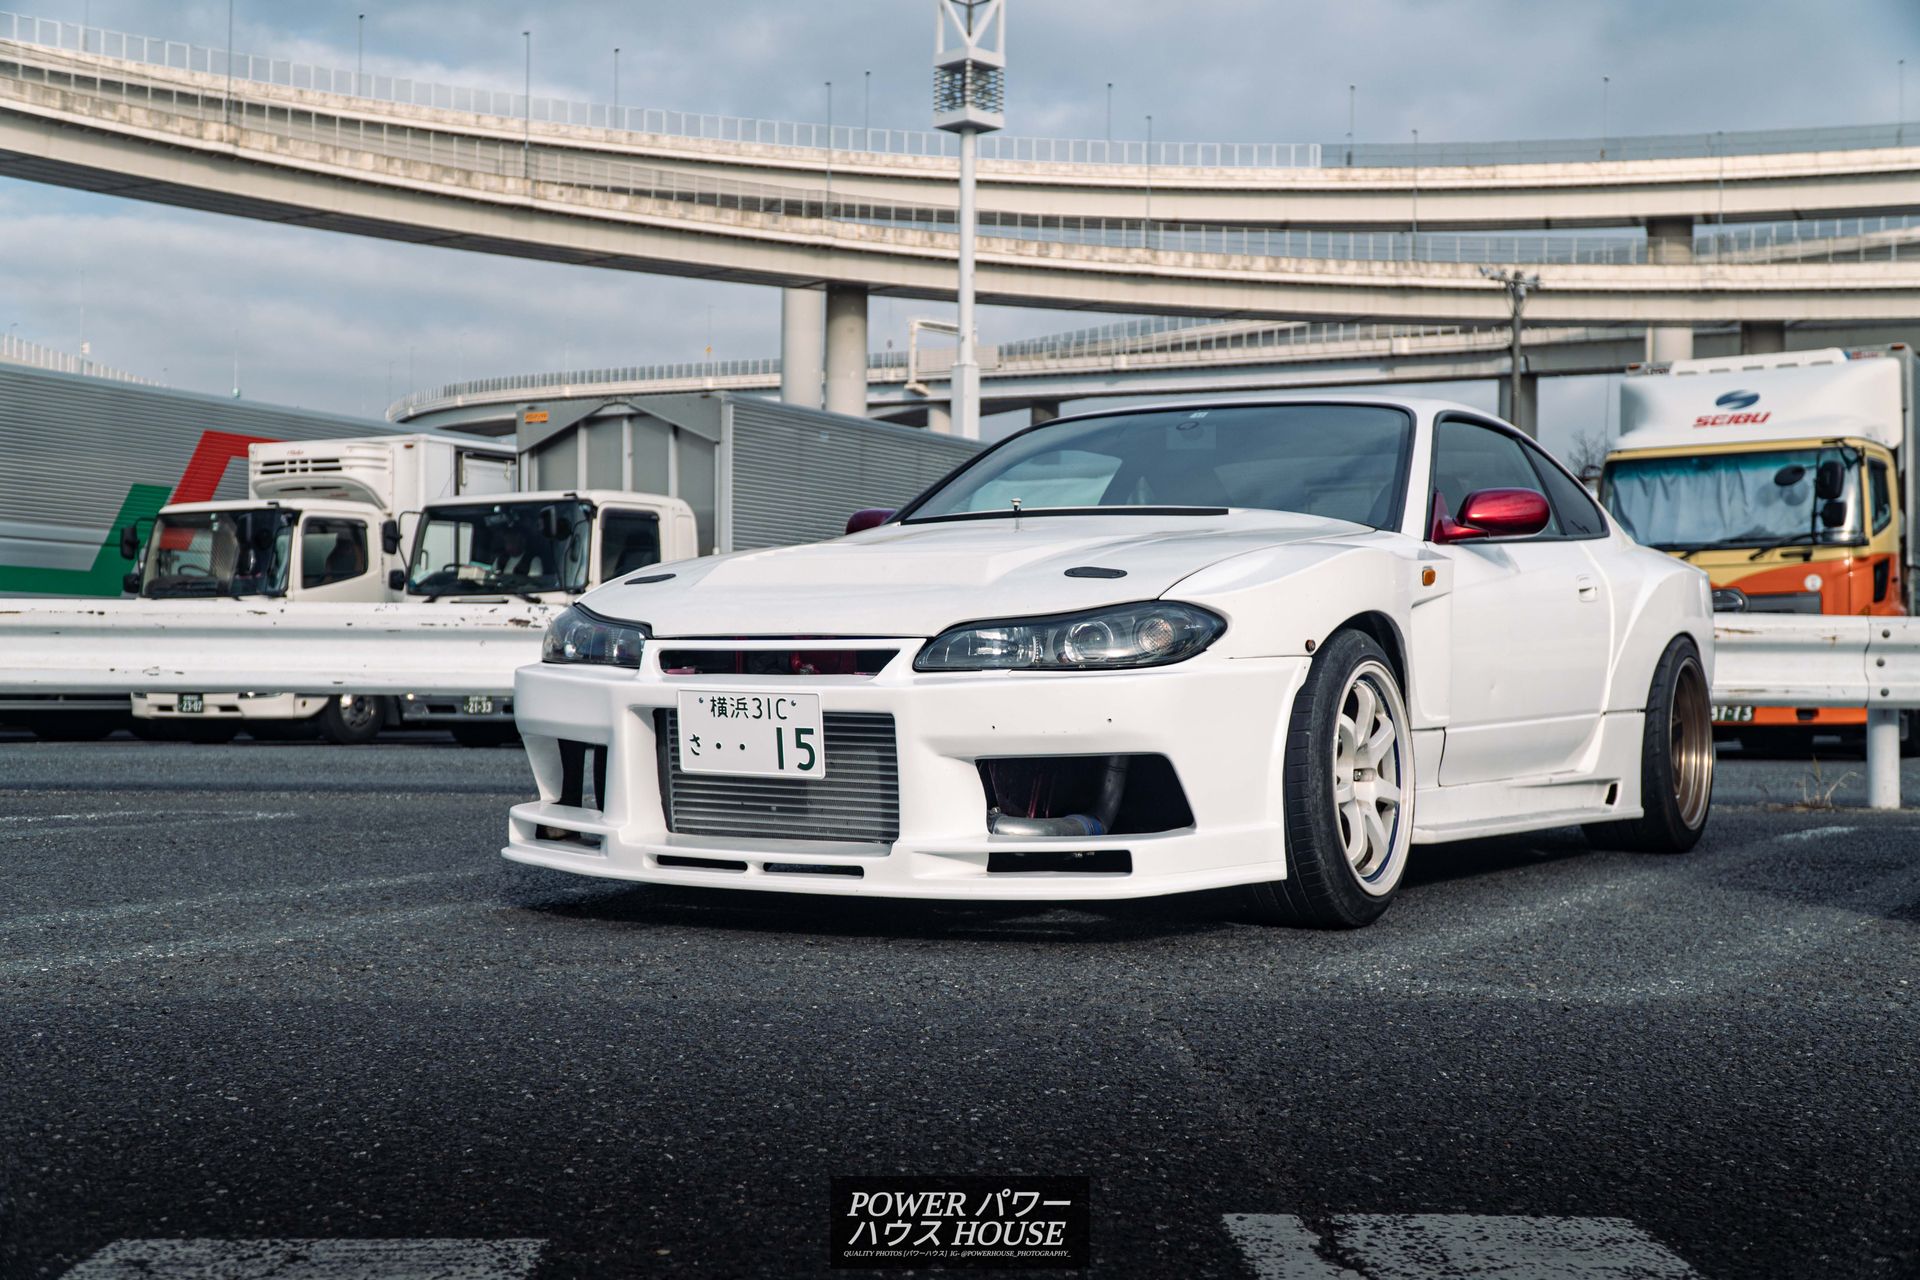
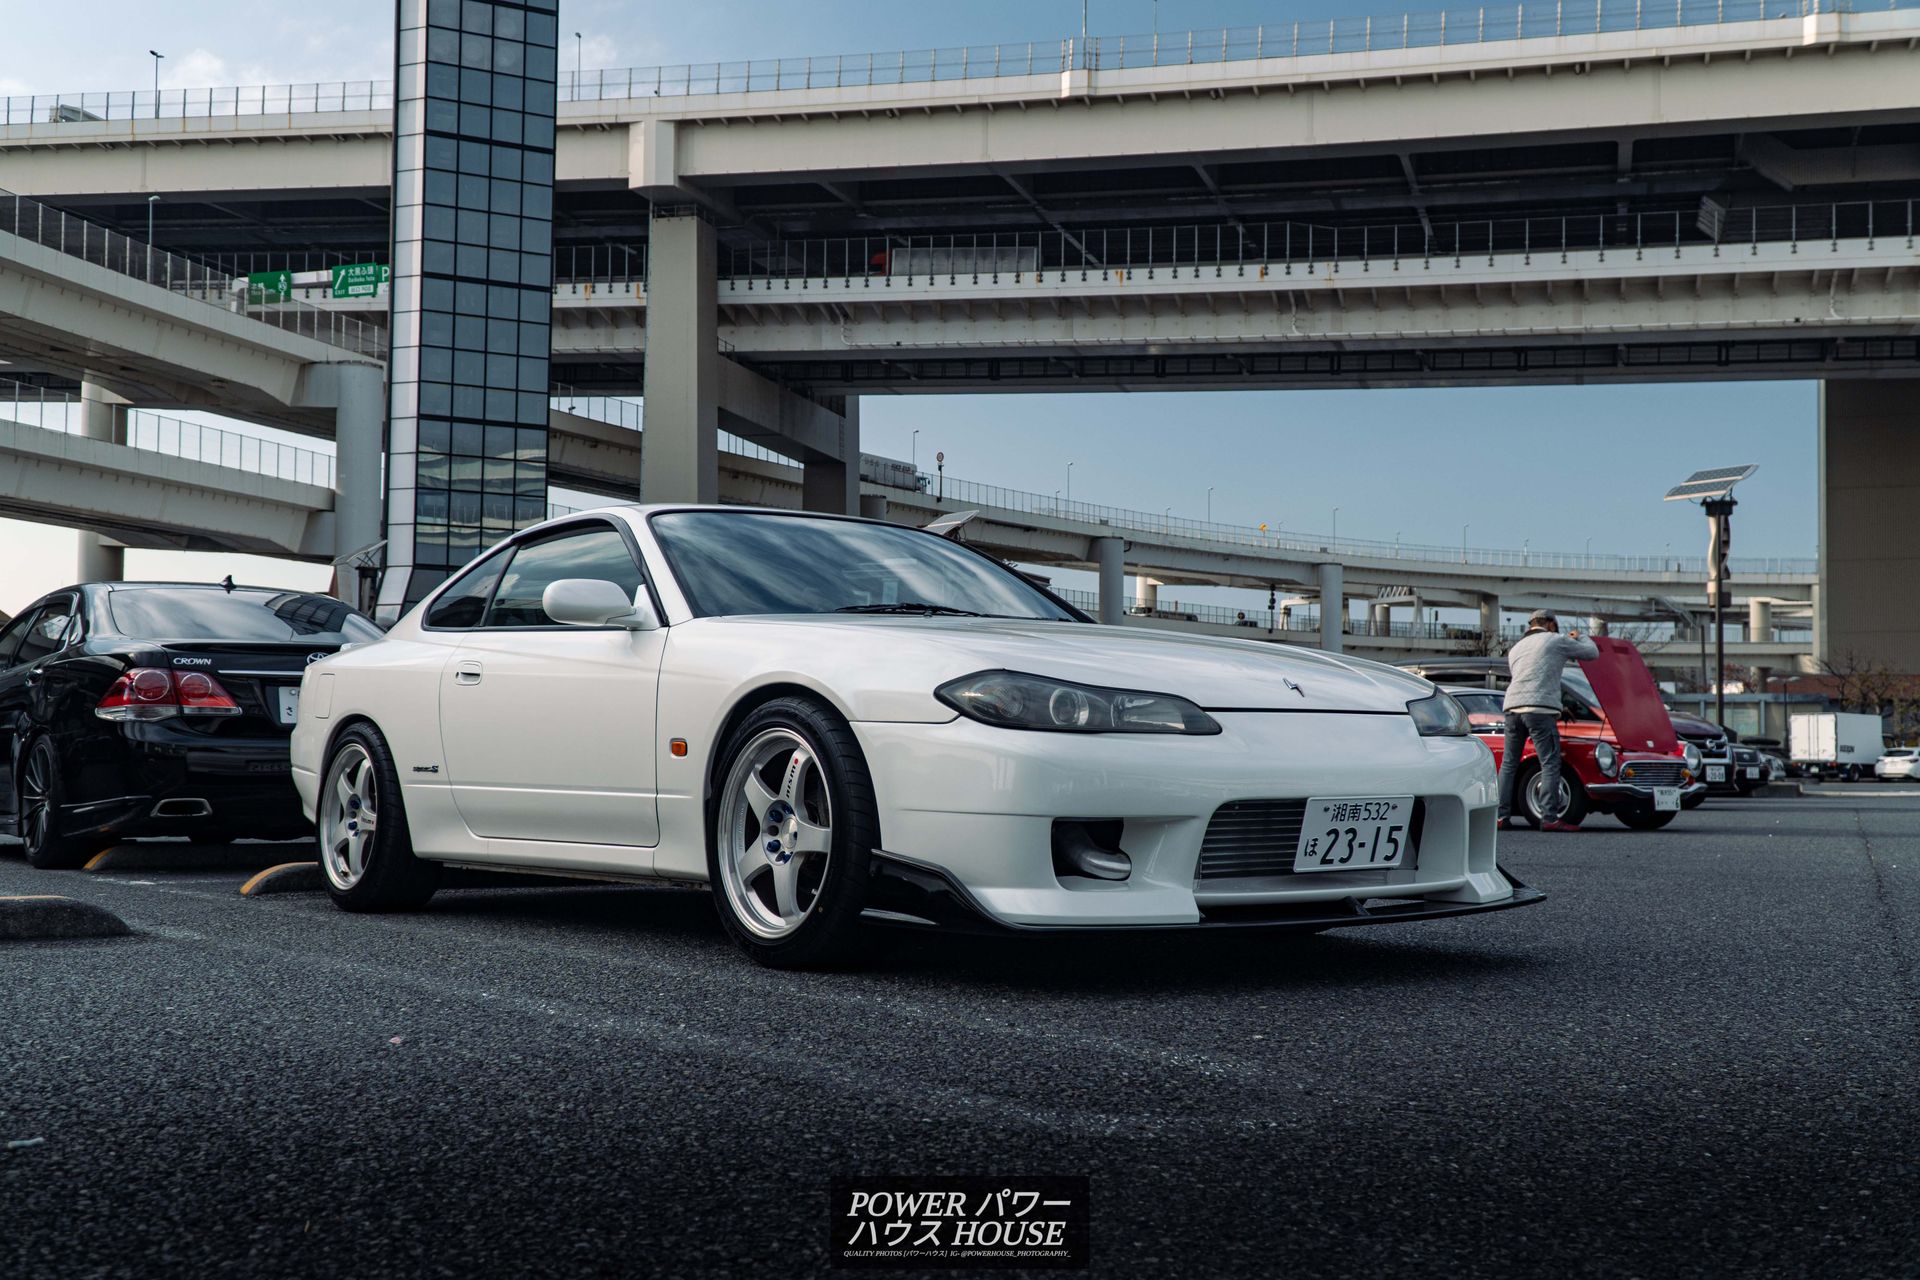
A few S15's.
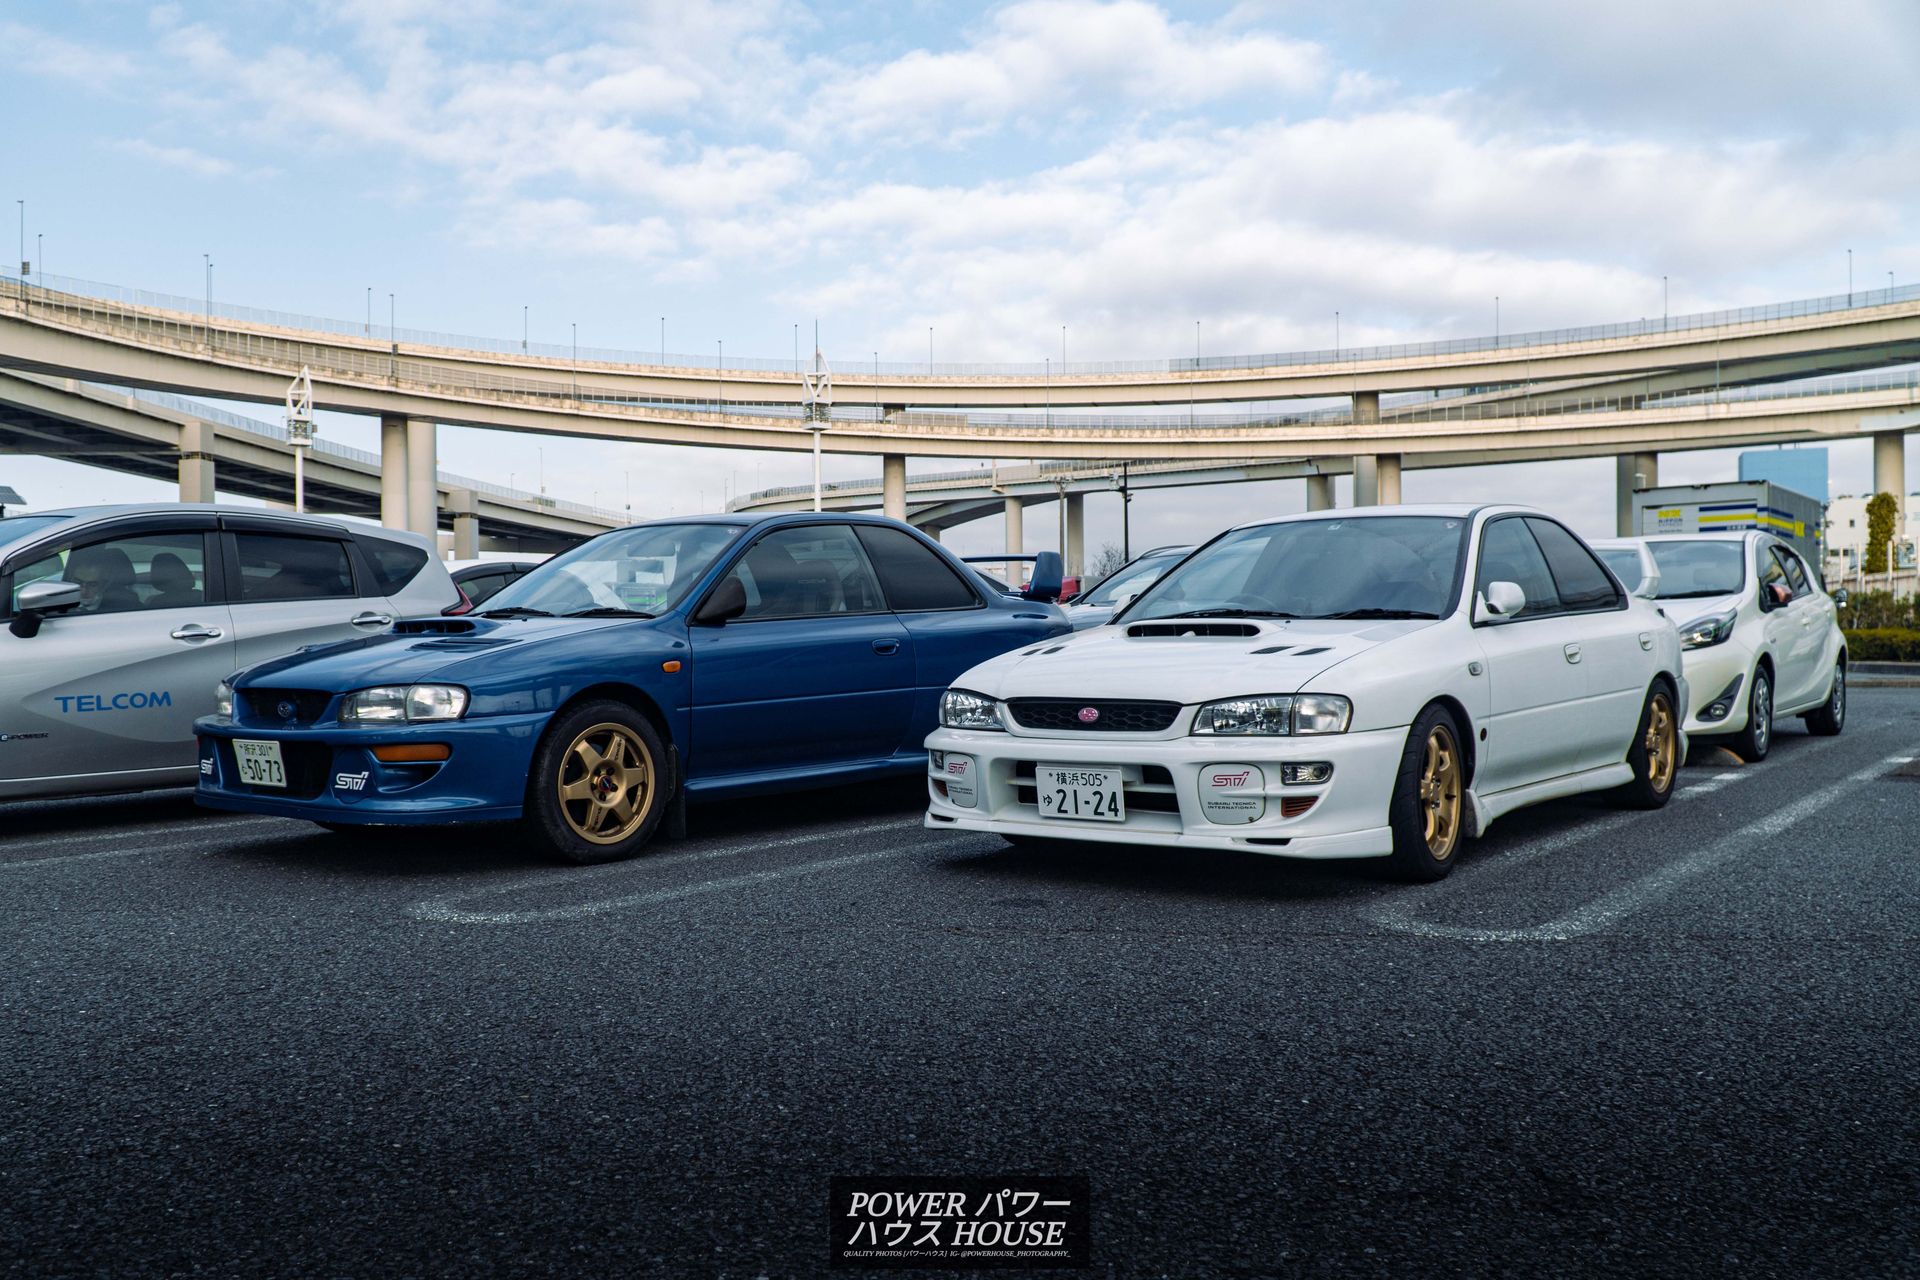
A 22B-replica and WRX STi GC8.
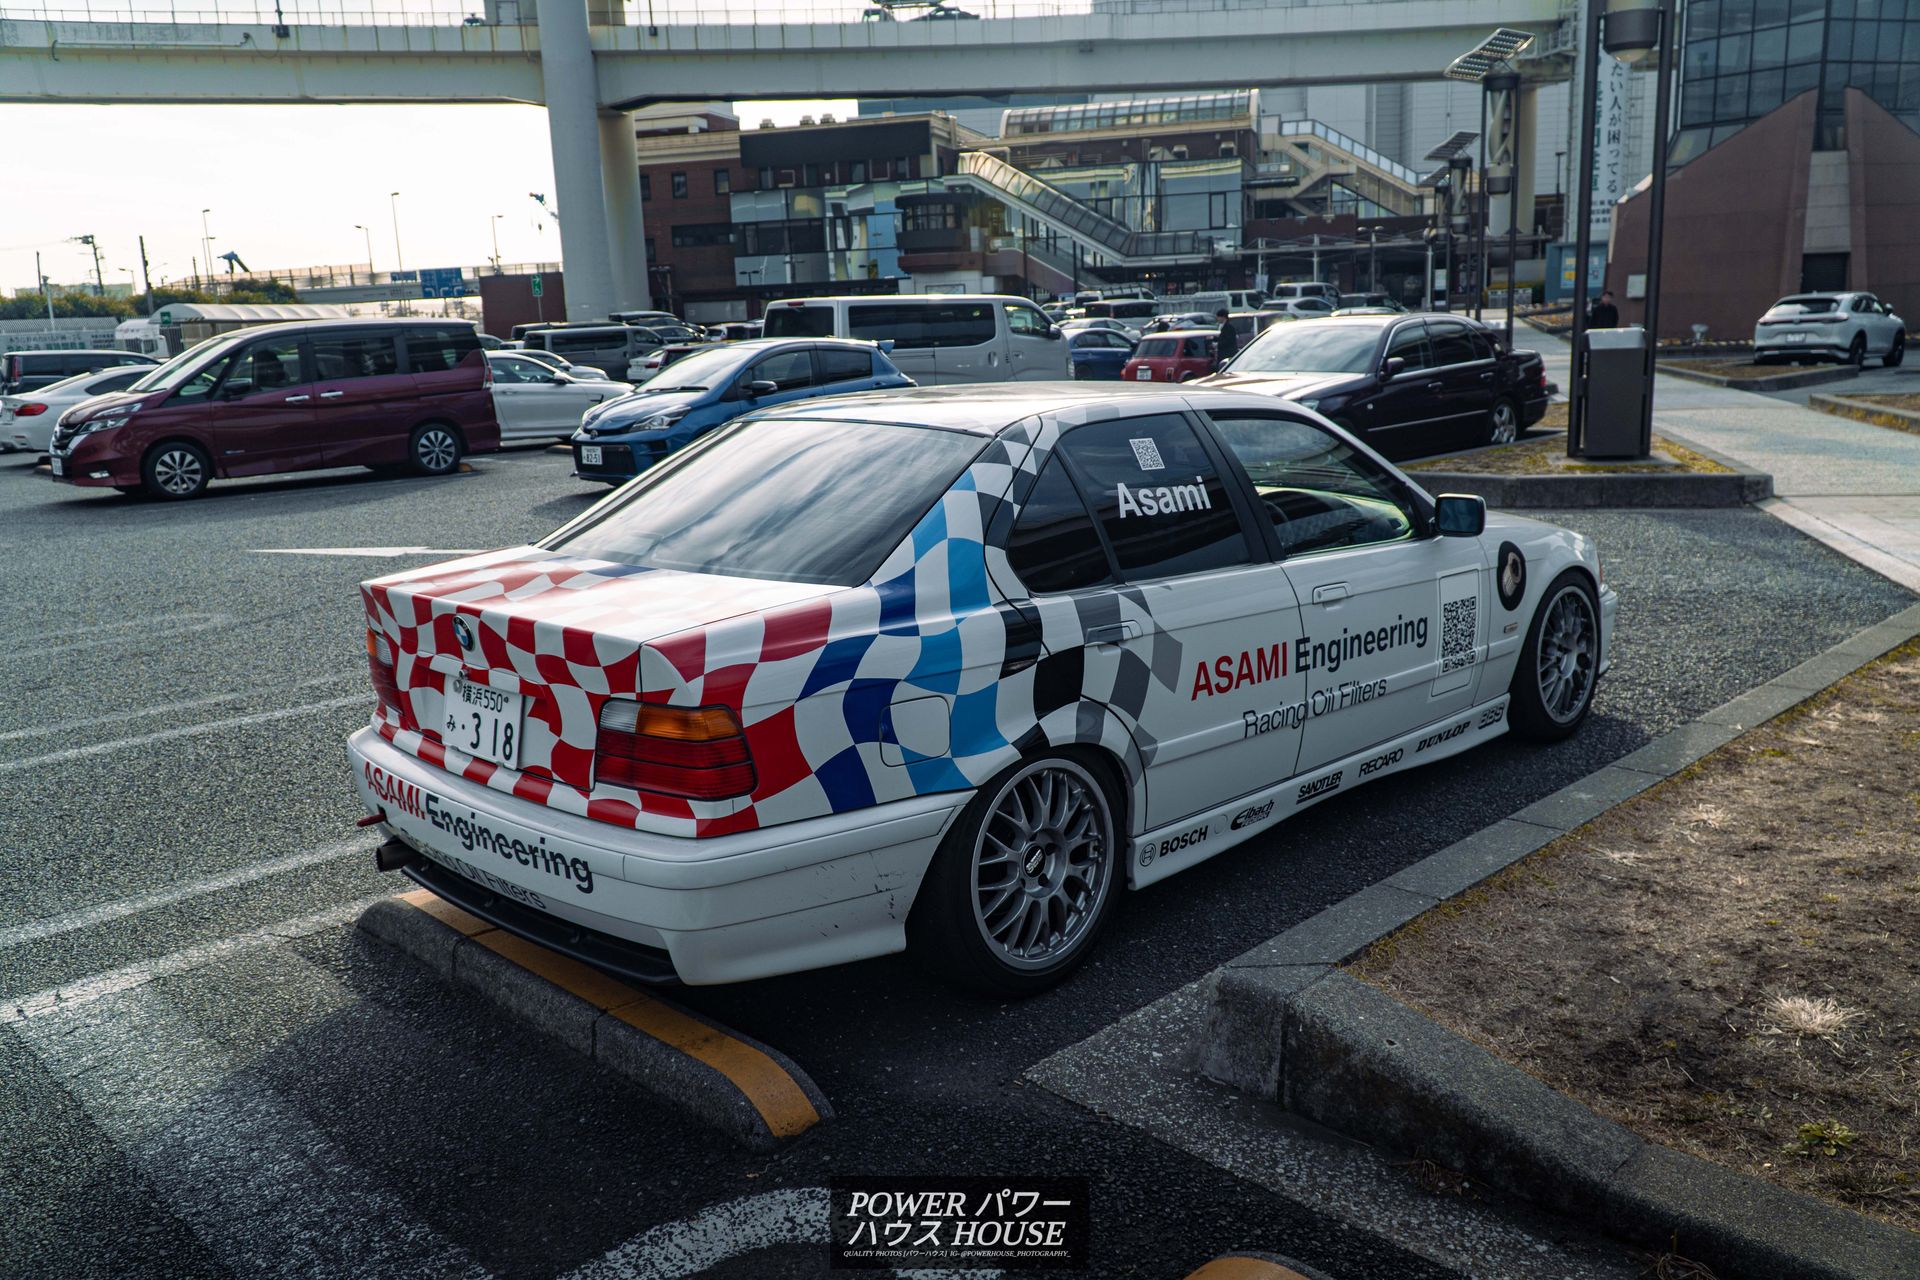
The Asami Engineering E36, and a lot more cars aswell. After a long drive through the expressway, Top Secret was finally in sight.
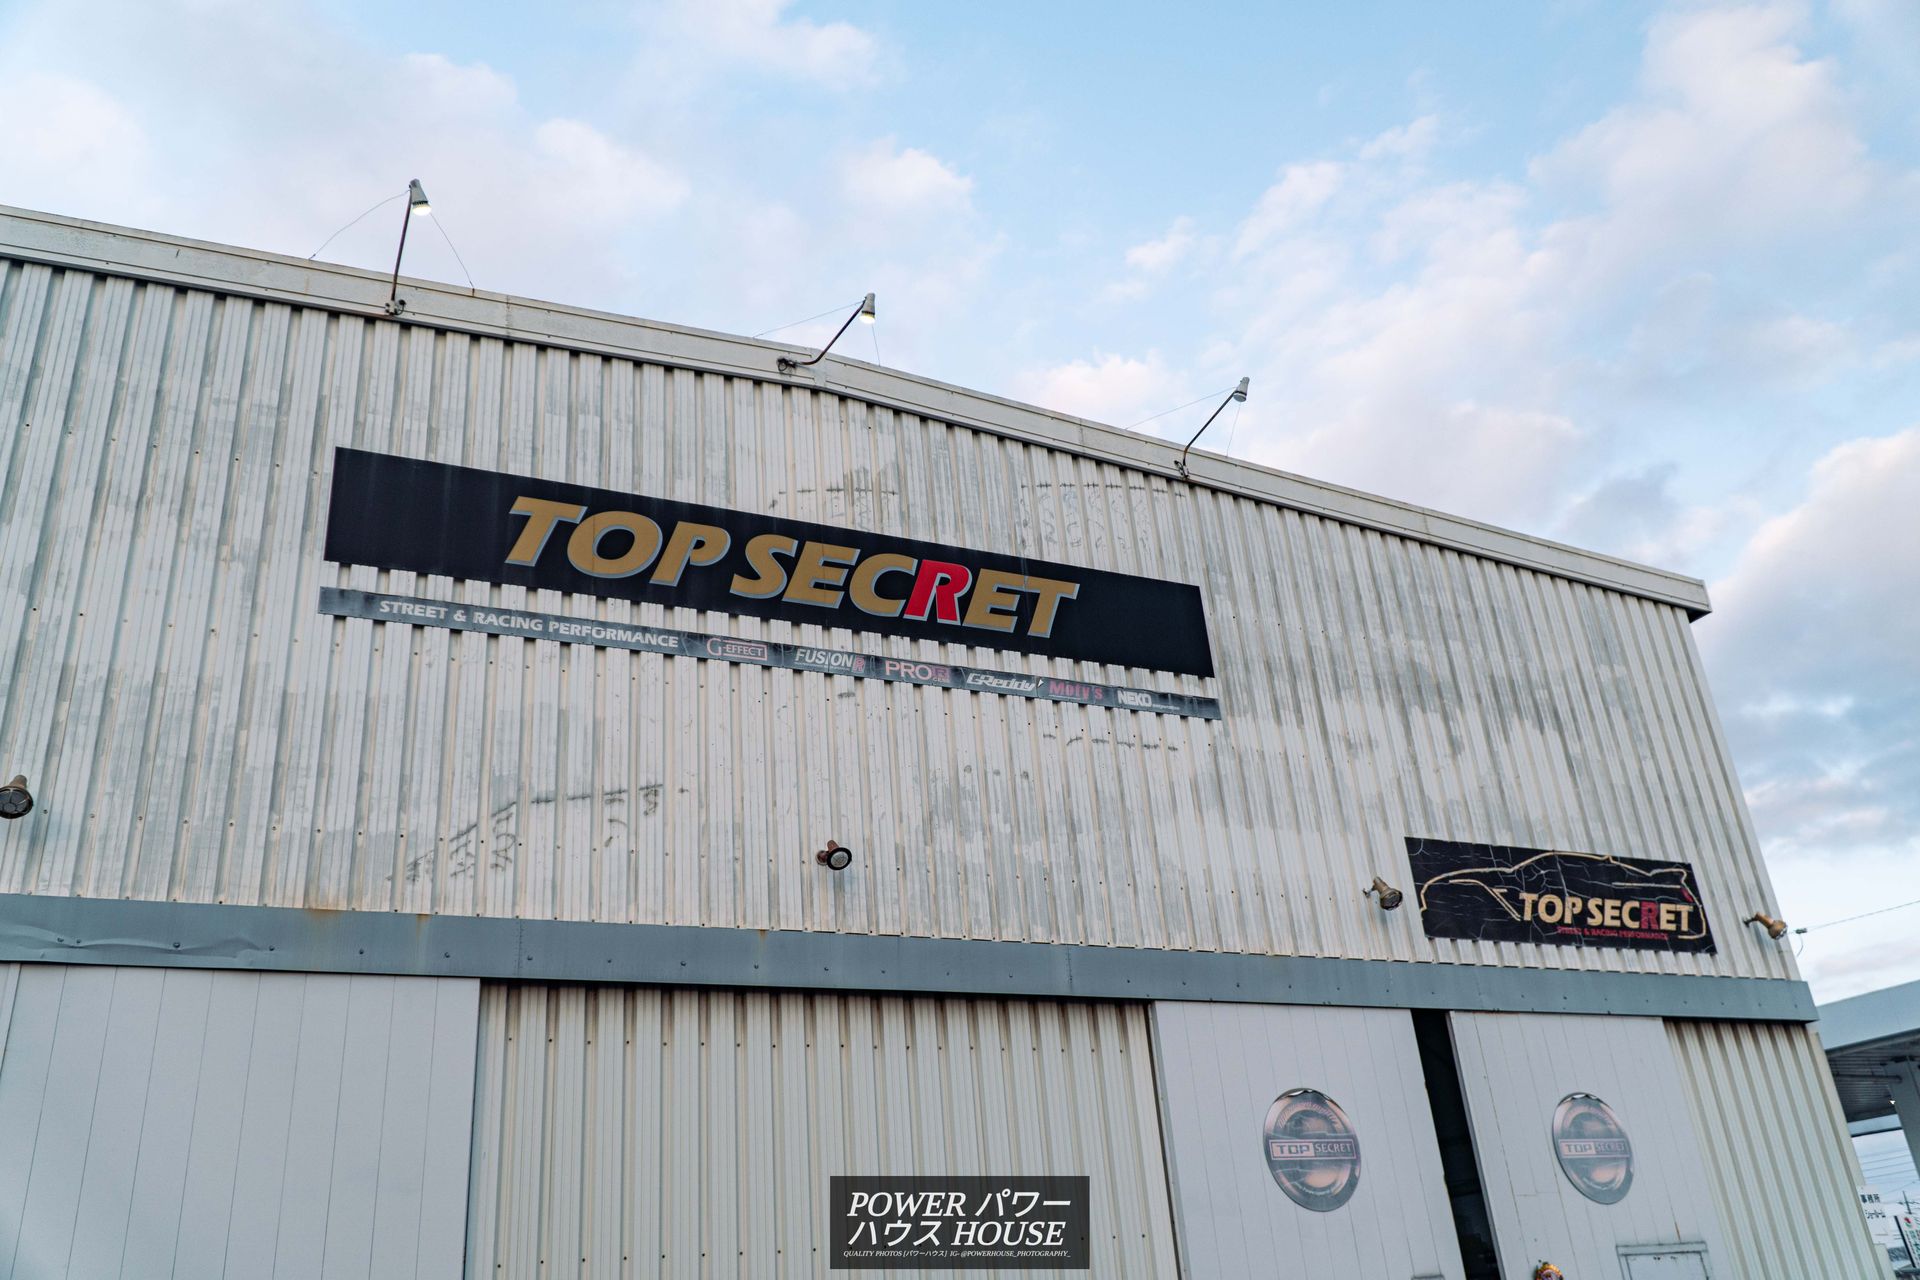
Making our way out back, we saw a neat little gift shop.
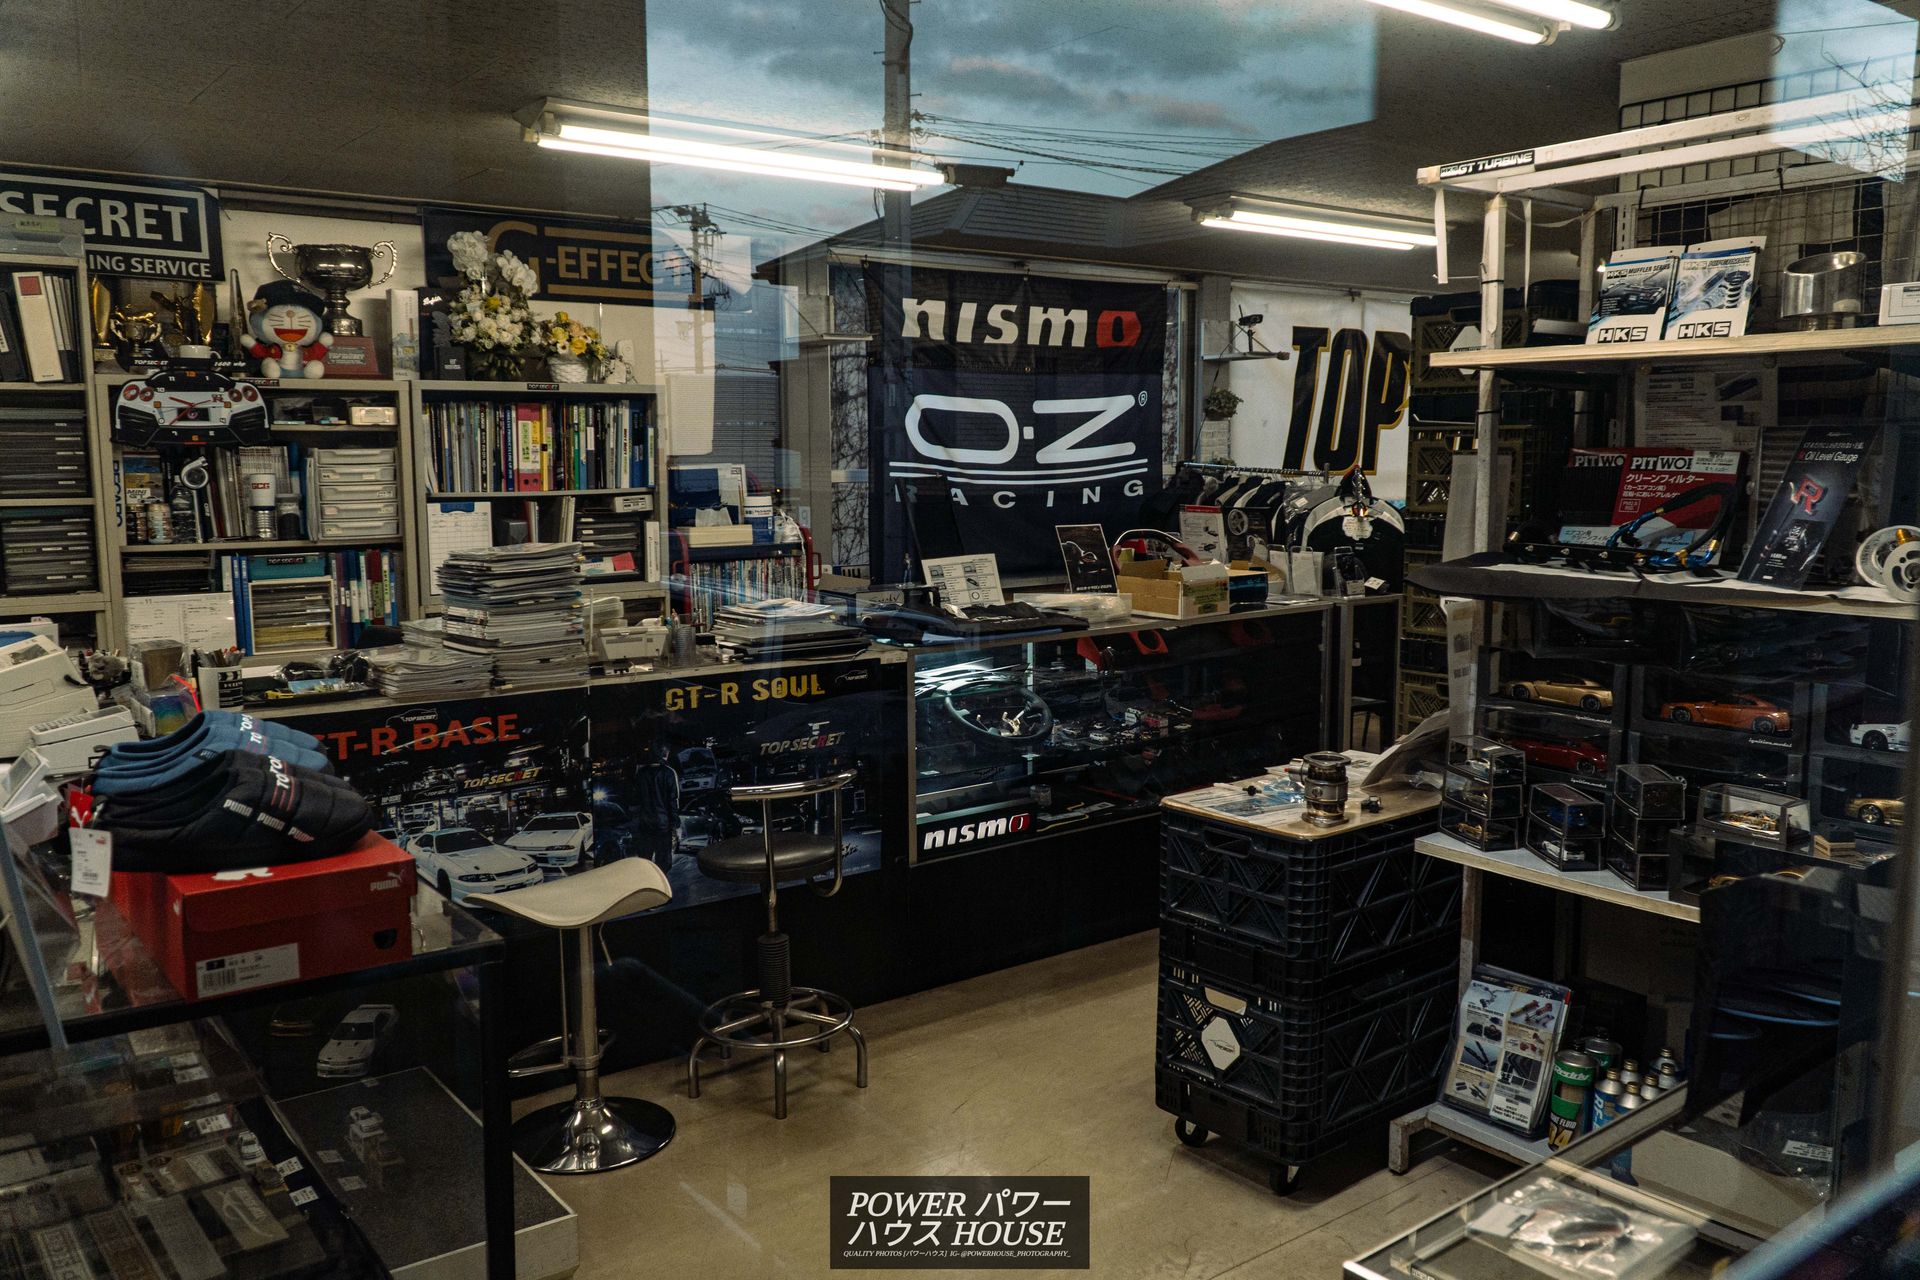
This was packed with old-school parts from the 90s' and early 2000s'.
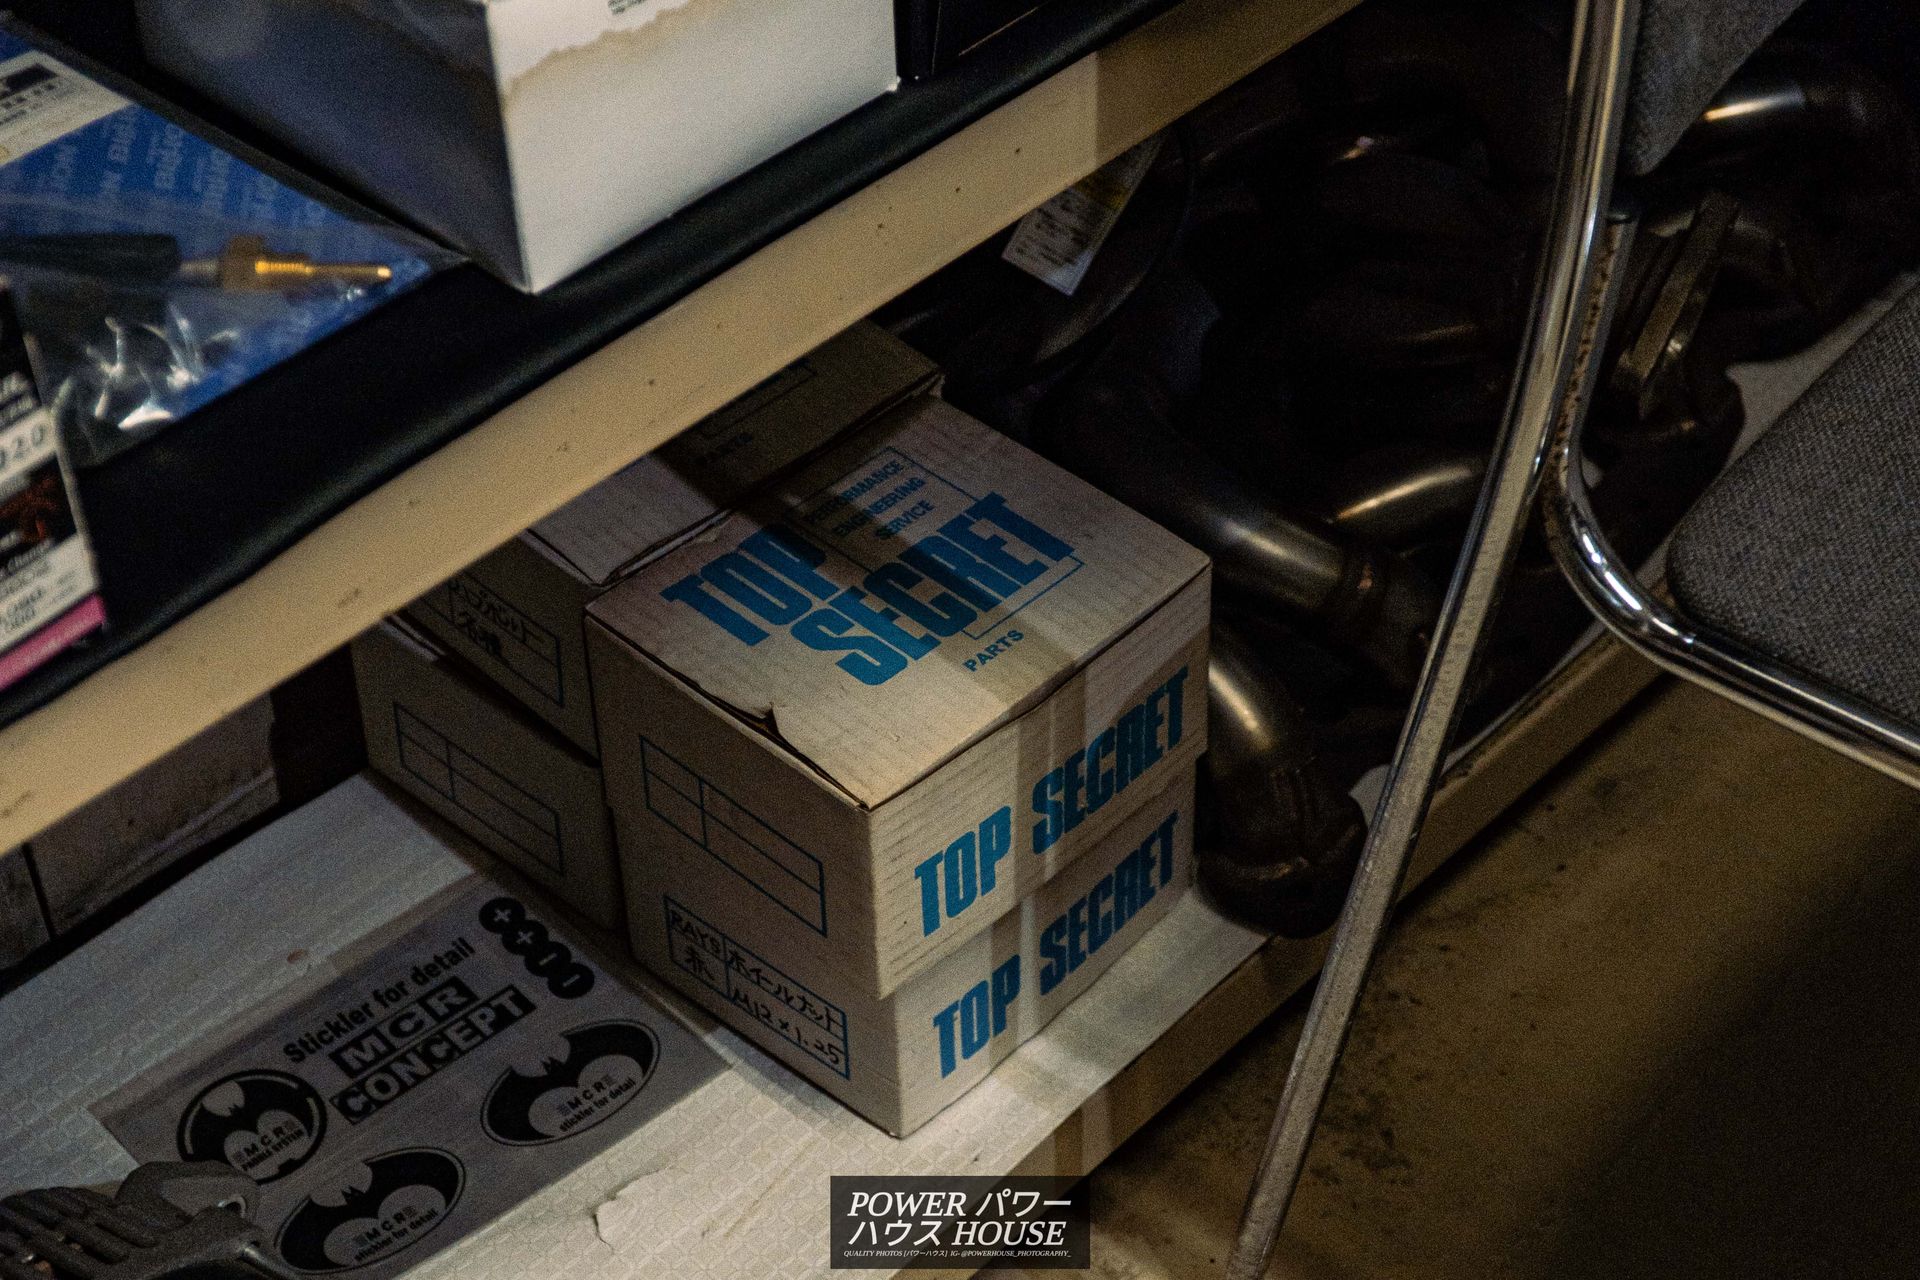
Being a little light-pocketed by this time, I wasn't able to buy anything for the Crown here but was only able to buy a mechanics wind-breaker.
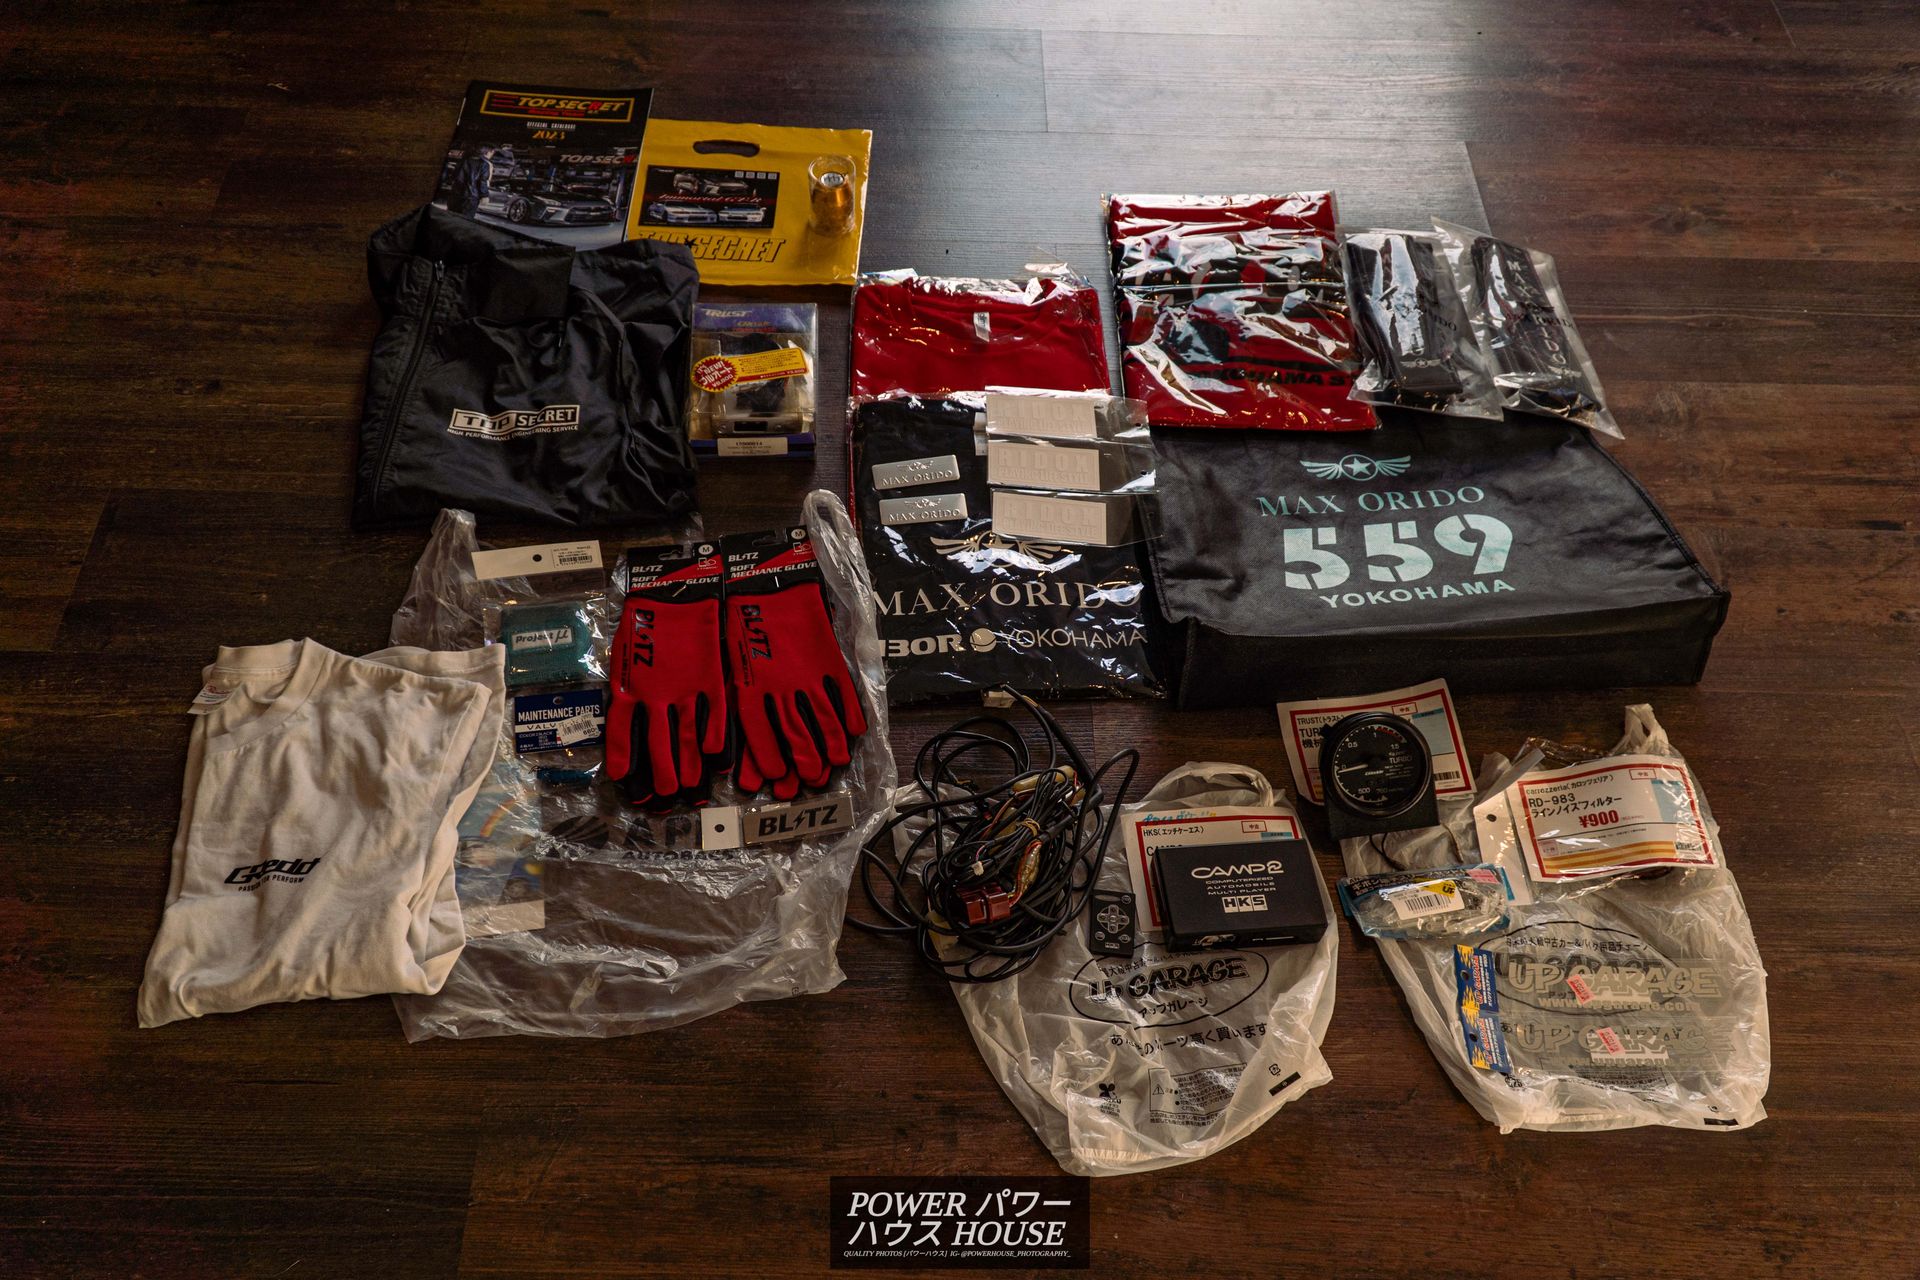
This is everything that was bought in Japan, and I quickly got to installing some parts on the Crown.
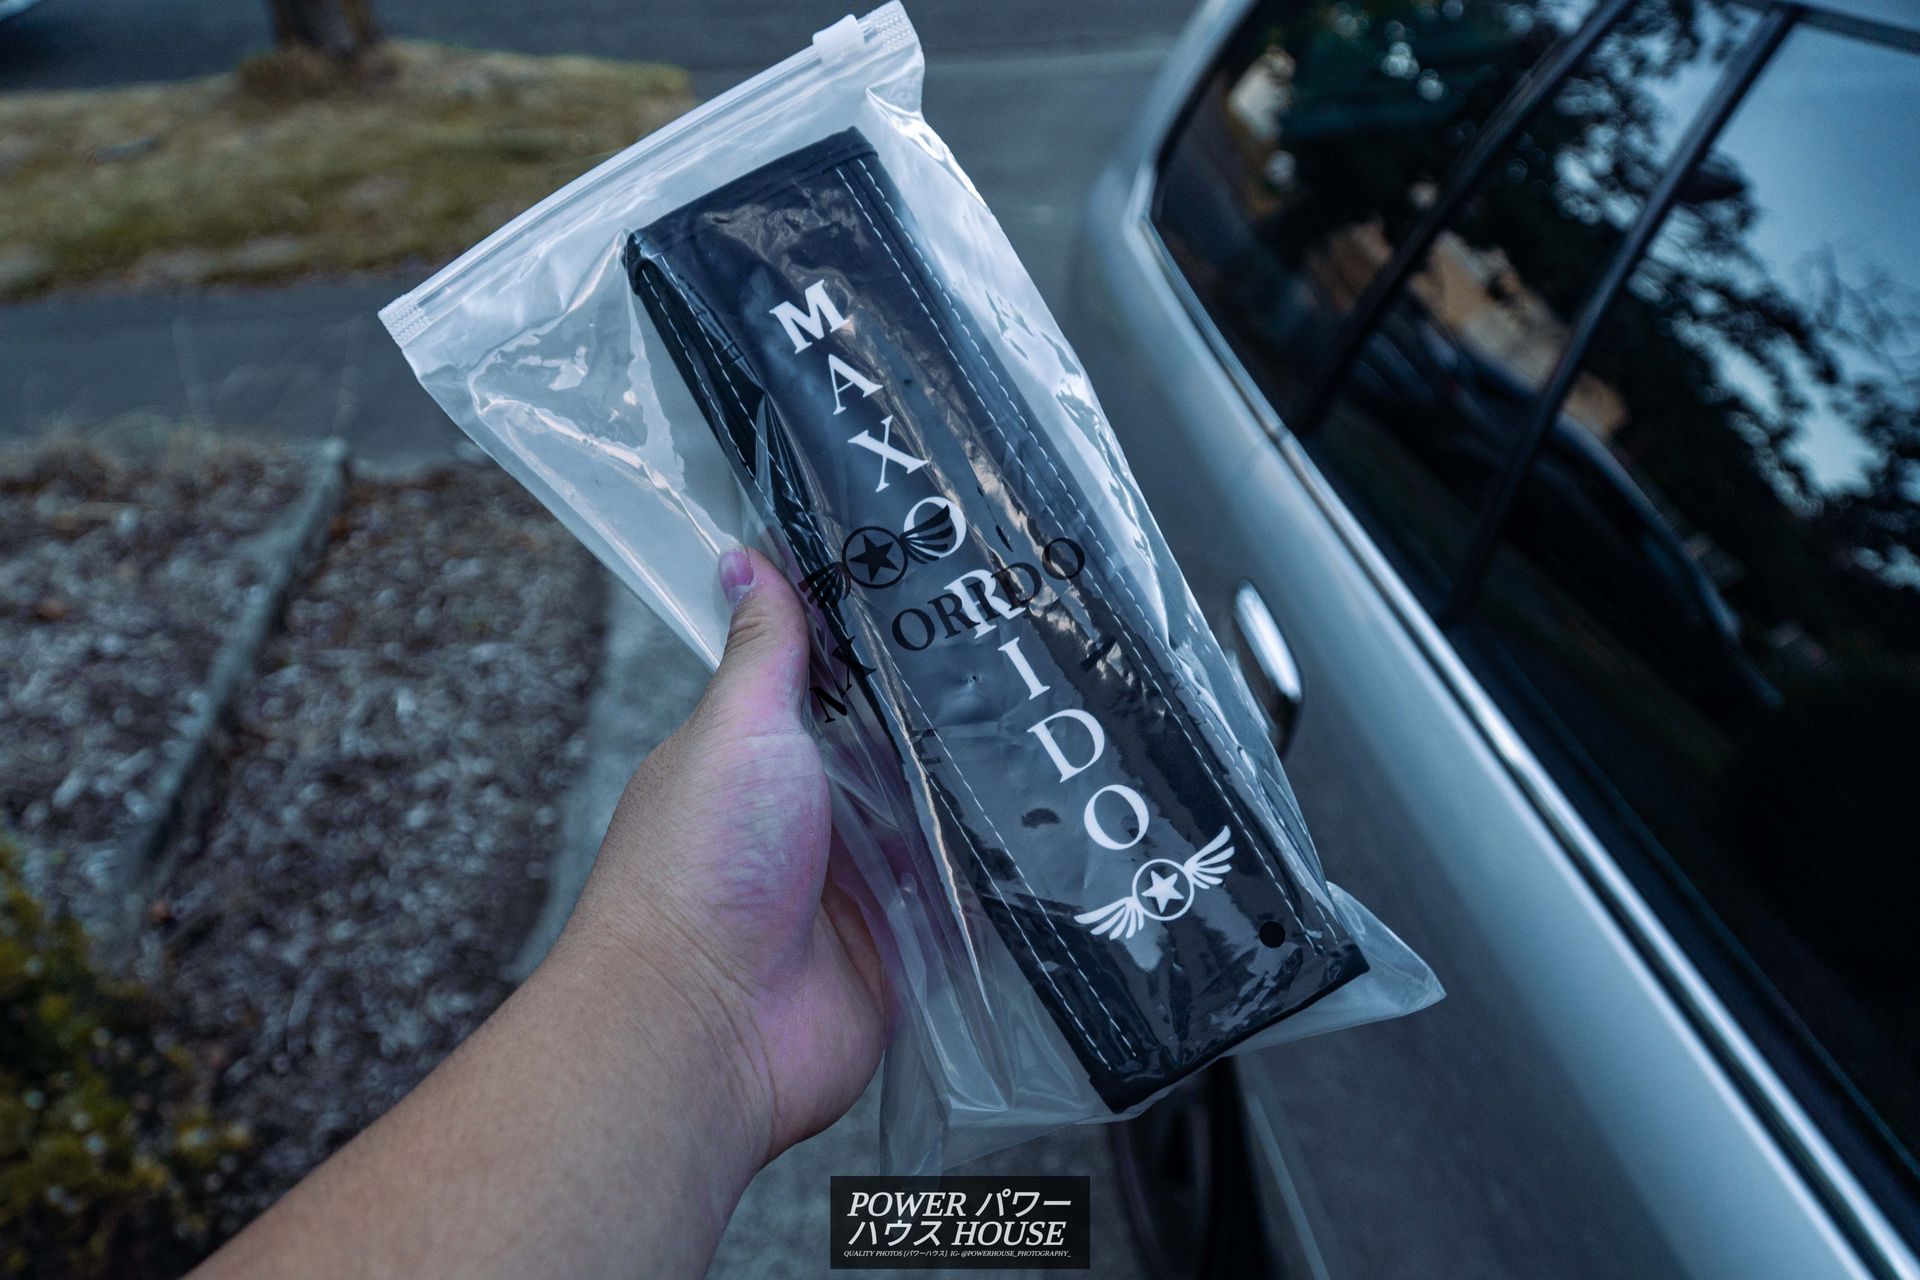
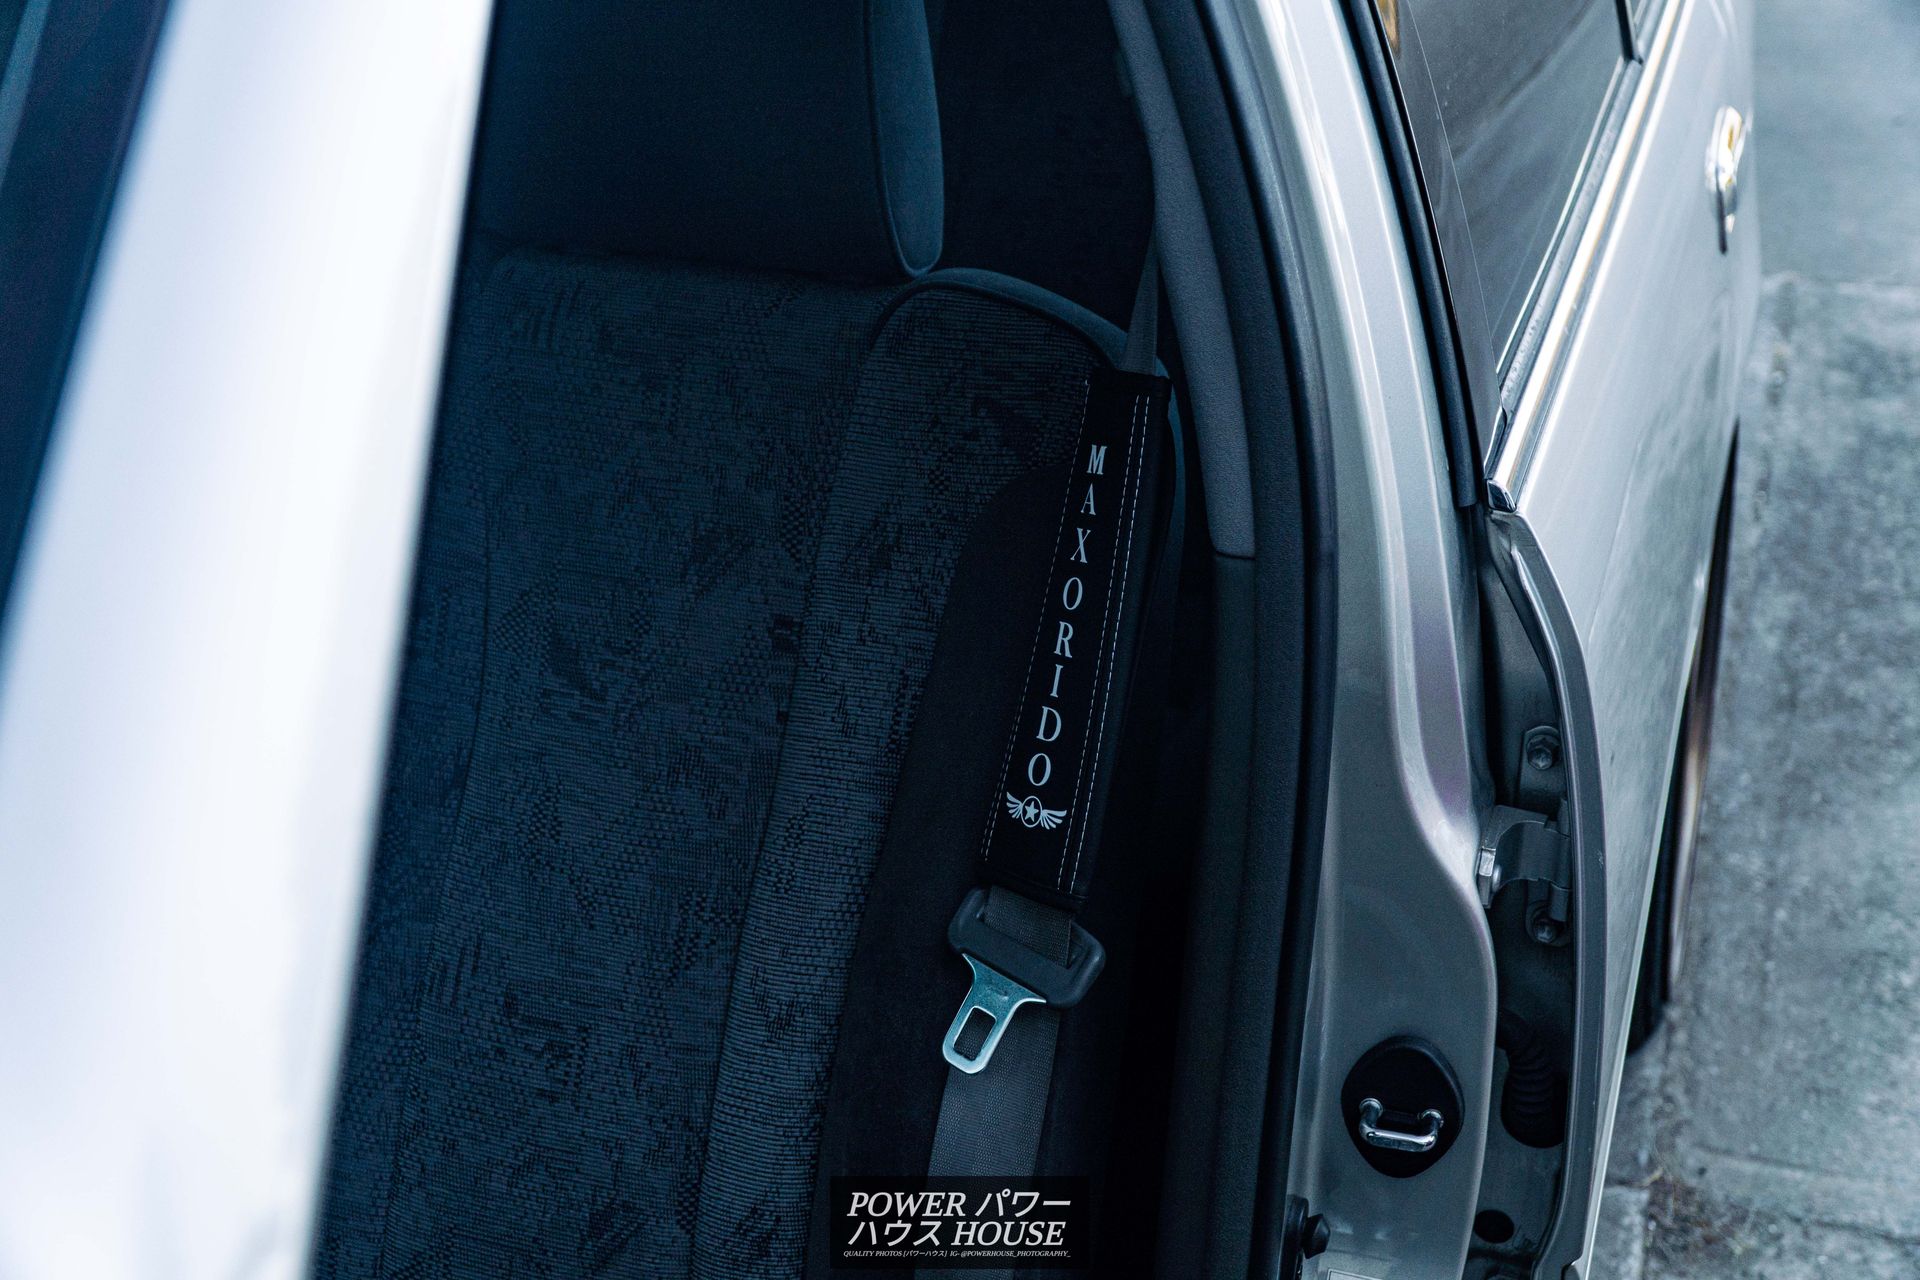
First up, the Max Orido leather seat belt protectors.
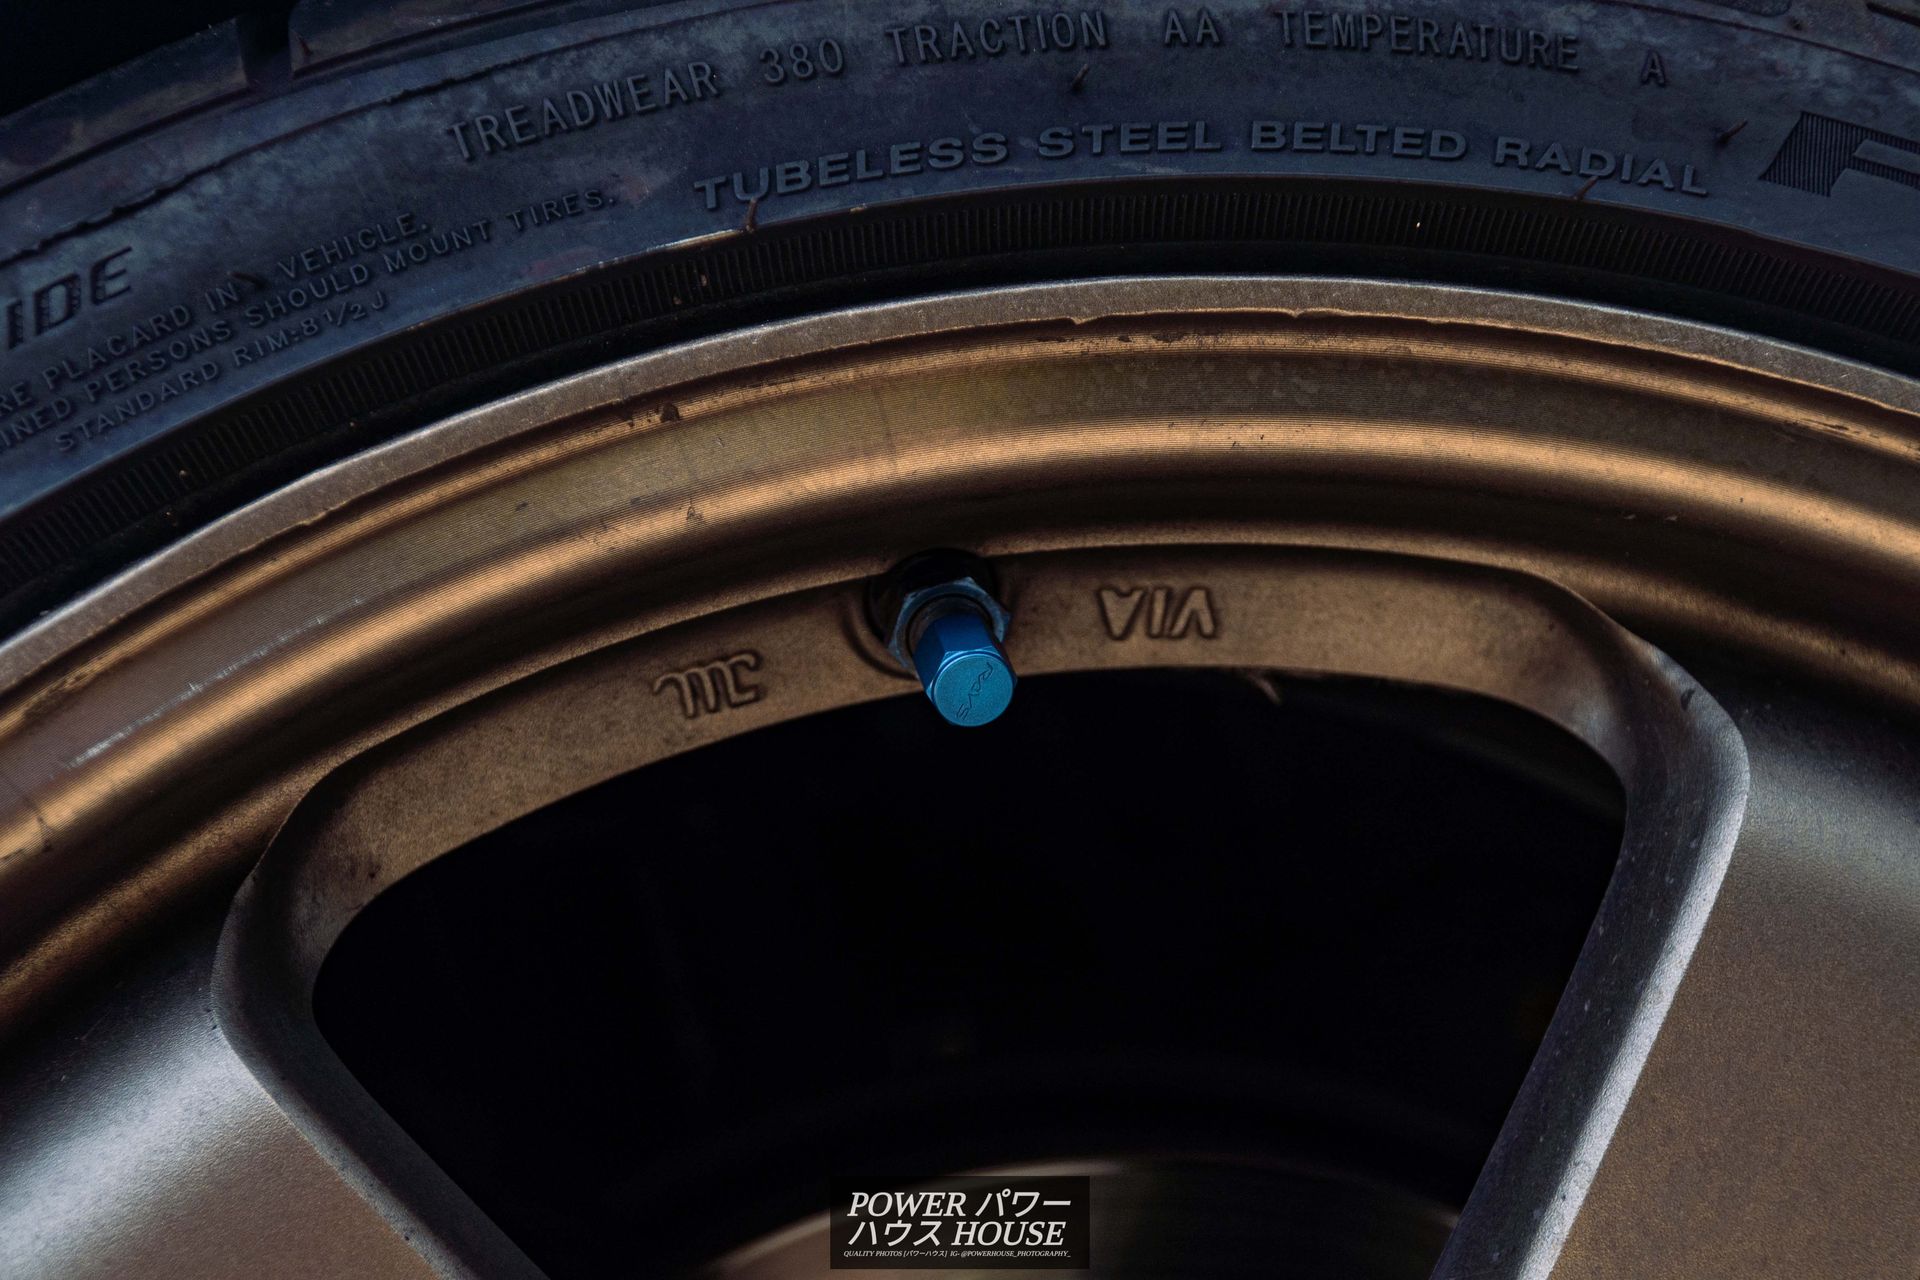
And then the Ray's Engineering blue valve stem caps to replace the regular black caps.
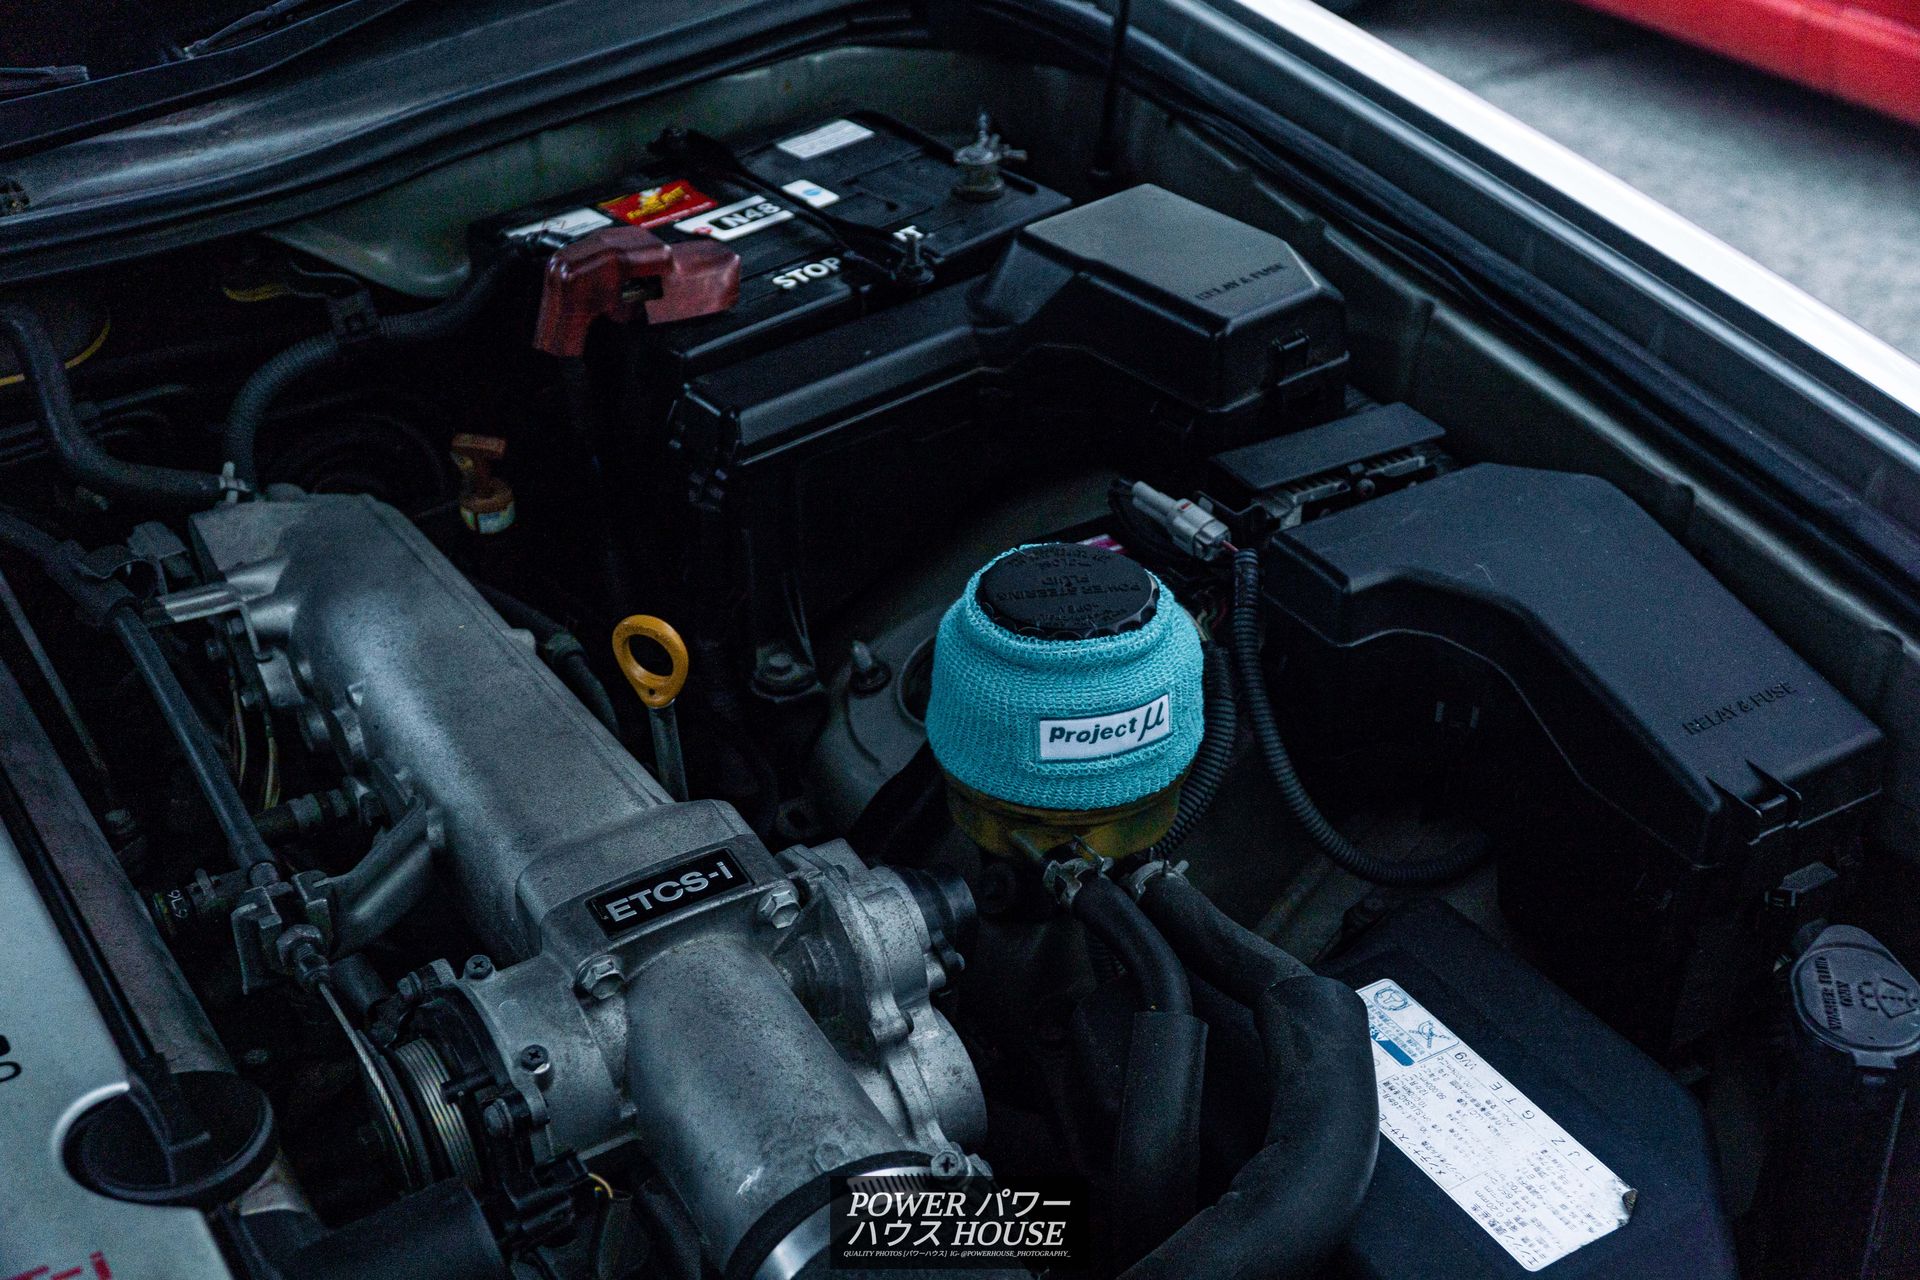
Along with these parts, I got the Project Mu reservoir sock on the power-steering reservoir.
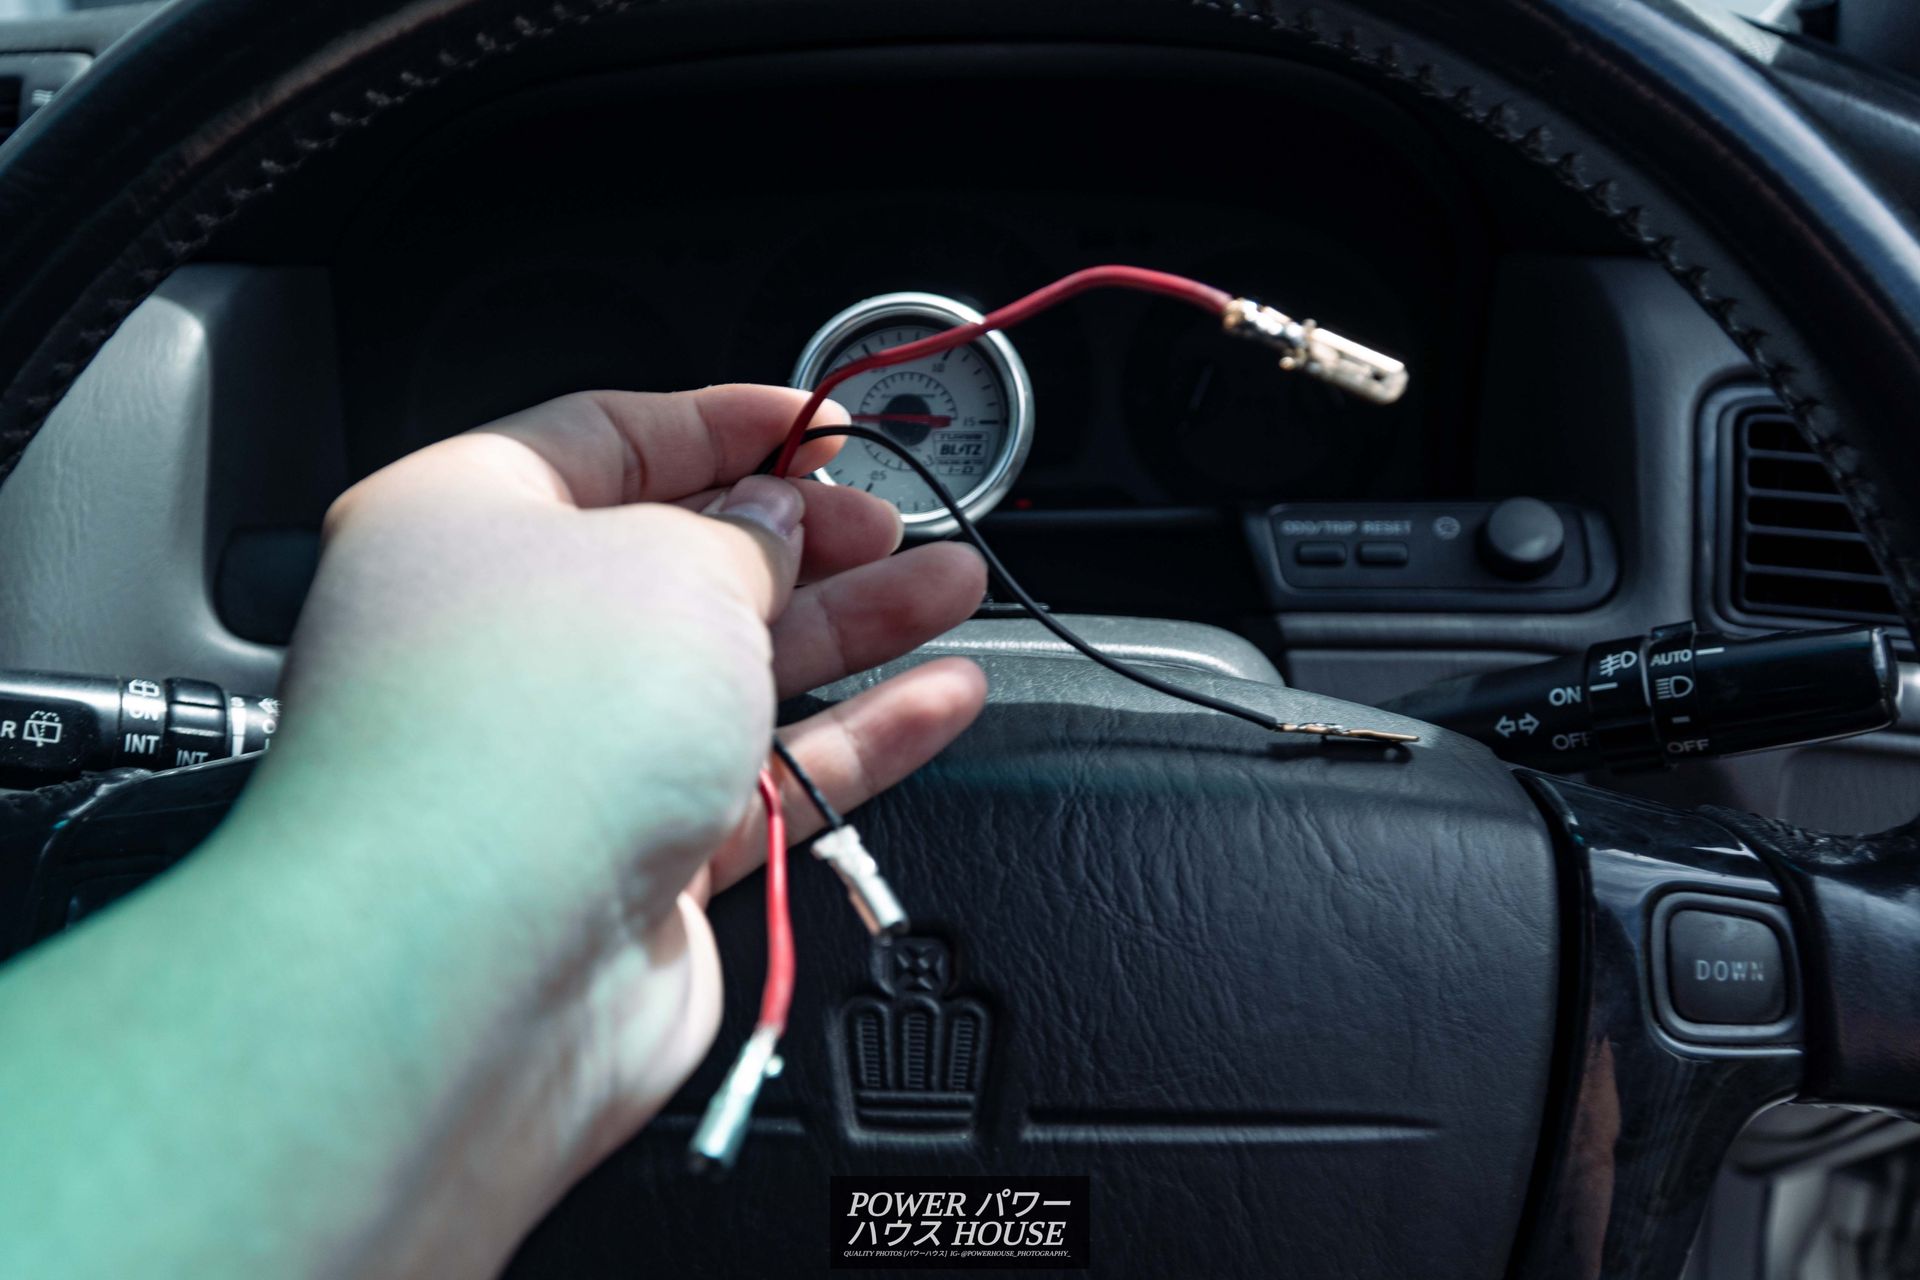
Following this, the next day, I got to installing the Trust GReddy Super 80mm 1.5-bar mechanical boost gauge.
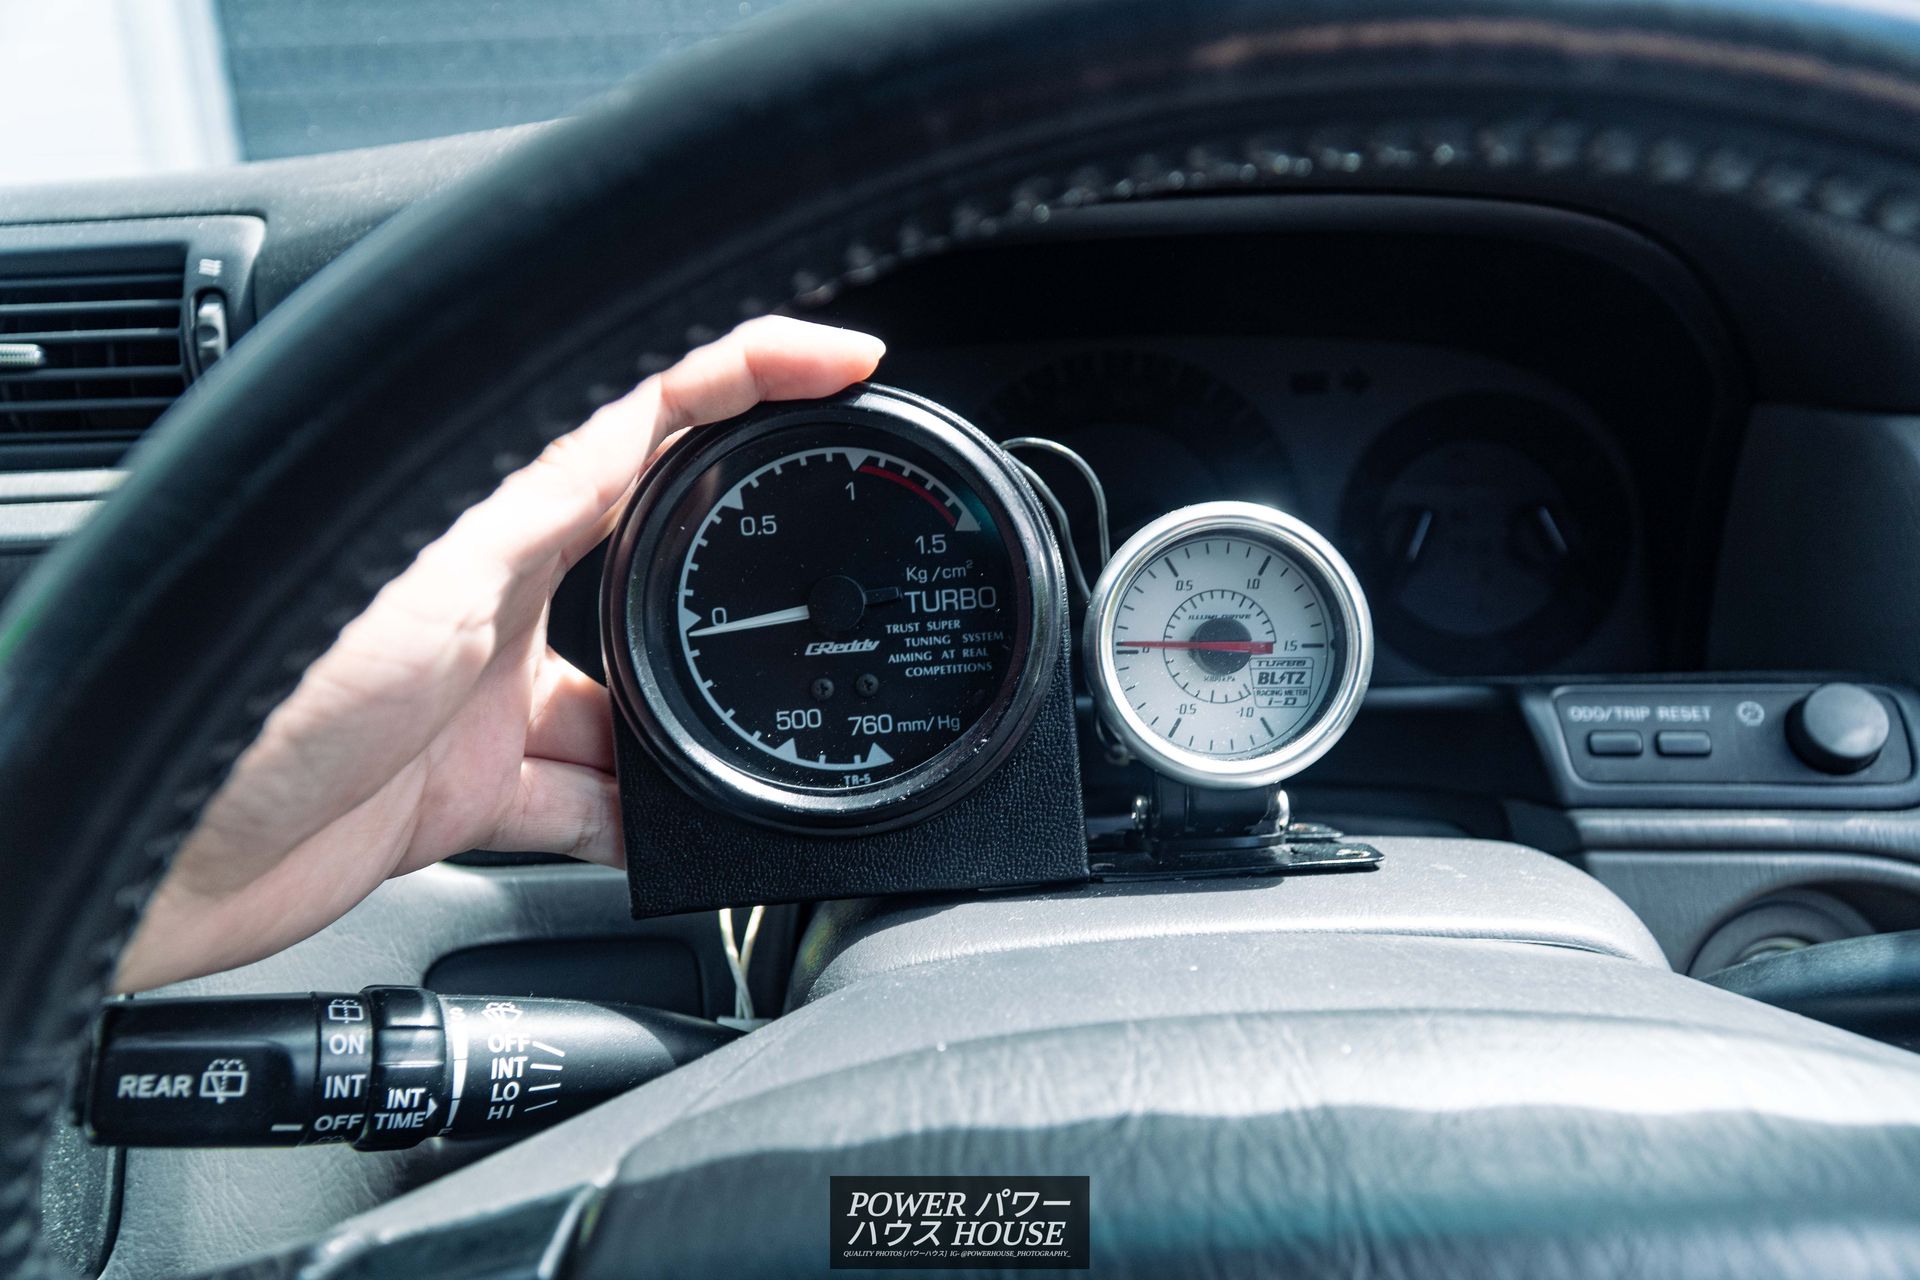
Since I already had by Blitz gauge installed, I was able to just reuse the hose and wiring. All I had to do was make an extension harness to convert the connectors to bullet-type ones, and then double-sided tape the gauge onto the steering column.

It looked great, but unfortunately, after a few days, the heavy gauge started to sag backward, so I had to design and make a little support bracket at the back.
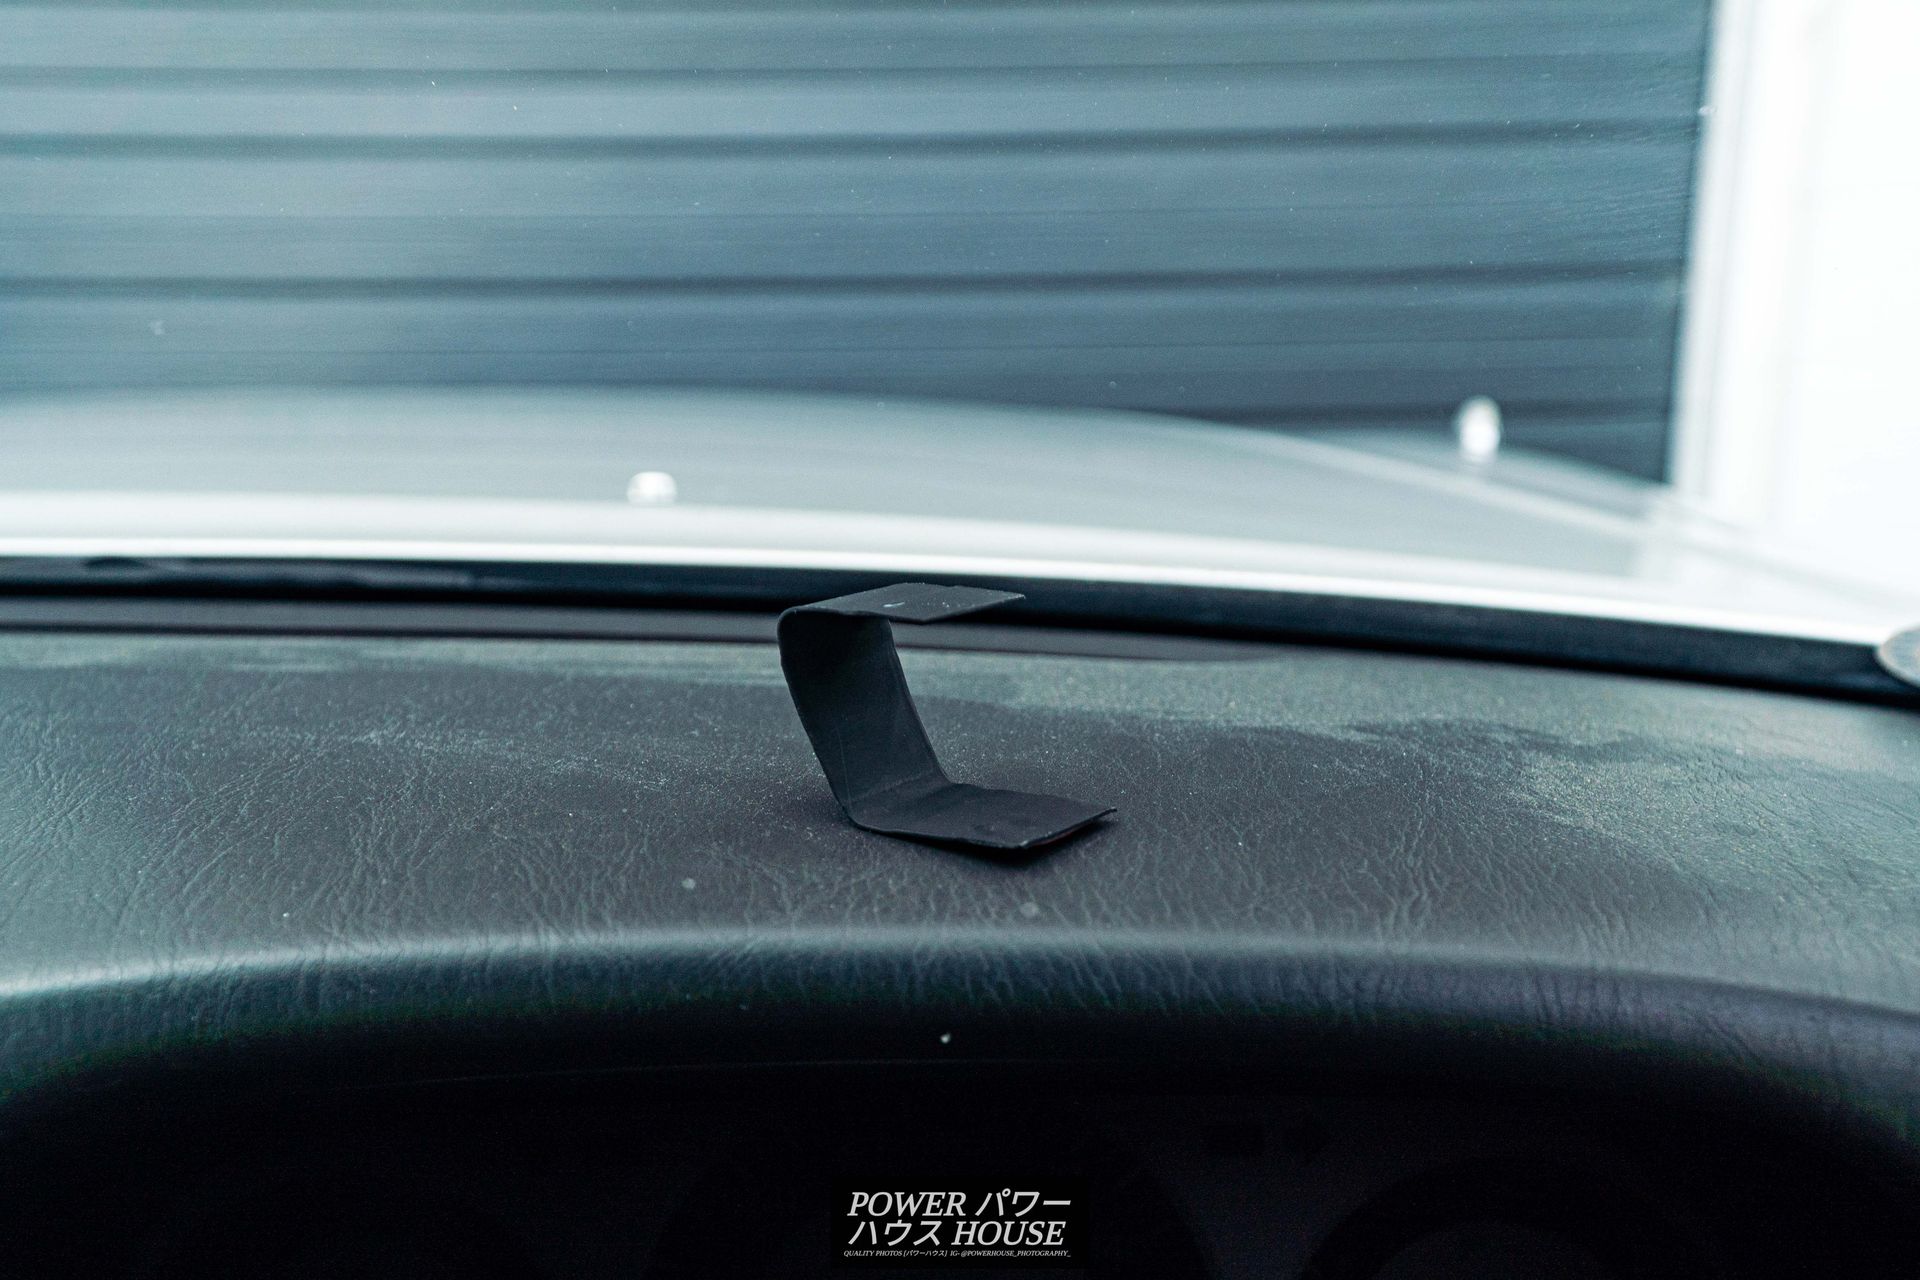
Here is what it looked like before.
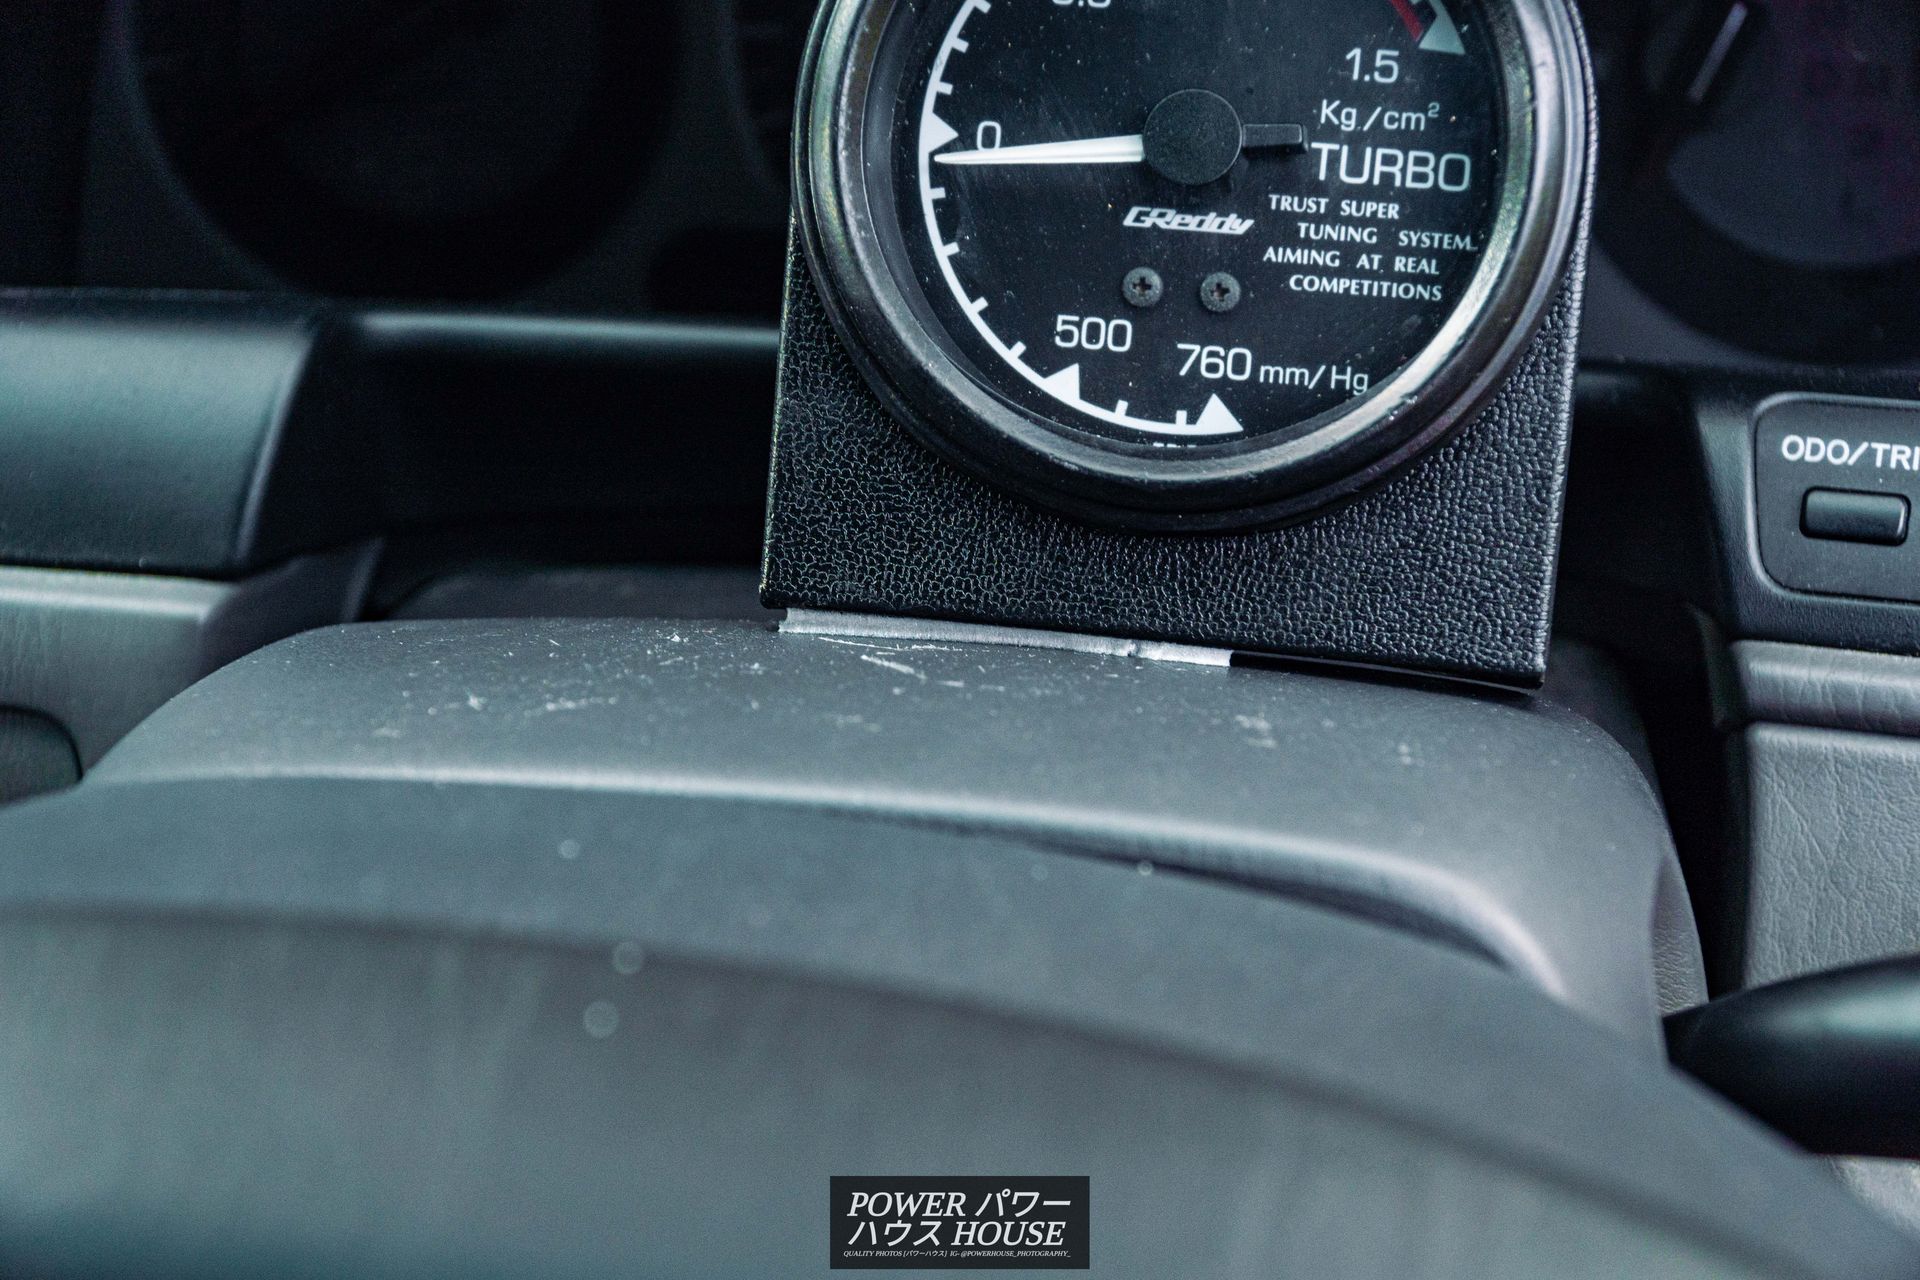
And with the bracket installed.
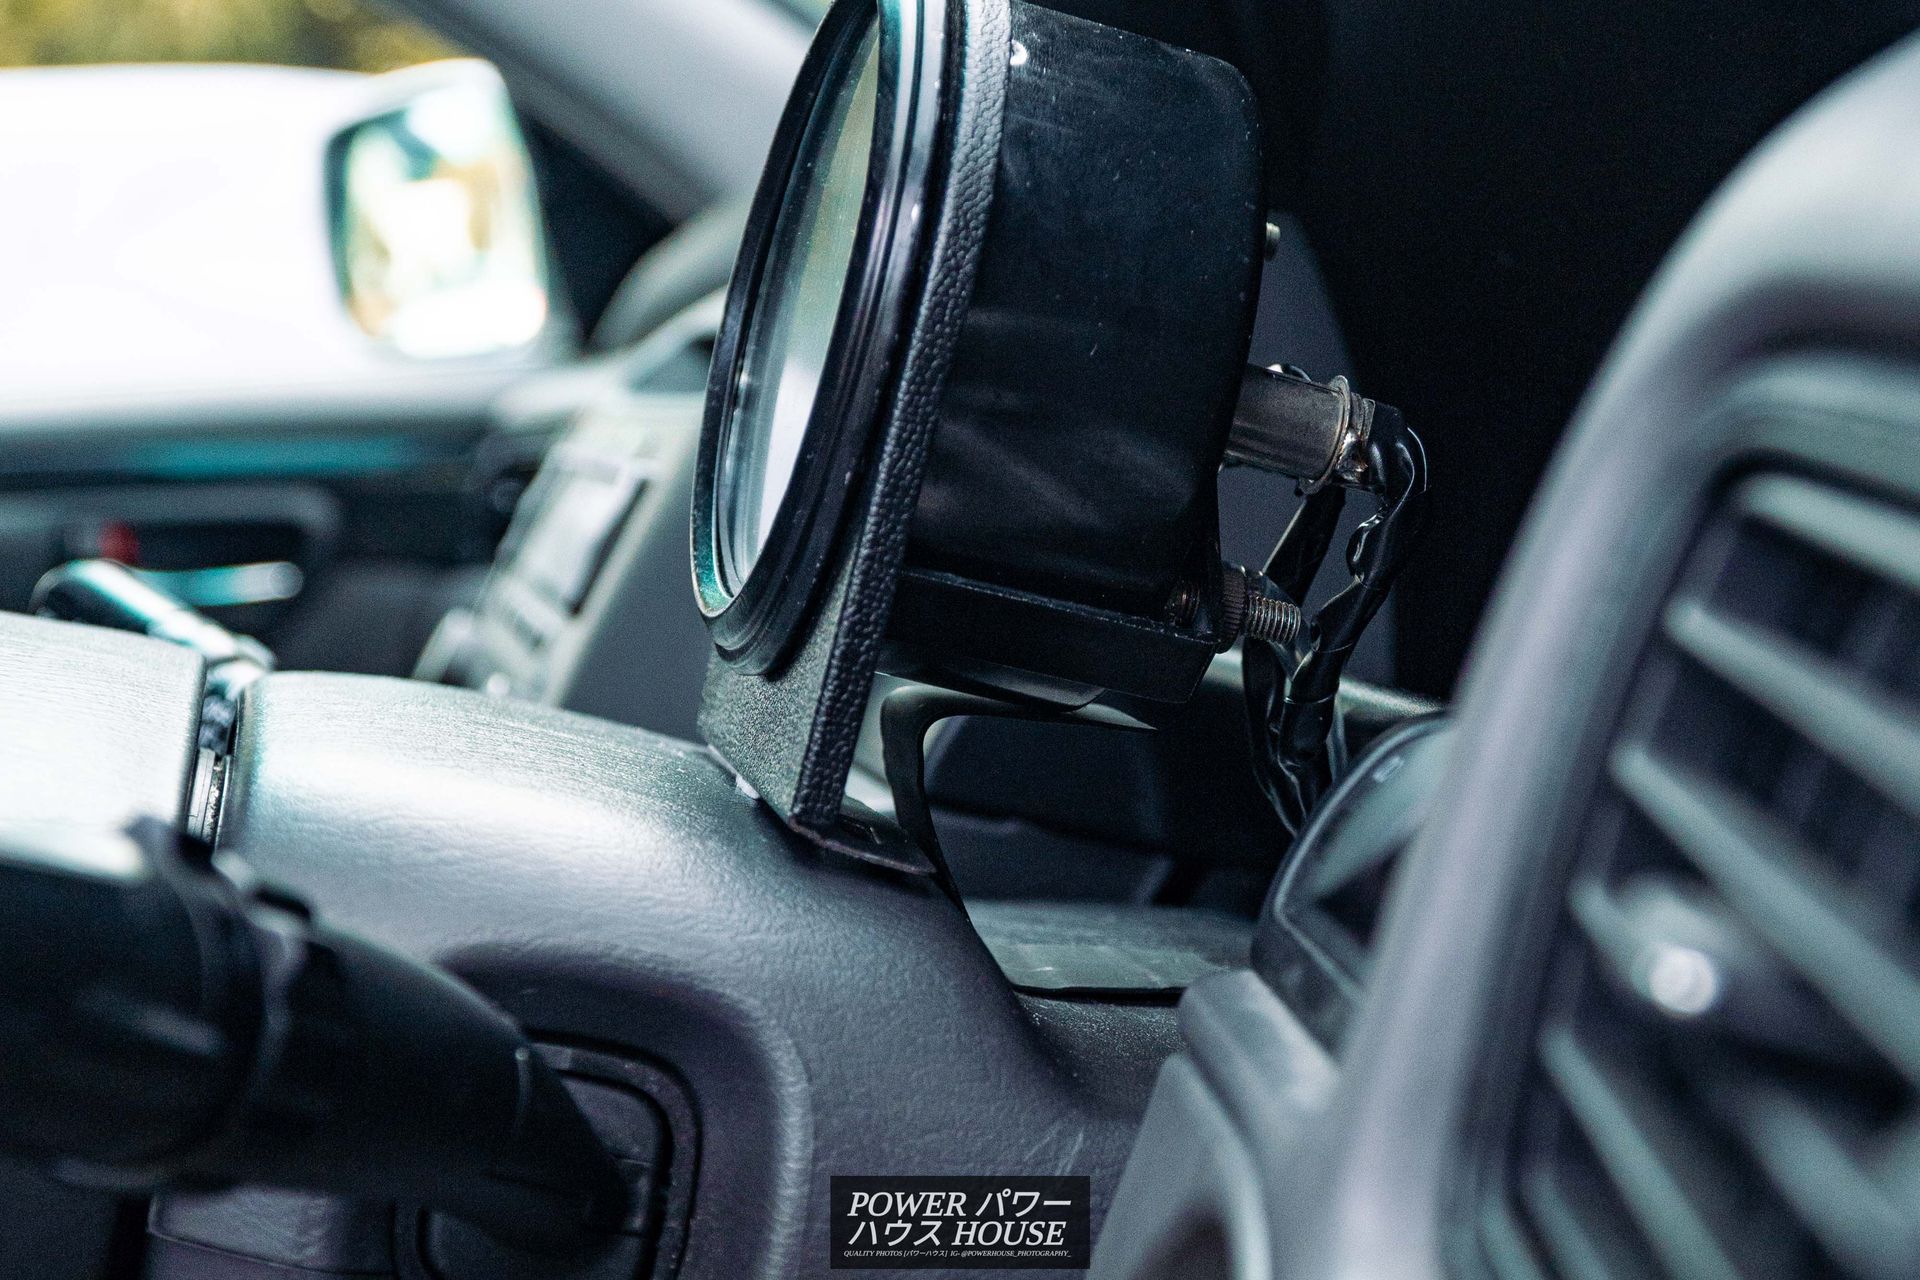
The gauge looked a lot better afterwards.
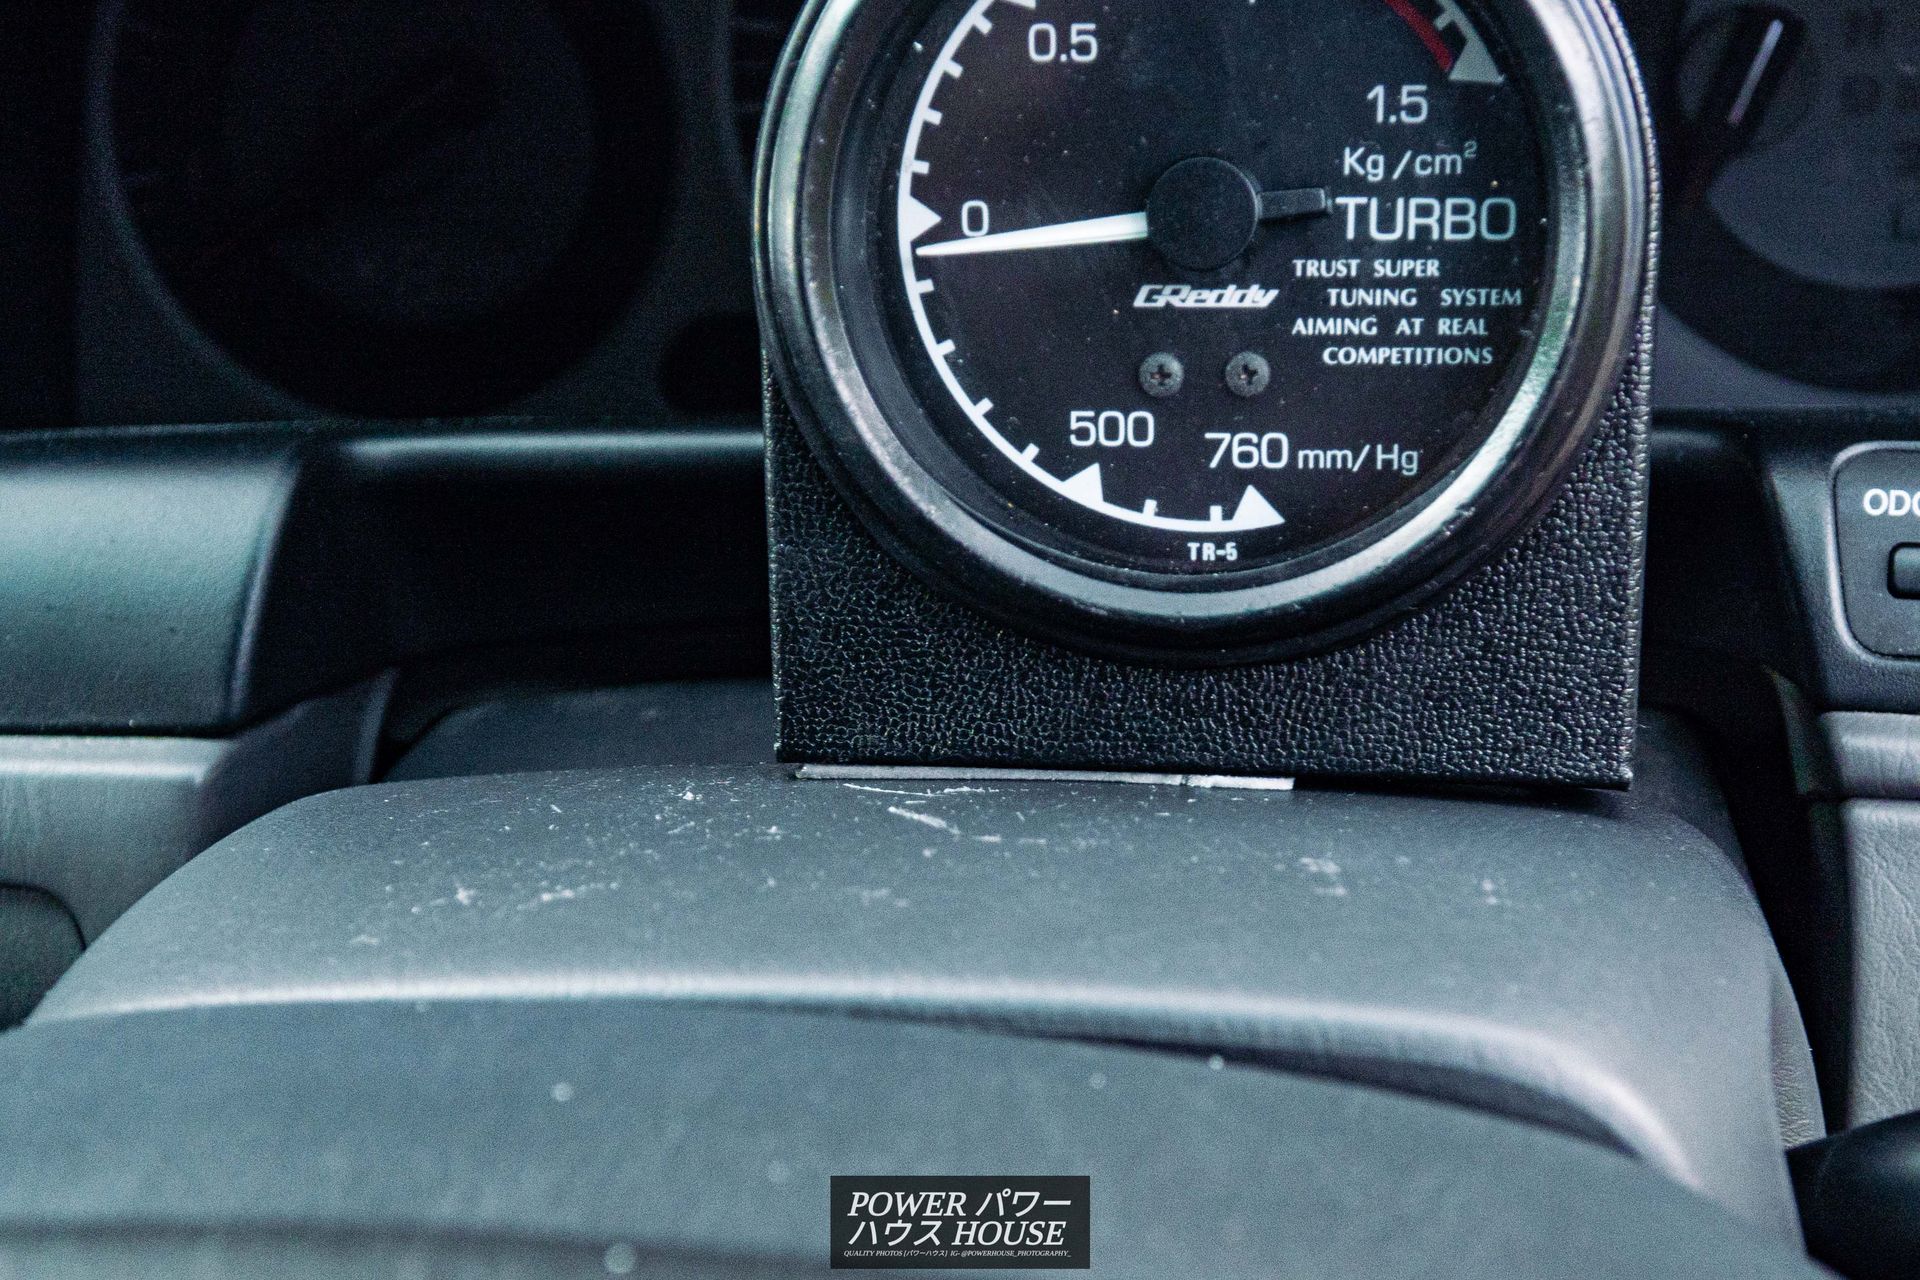
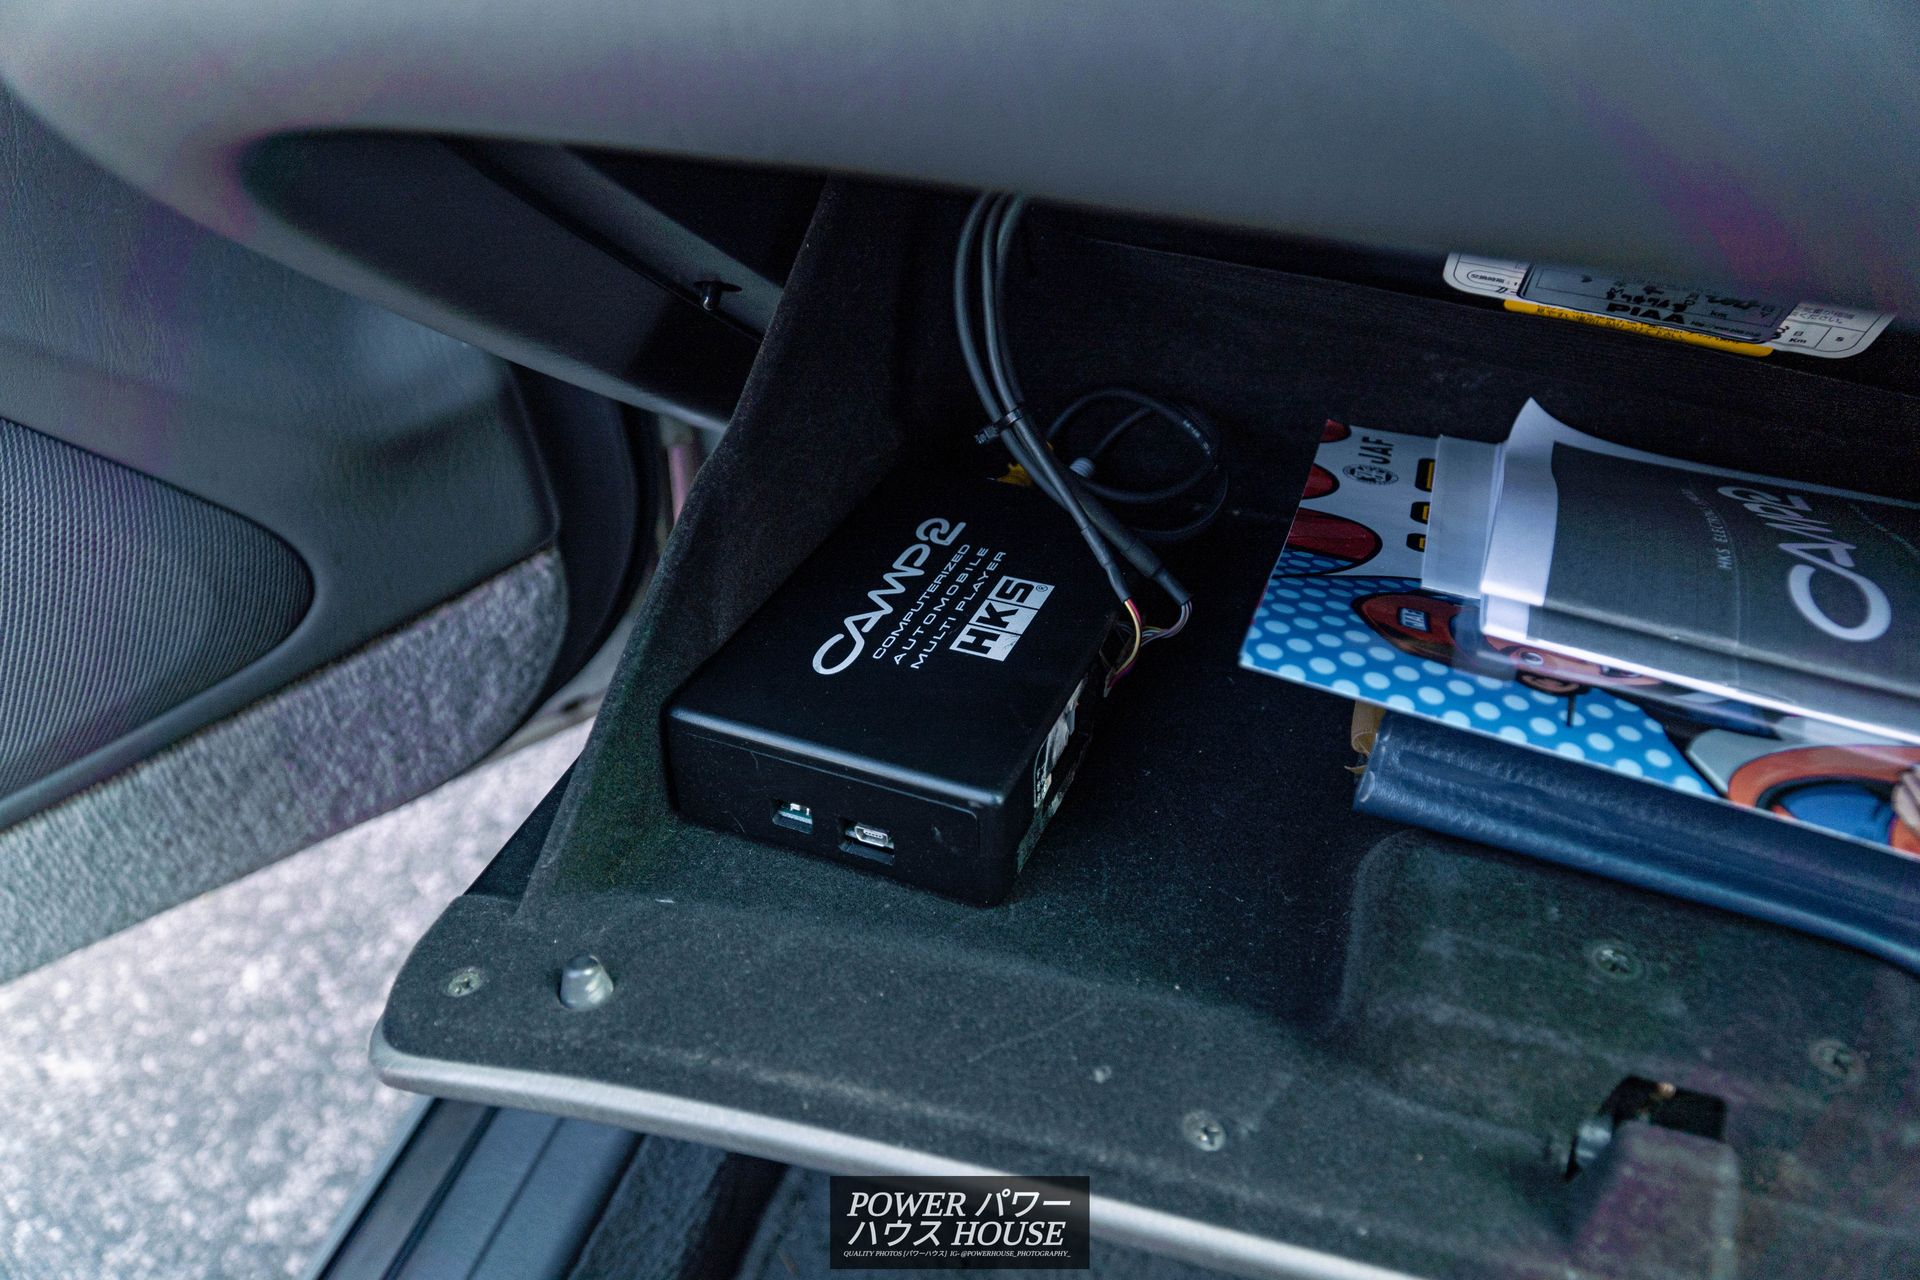
Although I admit it is very tacky, I still think that it is very cool and I love it. After waiting for my 5-inch monitor to arrive from China, I was finally able to install my HKS Camp2 system aswell. For those that don't know, the HKS Camp2 is a digital dash system from the early 2000s' that connects via the OBD2 port. The installation was pretty easy. I just connected the AV cables from the HKS Camp2 to the monitor, and gave the DC Power connector an ACC positive and a ground.
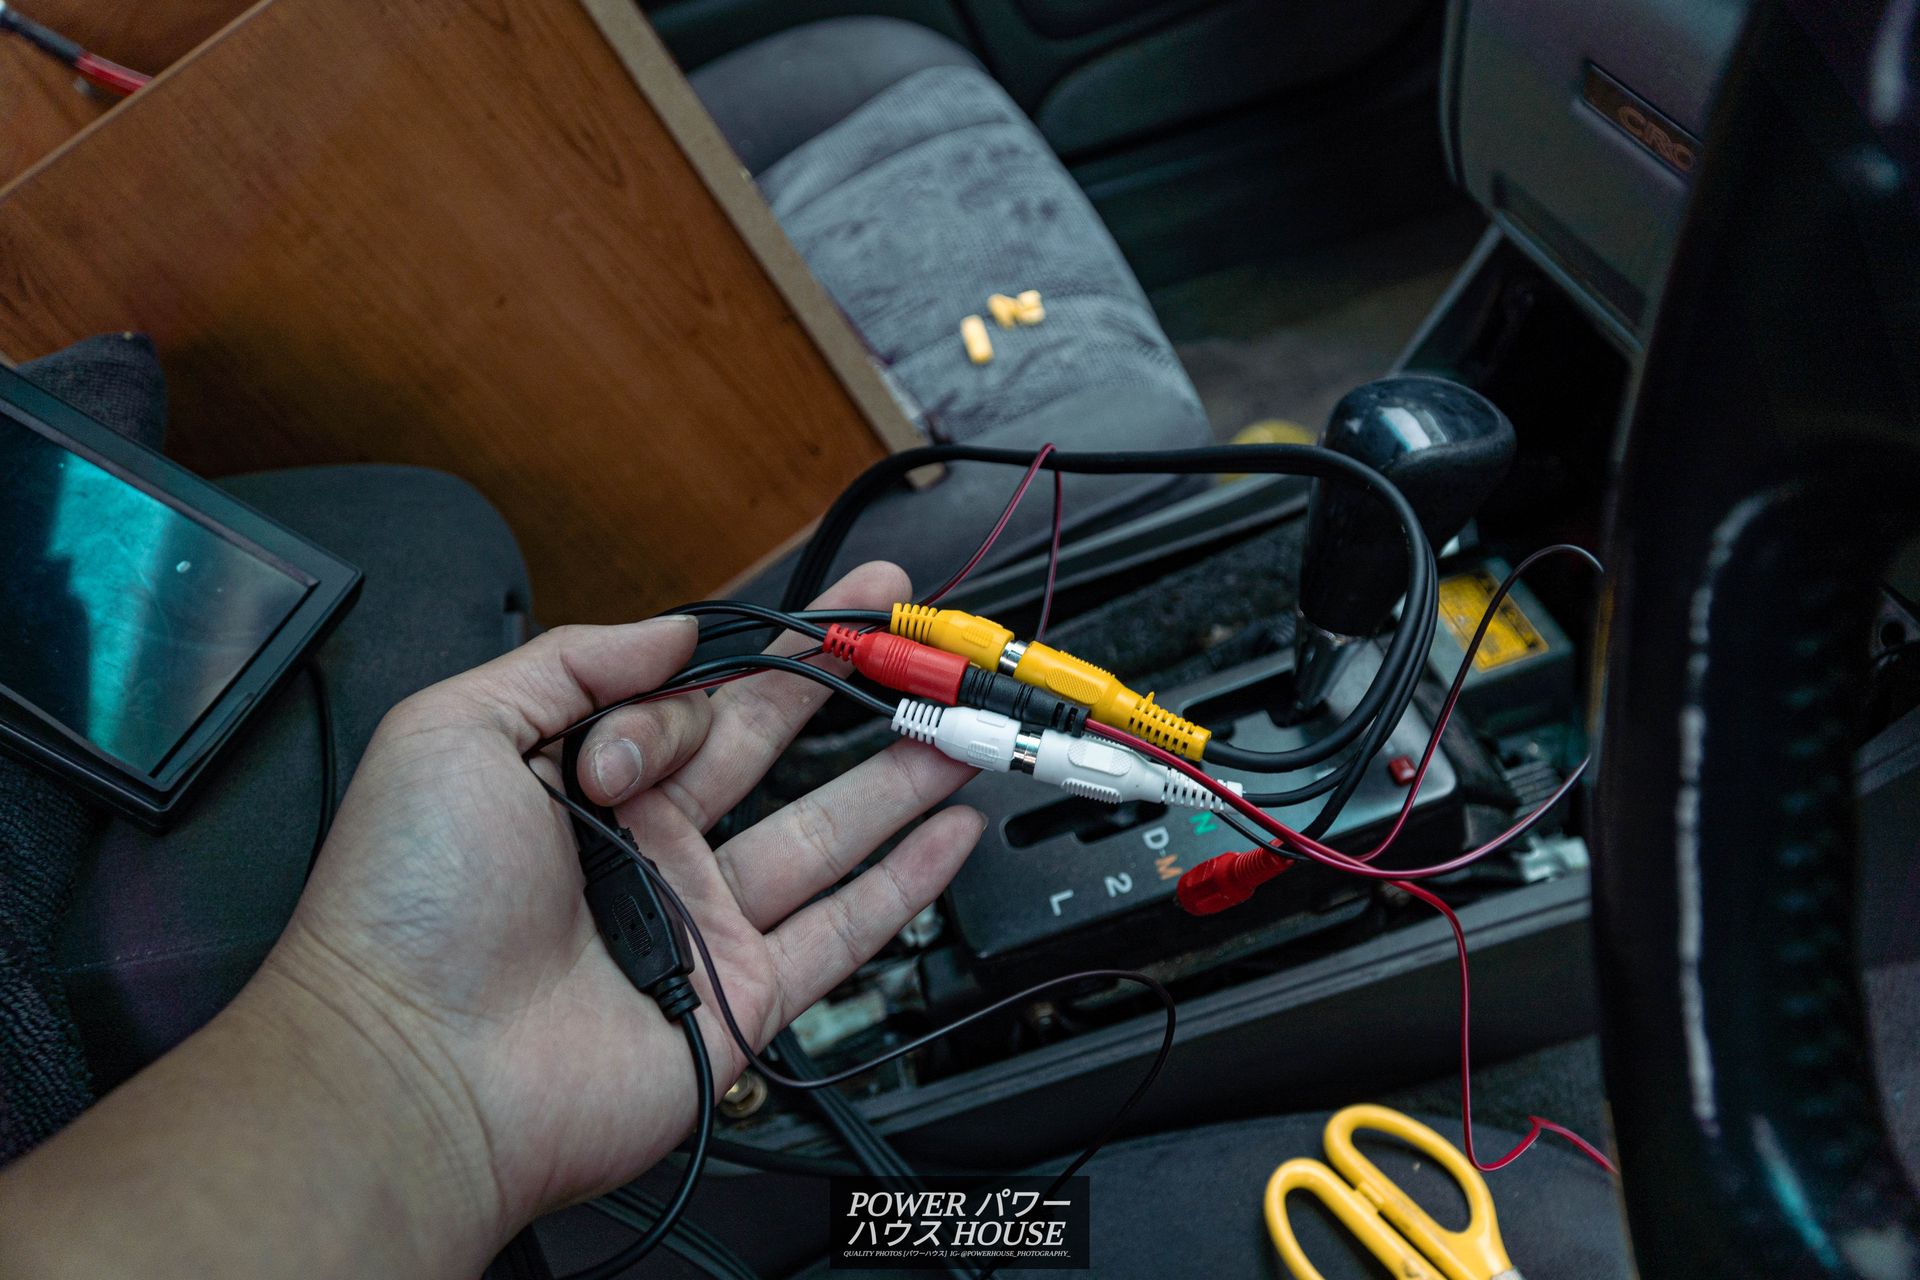
And then I connected the pink wire from the OBD2 harness of the HKS Camp2 to an ACC positive. In this case, I taped this wire, and the DC Power positive, to the positive wire for the boost gauge.
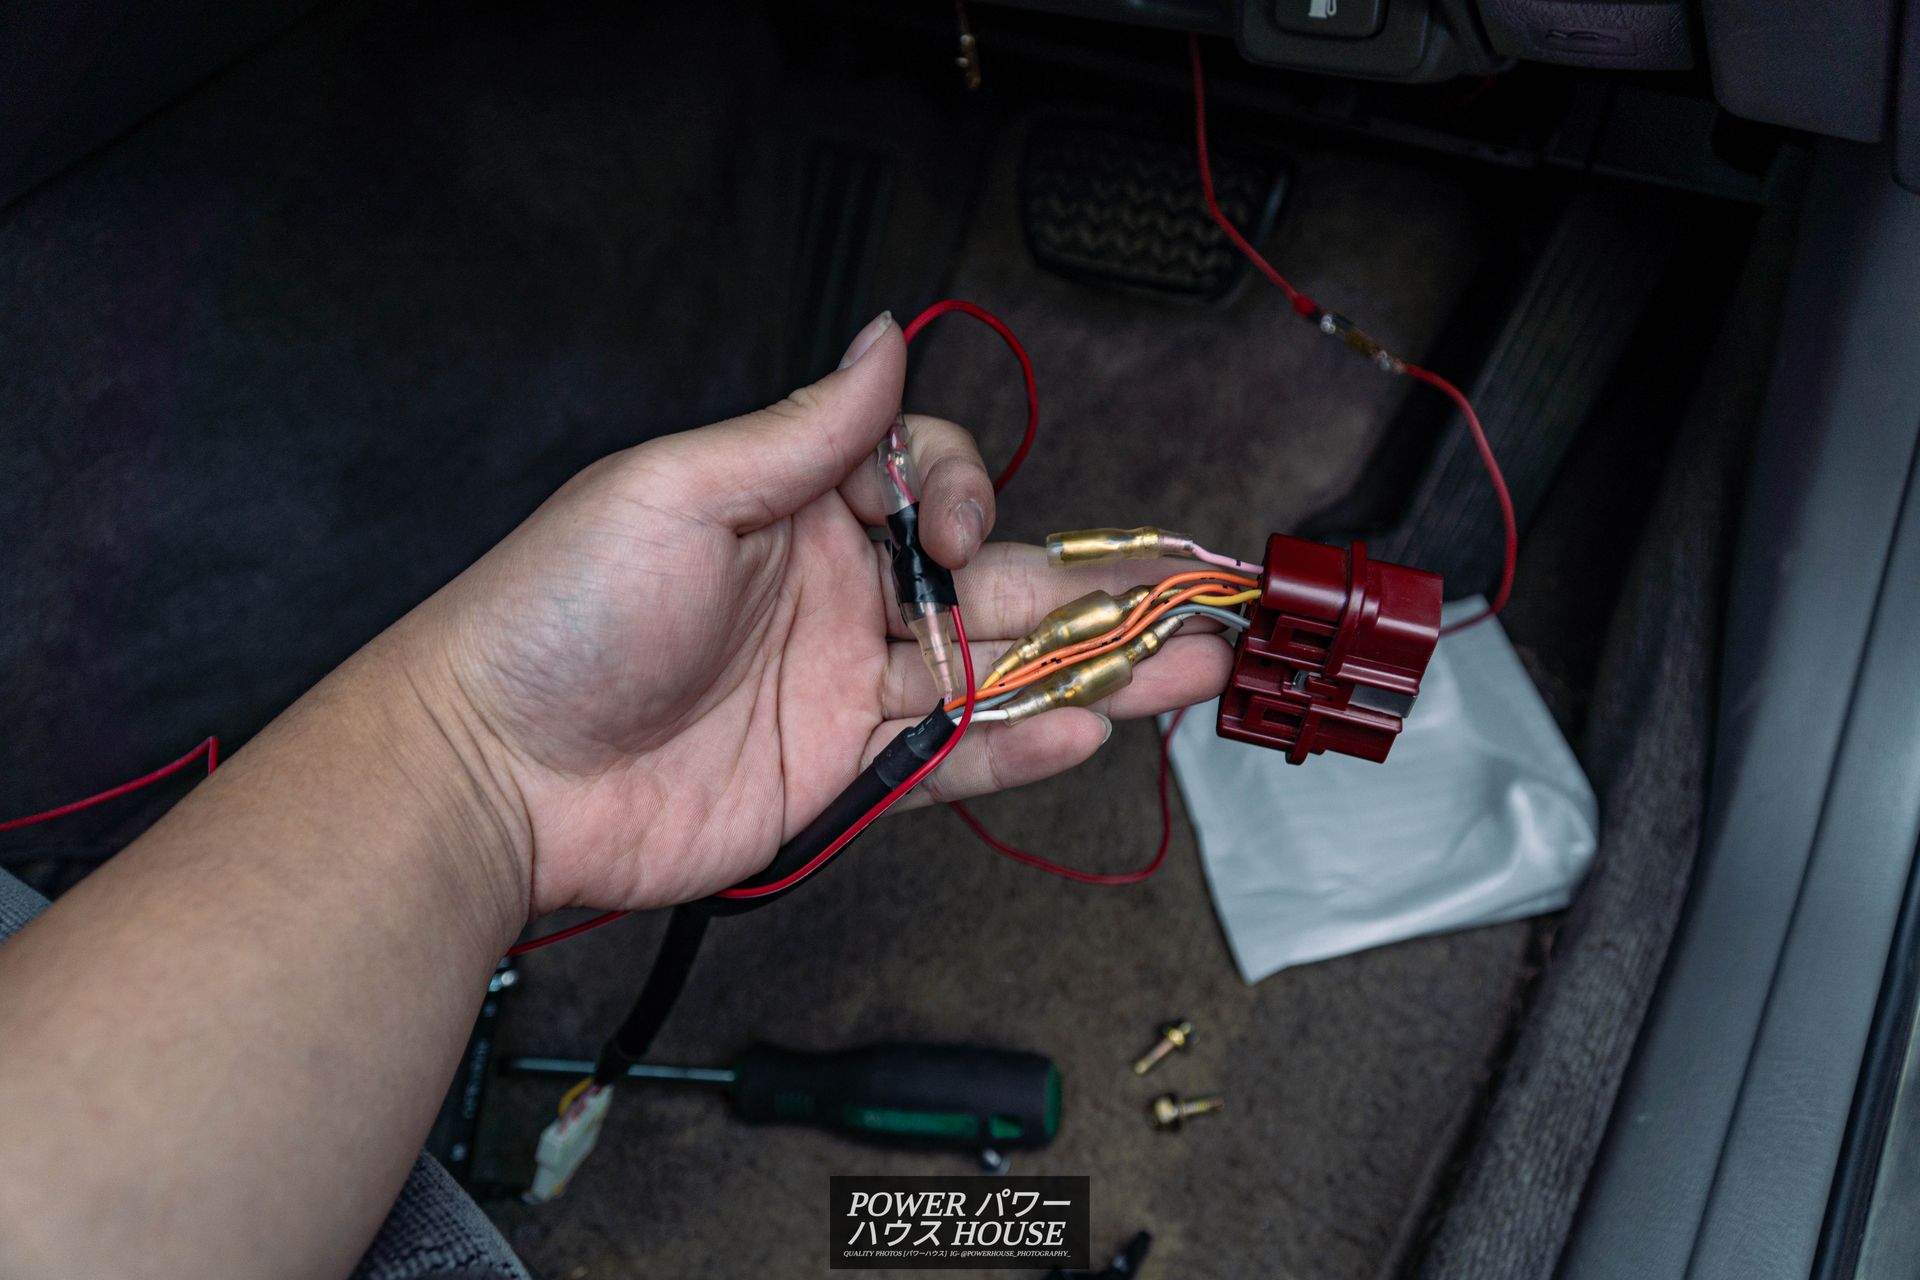
I added a 1A inline fuse into the positive wire for the OBD2 harness as my Camp did not come with the original positive wire which had a fuse built into it.
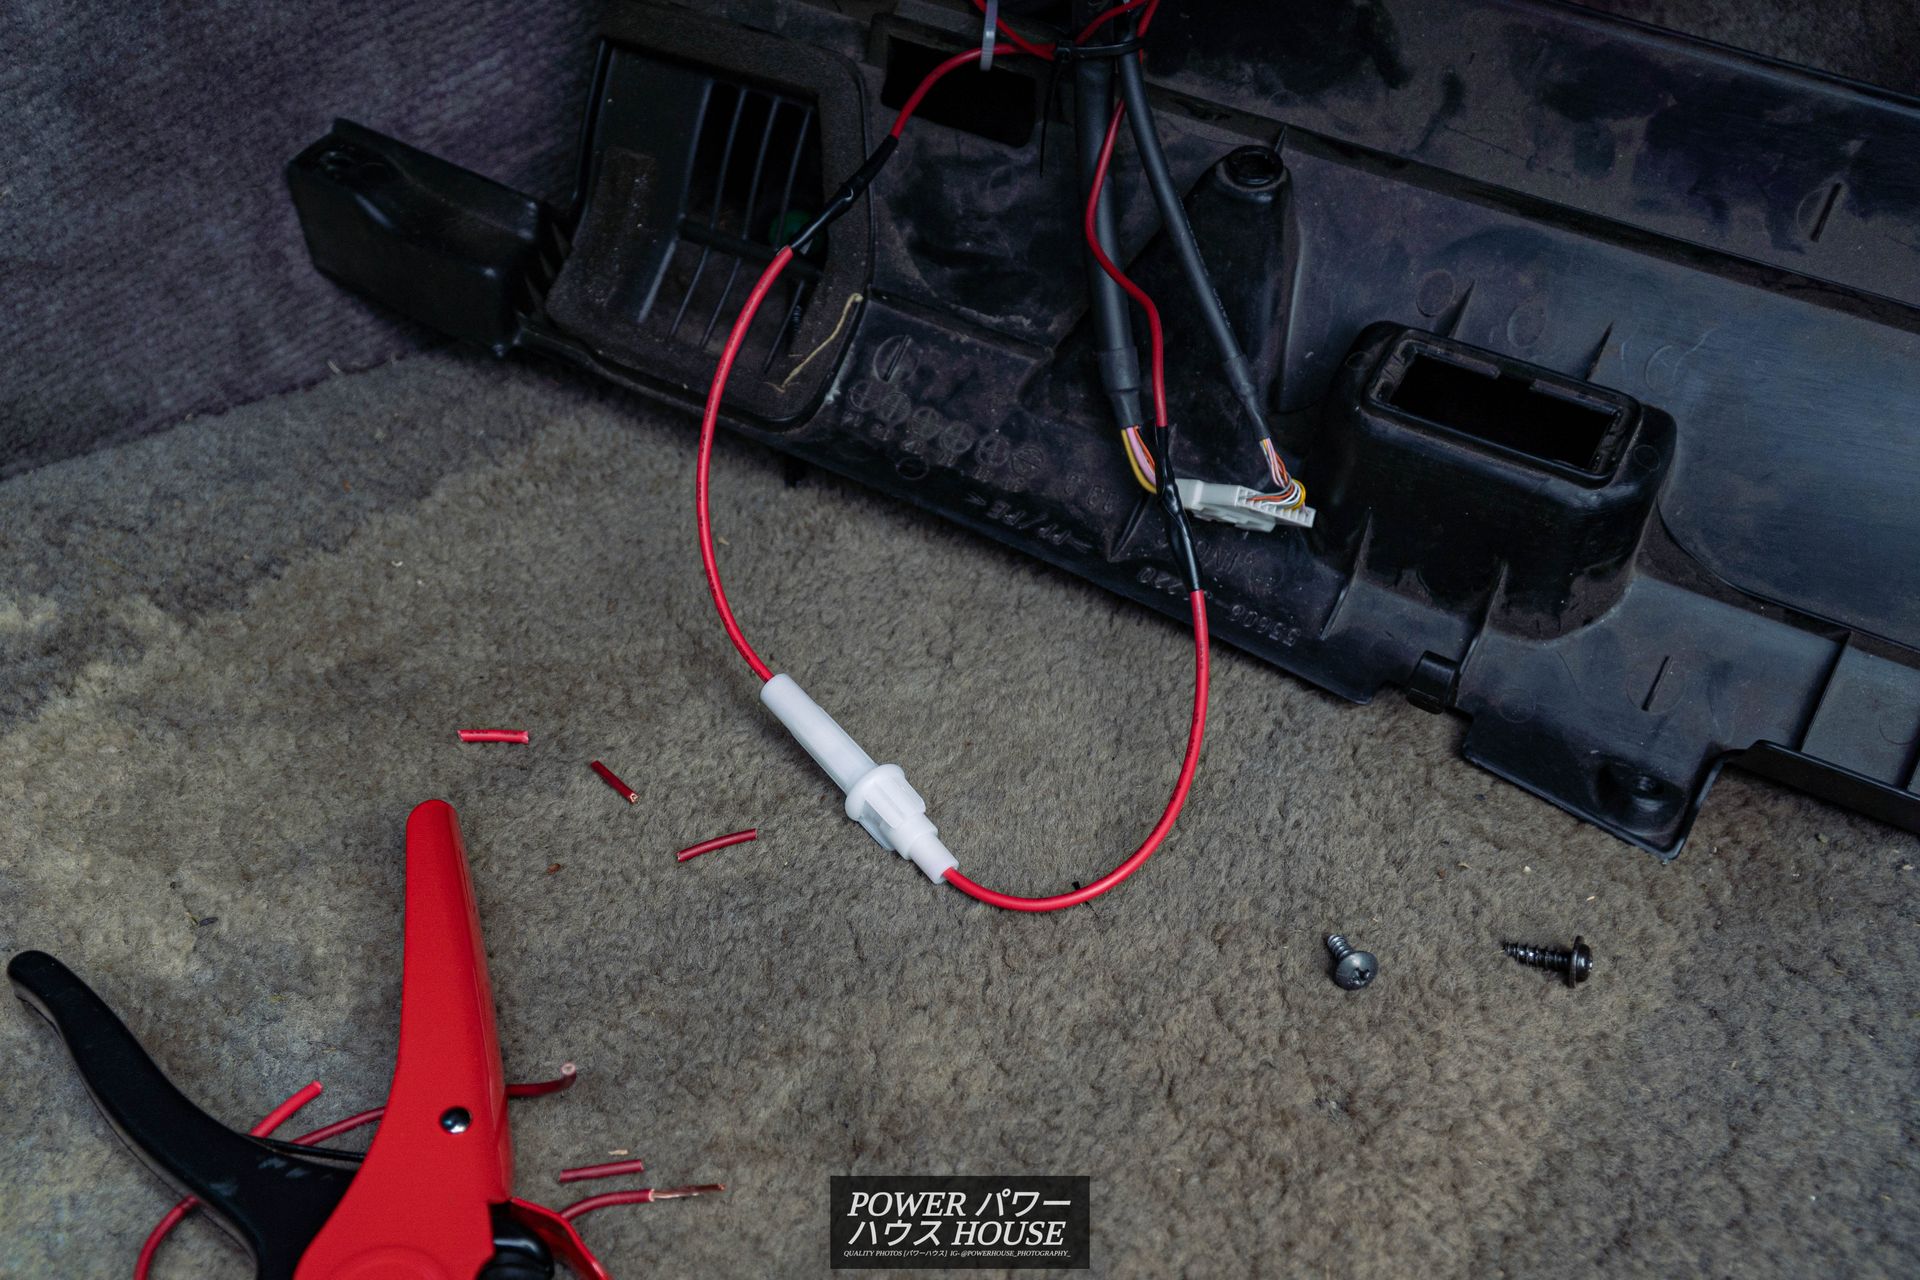
I then connected all the harnesses for the Camp together, tucked all of the wiring, mounted the monitor, and then neatly mounted Camp into the glovebox. I also tucked the OBD2 port from on the dash under-panel to be tucked under the dash to keep the interior looking clean.
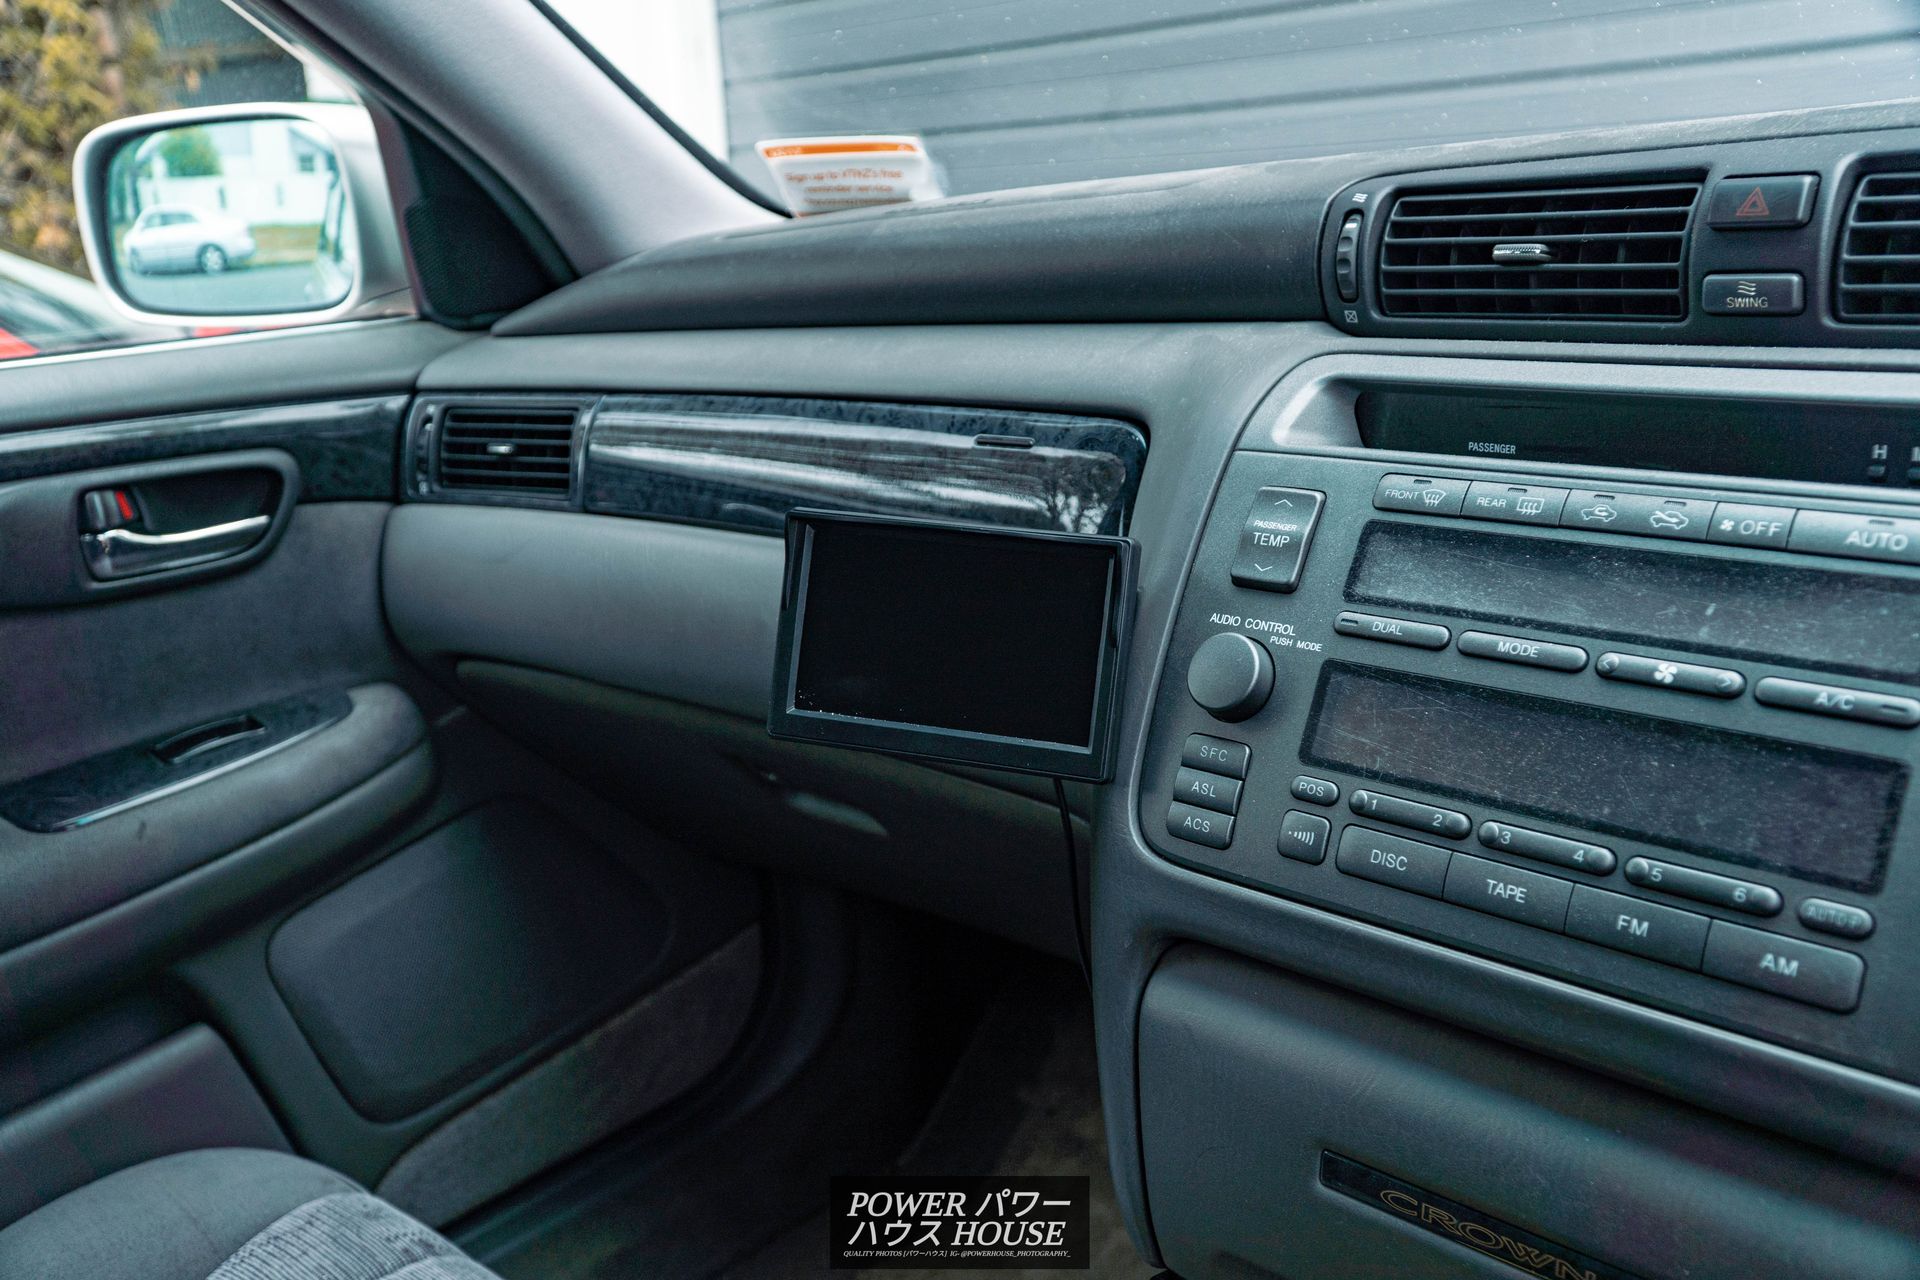
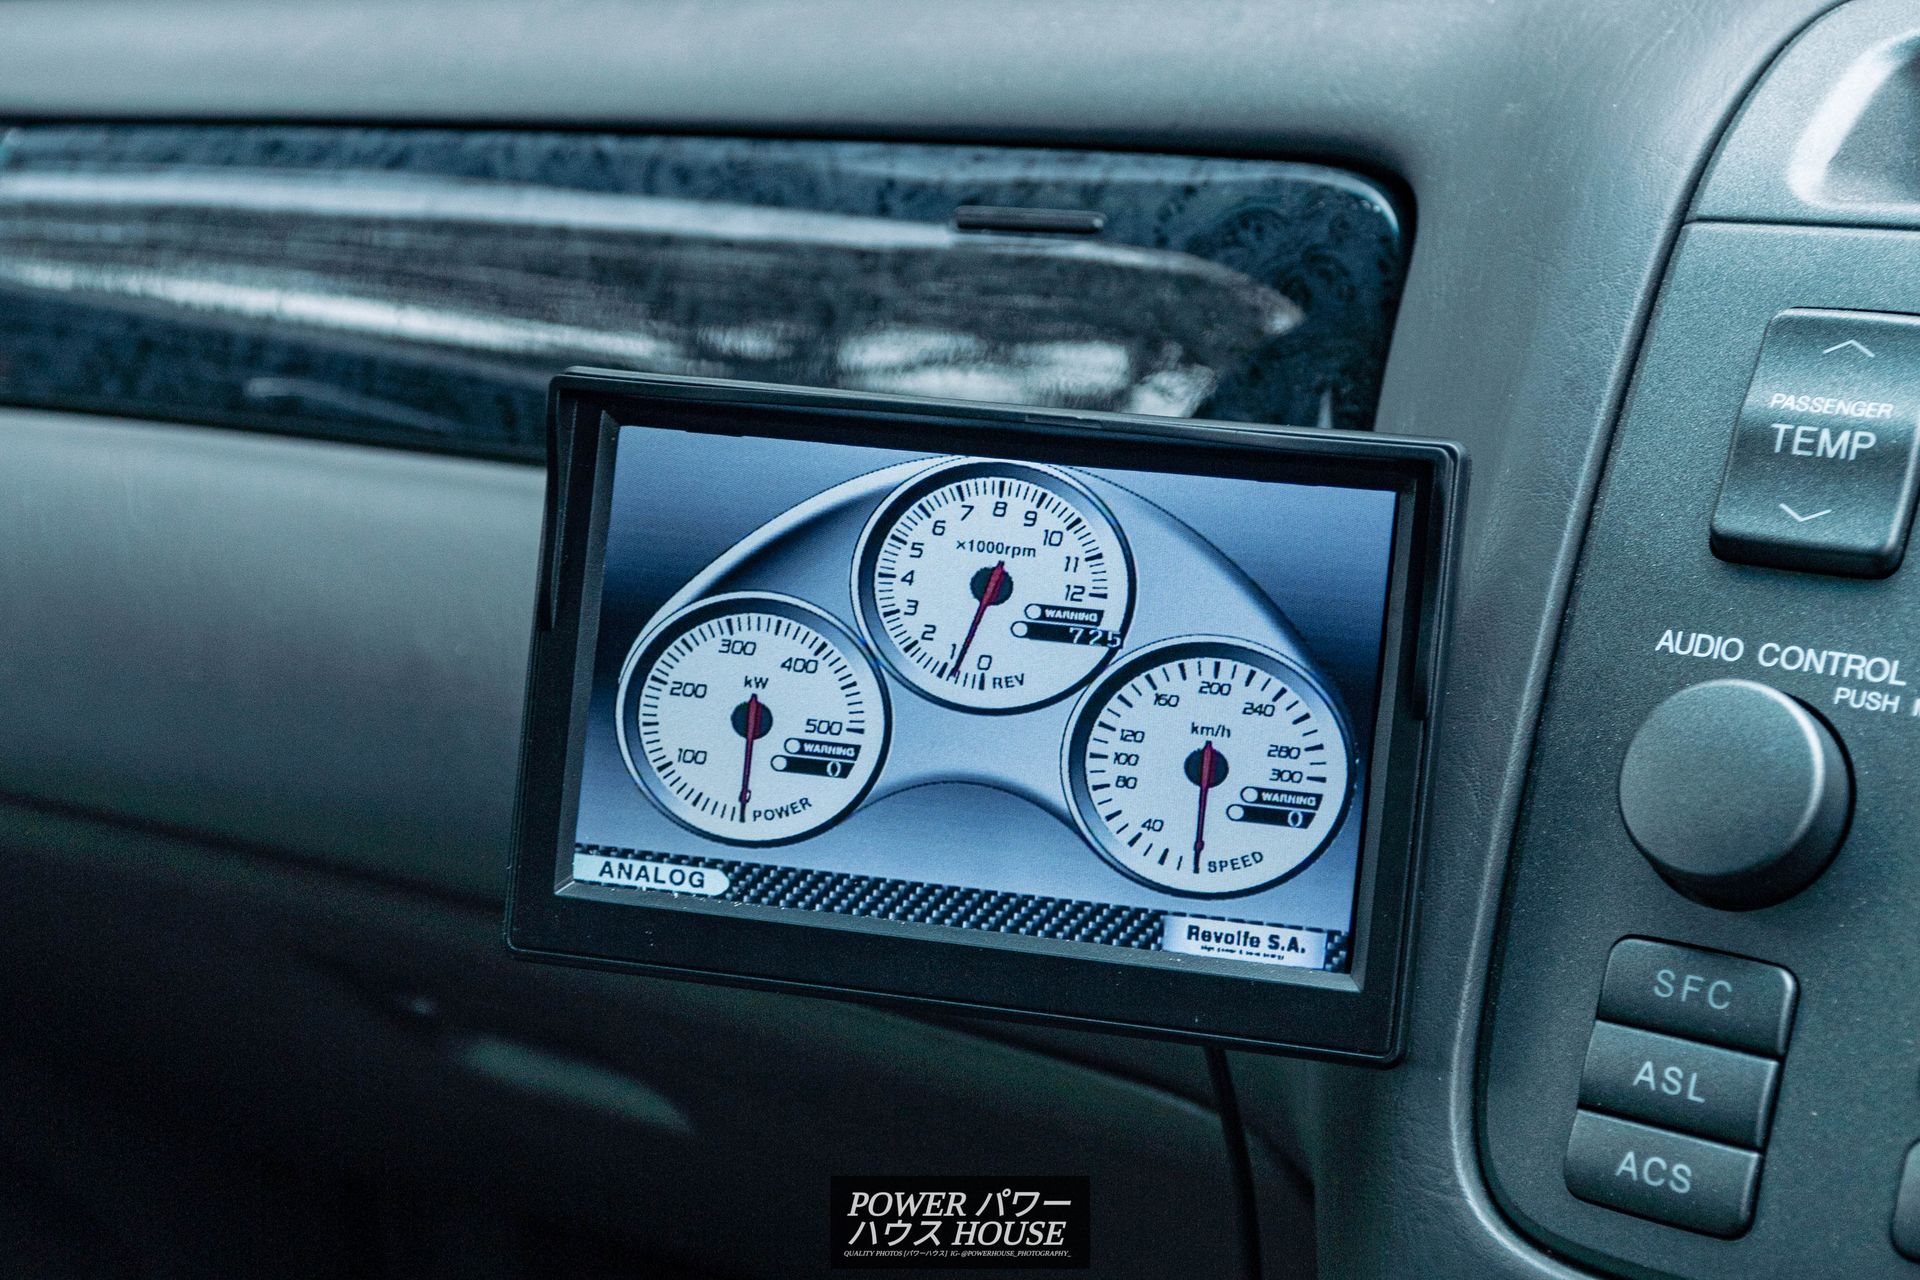
Once I turned the car on, and the monitor lit up into life, I was pleasantly surprised to find that the screen said 'Revolfe S.A.' on it.
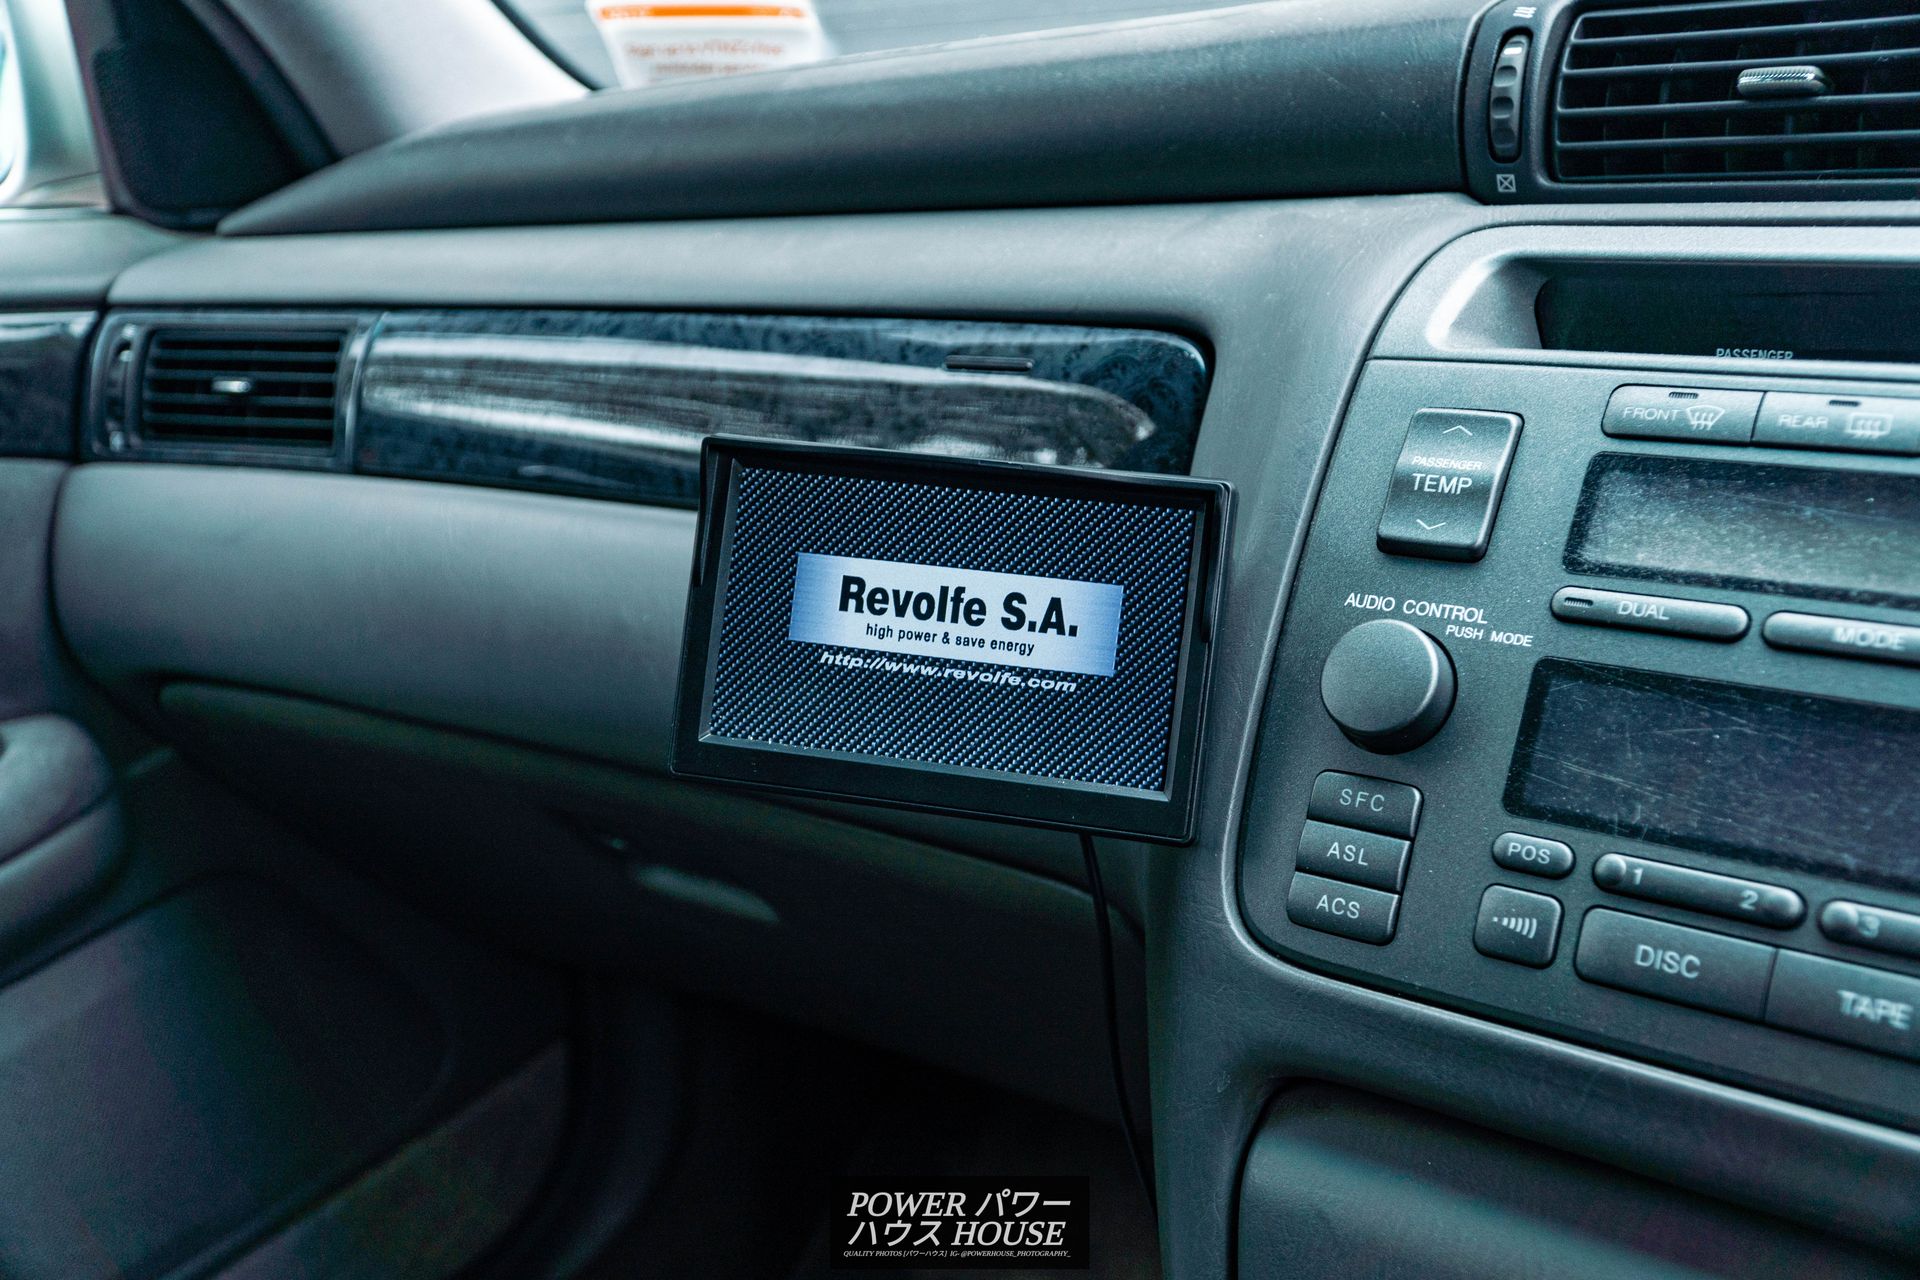
This means that my HKS Camp2 came from a Revolfe S.A.-built car in Japan which is pretty cool. Here are a few of my favourite screens.
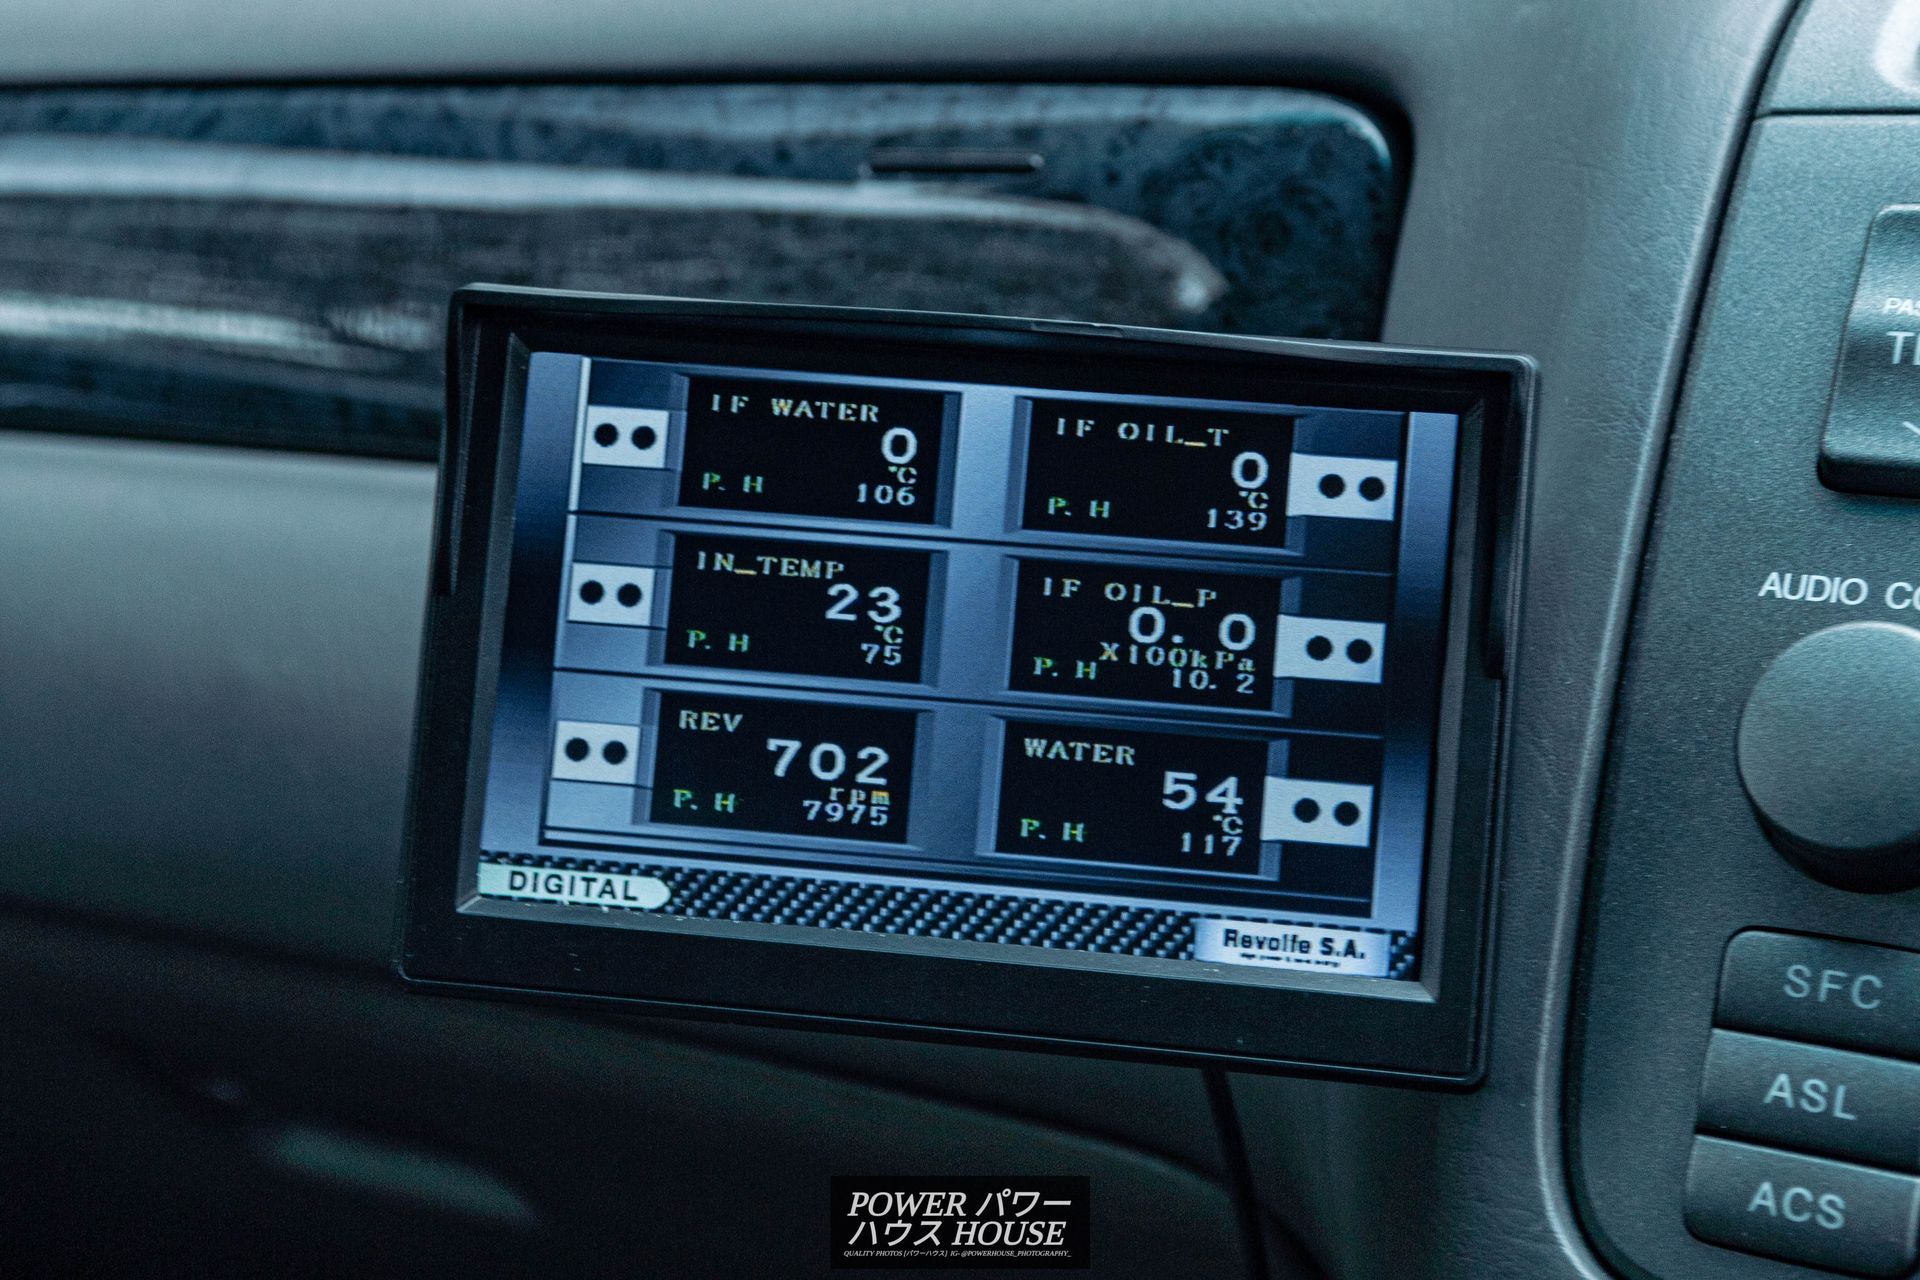
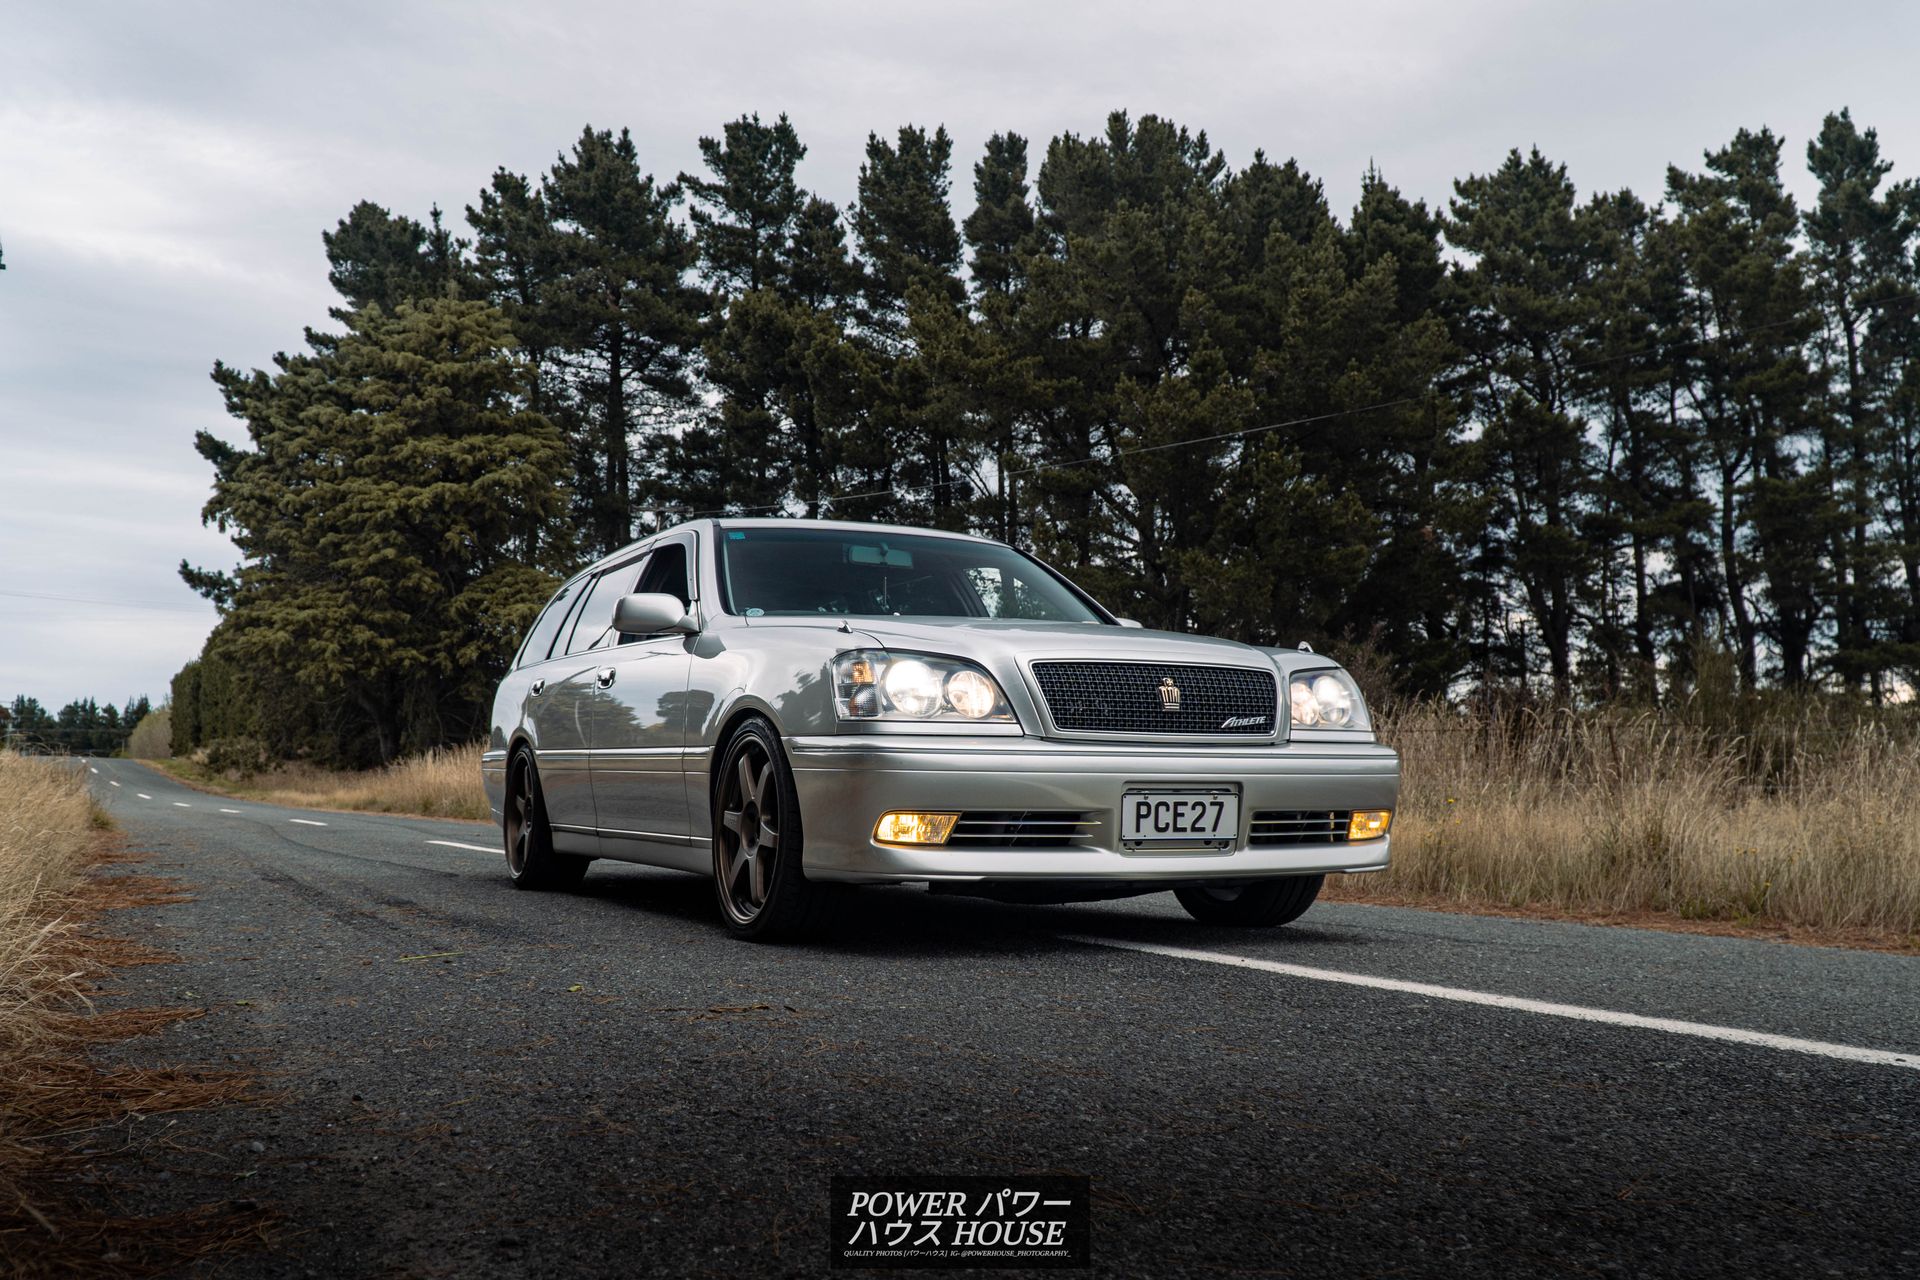
The installation came out very clean, and I am very pleased with the result. After the install, I went to get some photos of the Crown, and the little changes made are really making the Crown look that little bit better.
At this point, the Crown was ready to have some maintenance done. Firstly, an oil change was conducted. Replacing the old oil, the lucky 1J was given some Penrite HPR10 10W-50 full-synthetic oil and a Blitz Racing oil filter.
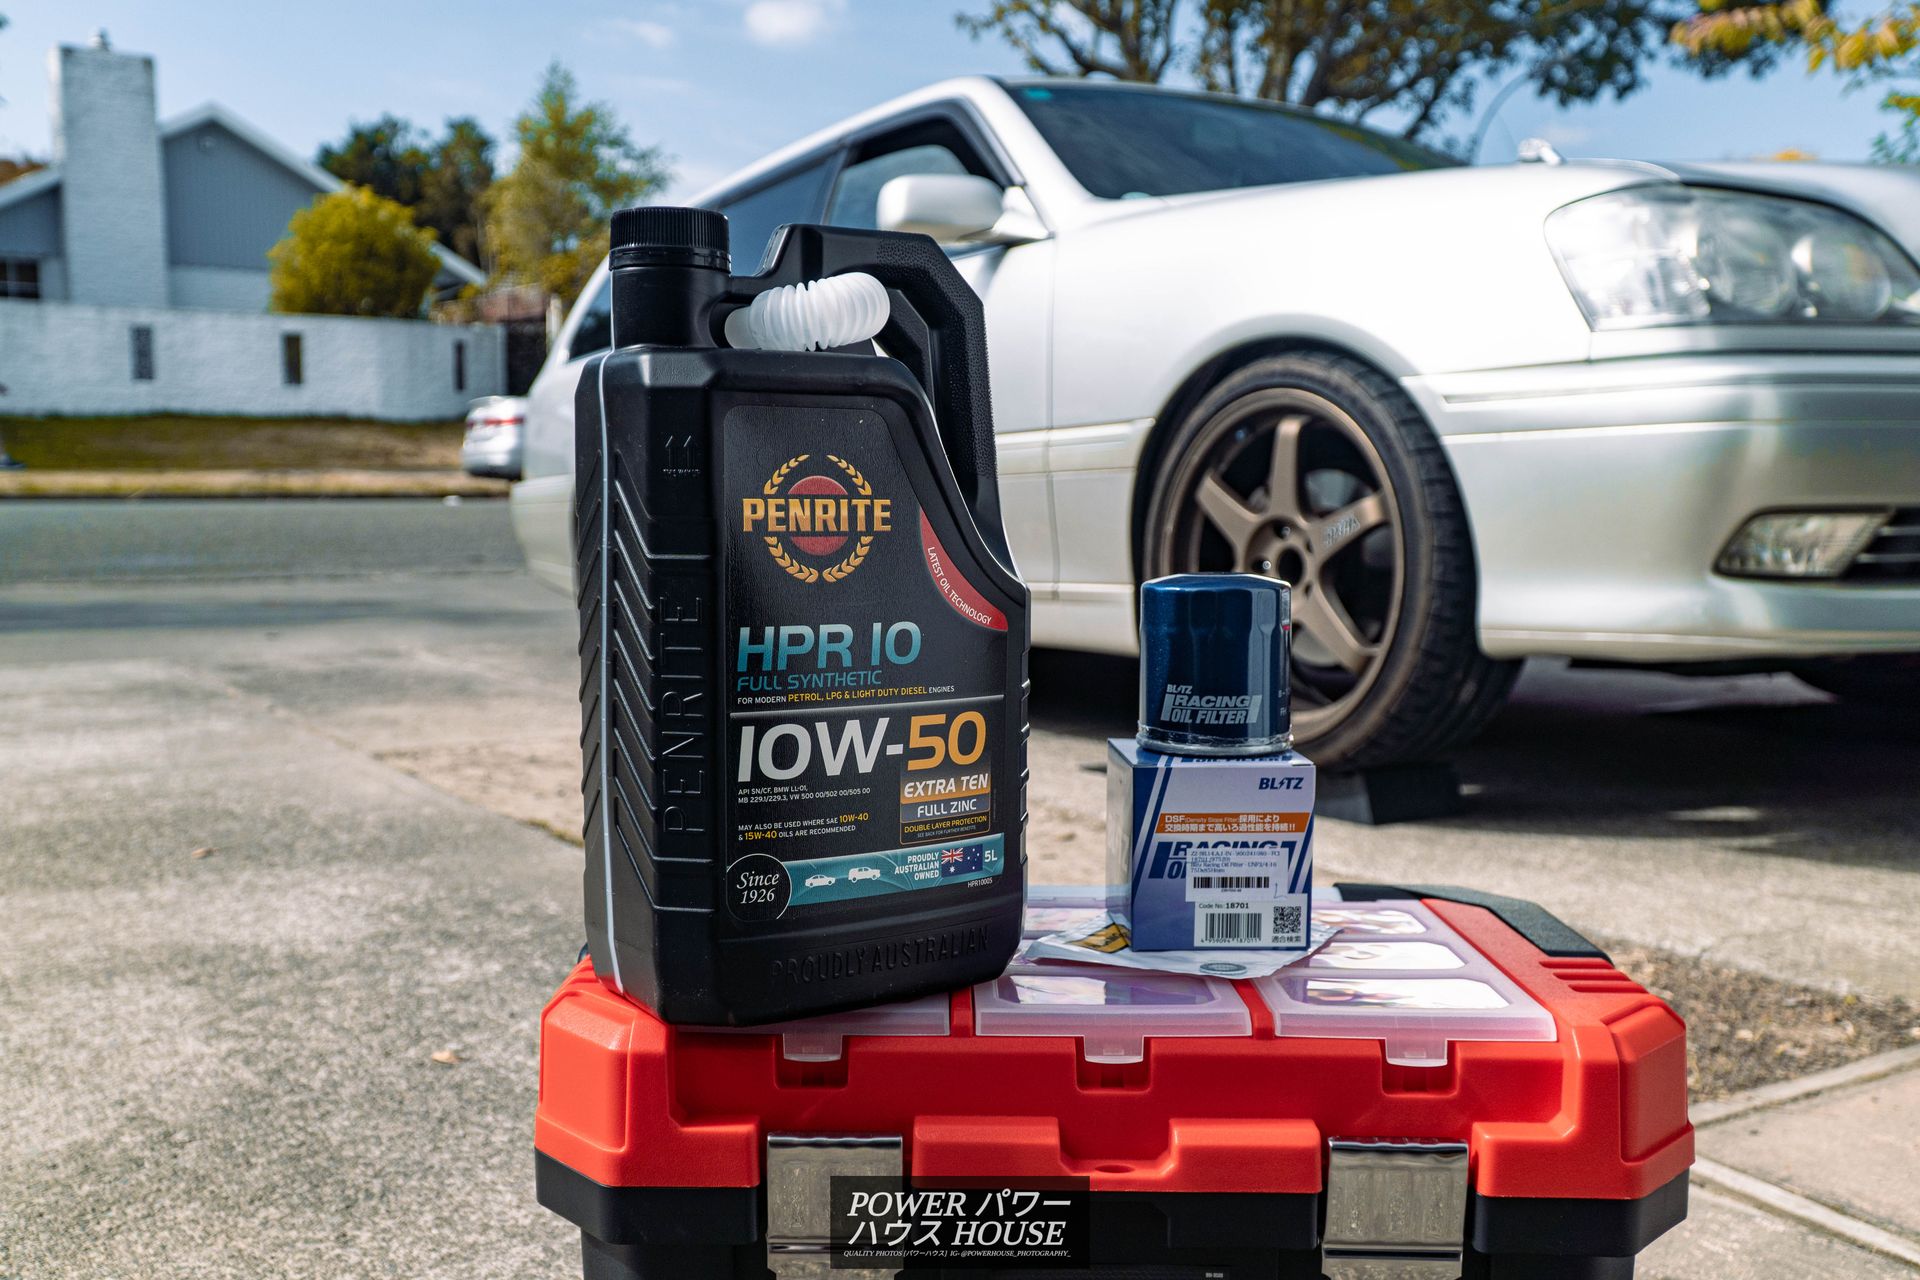
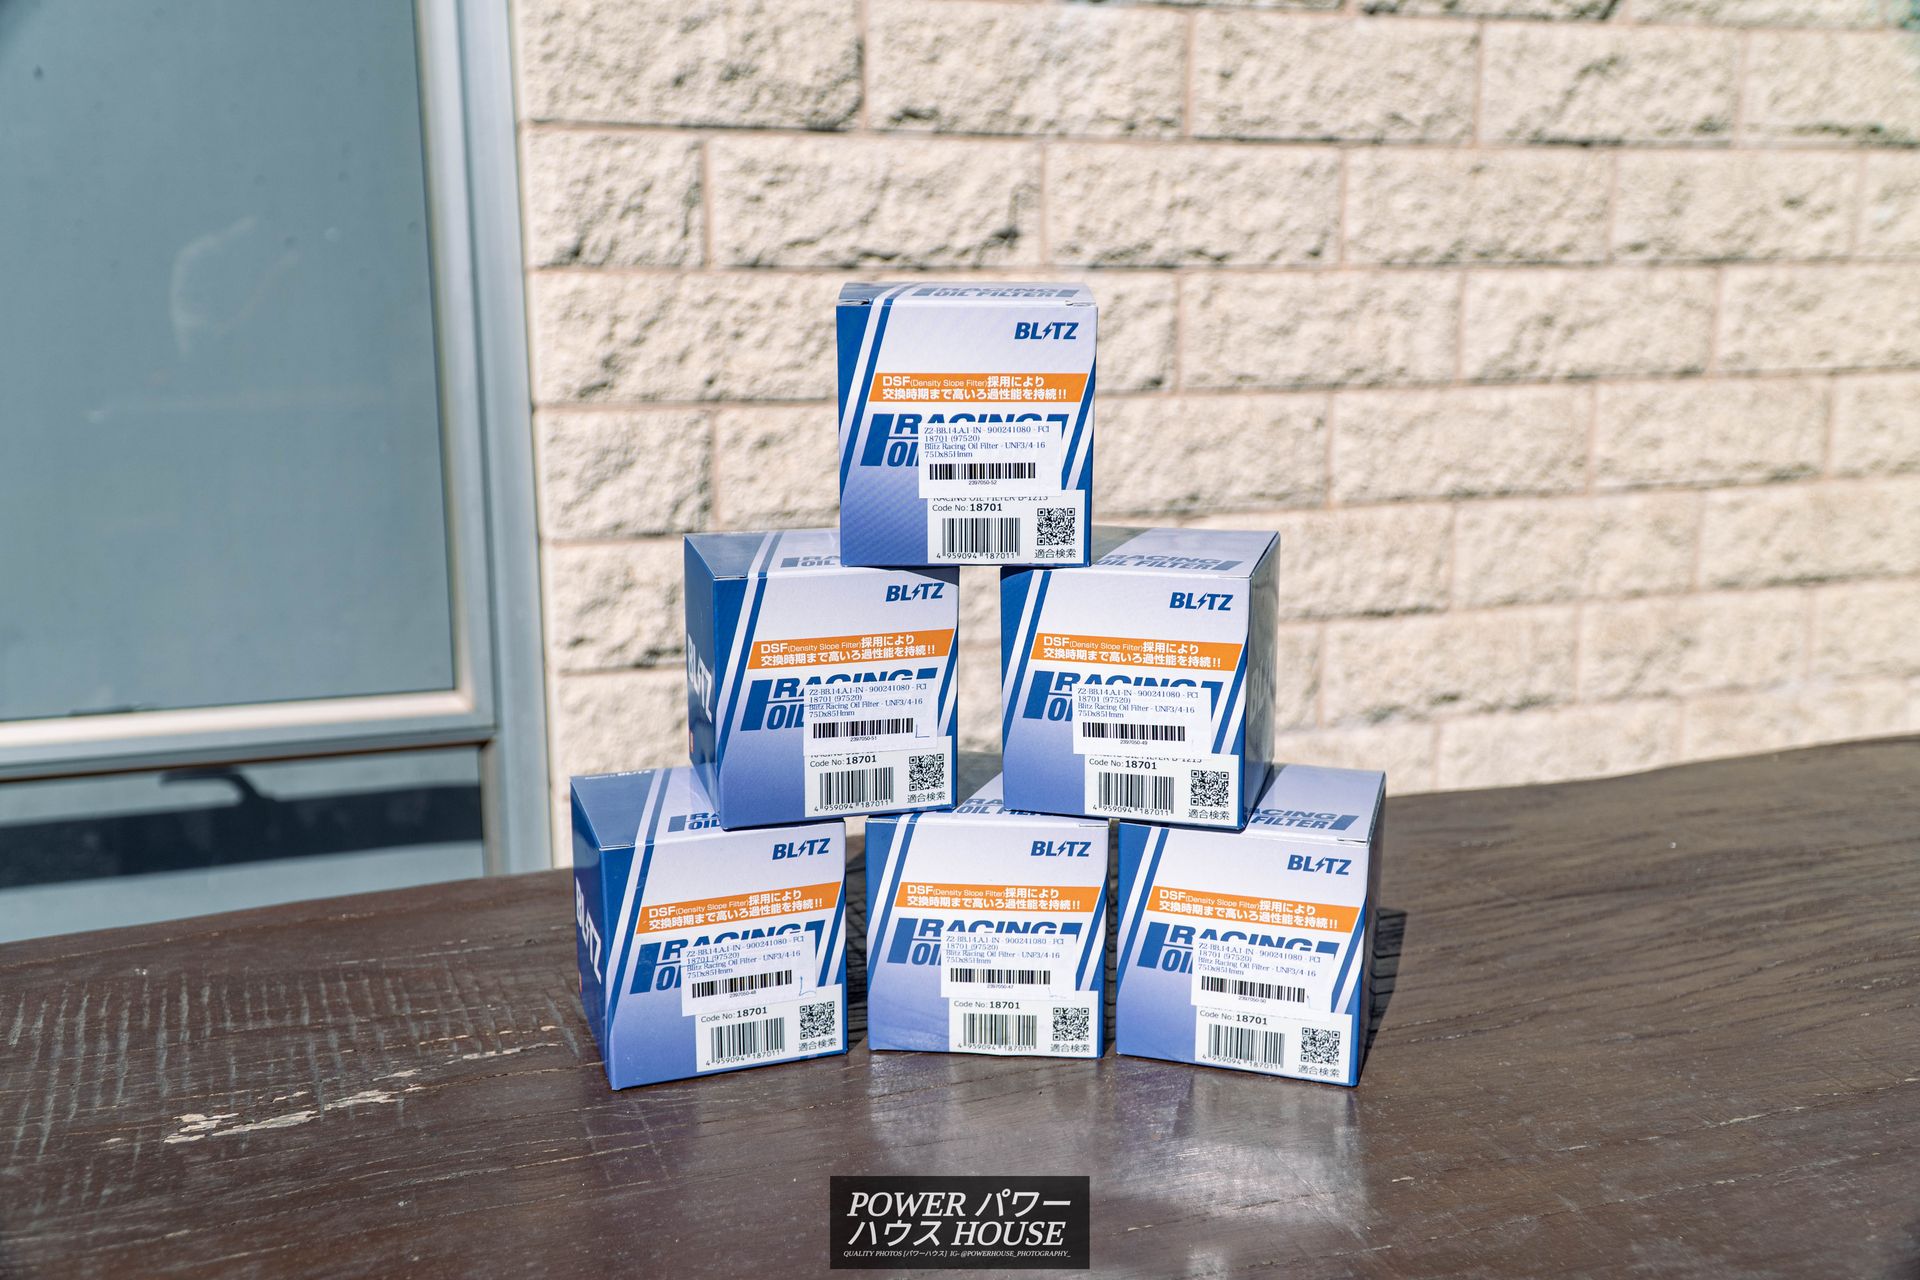
Getting the oil filter off was an absolute nightmare, even when using the strap-type tool. In the end, I gave in from being completely frugal, and spent a few bucks buying an oil filter plier. It was definitely worth the money and only took a few seconds to get the filter off.

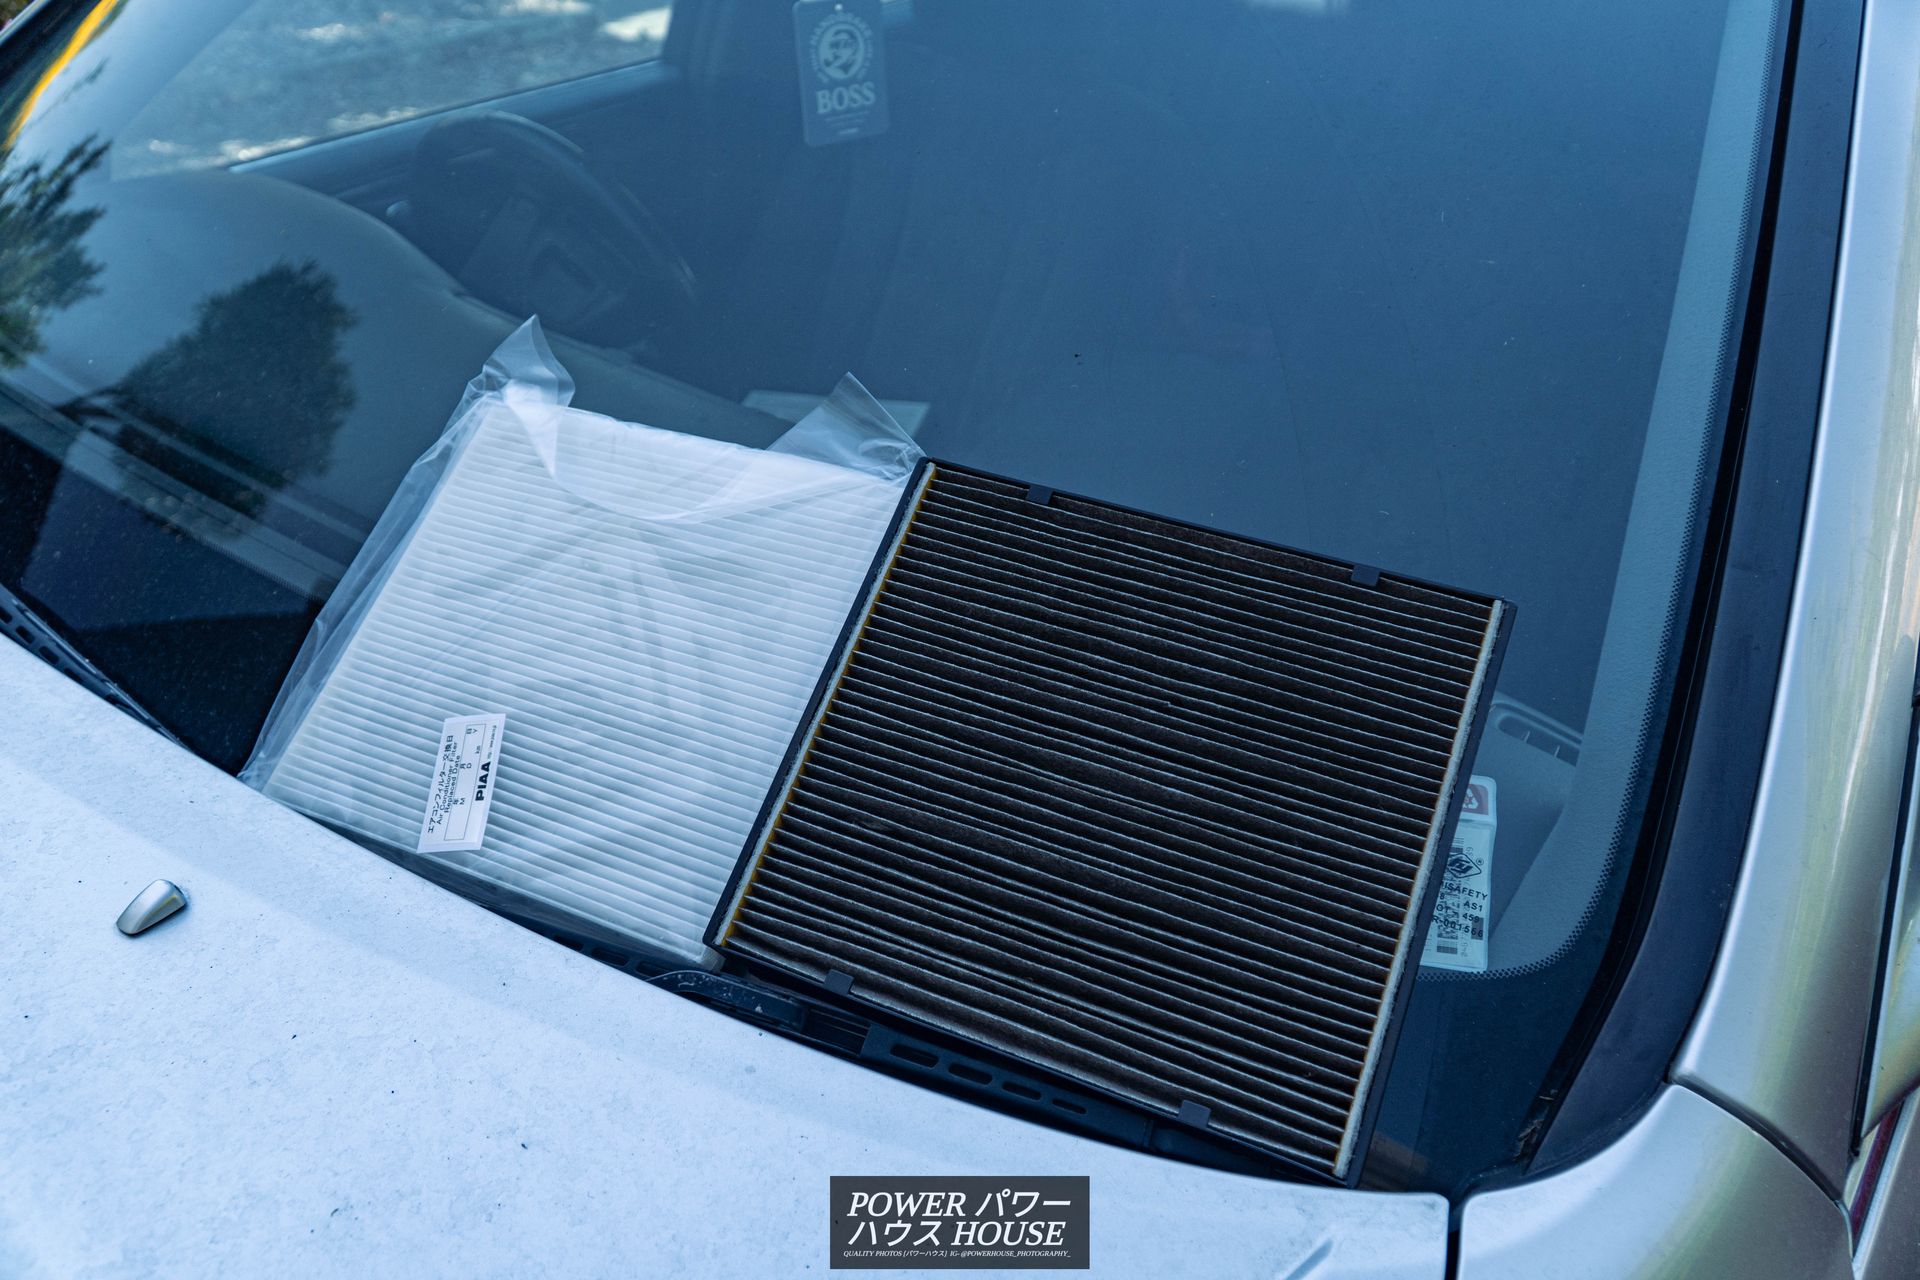
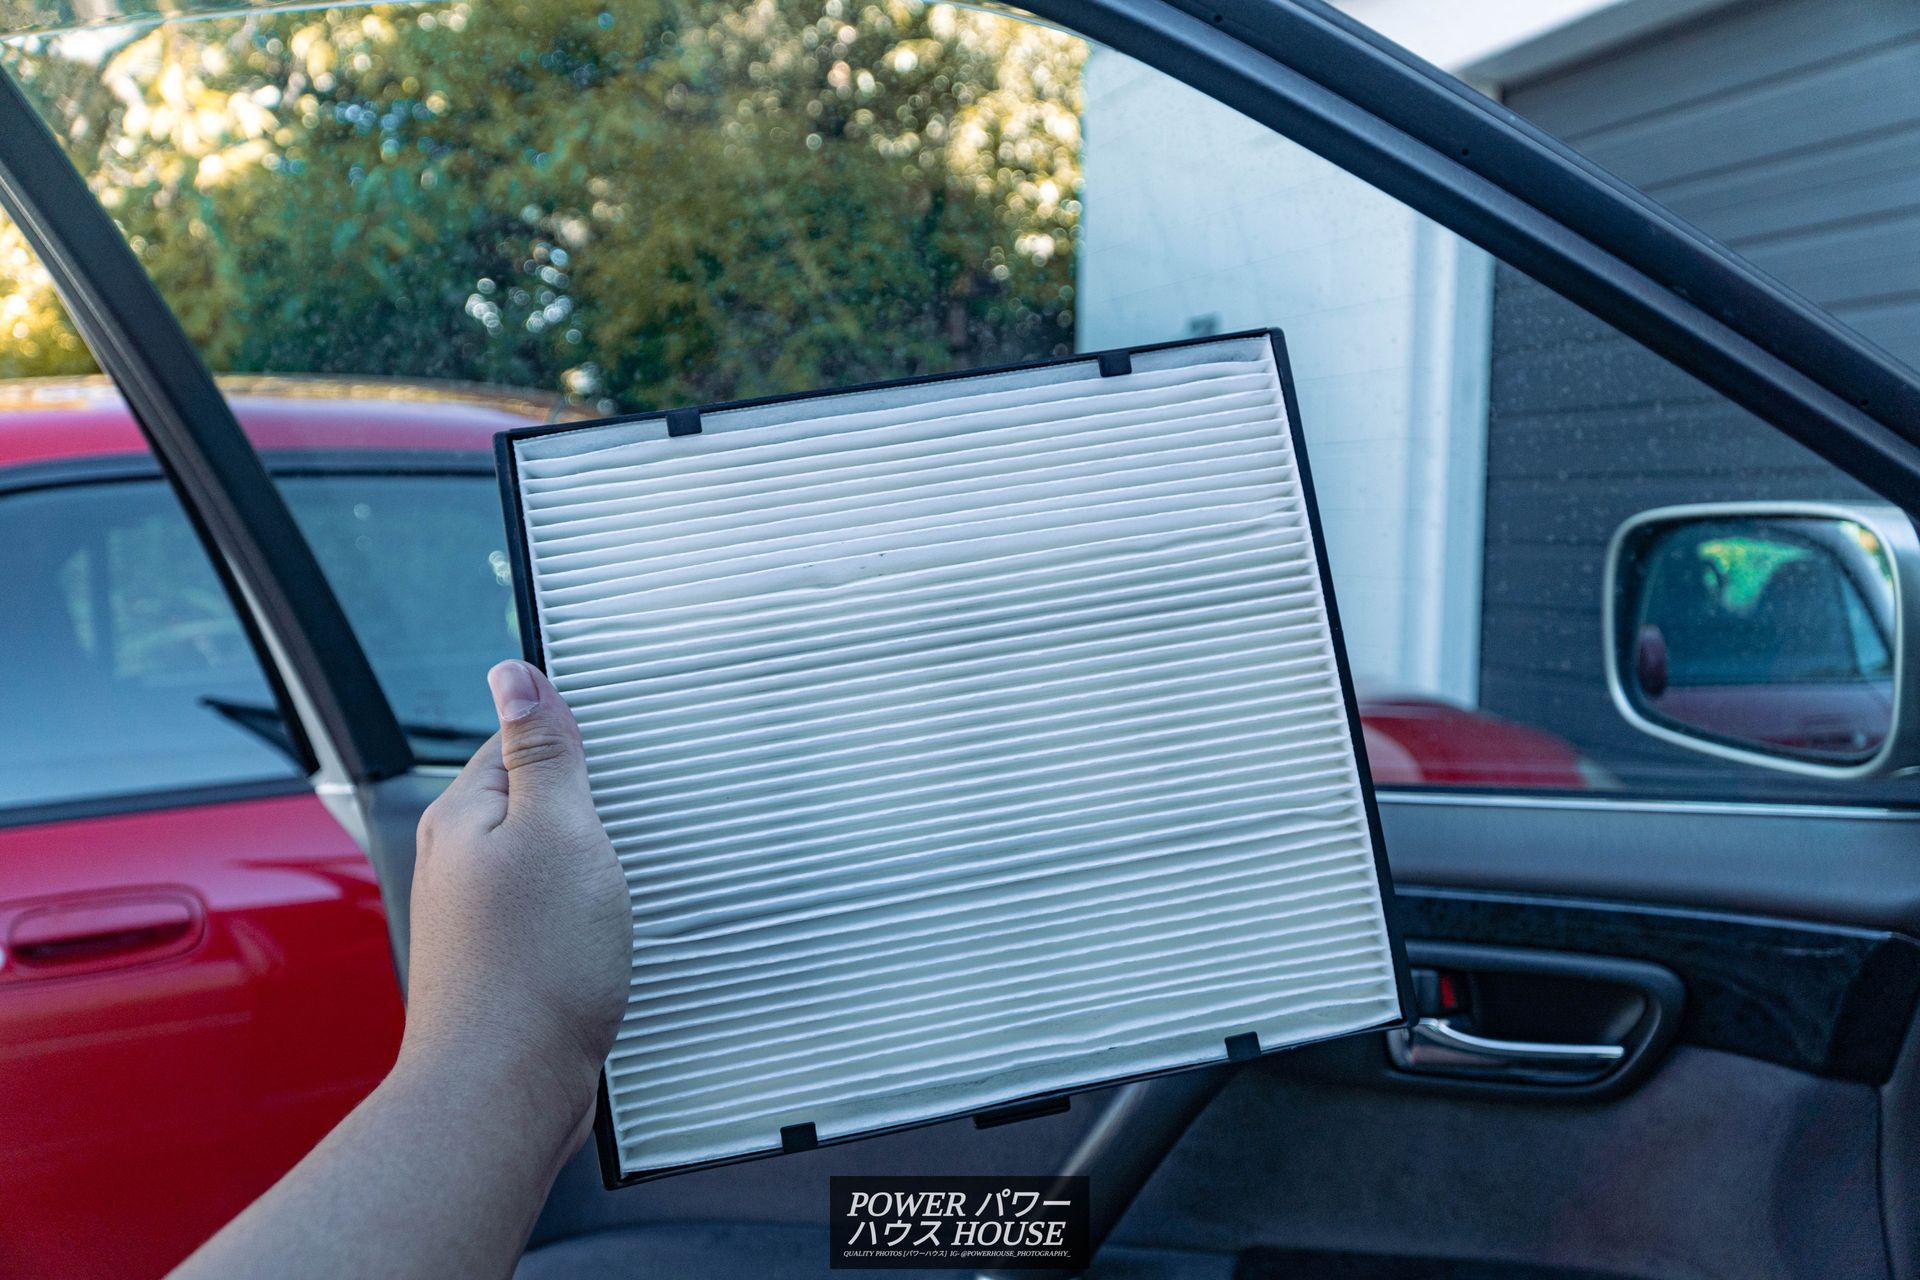
The Crown also got a PIAA Comfort cabin filter from RHDJapan as the old one was filthy.
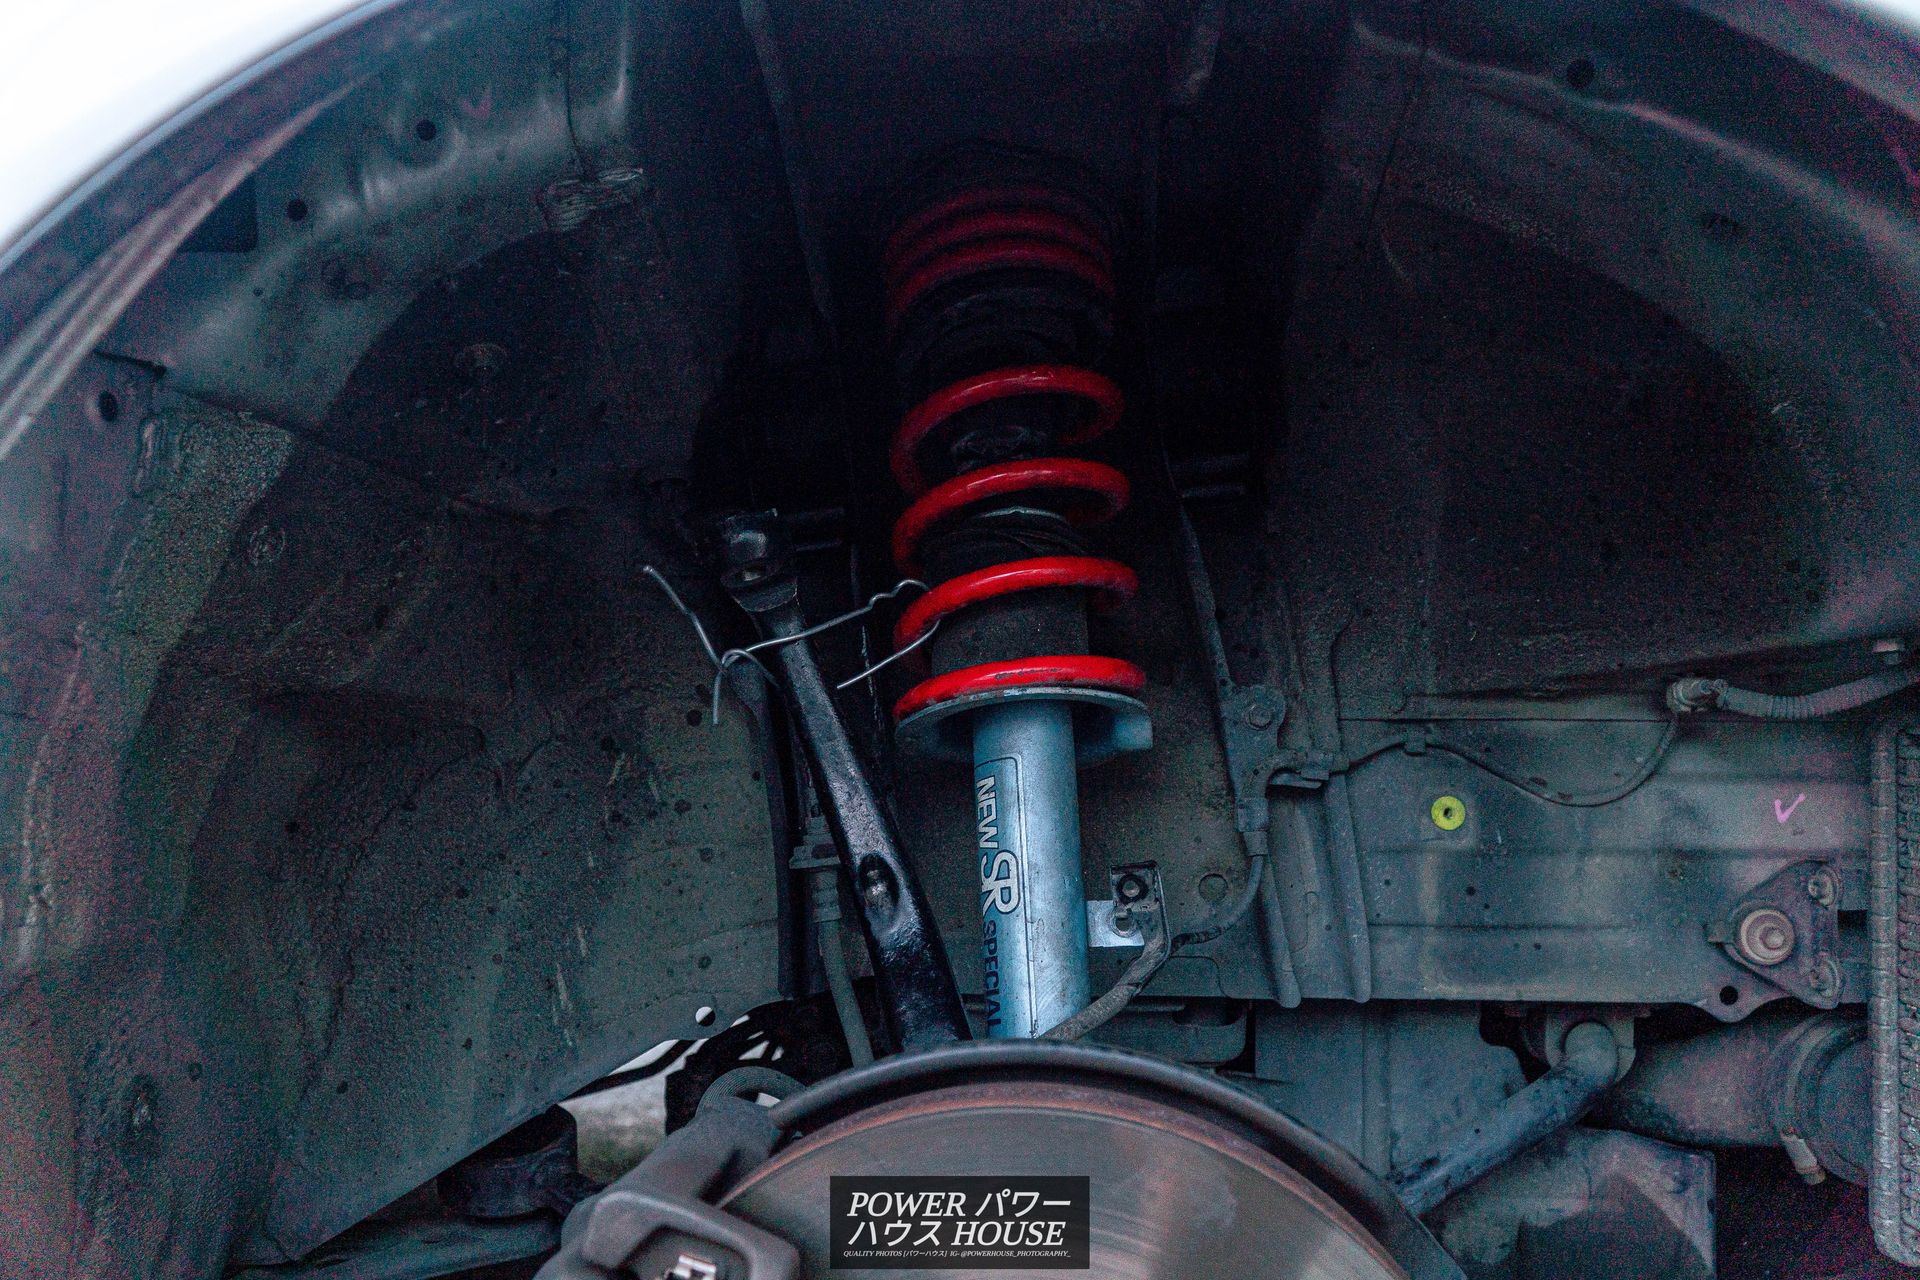
As previously noted in the past, my rear knuckle to LCA bushes were shot, and I finally got around to replacing them. Replacing the old bushes, through Jessestreeter, I got some Silk Road reinforced pillow-ball rear knuckle bushes. These were made in corroboration with Rasty in Japan and were designed to be more durable and to perform better on track than the OEM bushes.

After failing to install the bushes with a gear puller, I was lucky enough for my mate Charlie and his dad to help change the bushes and let the Crown occupy their hoist. Once the old bushes were removed, it was pretty clear that the bushes were about as worn as you can get with all the play in the world.
As, there was also a rumble/clunk from the from the front drivers-side suspension, I also went investigating here. After placing my hand on different suspension components while shaking the wheel, I found that my front upper-control arm was to blame for the sound. I spent an hour or so taking the old arm off and replacing it with the new one.
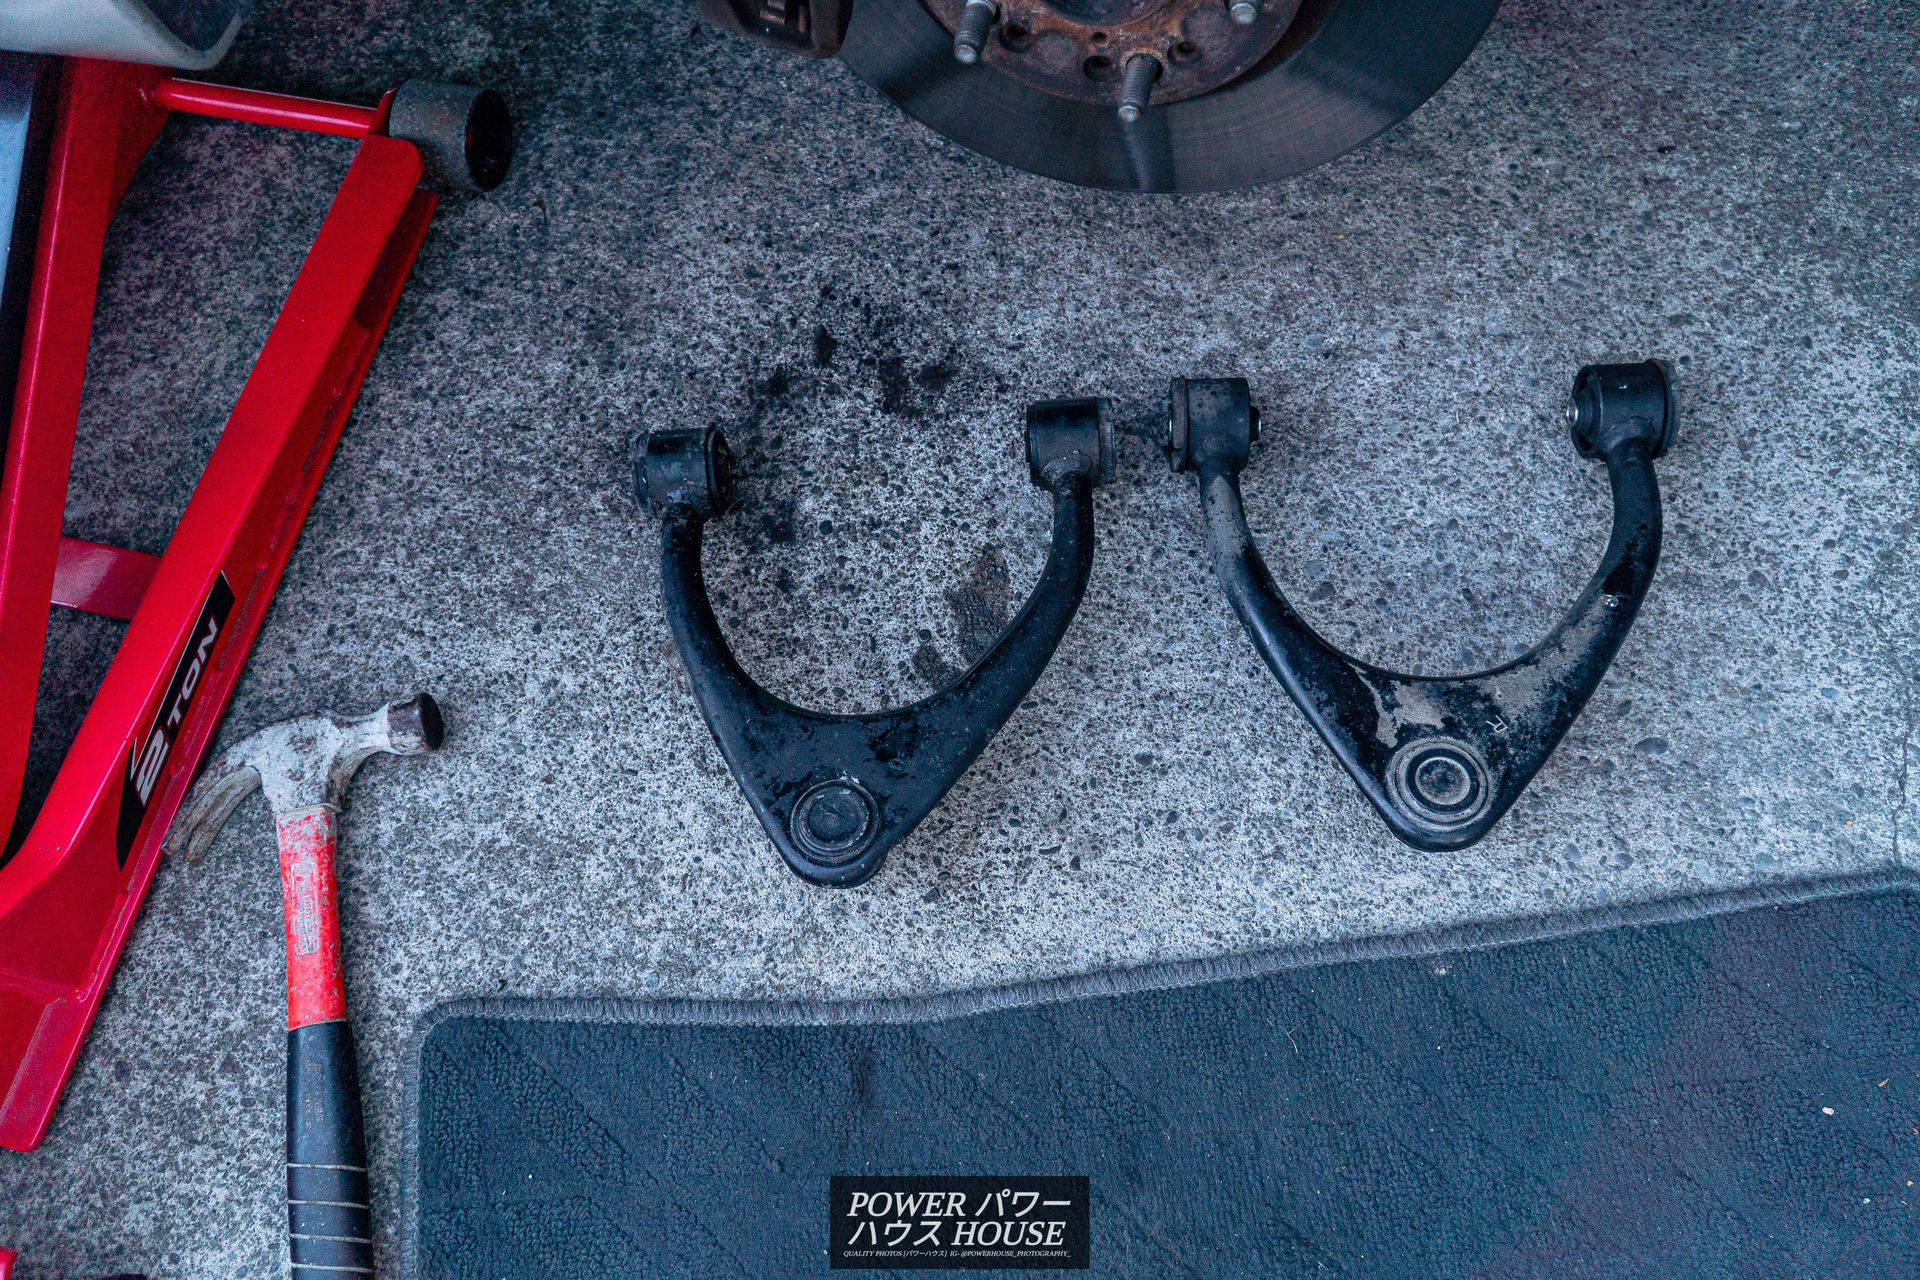
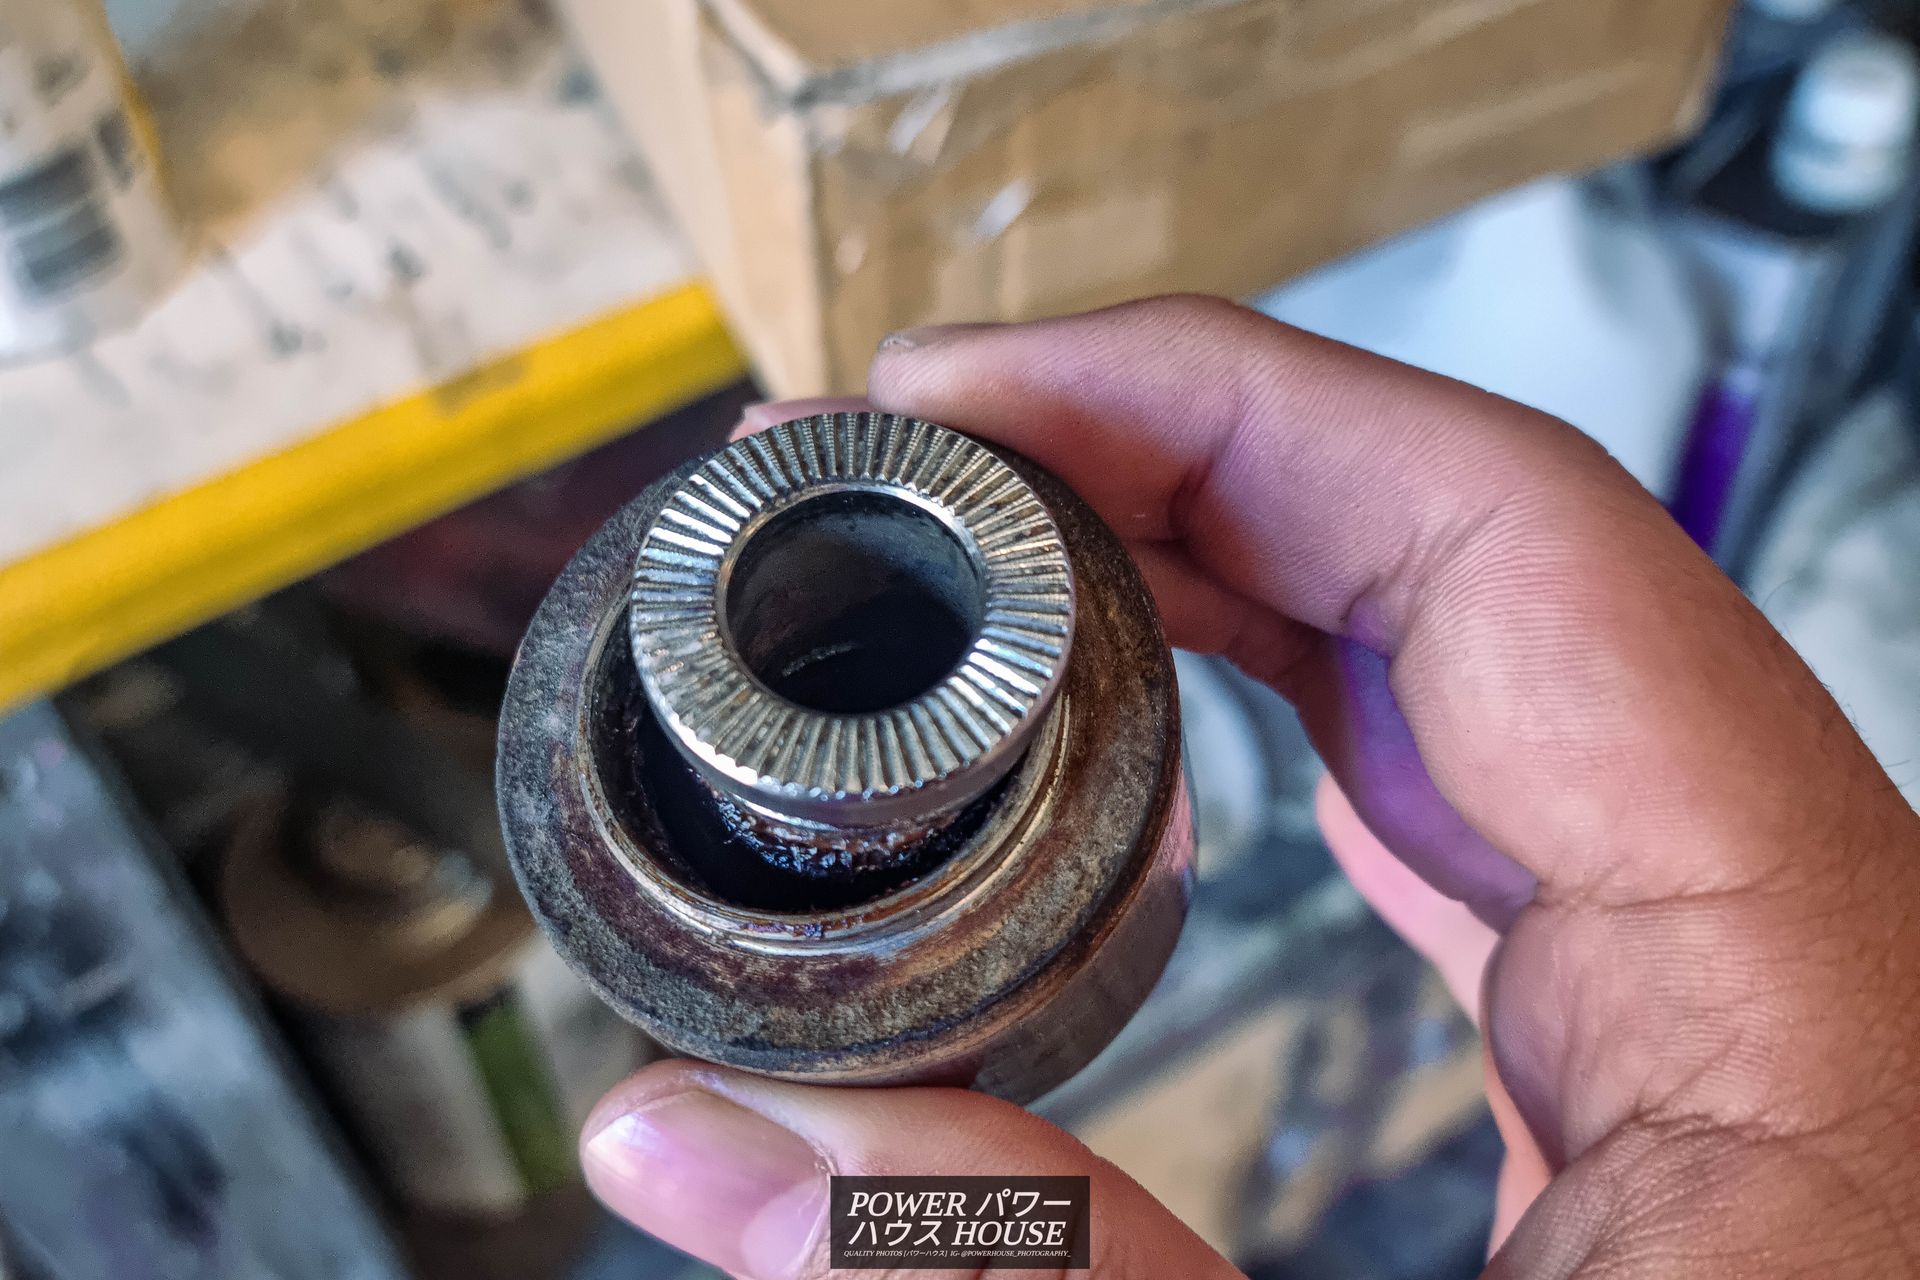
Although as first I believed that the upper ball joint was to blame, when I took the old arm out, I realised that it was actually the bushes causing the sound. The old ones, although looking new, were loose and had plenty of play. Below is a photo of the bushes on the new arm.
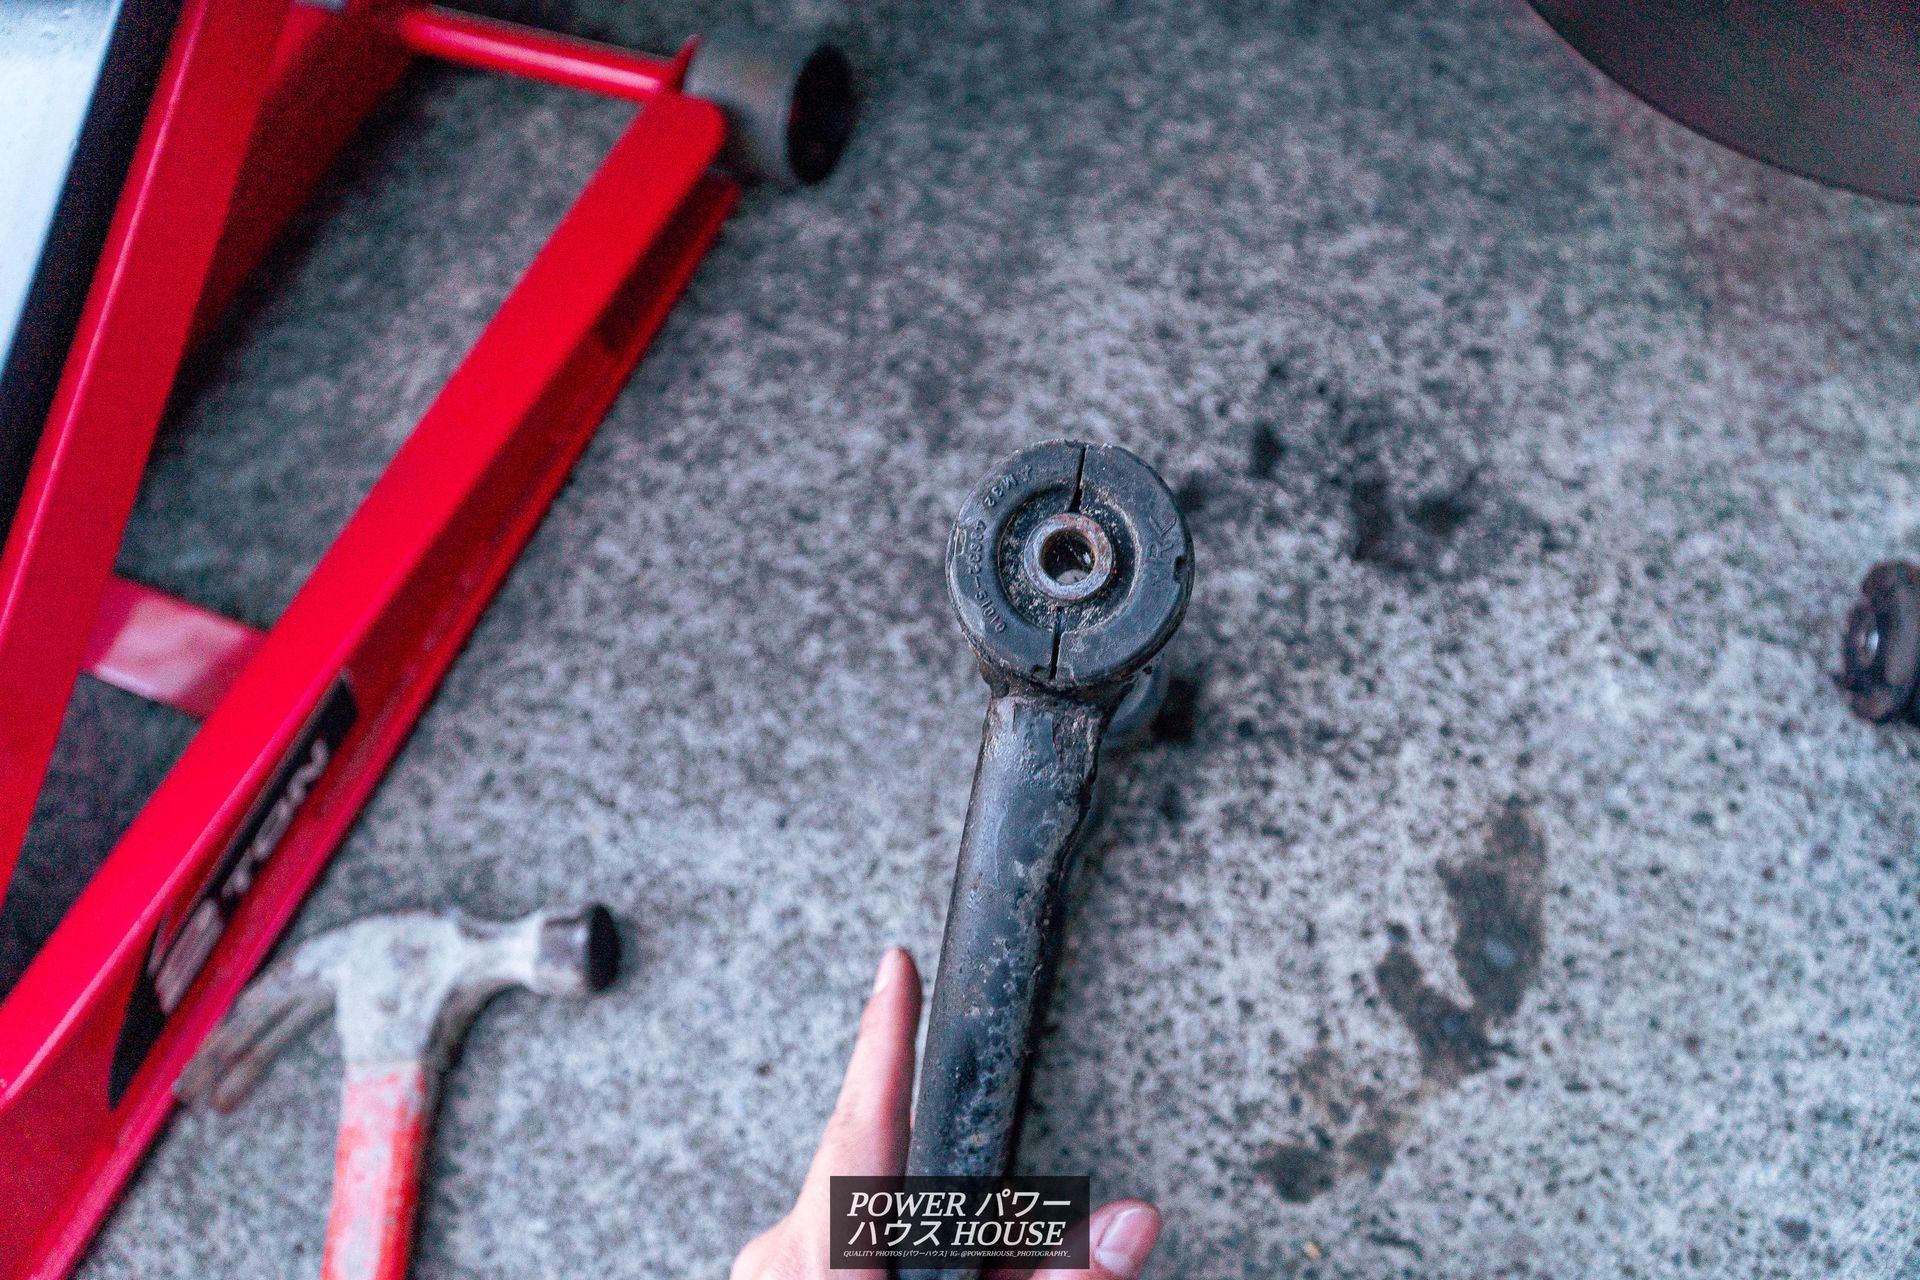
And here is what the worn bushes on the old arm looked like.

Once the new arm was installed, the suspension performed flawlessly and there was no more rumble or clunking.
Lastly, I got new plates for the Crown. These historic plates (well-known in NZ) came off a custom widebody Auto Saloon Estima van my dad owned back in the day, and I got them reprinted in black with silver letters.
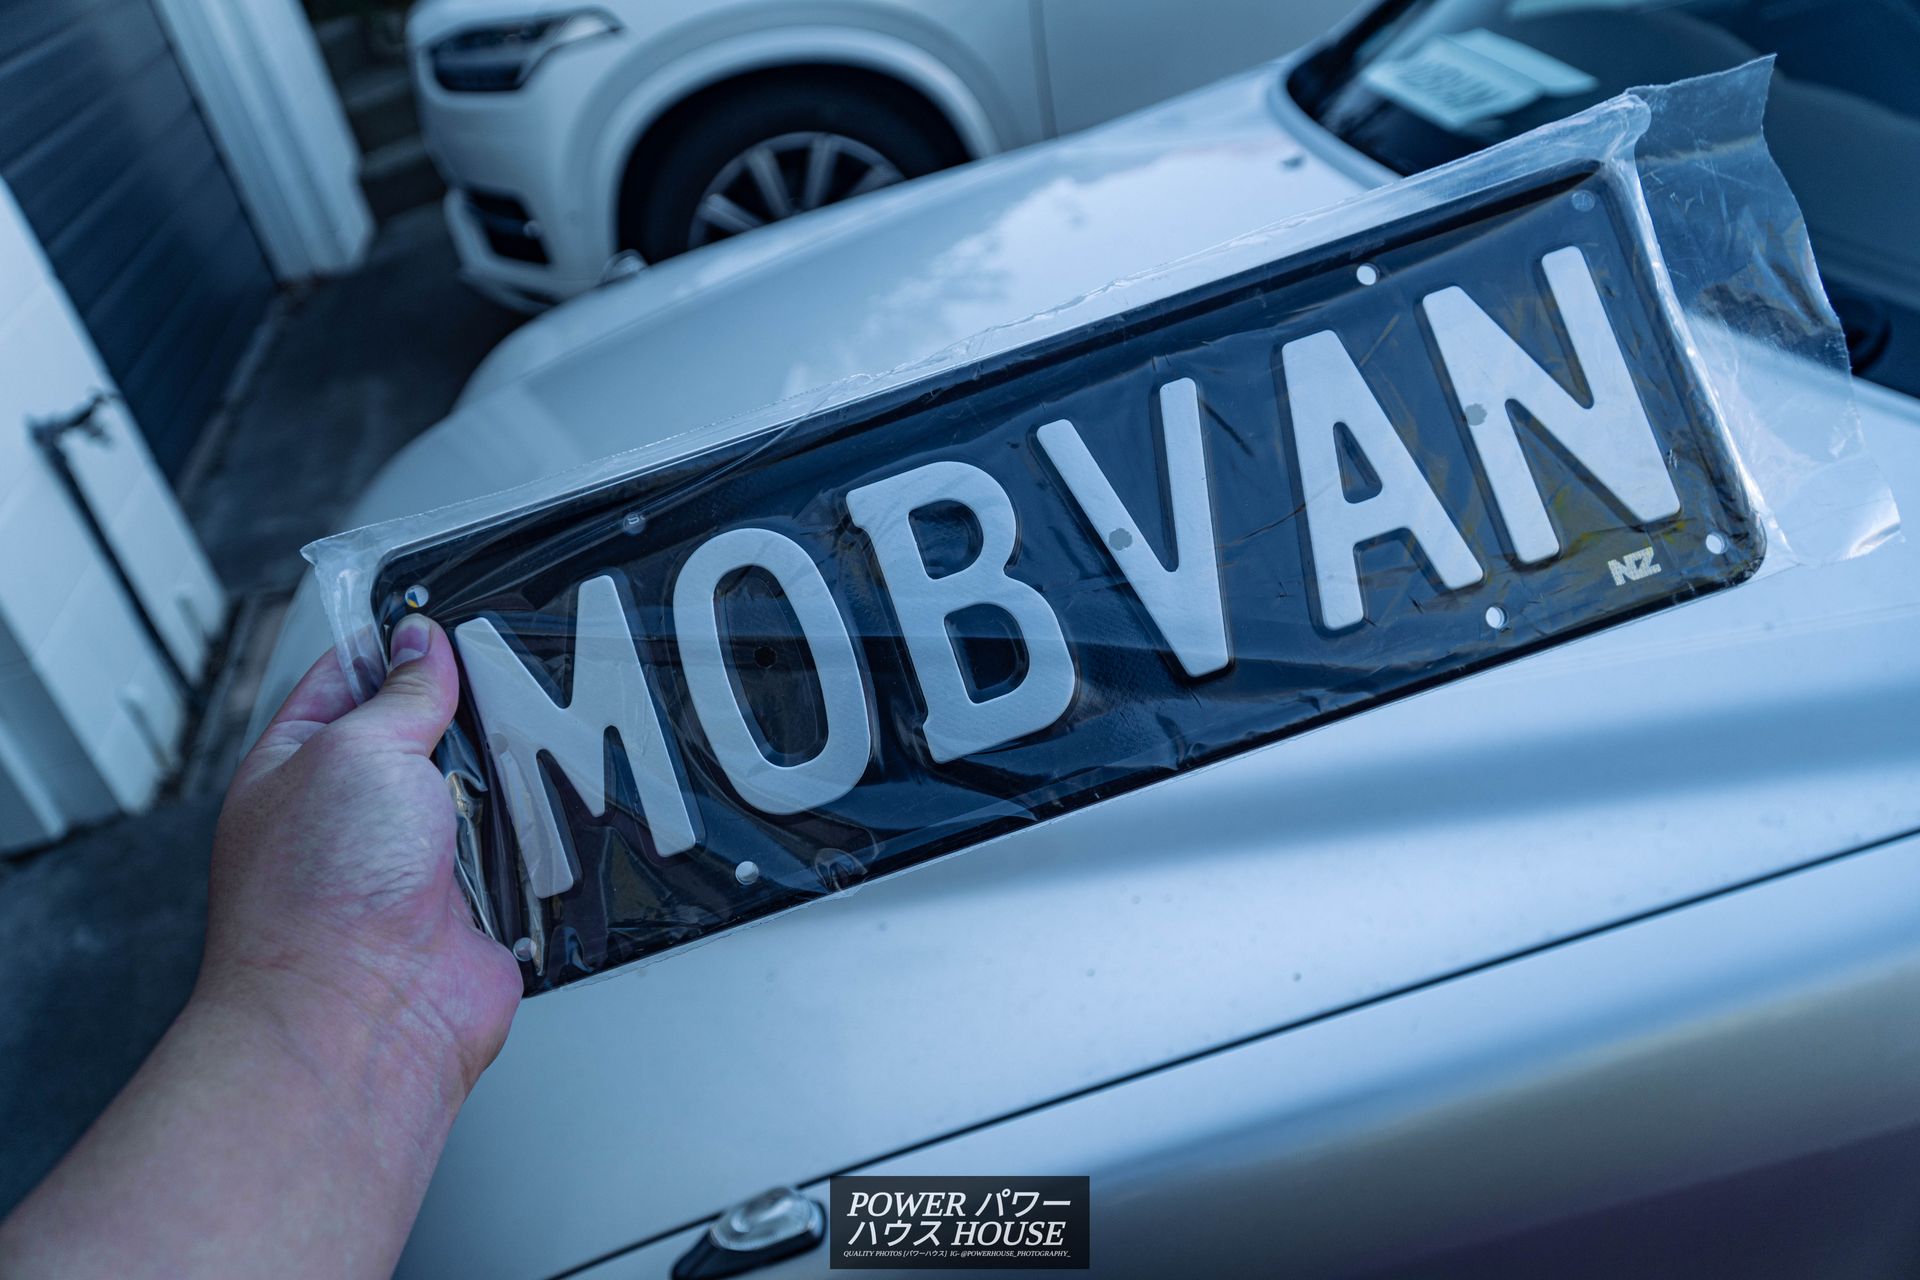
However, you'll have to wait until next time to see them on the car.
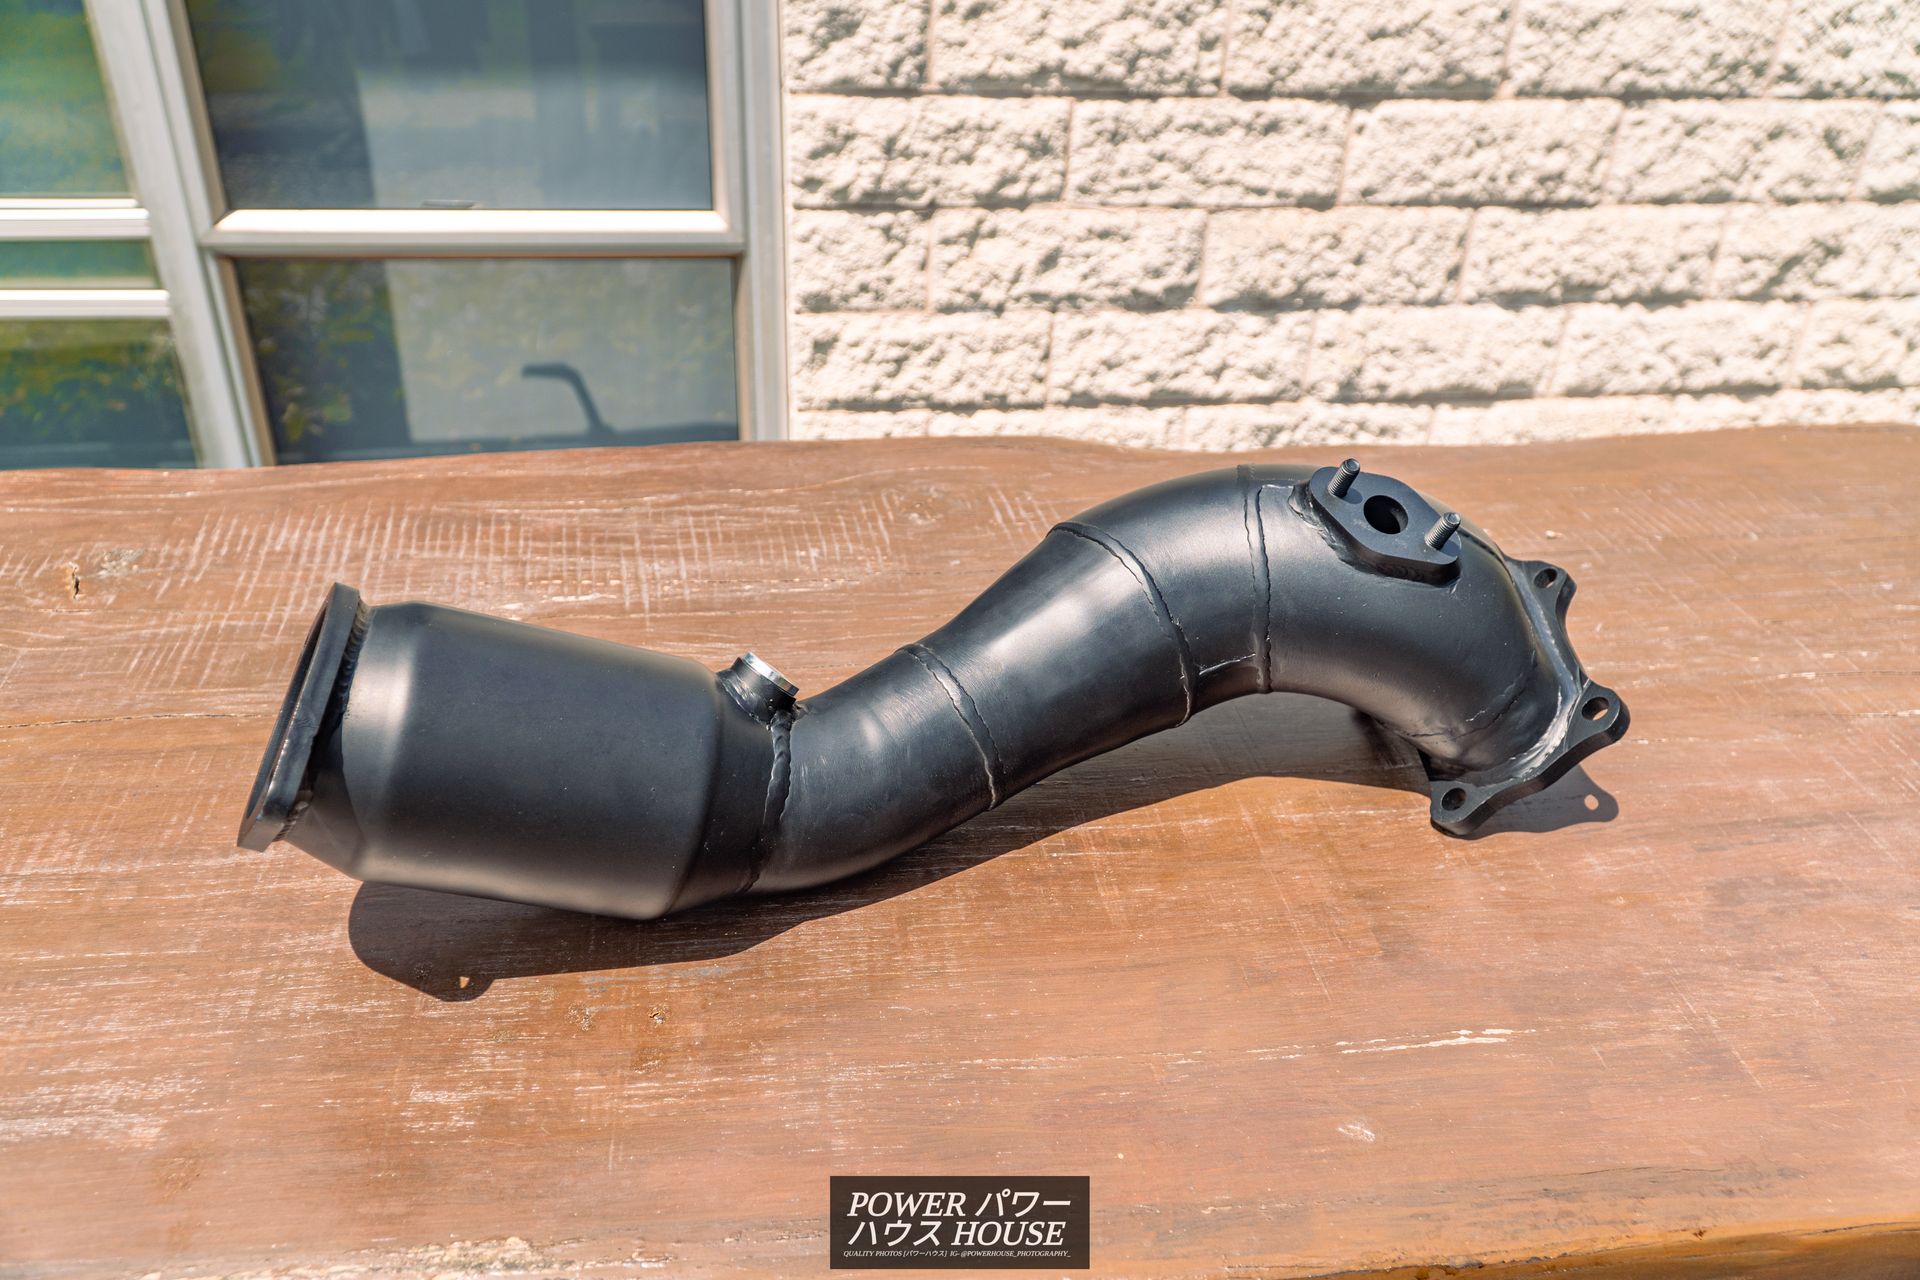
You'll also have to wait until next time to see my new Australian Kurts JZ Customs 4-to-3-inch mild-steel down-pipe with 100cel catalytic convertor installed on the Crown.