Project BRG: The Mods Continue
30 December 2022
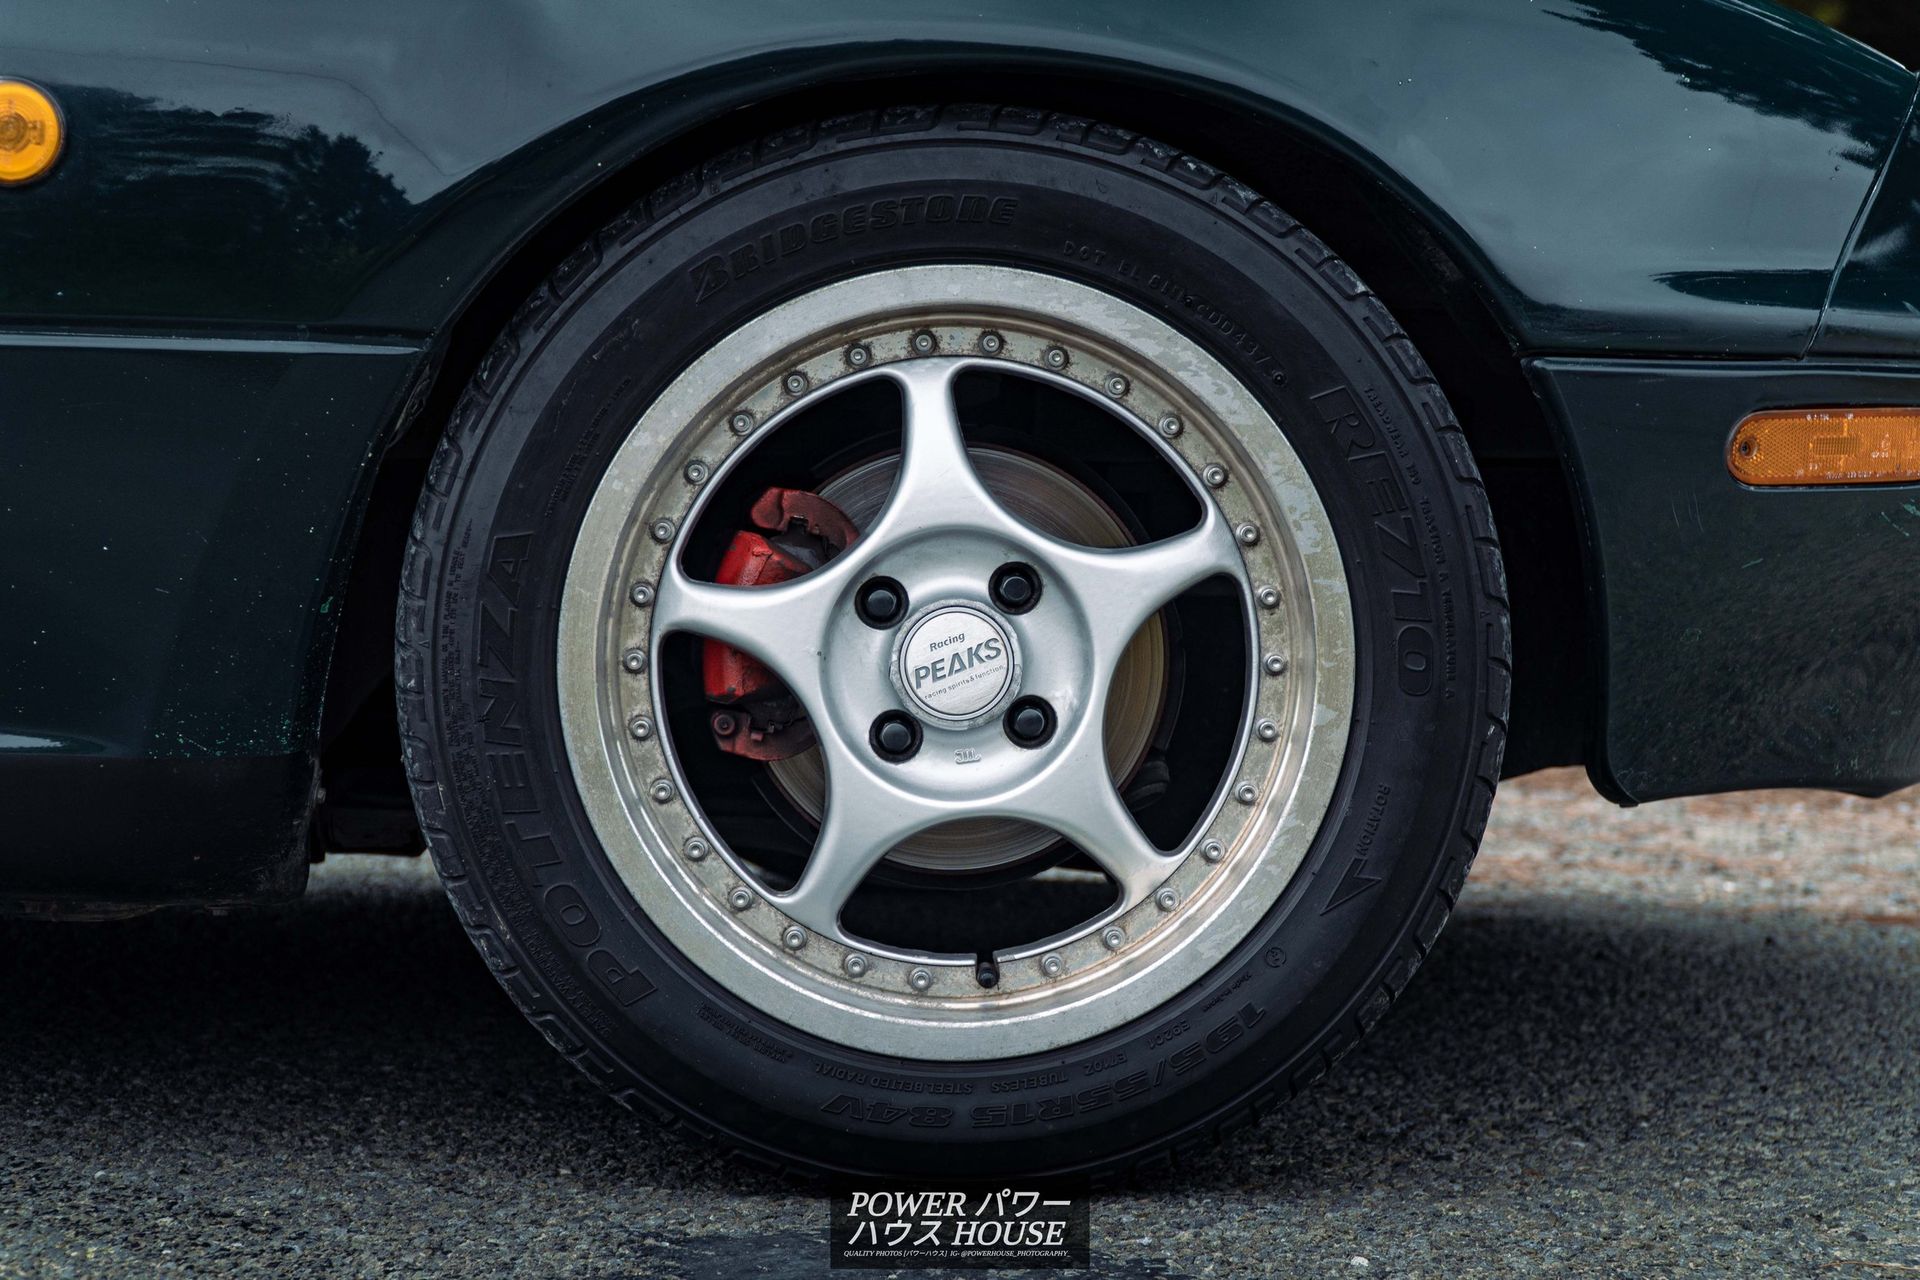
Although I love my new Enkei Peaks wheels, as soon as I installed them, the fact that the car was on stock suspension and looked like a monster truck was largely more apparent.
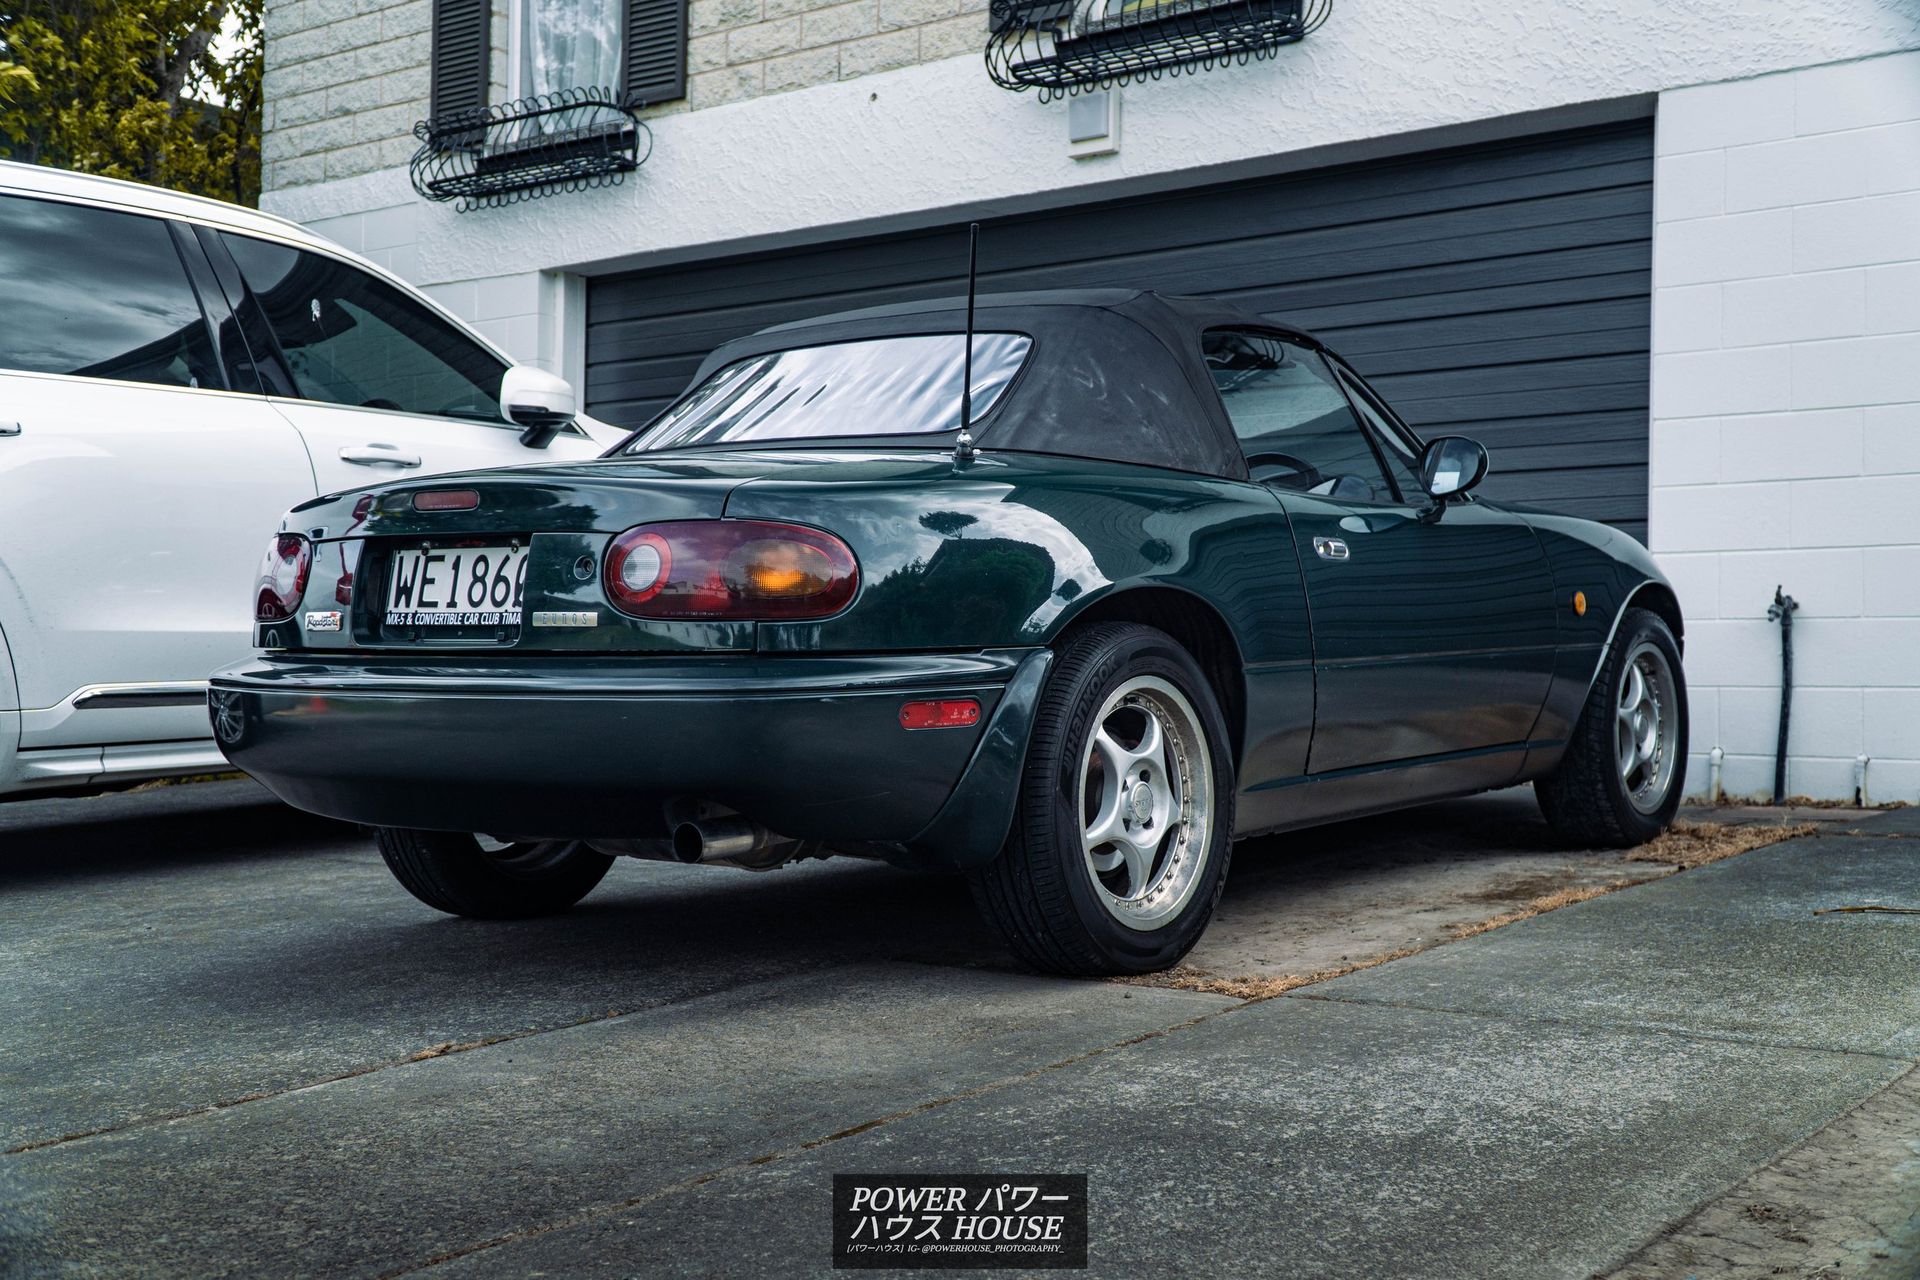
Although coil-overs sound like a no-brainer, the $750 cert required with adjustable suspension components in New Zealand pushed it way out of my budget. The other option was lowering springs. Although I knew springs would never meet my exact ride-height goals, it was in my budget, doesn't need cert, and should give a decent drop so I went with this option.

Installed on the Roadster now are a set of Bilstein shocks all around. They work in junction with OG Mazdaspeed springs finished in orange and brand new Nolathane polyurethane lower front strut bushes.
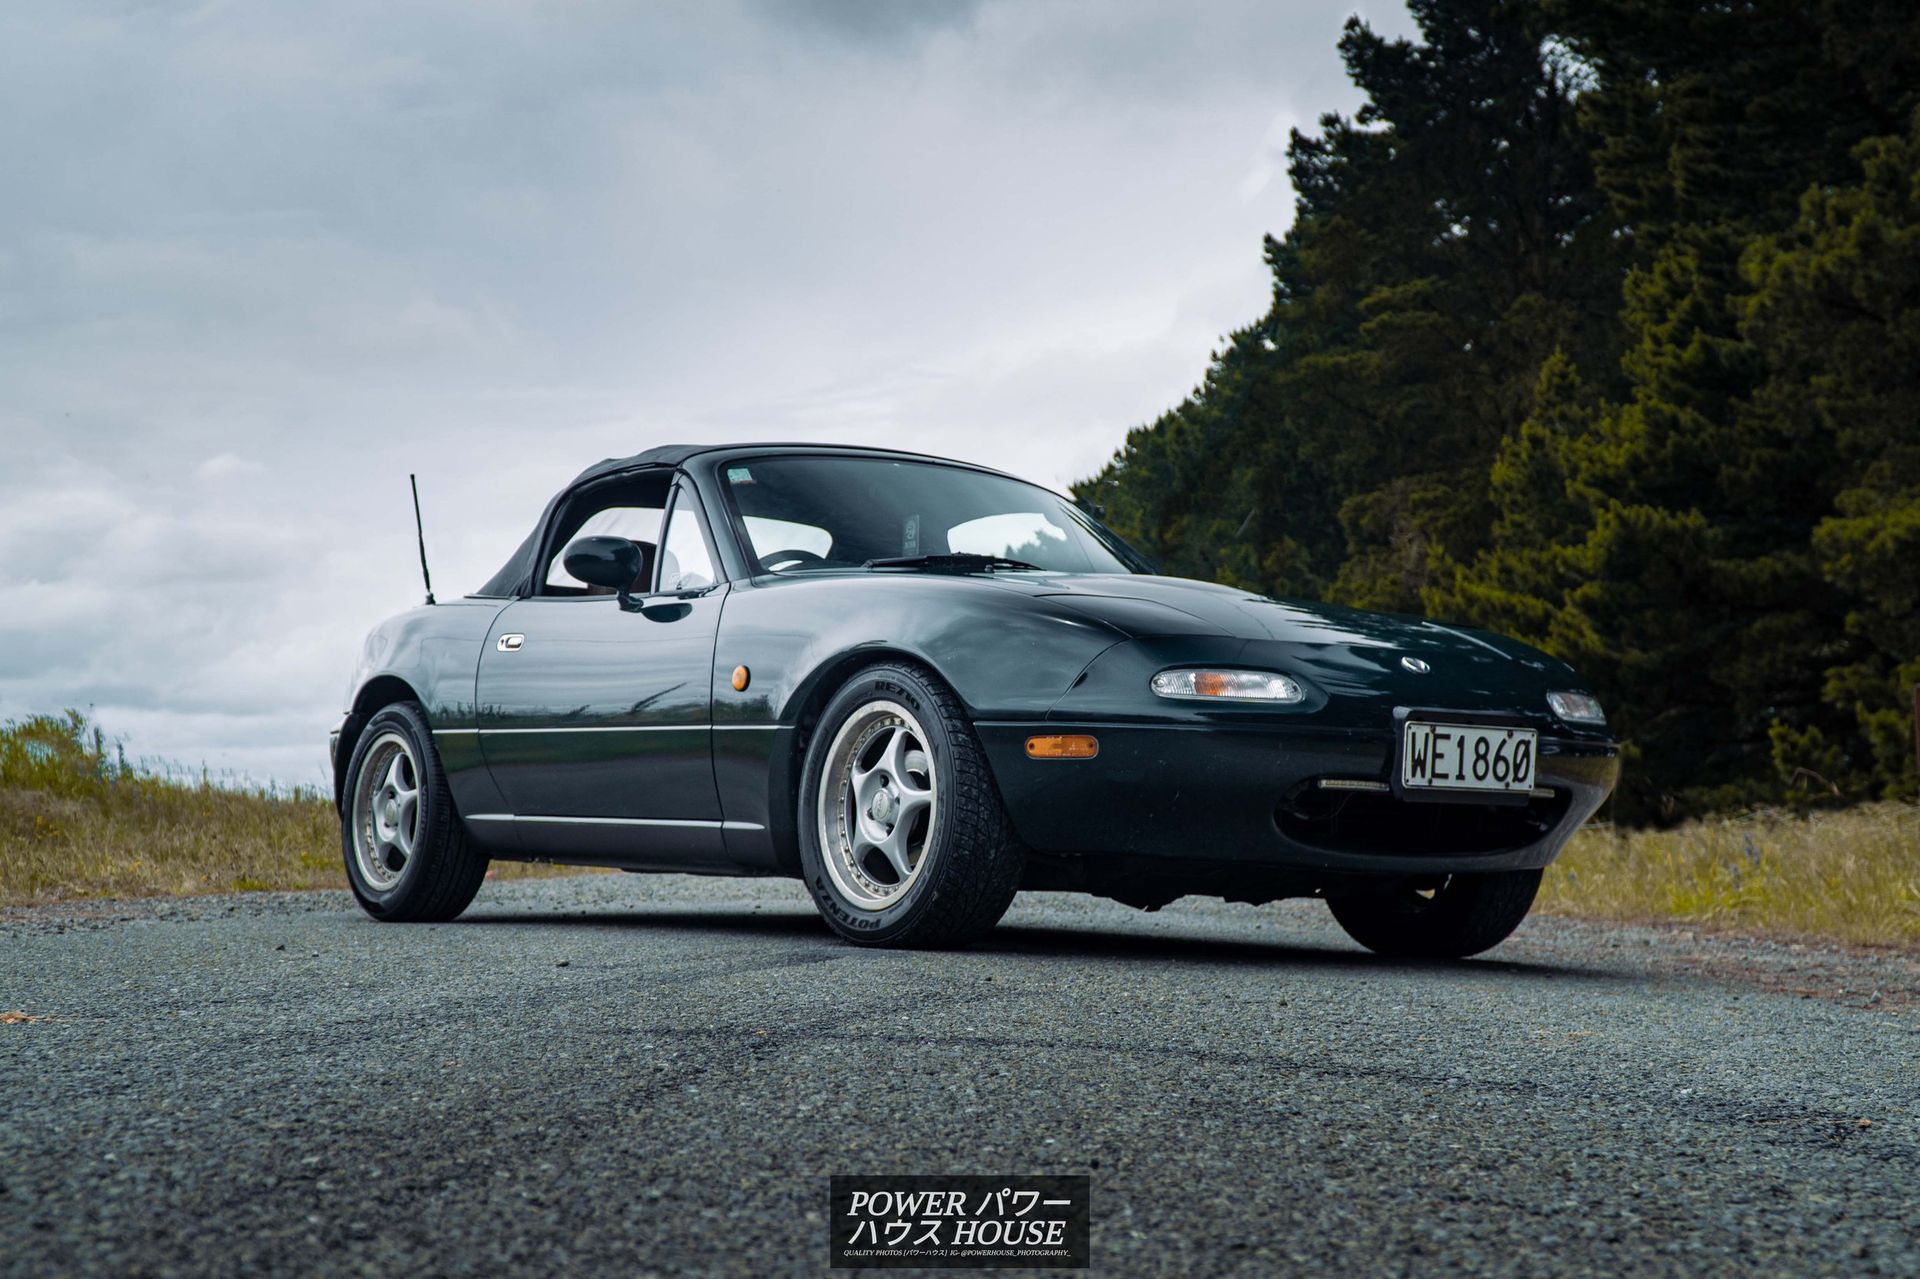
Although they aren't the lowest, they have a lot less body roll around the corners while still having a comfortable ride. Also, they have the very flex Mazdaspeed and Bilstein names.
On the other hand, as the holidays started and the boredom hit me, I decided to do some small upgrades to the Roadster. The first thing I decided to do was a charcoal canister delete also known as the EVAP delete.
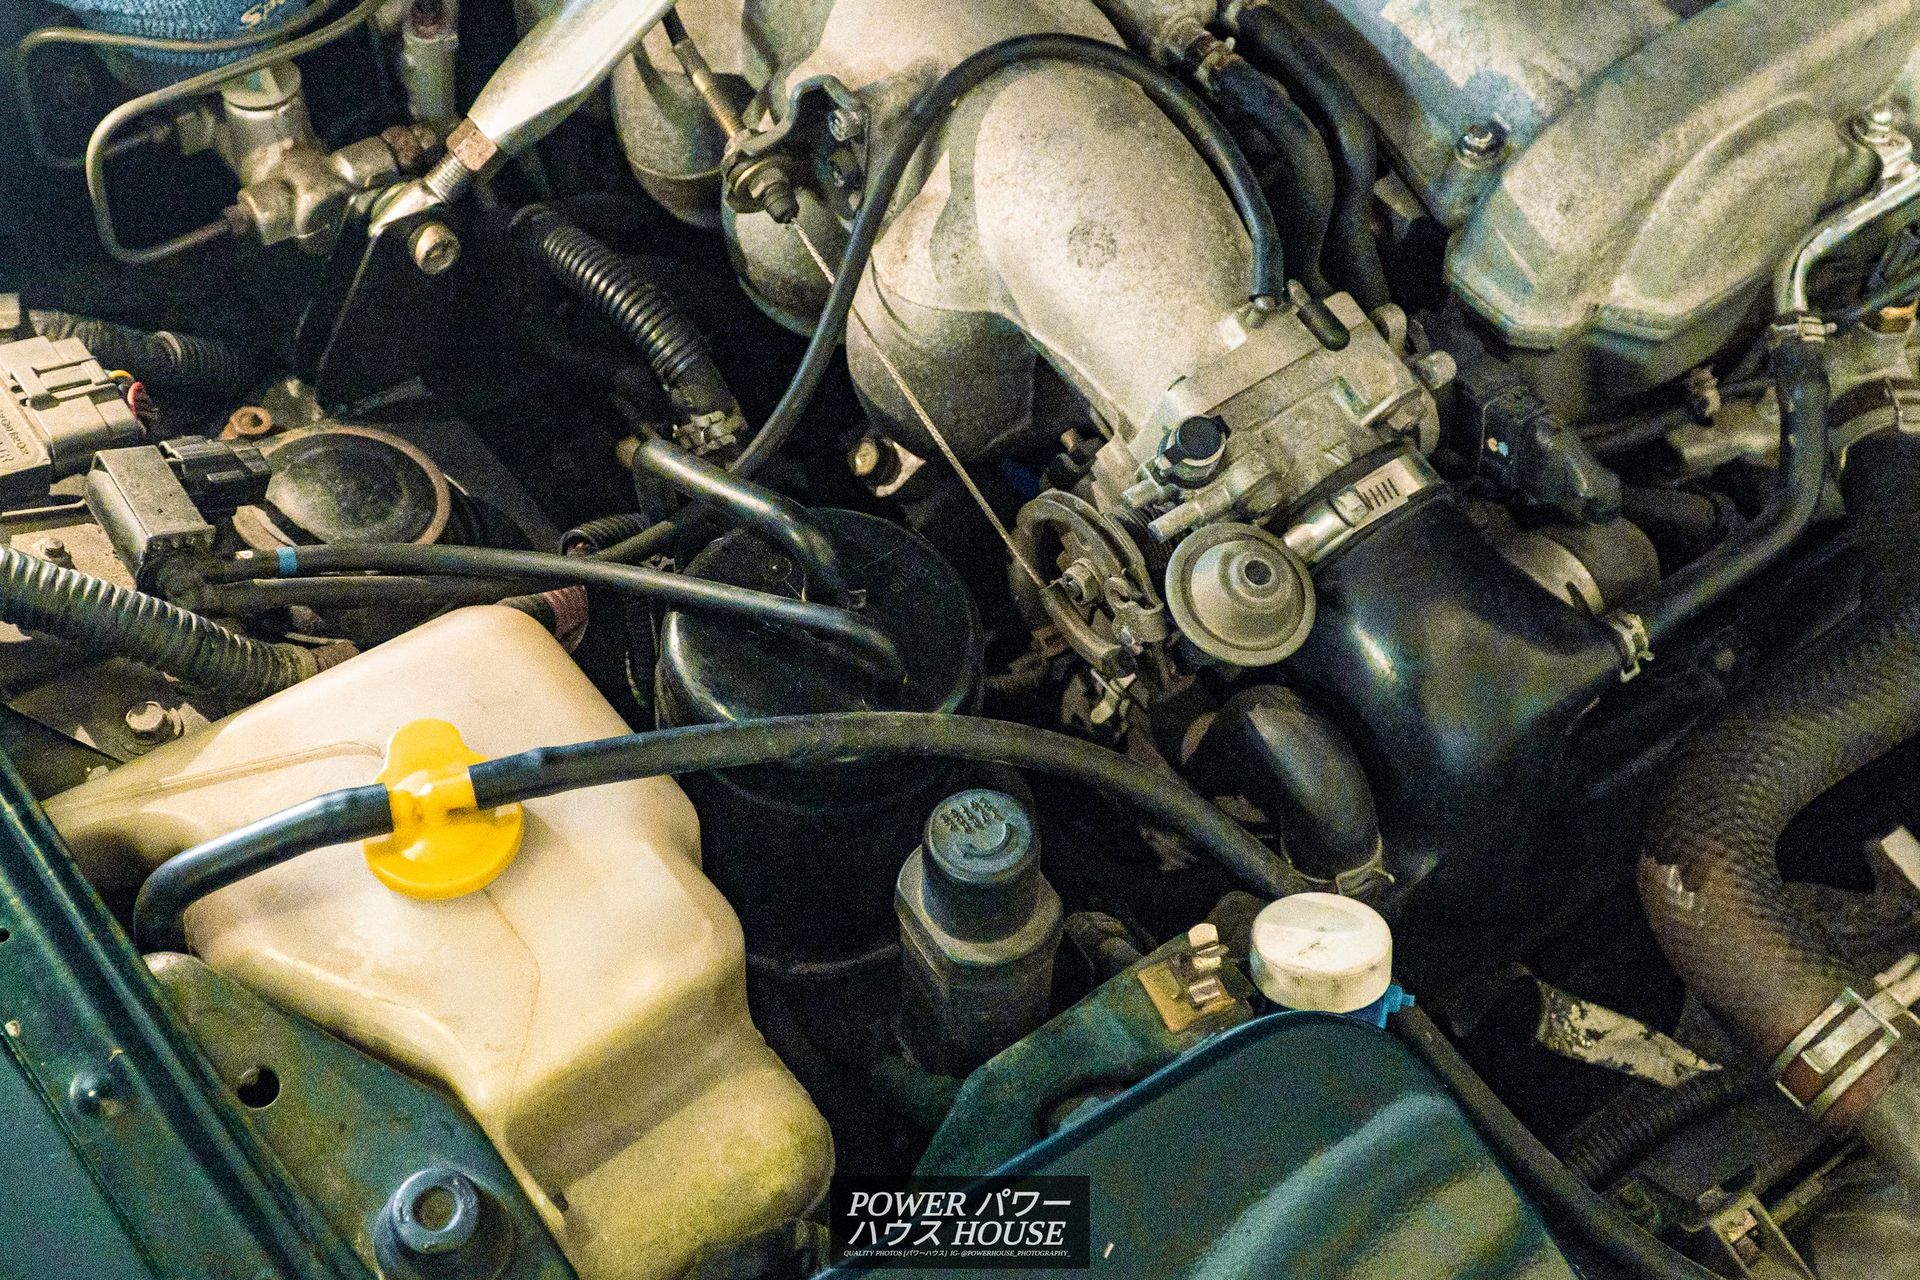
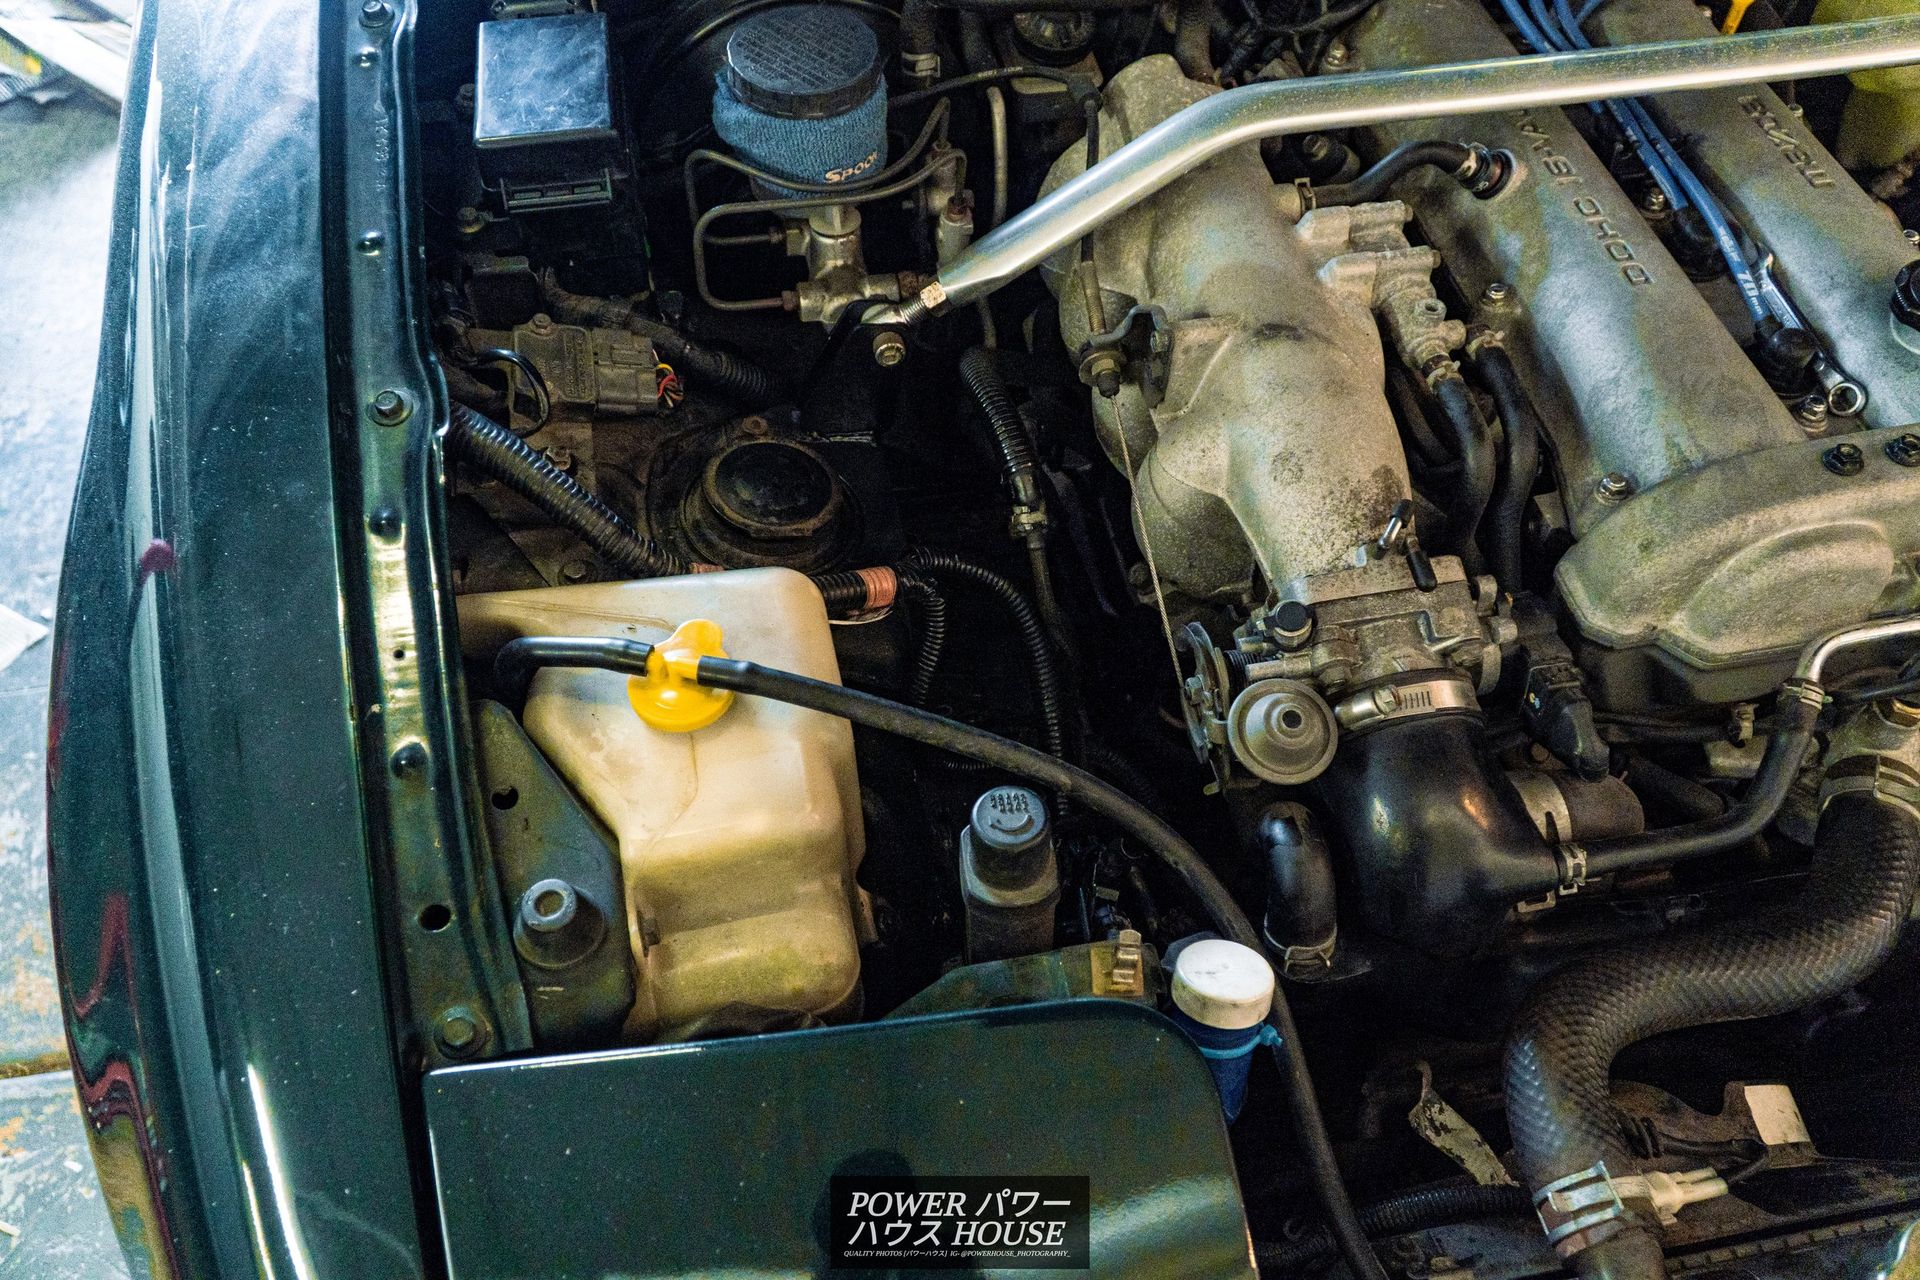
This was a lot more straight forward and rewarding than I thought. As far as tools and parts needed, you'll need are some plyers, some WD-40, two zip-ties, some electrical tape, a 10mm socket, scissors, and a 3/16 vacuum cap you can pull out the inside of the trunk. After removing the three vacuum lines, putting the cap on the intake manifold, and taping up an electrical connector, all that's left to do is cut a hose to length at the bottom and connect it. This takes less than 30 minutes and cleans up your engine bay quite a bit. Best of all, it's free! https://www.youtube.com < This video goes over everything.

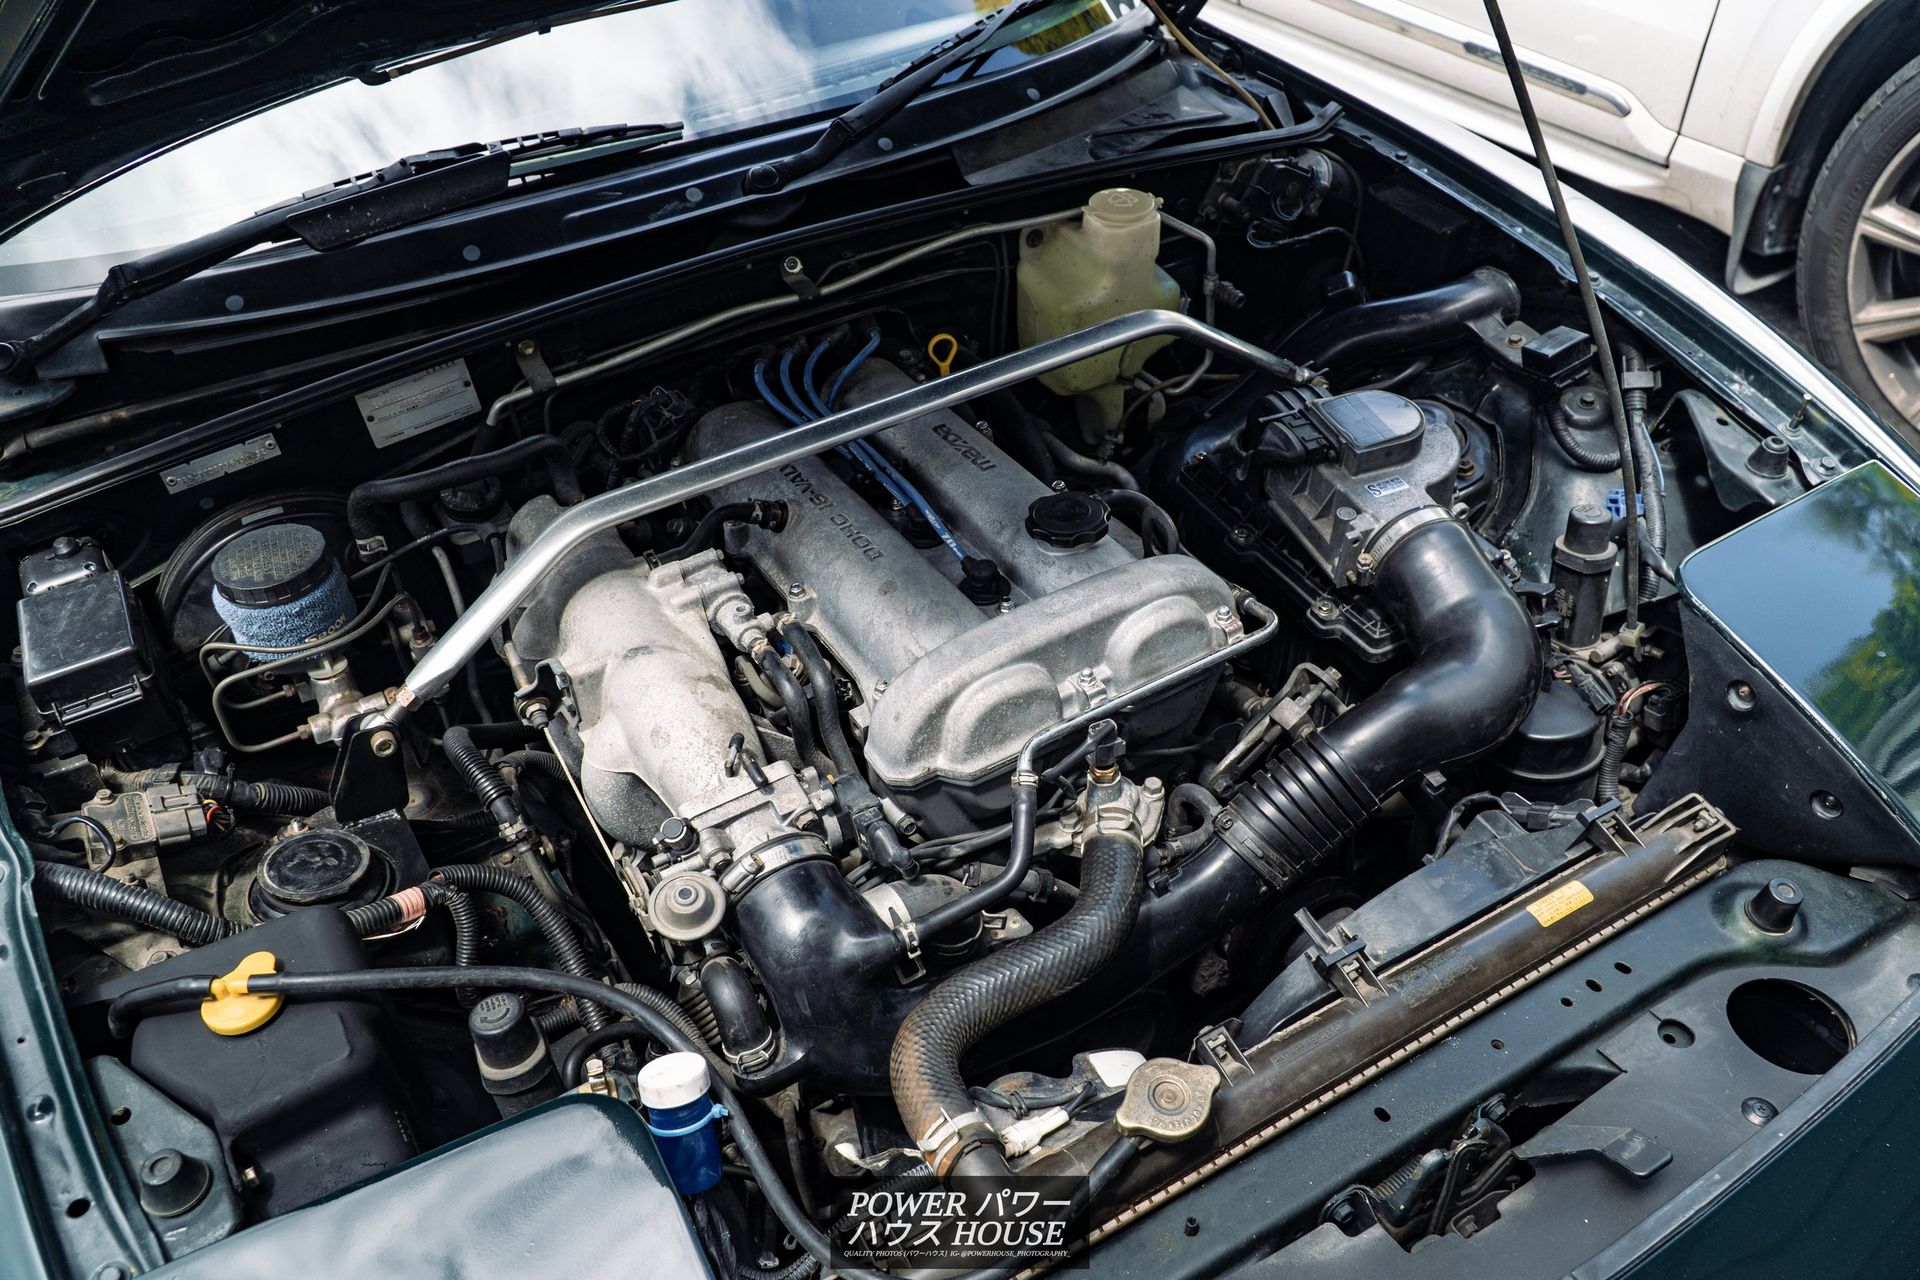
In this photo, you can see the hose I cut and used to bypass the old EVAP system.

It also saved 881g of weight. Not much, but also not nothing. Engine bay looks a bit better now as well.
The next thing on the "I'm bored in the school holidays" list was another cosmetic engine bay mod, painting the coolant overflow tank.
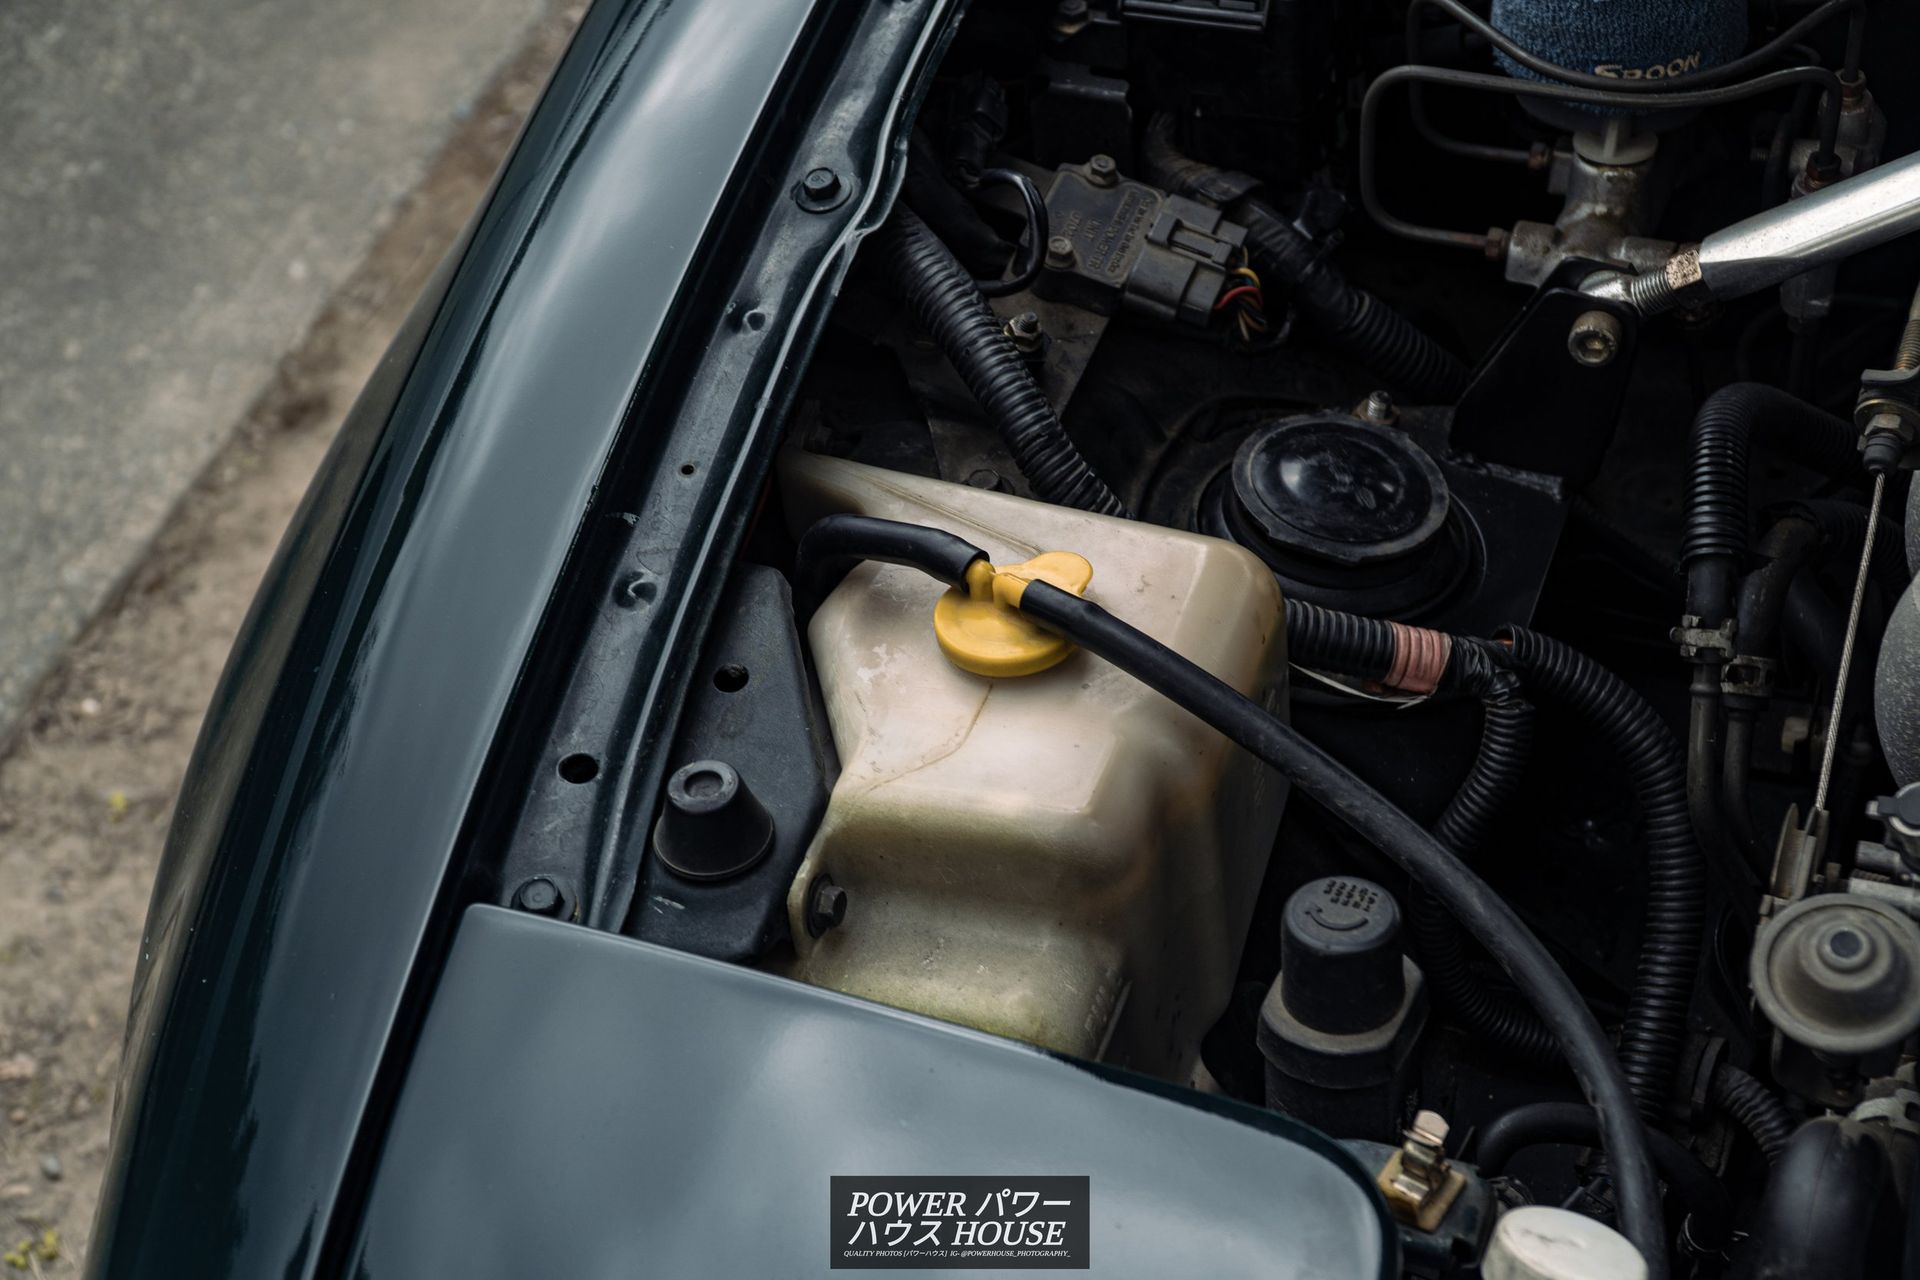
After unbolting the overflow and sanding down the seams, I resprayed the tank using Accent Matte Black paint.
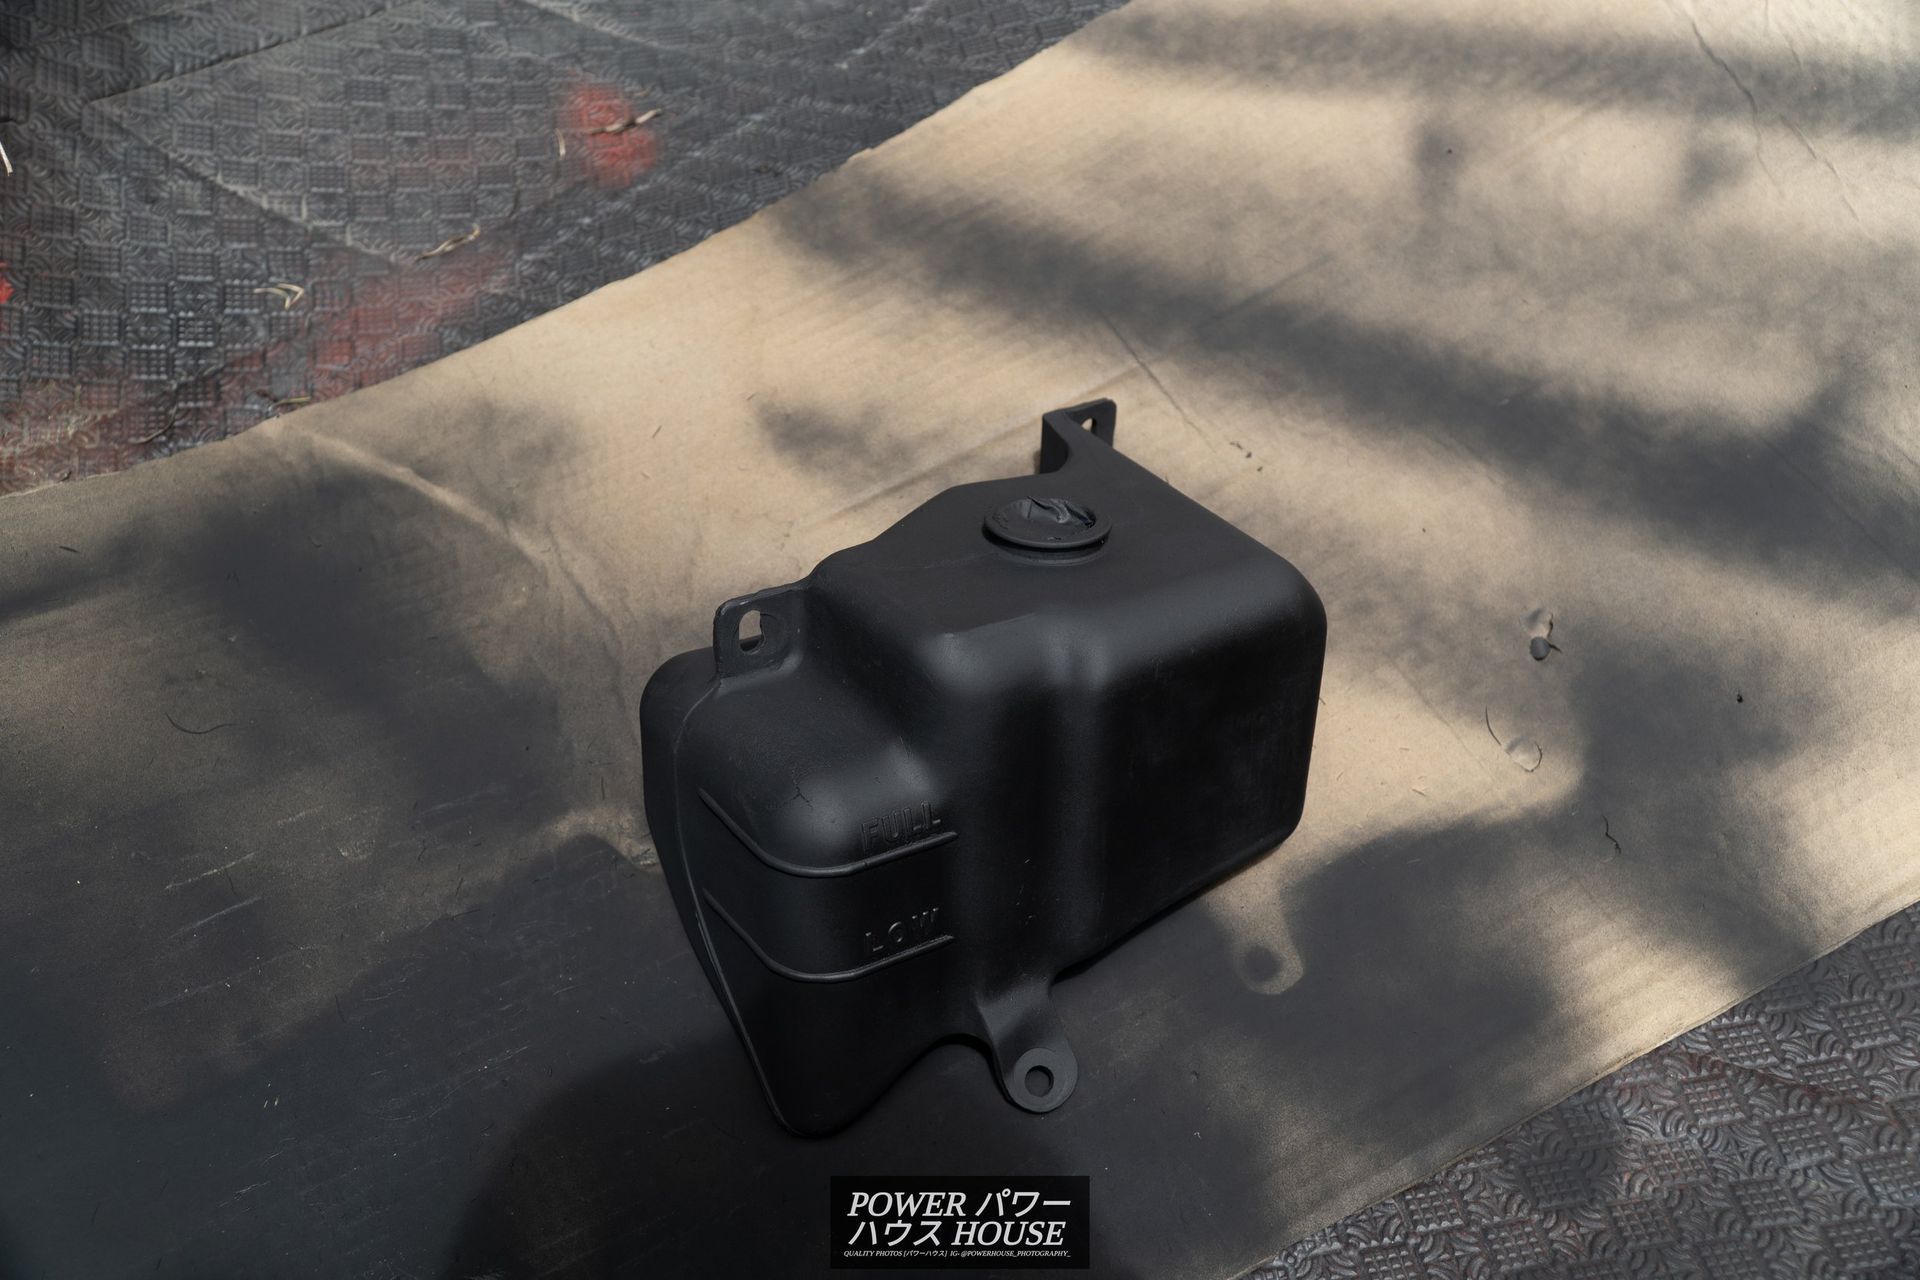
Looks a bit better now! Unfortunately, the sun came out just as I was taking the photo and now you can see all the imperfections I was hoping to hide from the camera, whoops!
Next on the list for the engine bay would have to be ripping out the fog lights and the pill bottle connected to it along with respraying the rocker cover and heat-shield in silver but I'm currently away so that will have to wait. Stay tuned!