Project Crown: A New Look
28 October 2024
A personalised plate is something I have been wanting for a while, and specifically the ‘MOBVAN’ combination due to its infamous history here in New Zealand.

So after being kindly gifting the single remaining ‘MOBVAN’ plate, after the other one was stolen, I went through the process of getting the ownership transferred to my name, and then finally, getting the plates reprinted.
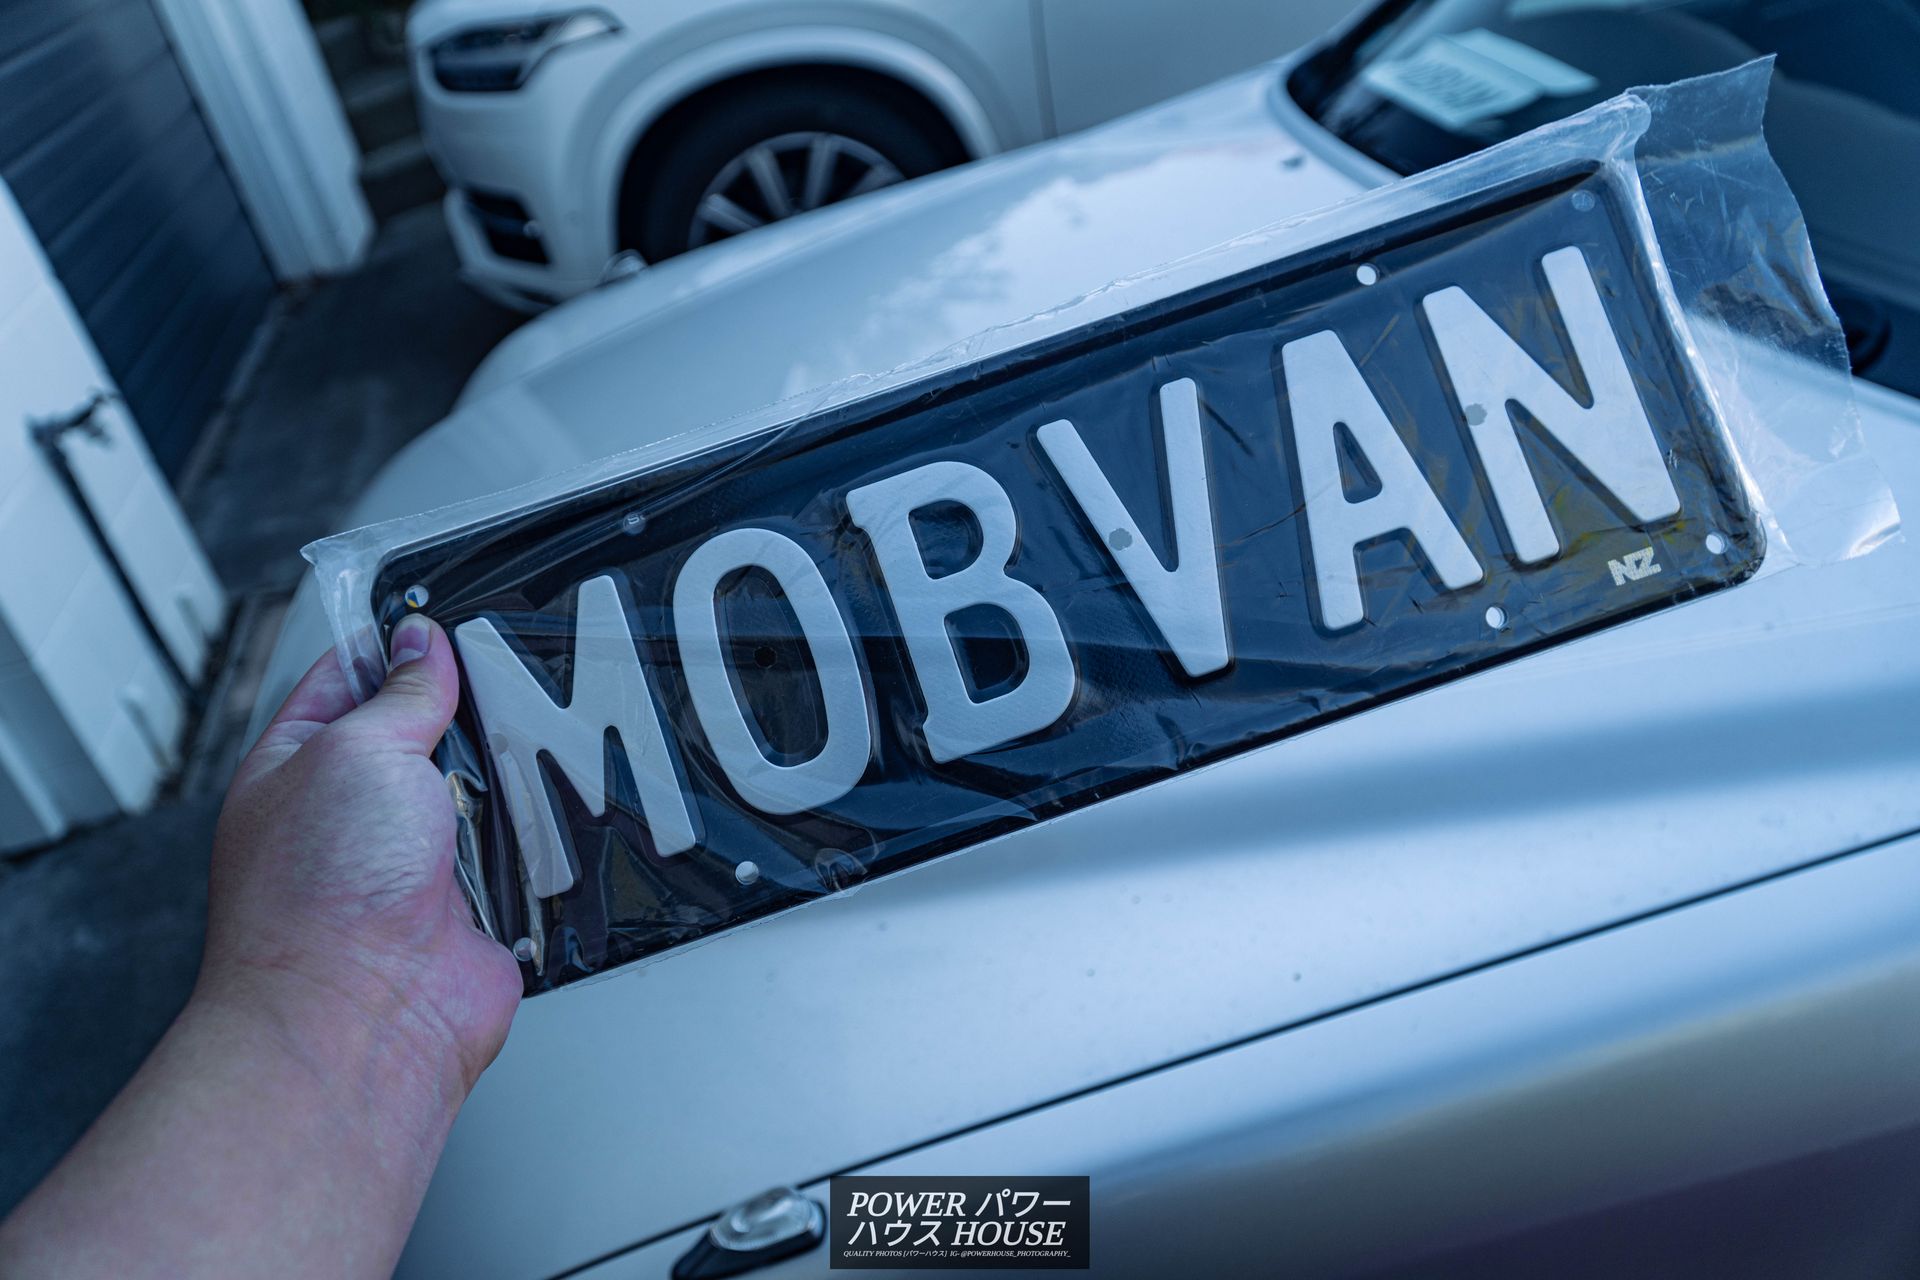
In the end, I decided to go for the black-on-silver option, and couldn’t have been happier with the look.

However, after a while, I realised that I wasn’t a fan of the attention the plates were getting from cops, so they unfortunately came off the car. However, running government issued plates again was too boring, so I quickly scooped up some new plates.
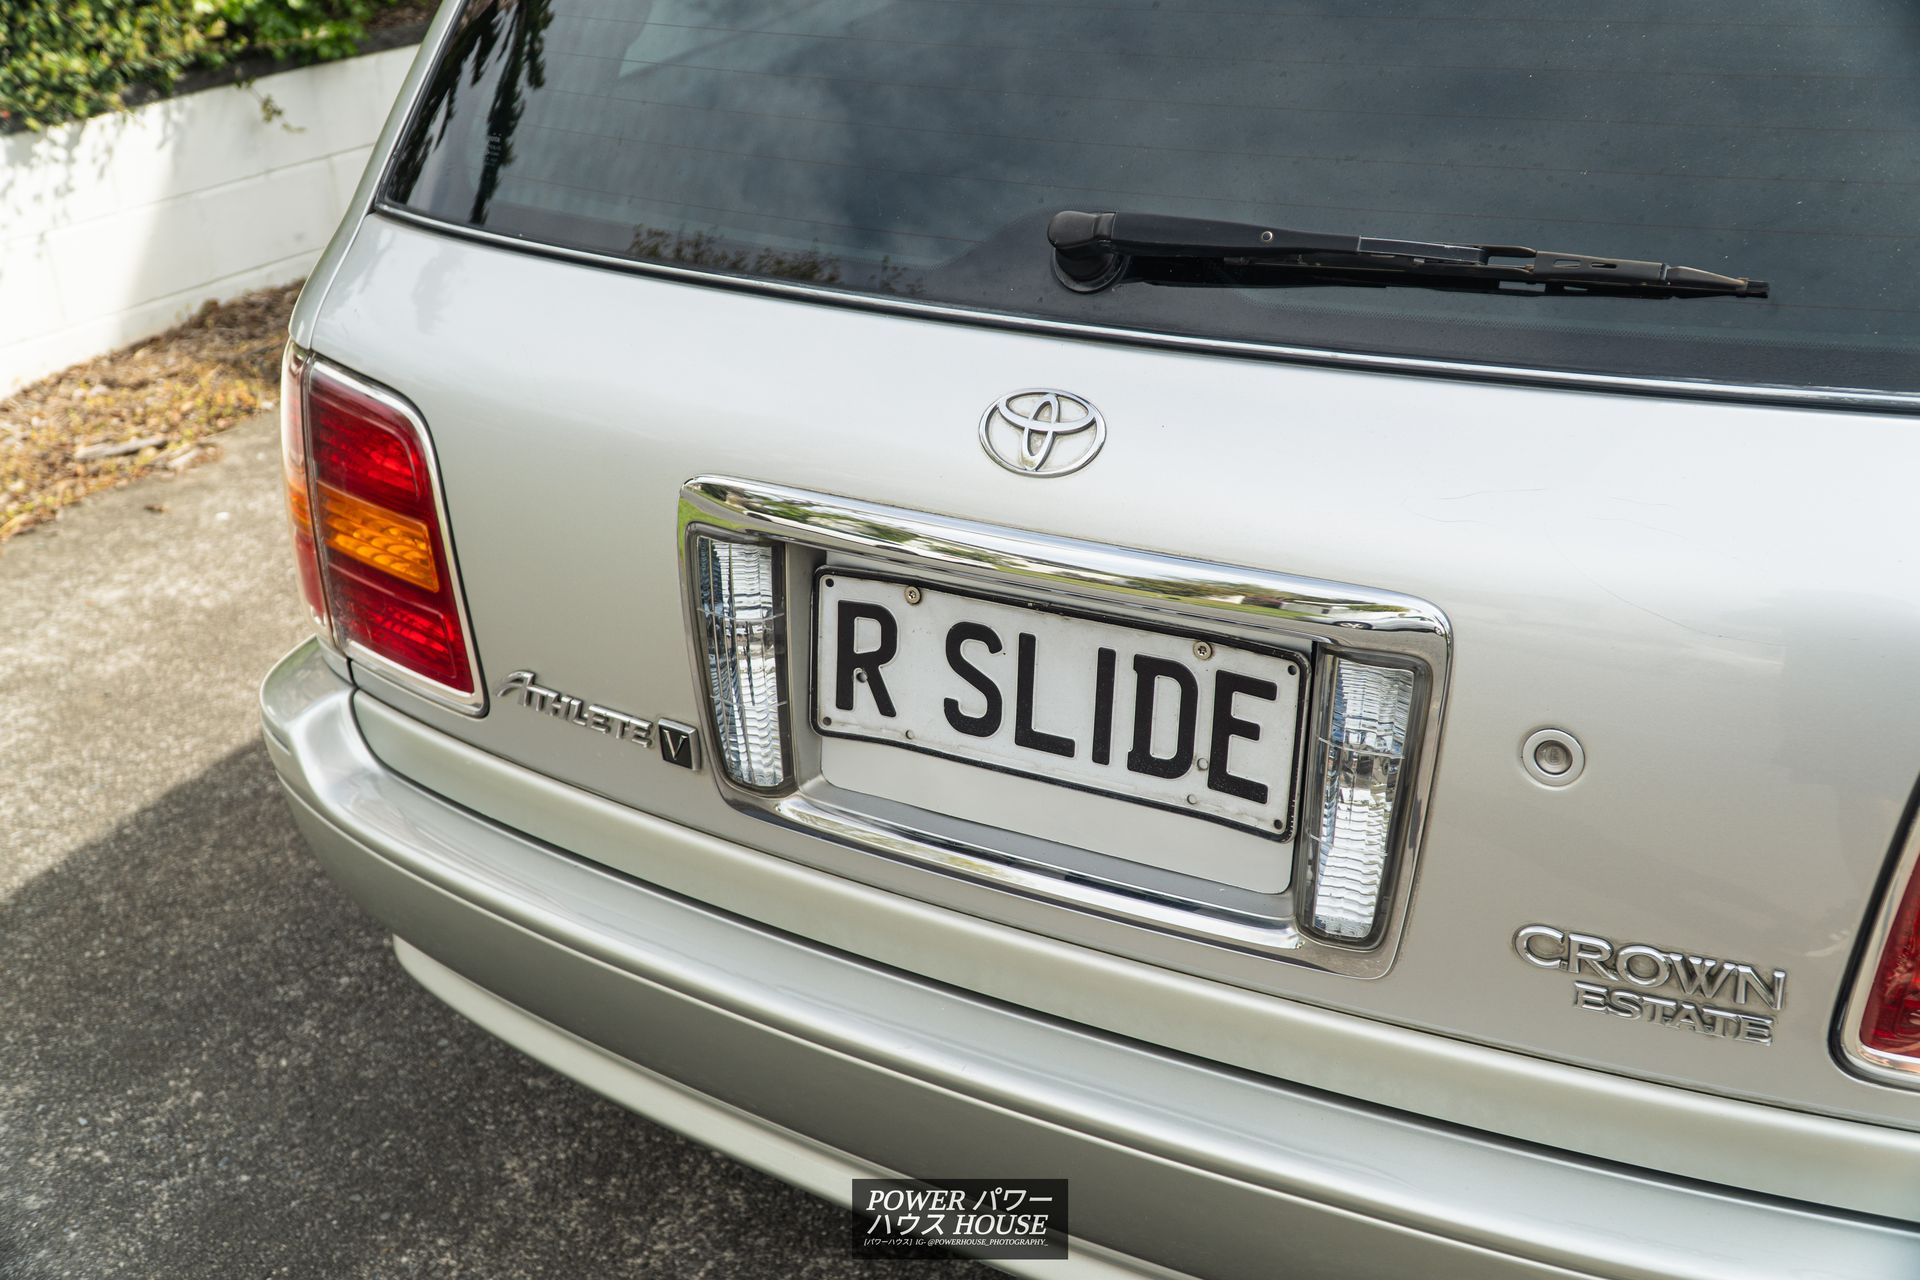
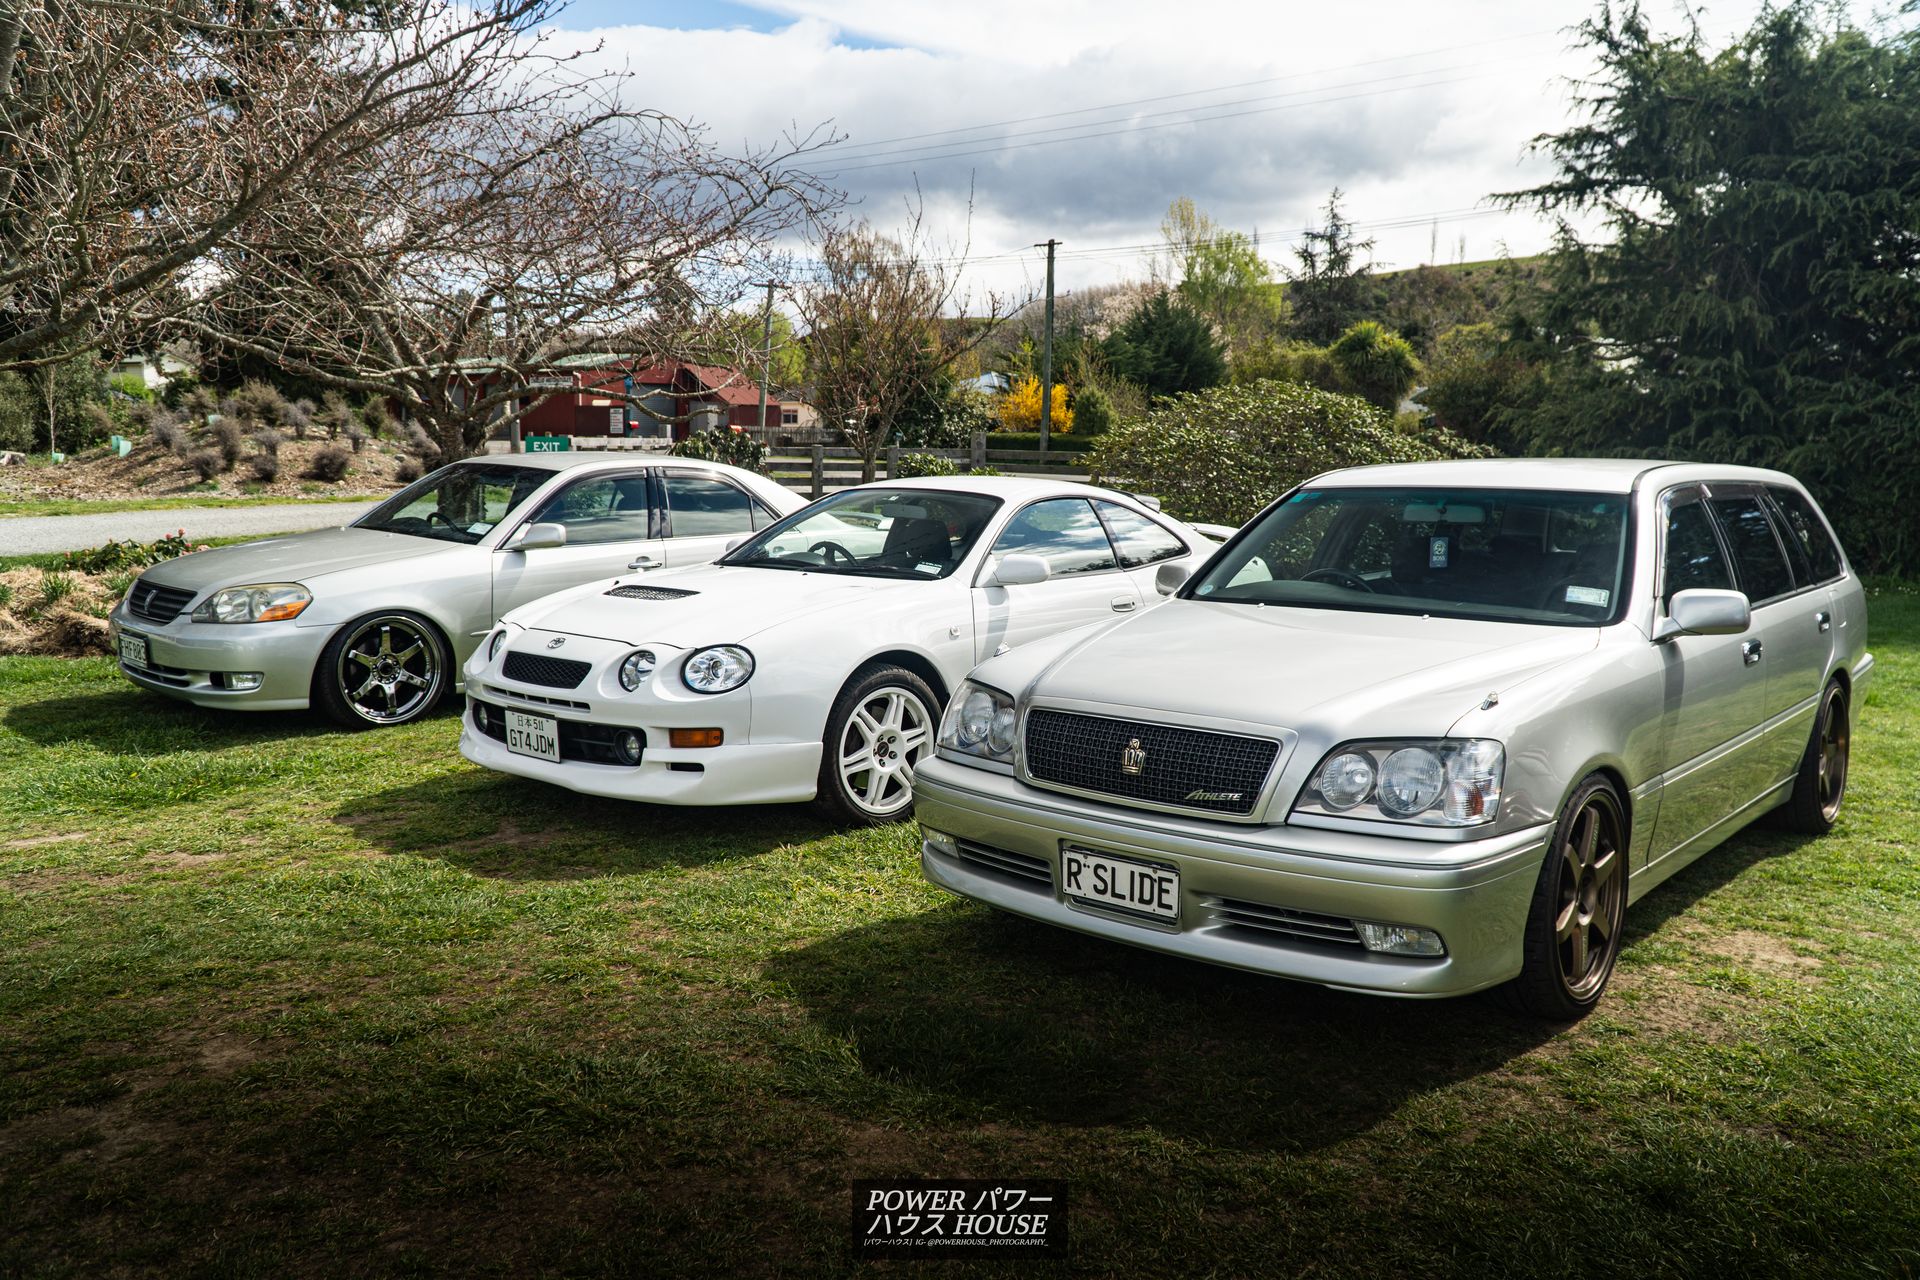
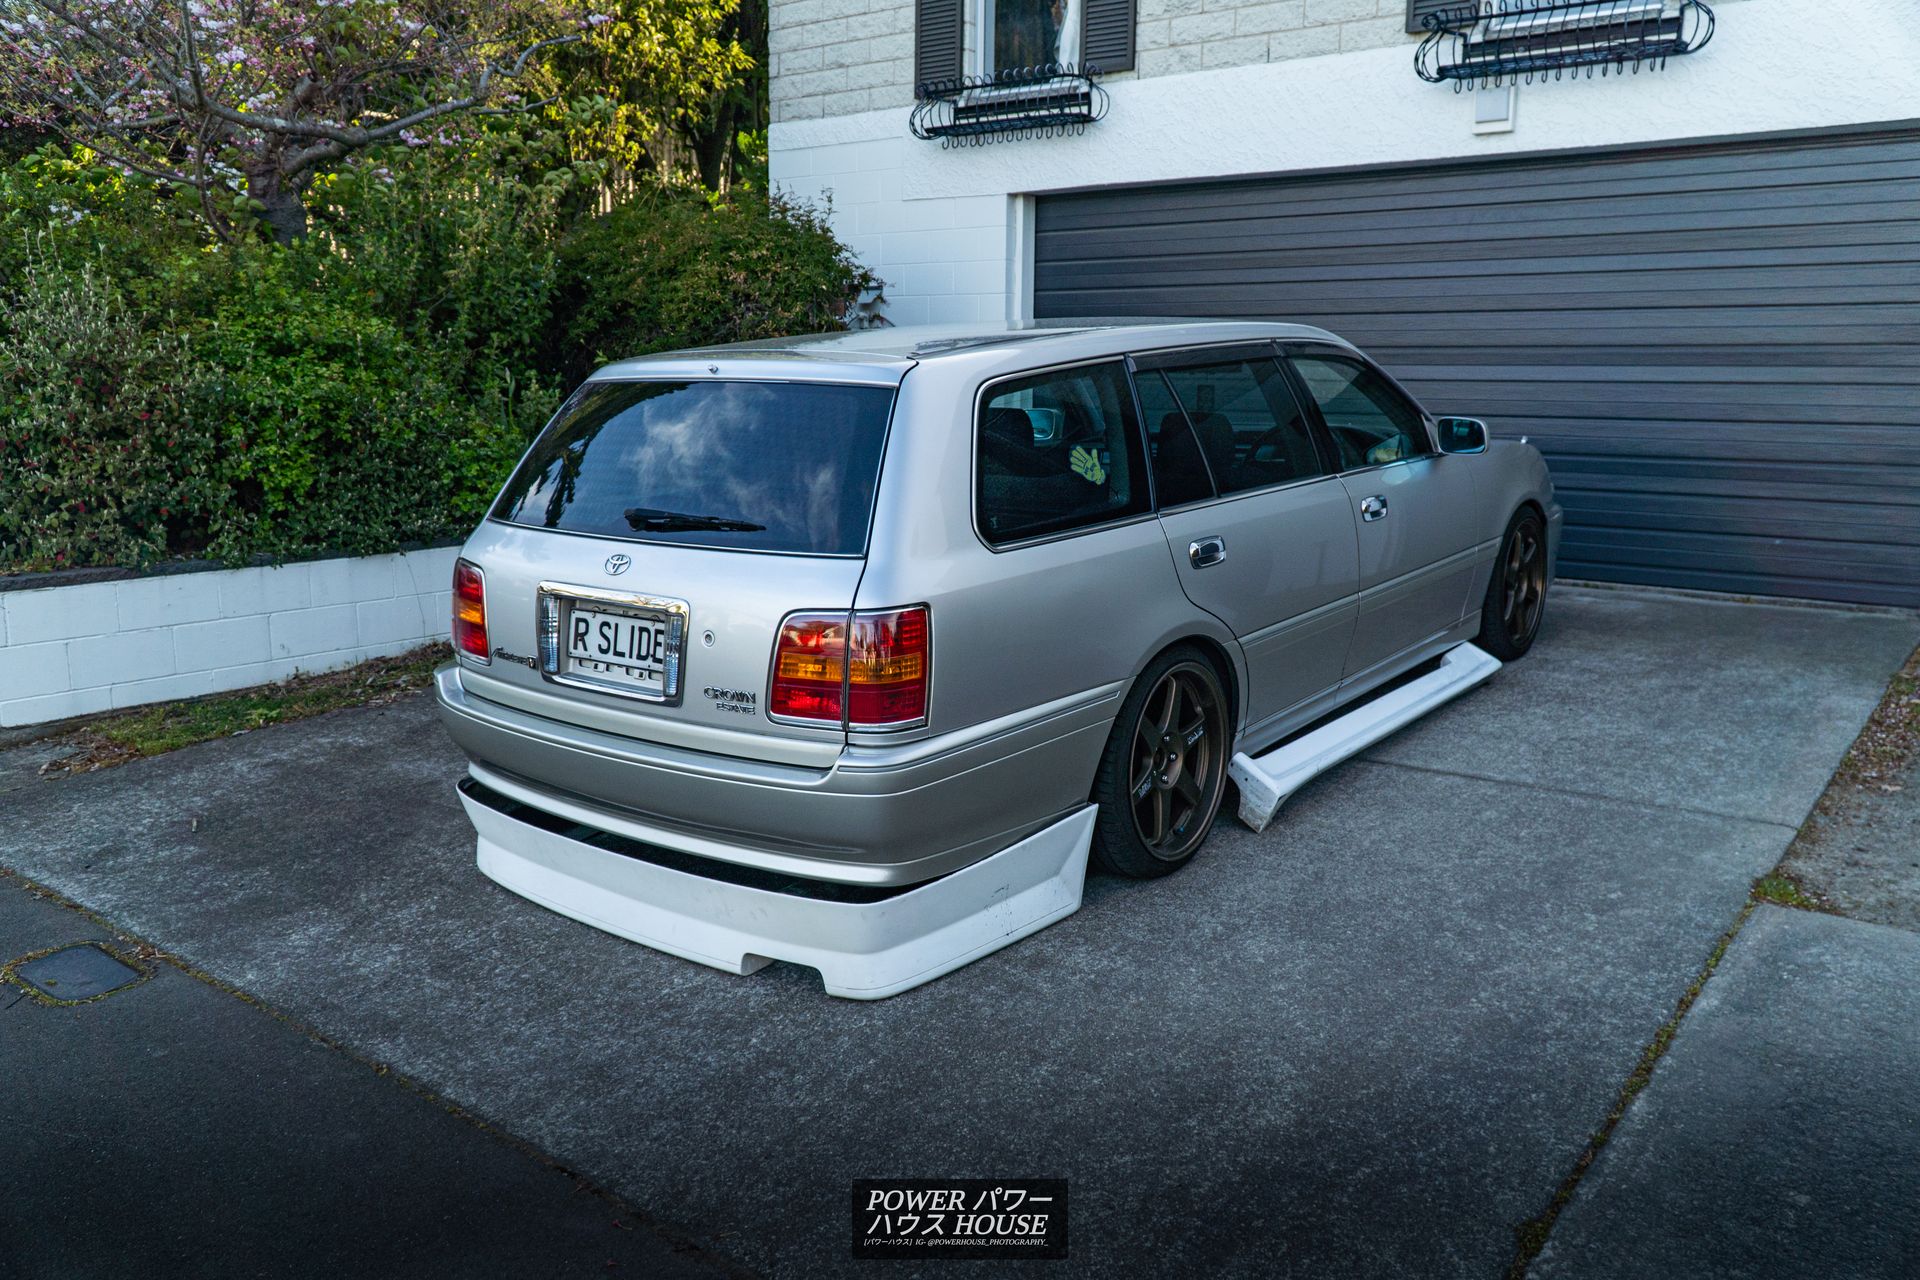
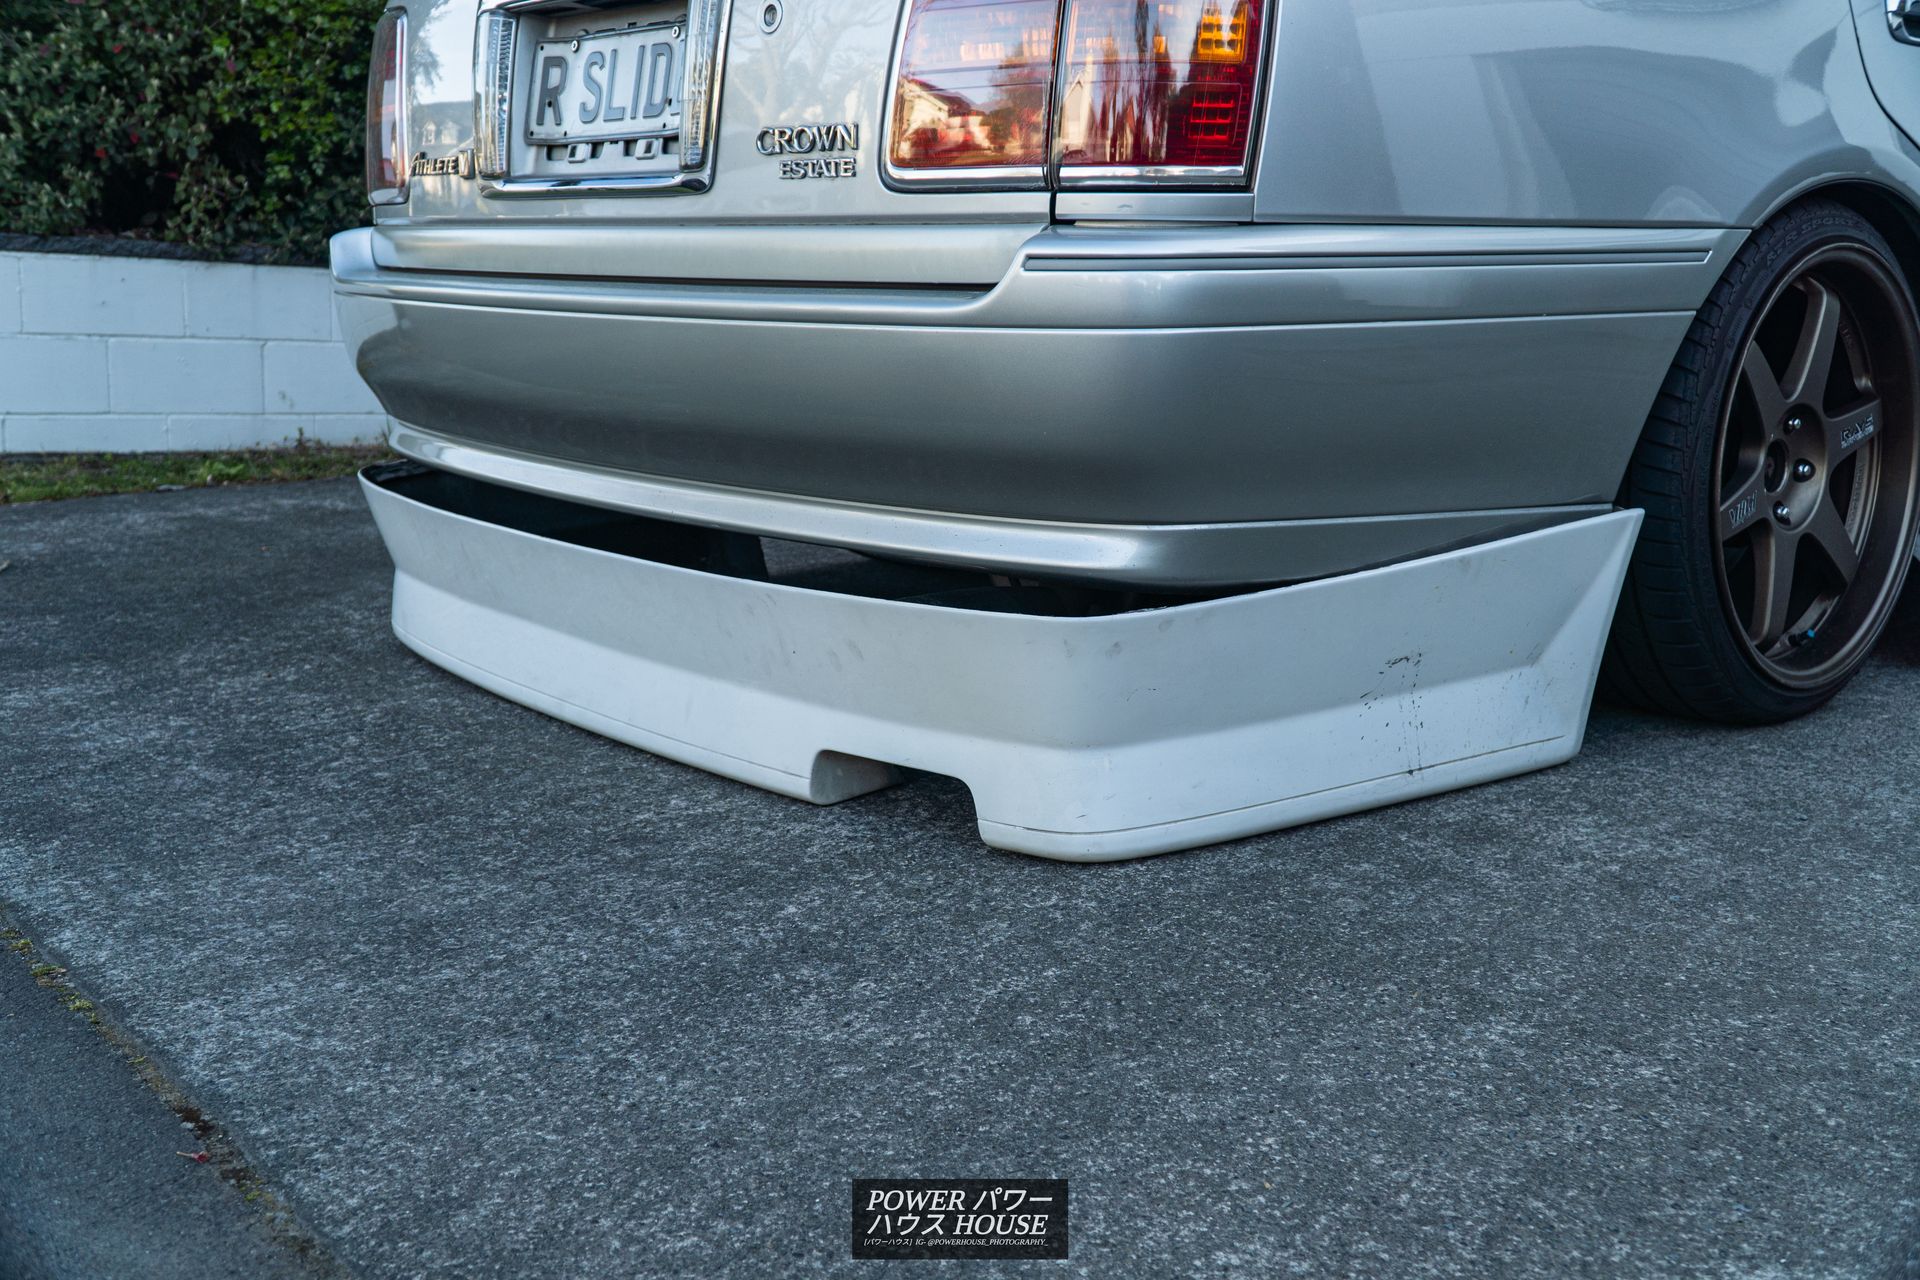
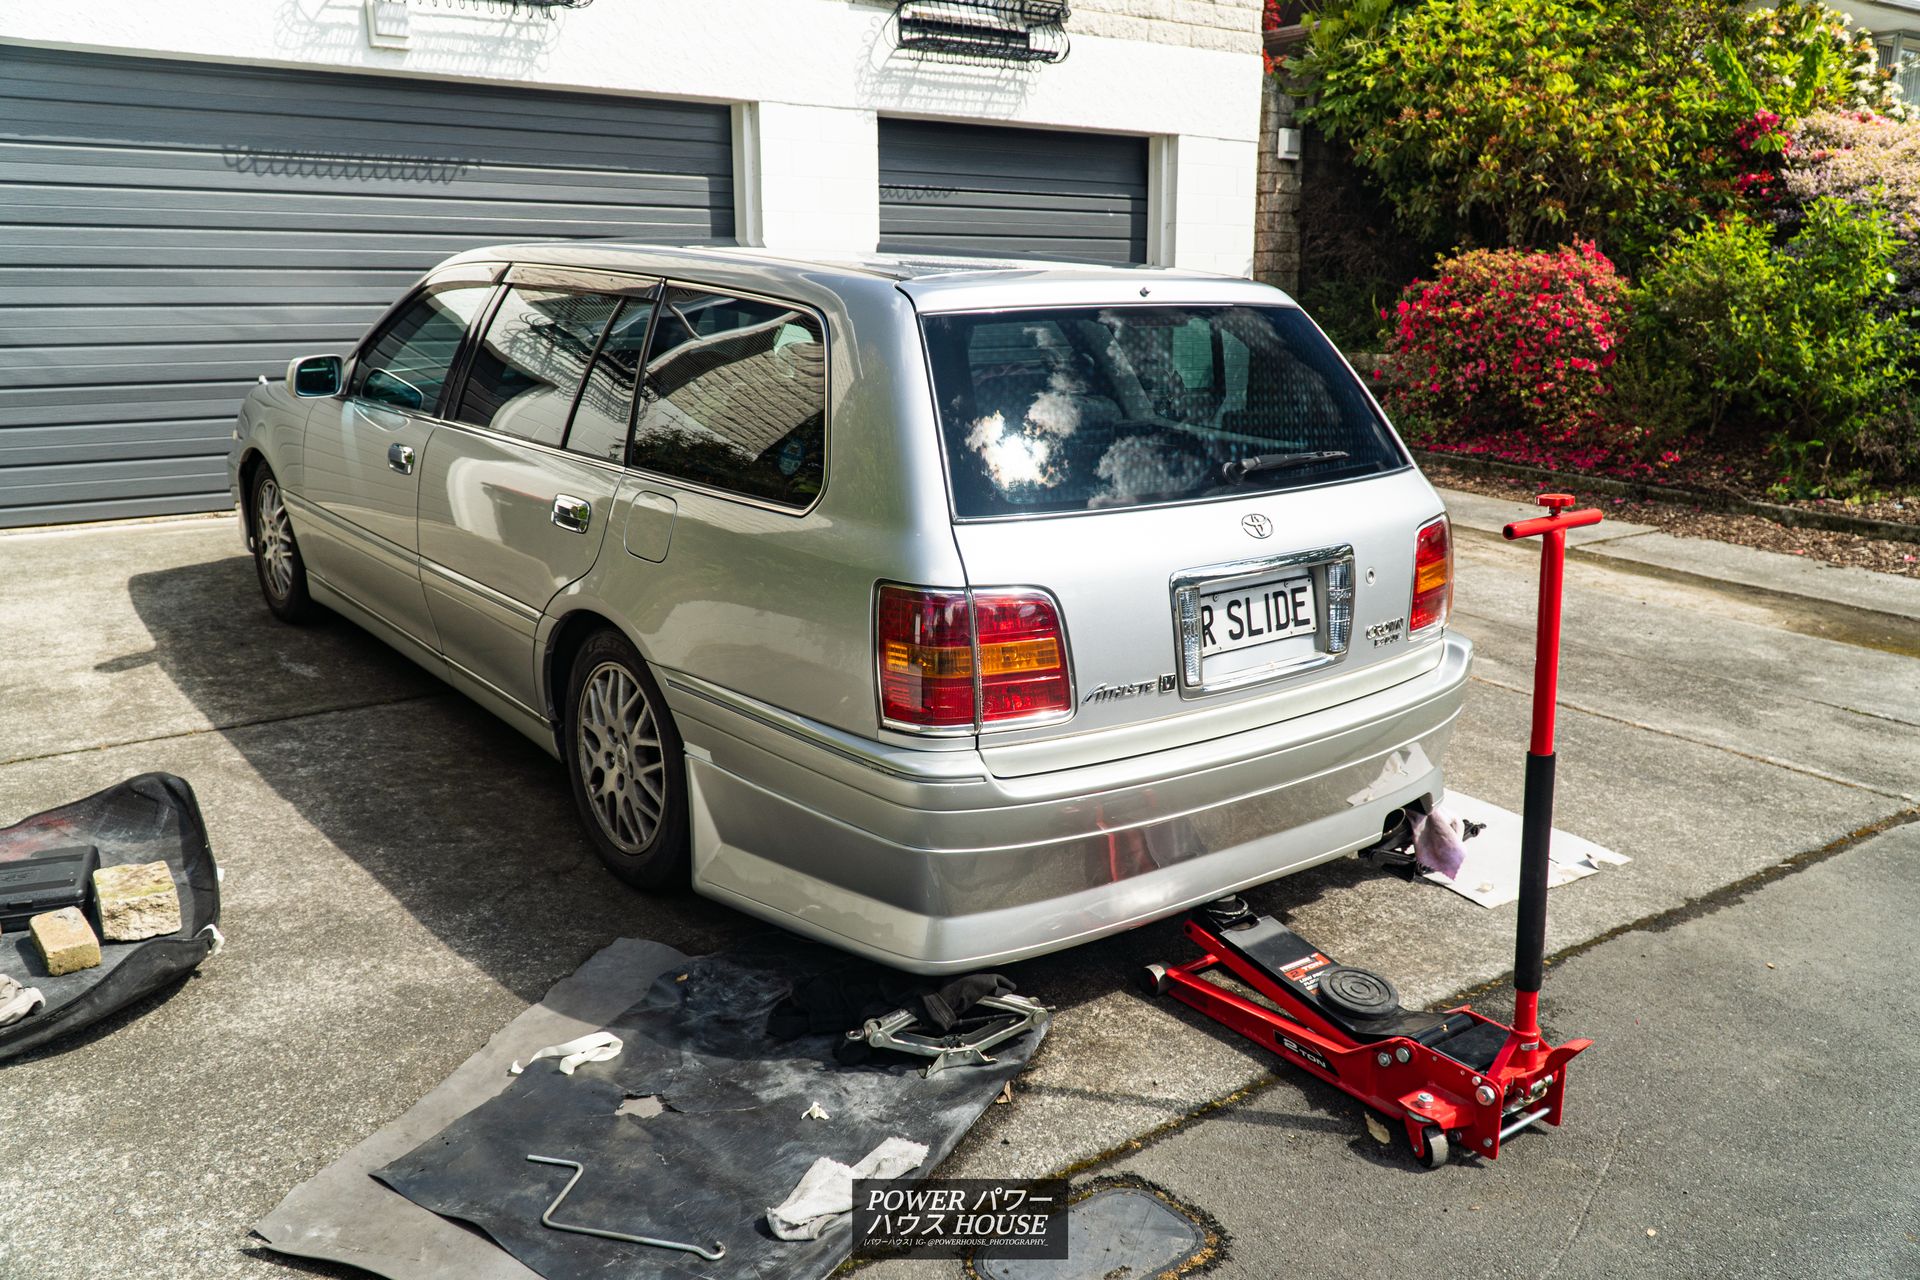
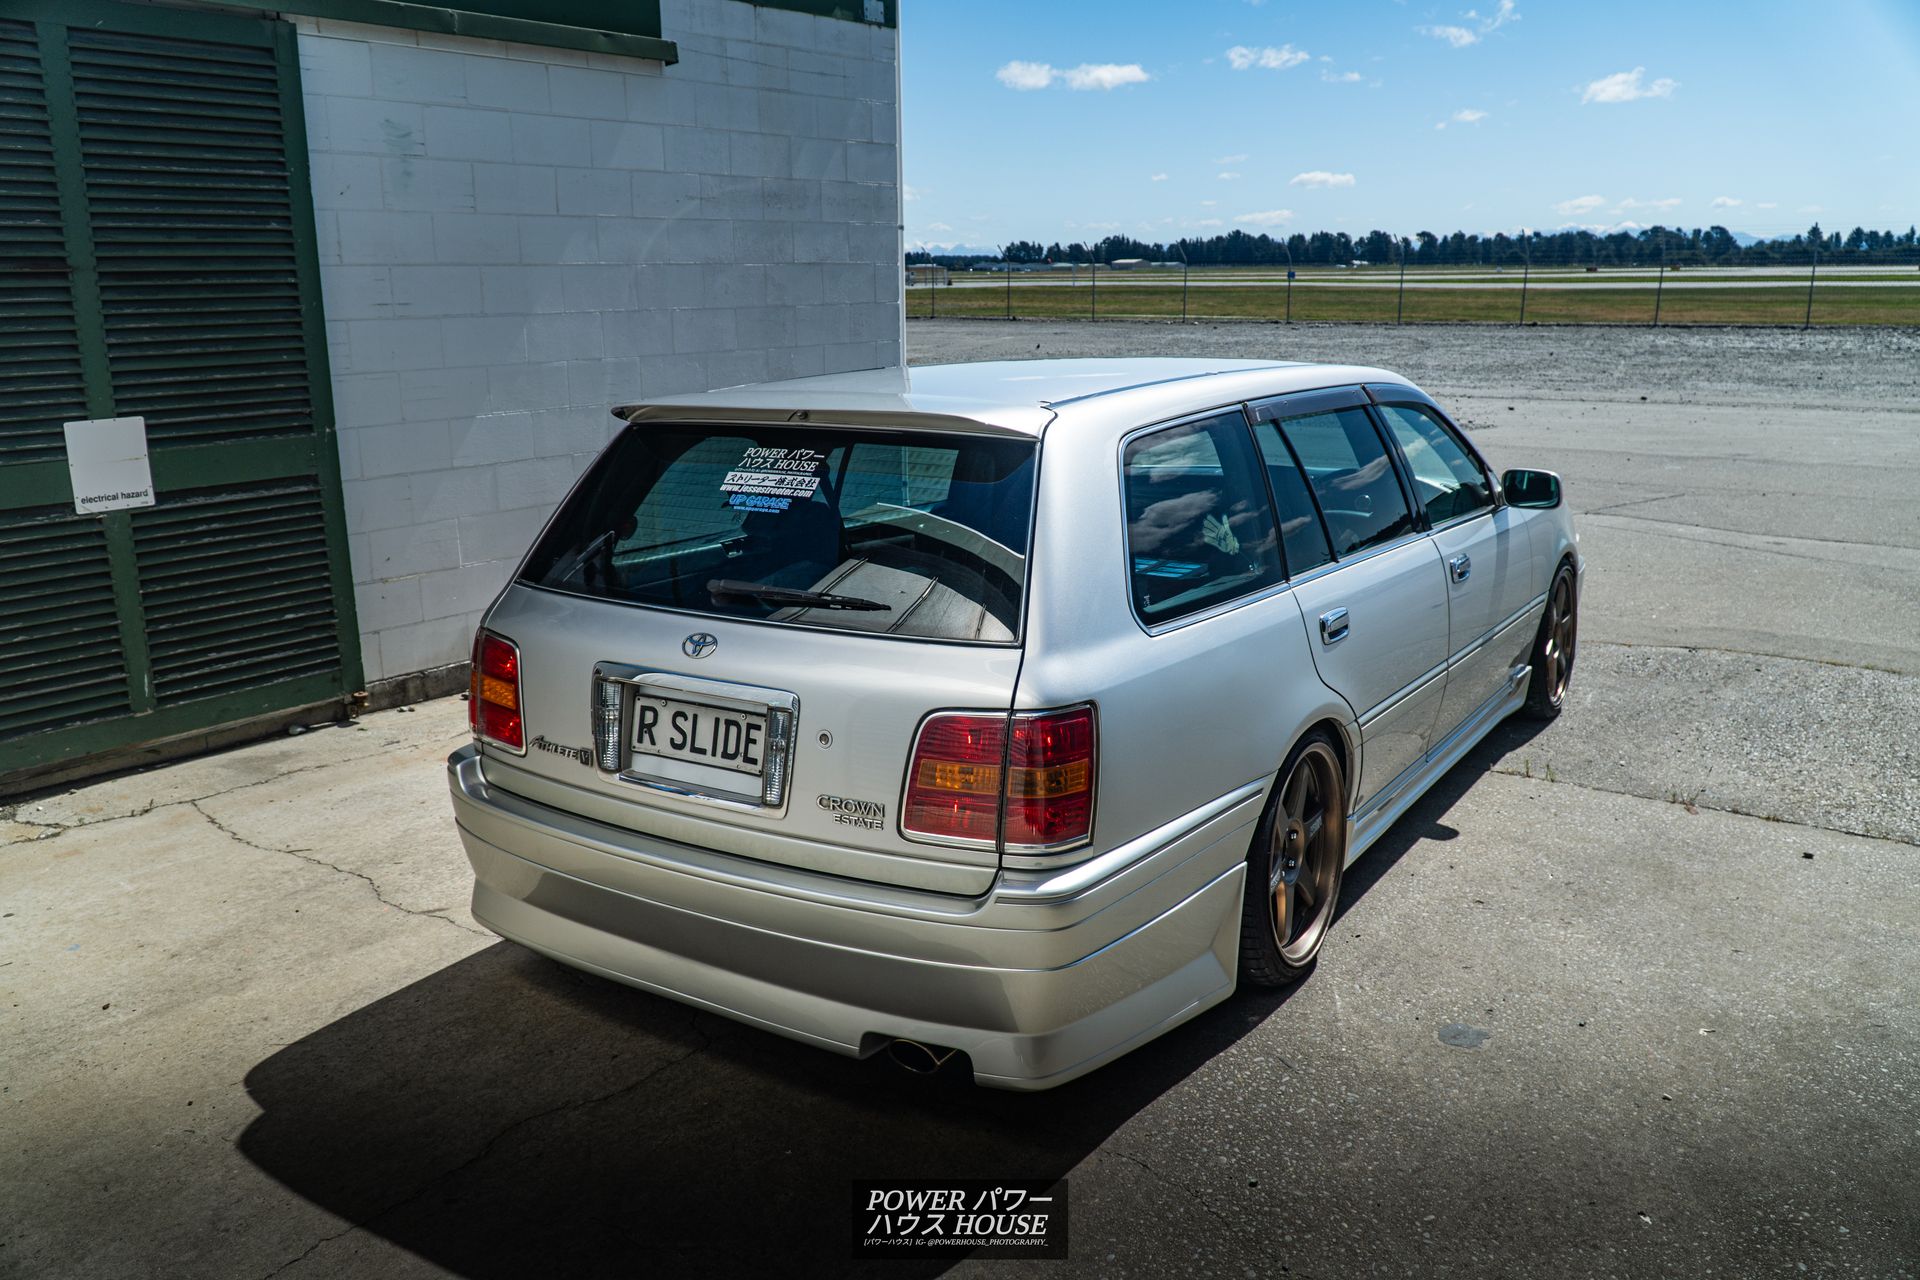
The Crown’s new plates read ‘R SLIDE’, standing for ‘arse slide’, something that thankfully isn’t as intimidating as the ‘MOBVAN’ plates.
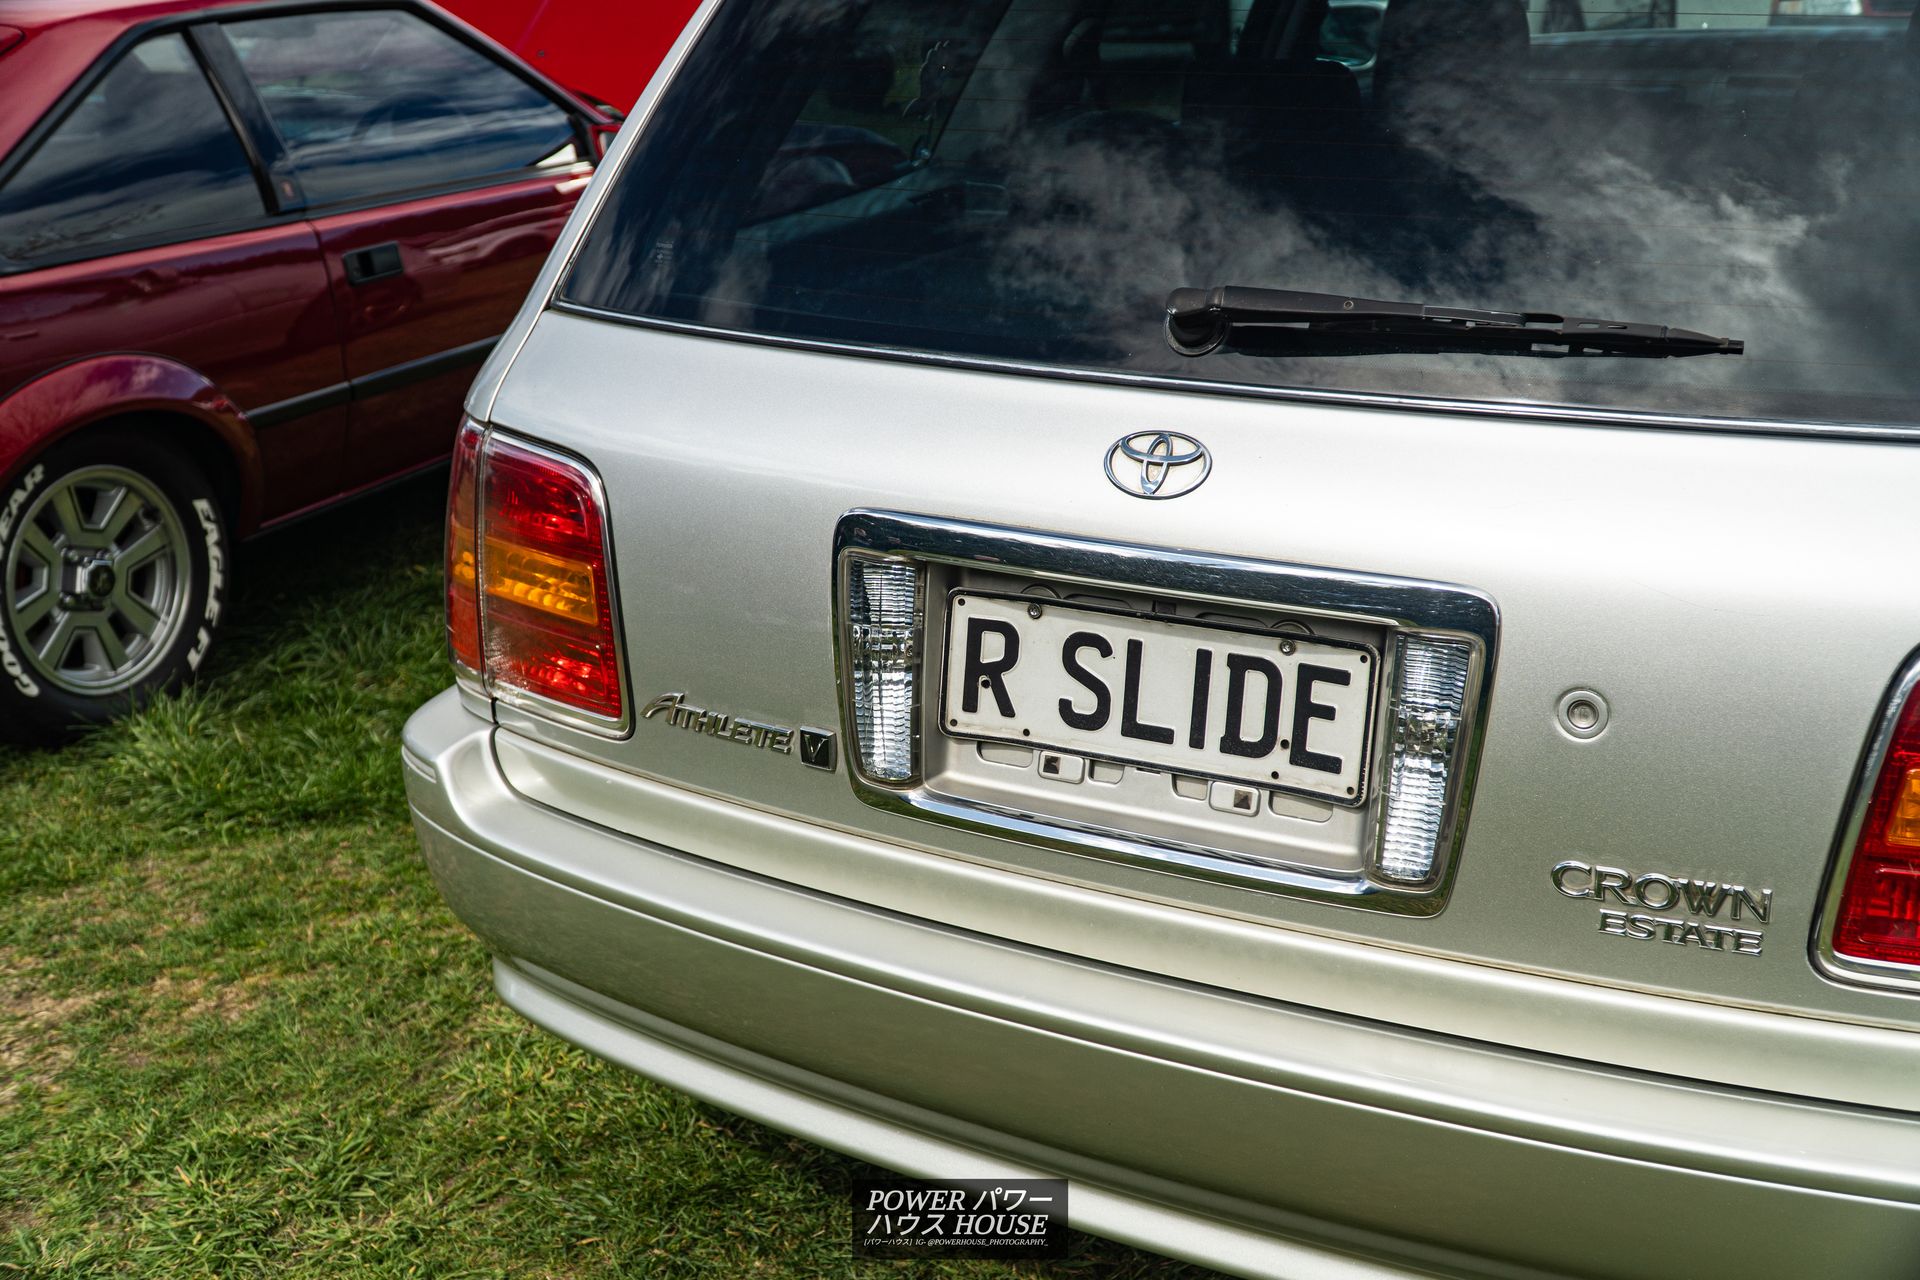
However, staring at this plate really bought out how ugly the backing area of the licence plate as the New Zealand plates are shorter than the Japanese counterparts.
So in an attempt to clean the rear of the car up, I found some PETG sheet I had from a left over project, and cut it out to shape.
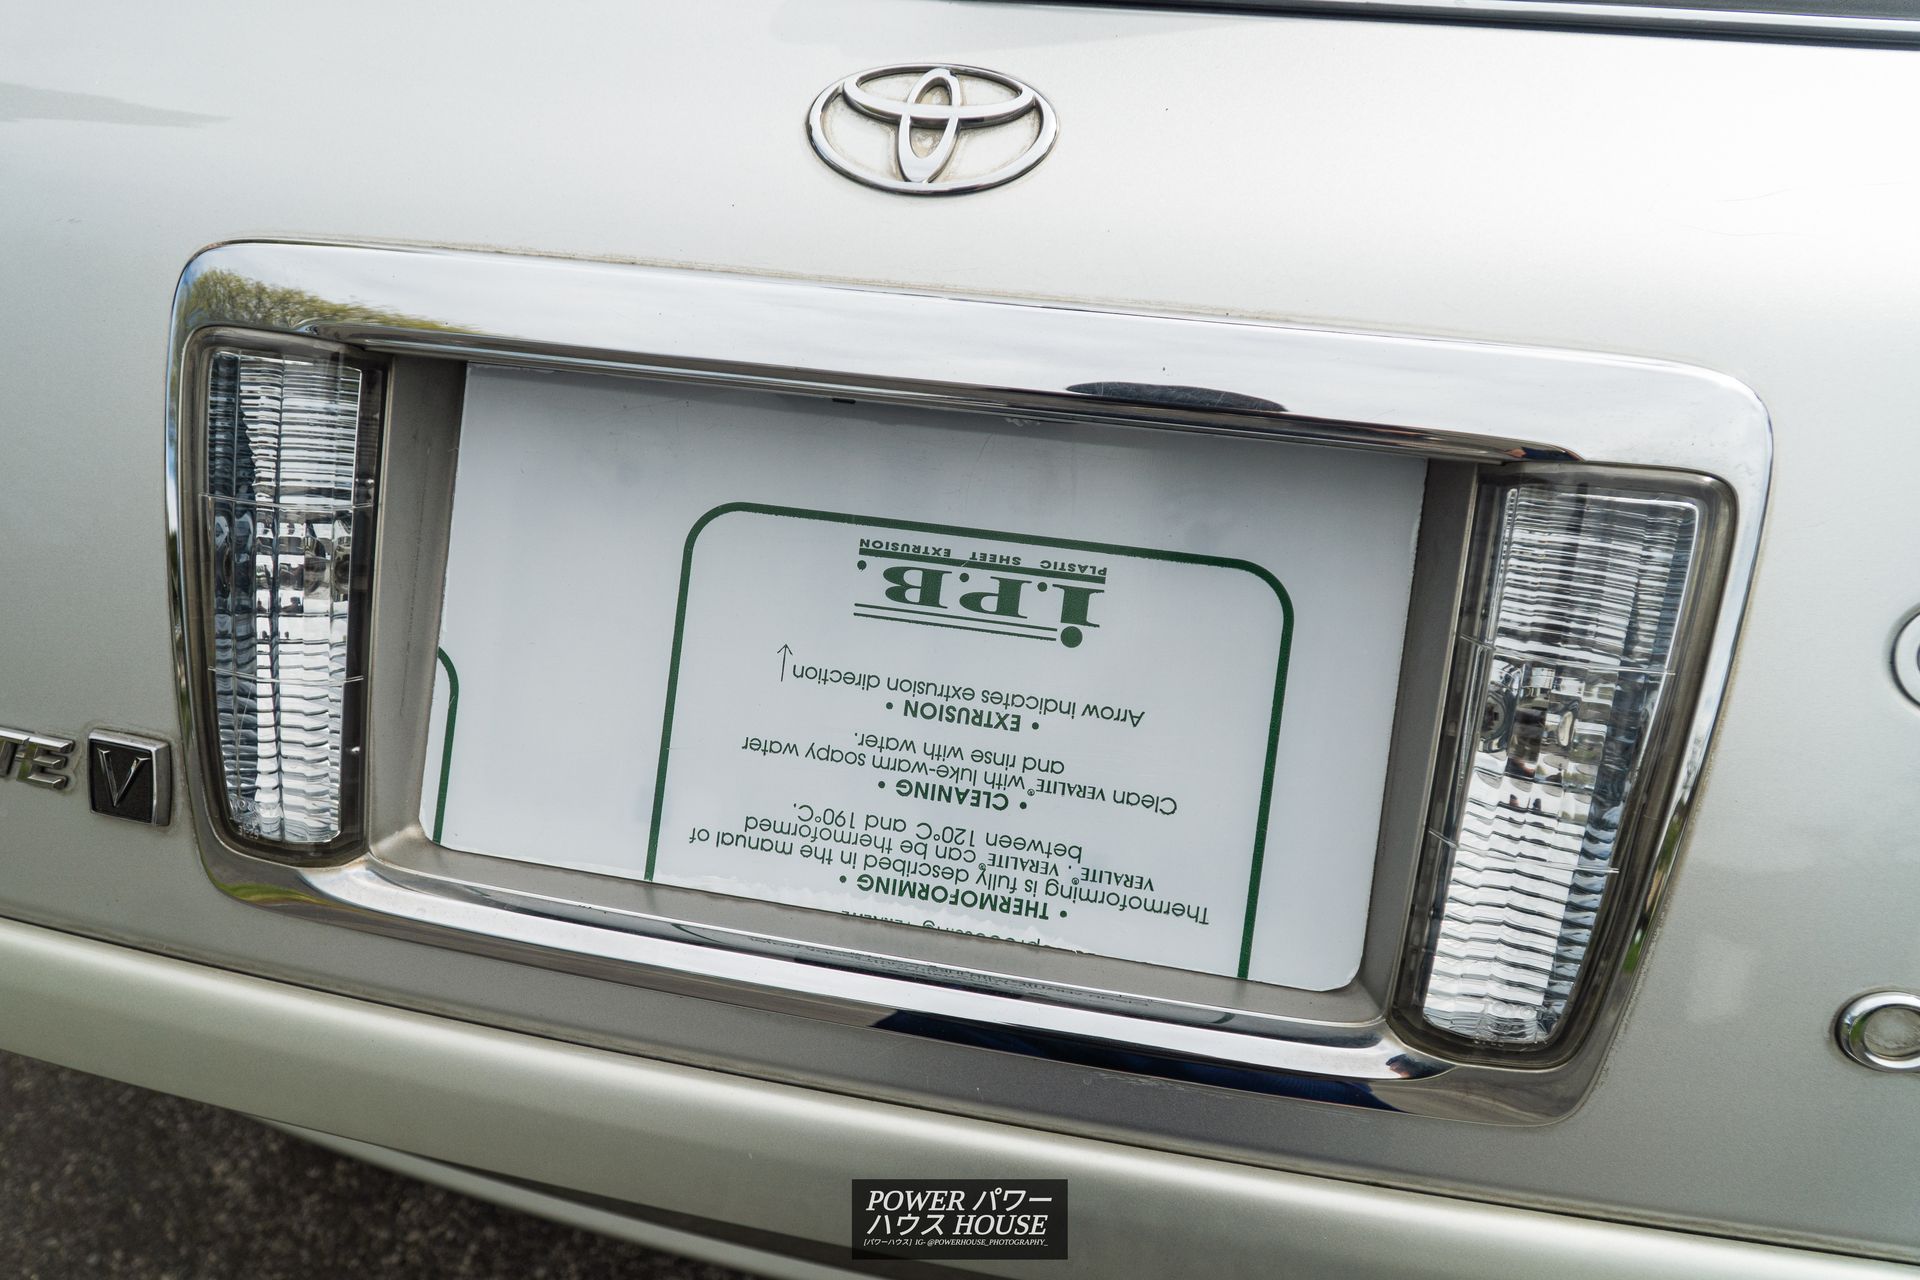
After it fit perfect, and the corners were rounded, I gave it a light scuff with 600 grit, and have it a coat of paint.
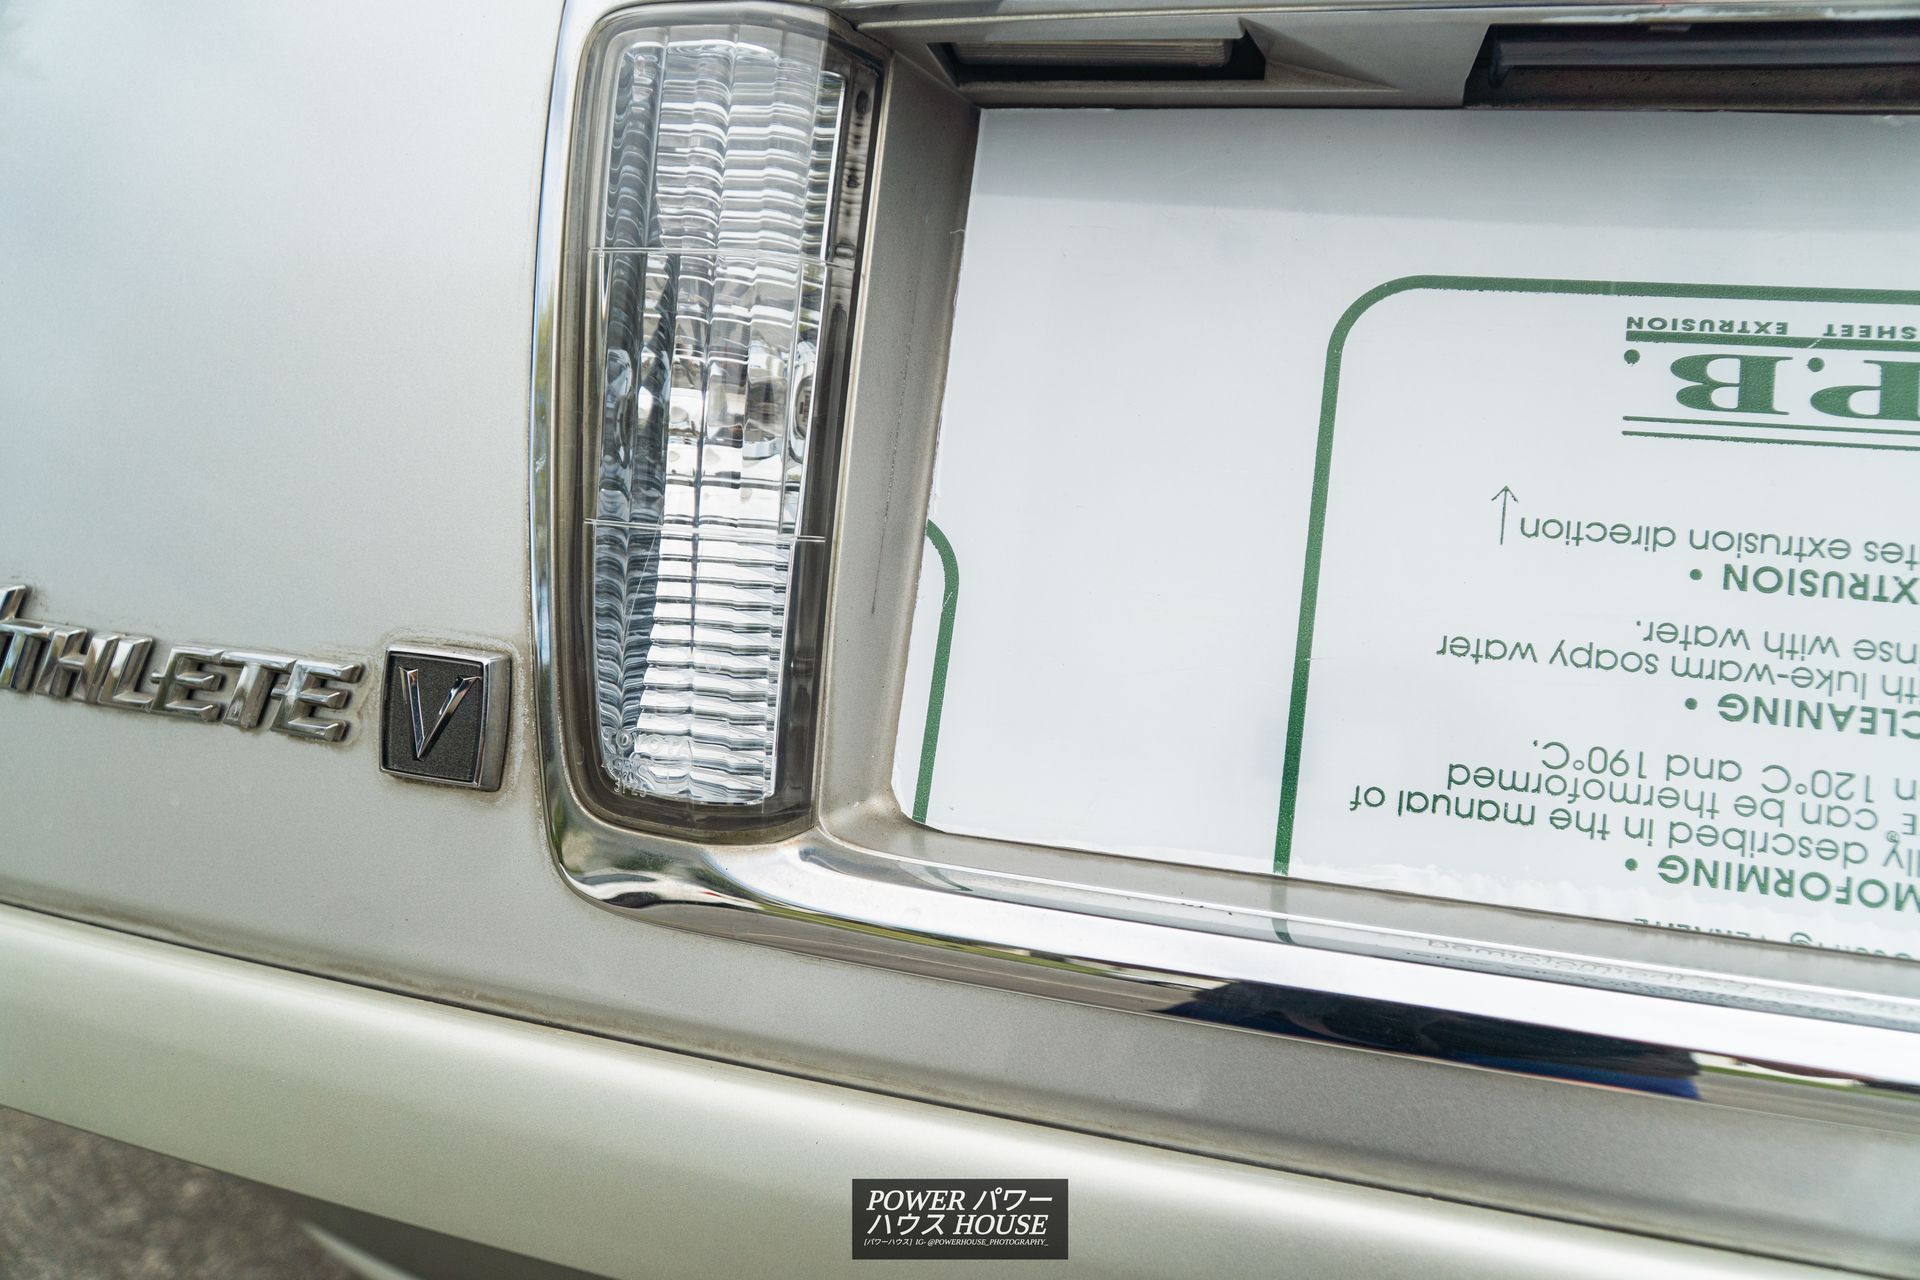
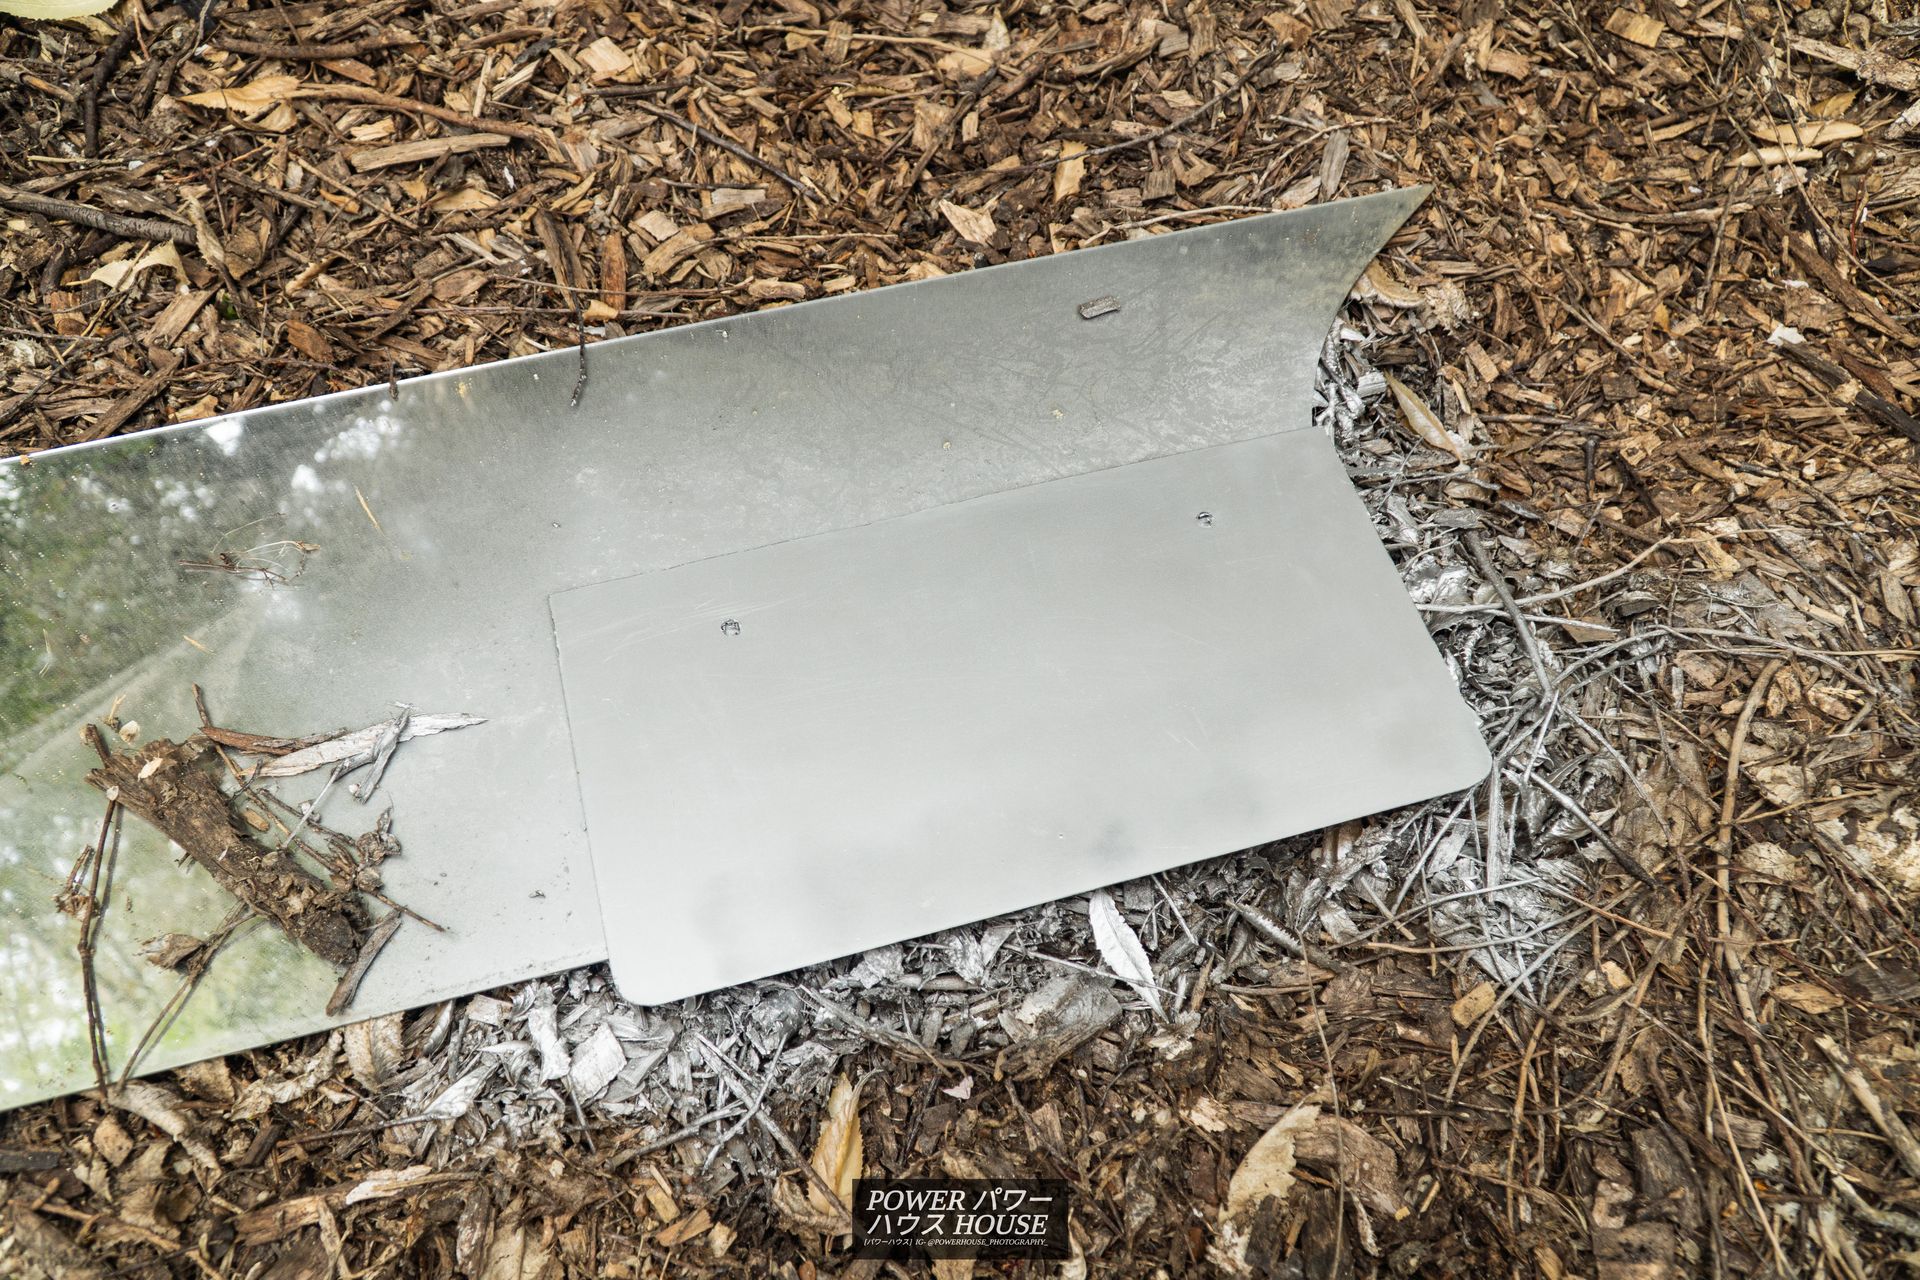
The silver I used isn't a perfect match, but it will do for now. I have to say, it does help to give off a cleaner look.
With this newly gained motivation from the success of the plates, I got around to doing some small projects that I had been delaying as well. First on the table was restoring the headlights.
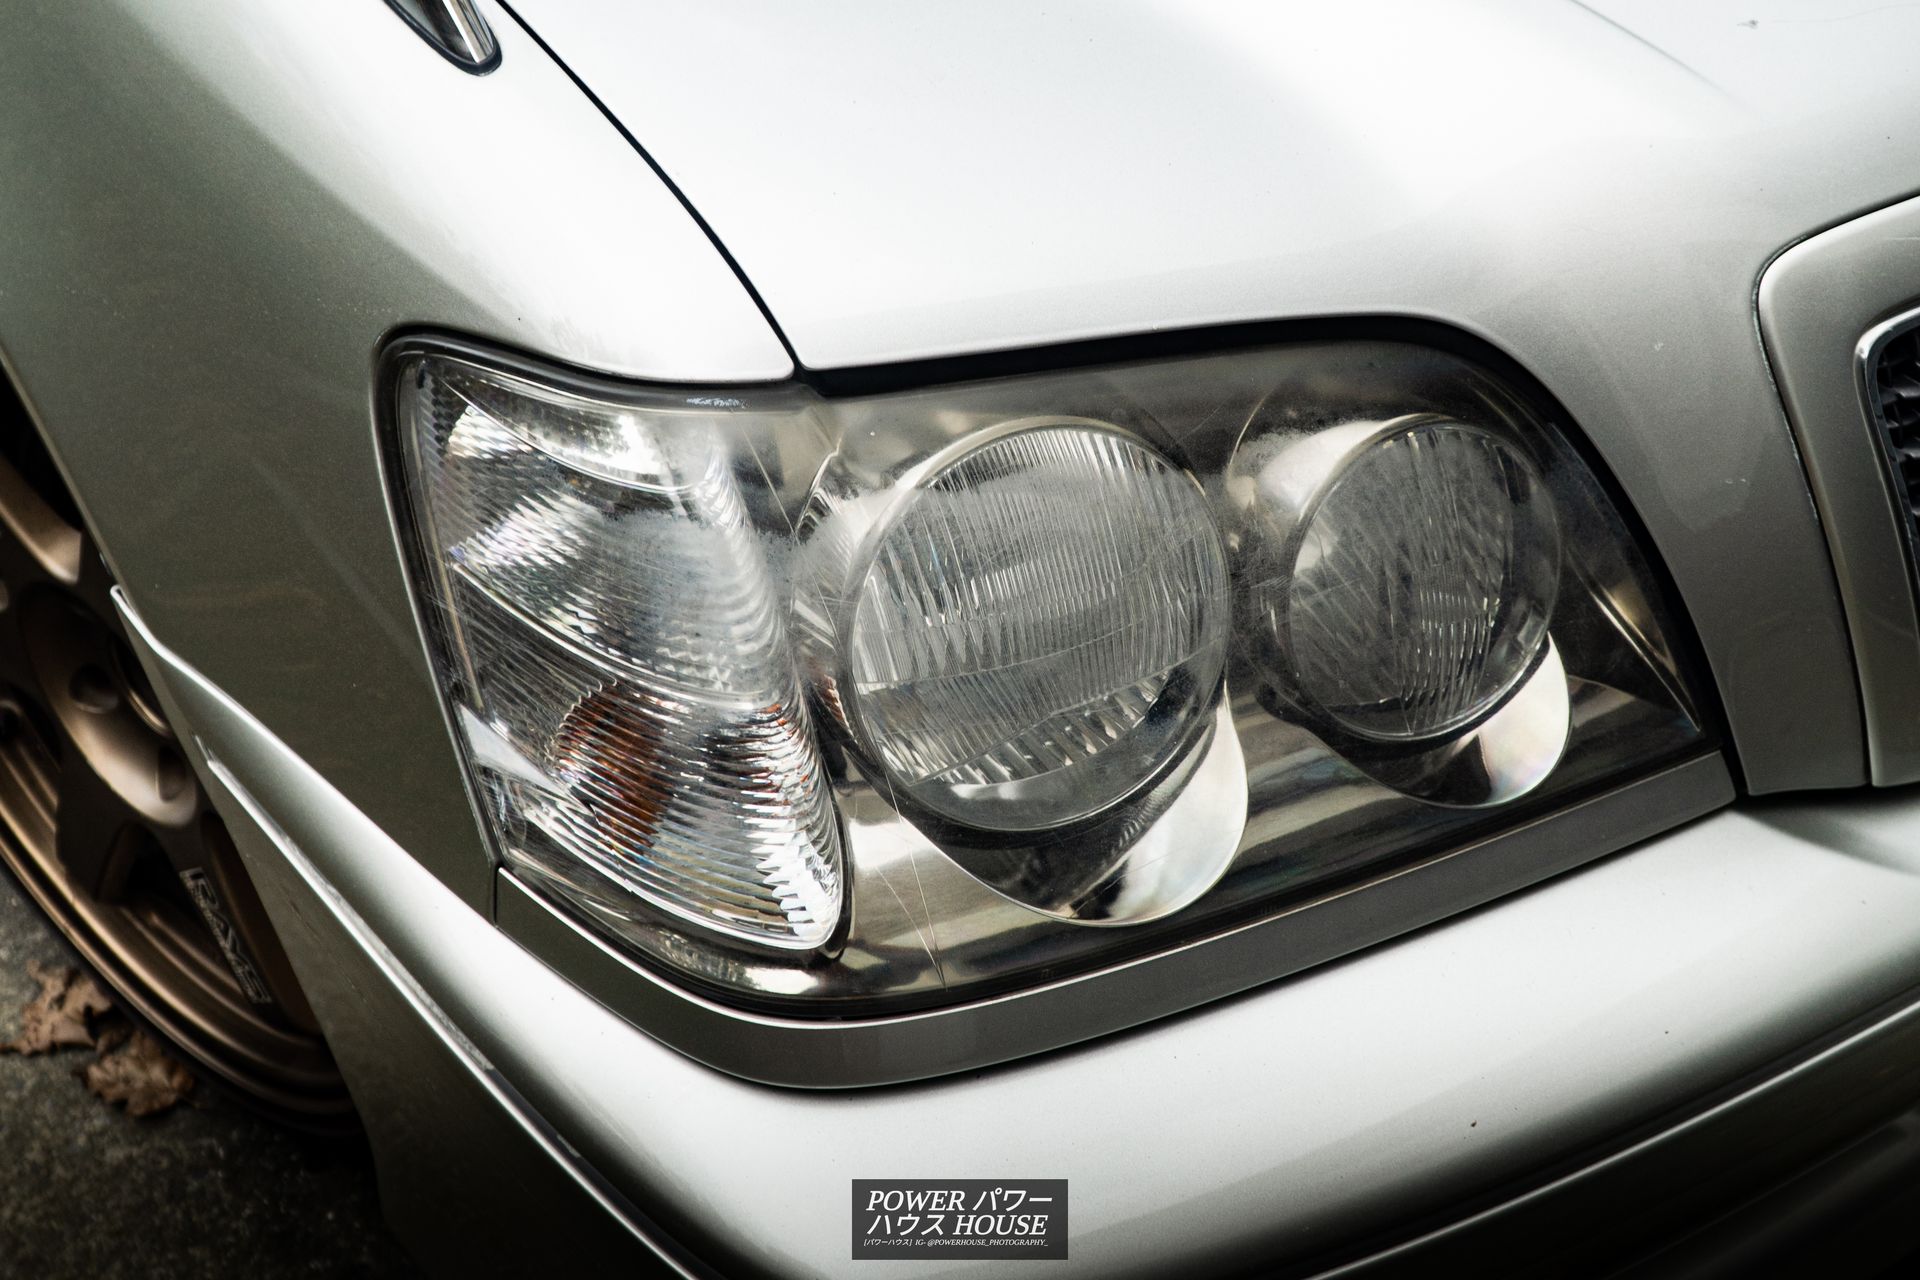
Although mine were already leaps and bounds ahead of the yellow and oxidized headlights on most other Crown’s, they were starting to fade a little.
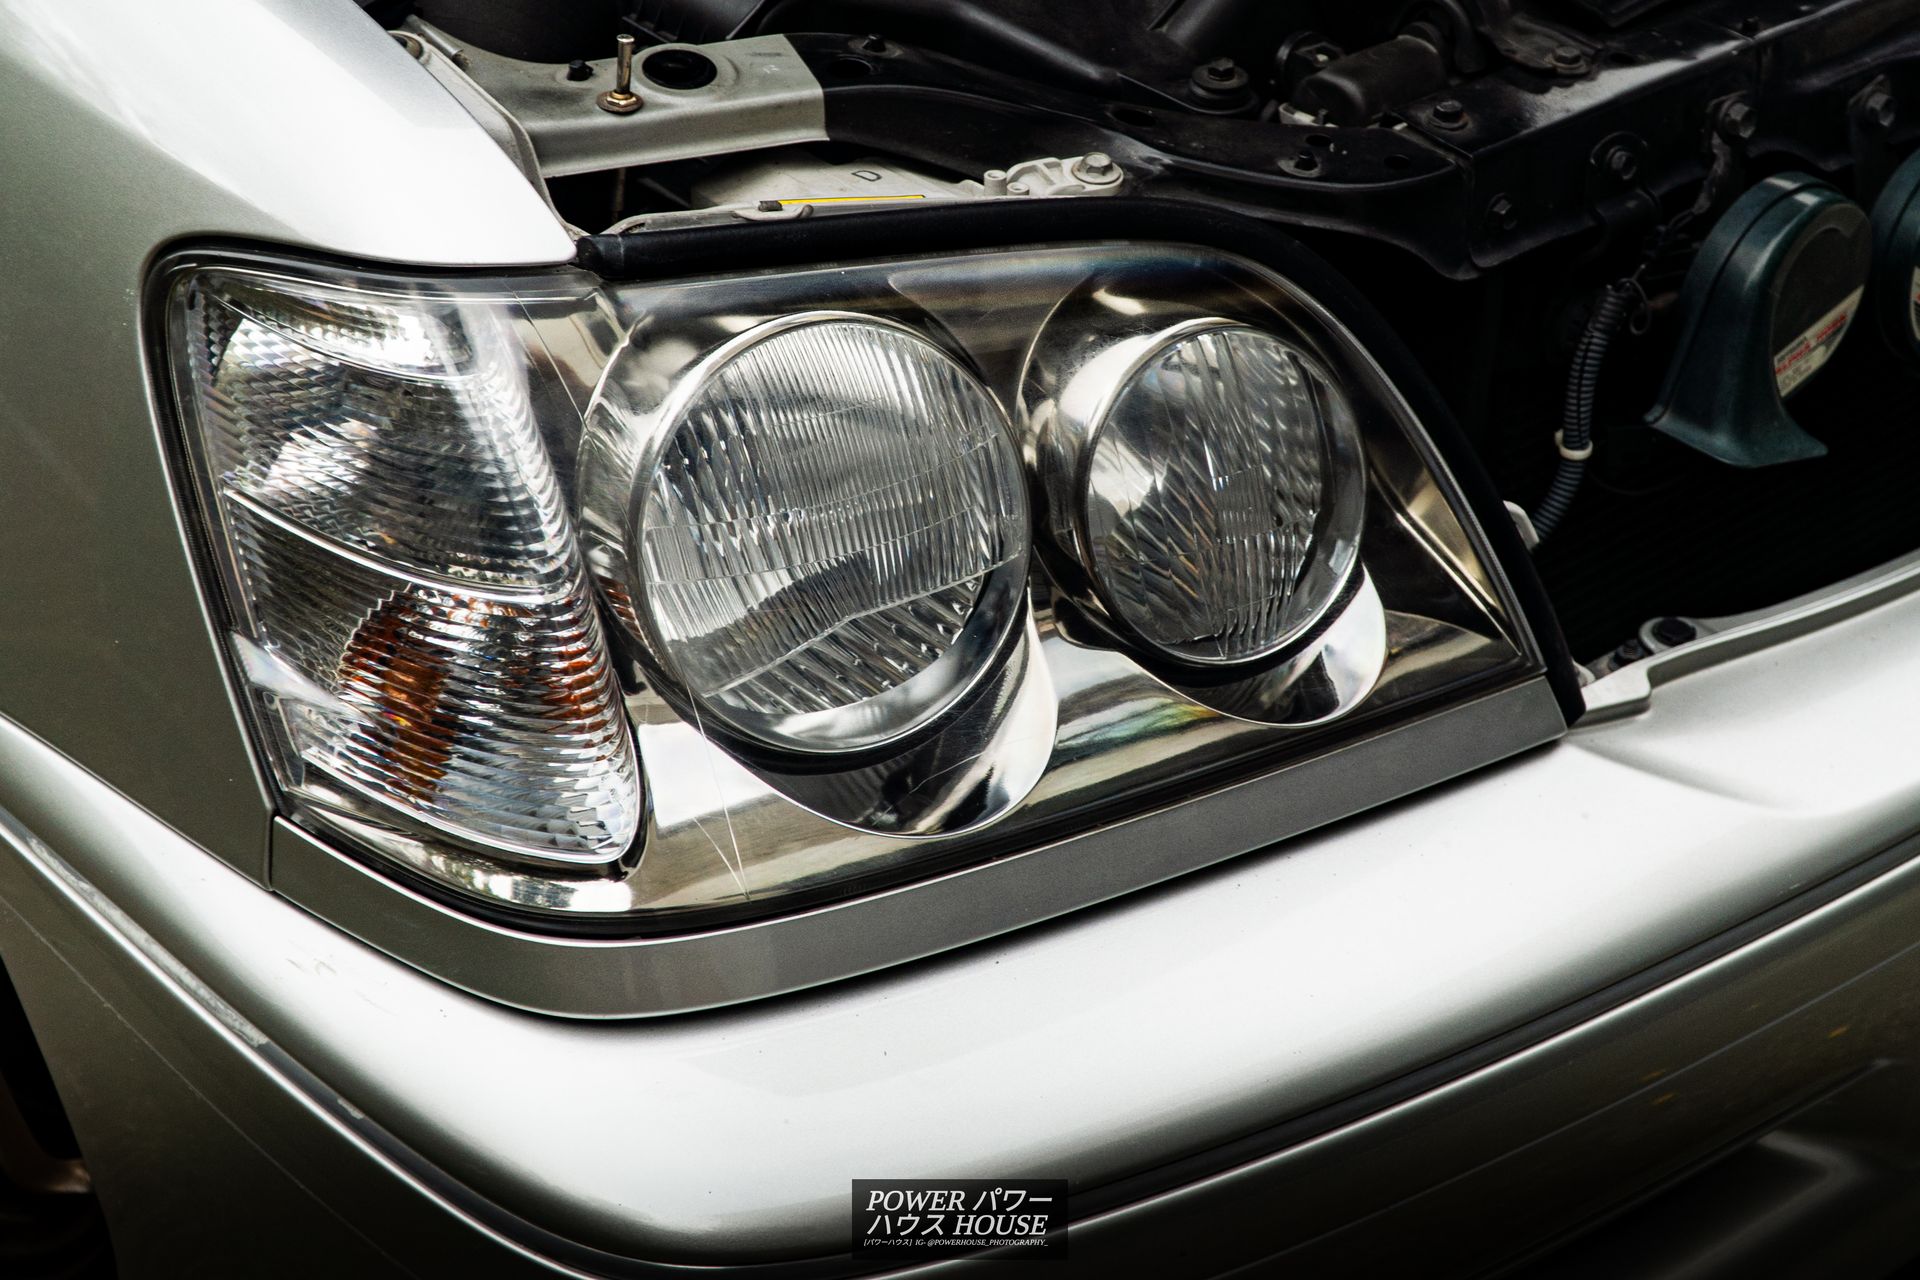
After a quick round with Meguire’s motorcycle visor polish, they looked as good as new.
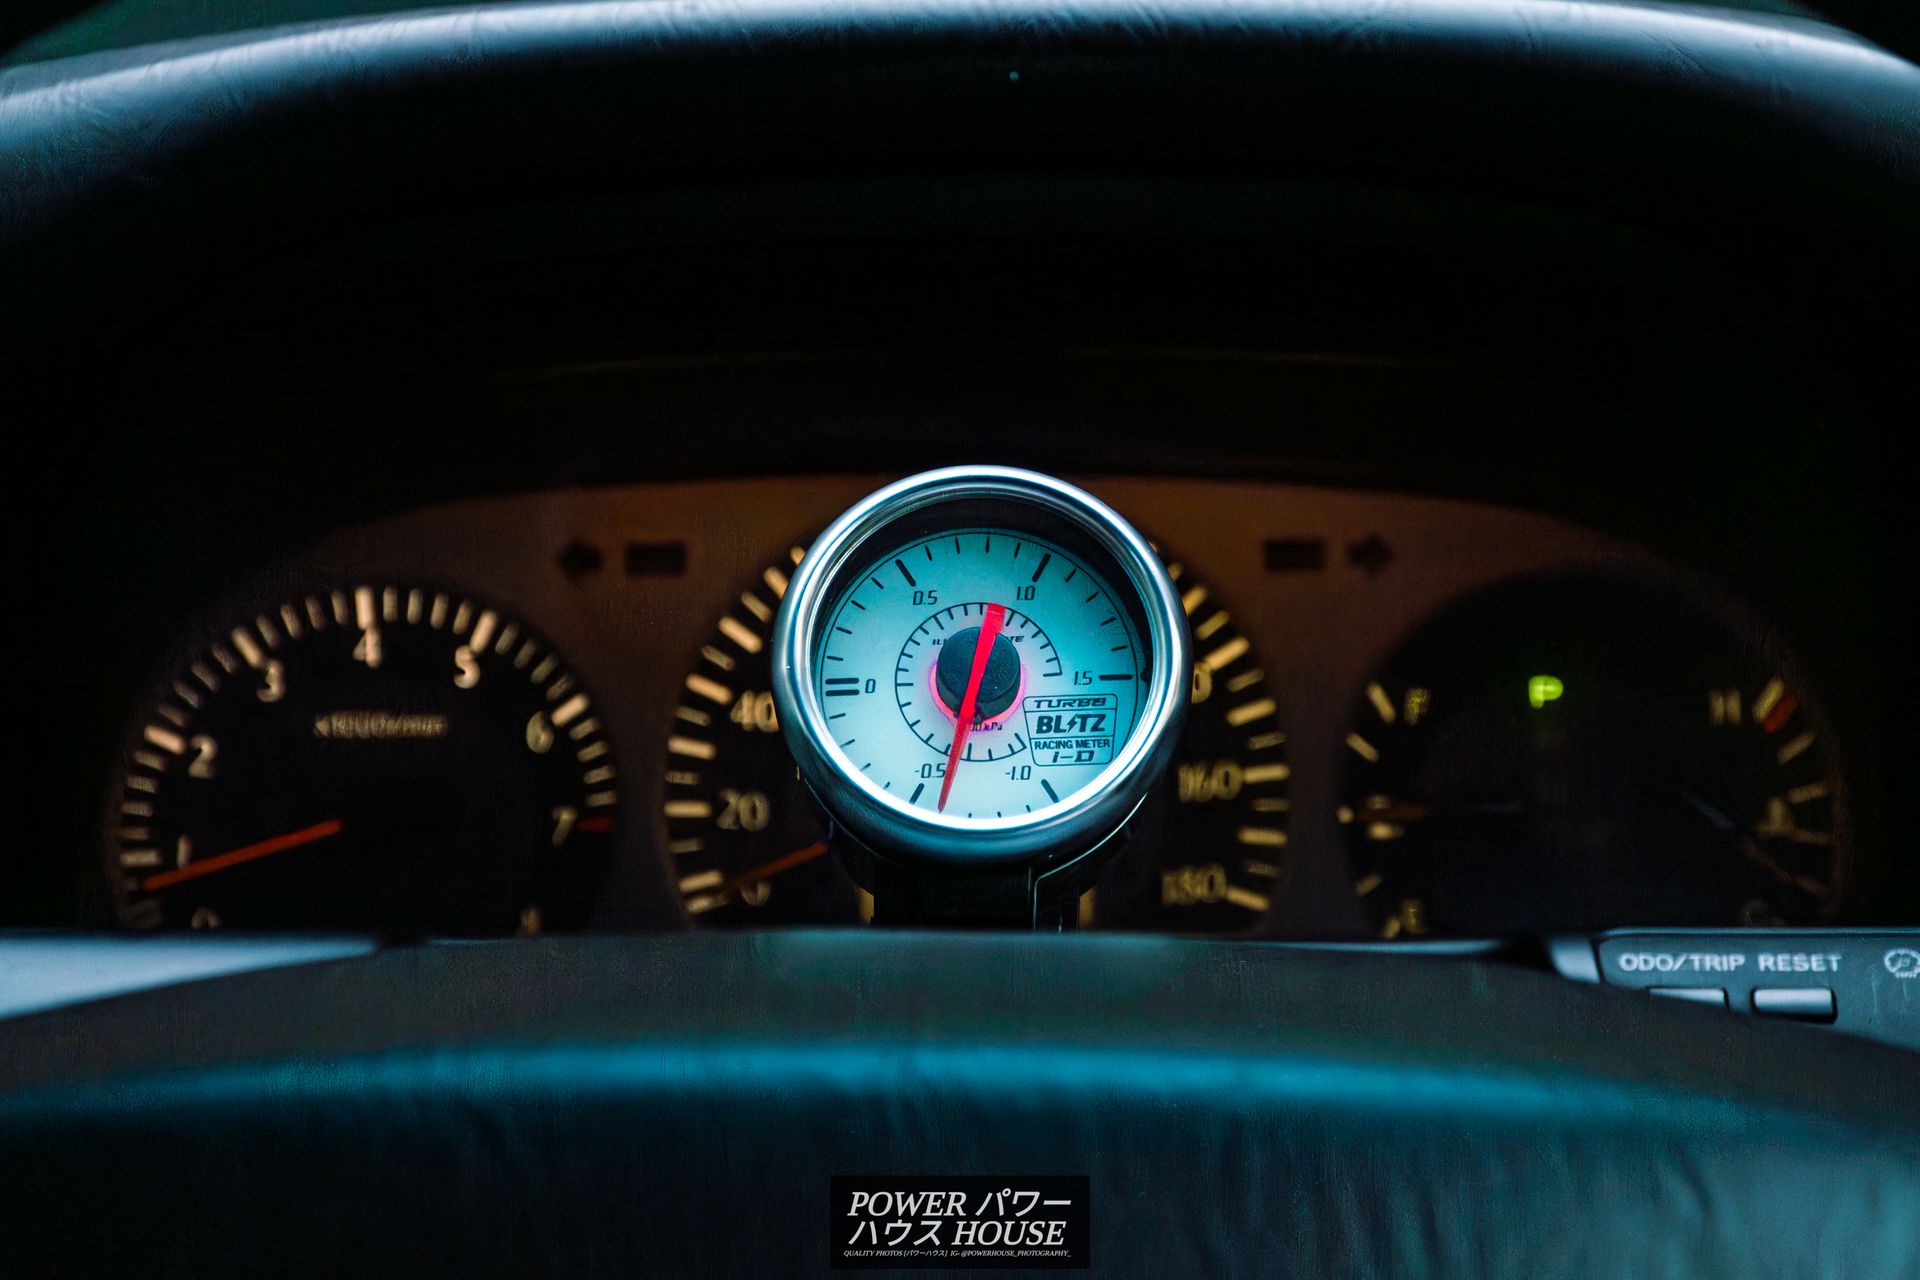
Next up was putting the old Blitz boost gauge back on. Although the GReddy one, in my opinion, looks a whole lot better, being 80mm, it blocks the speedometer, and so started getting annoying. Therefore, the good ol’ Blitz Illumi-Drive Racing Meter i-D 52mm white-face boost gauge went back in.
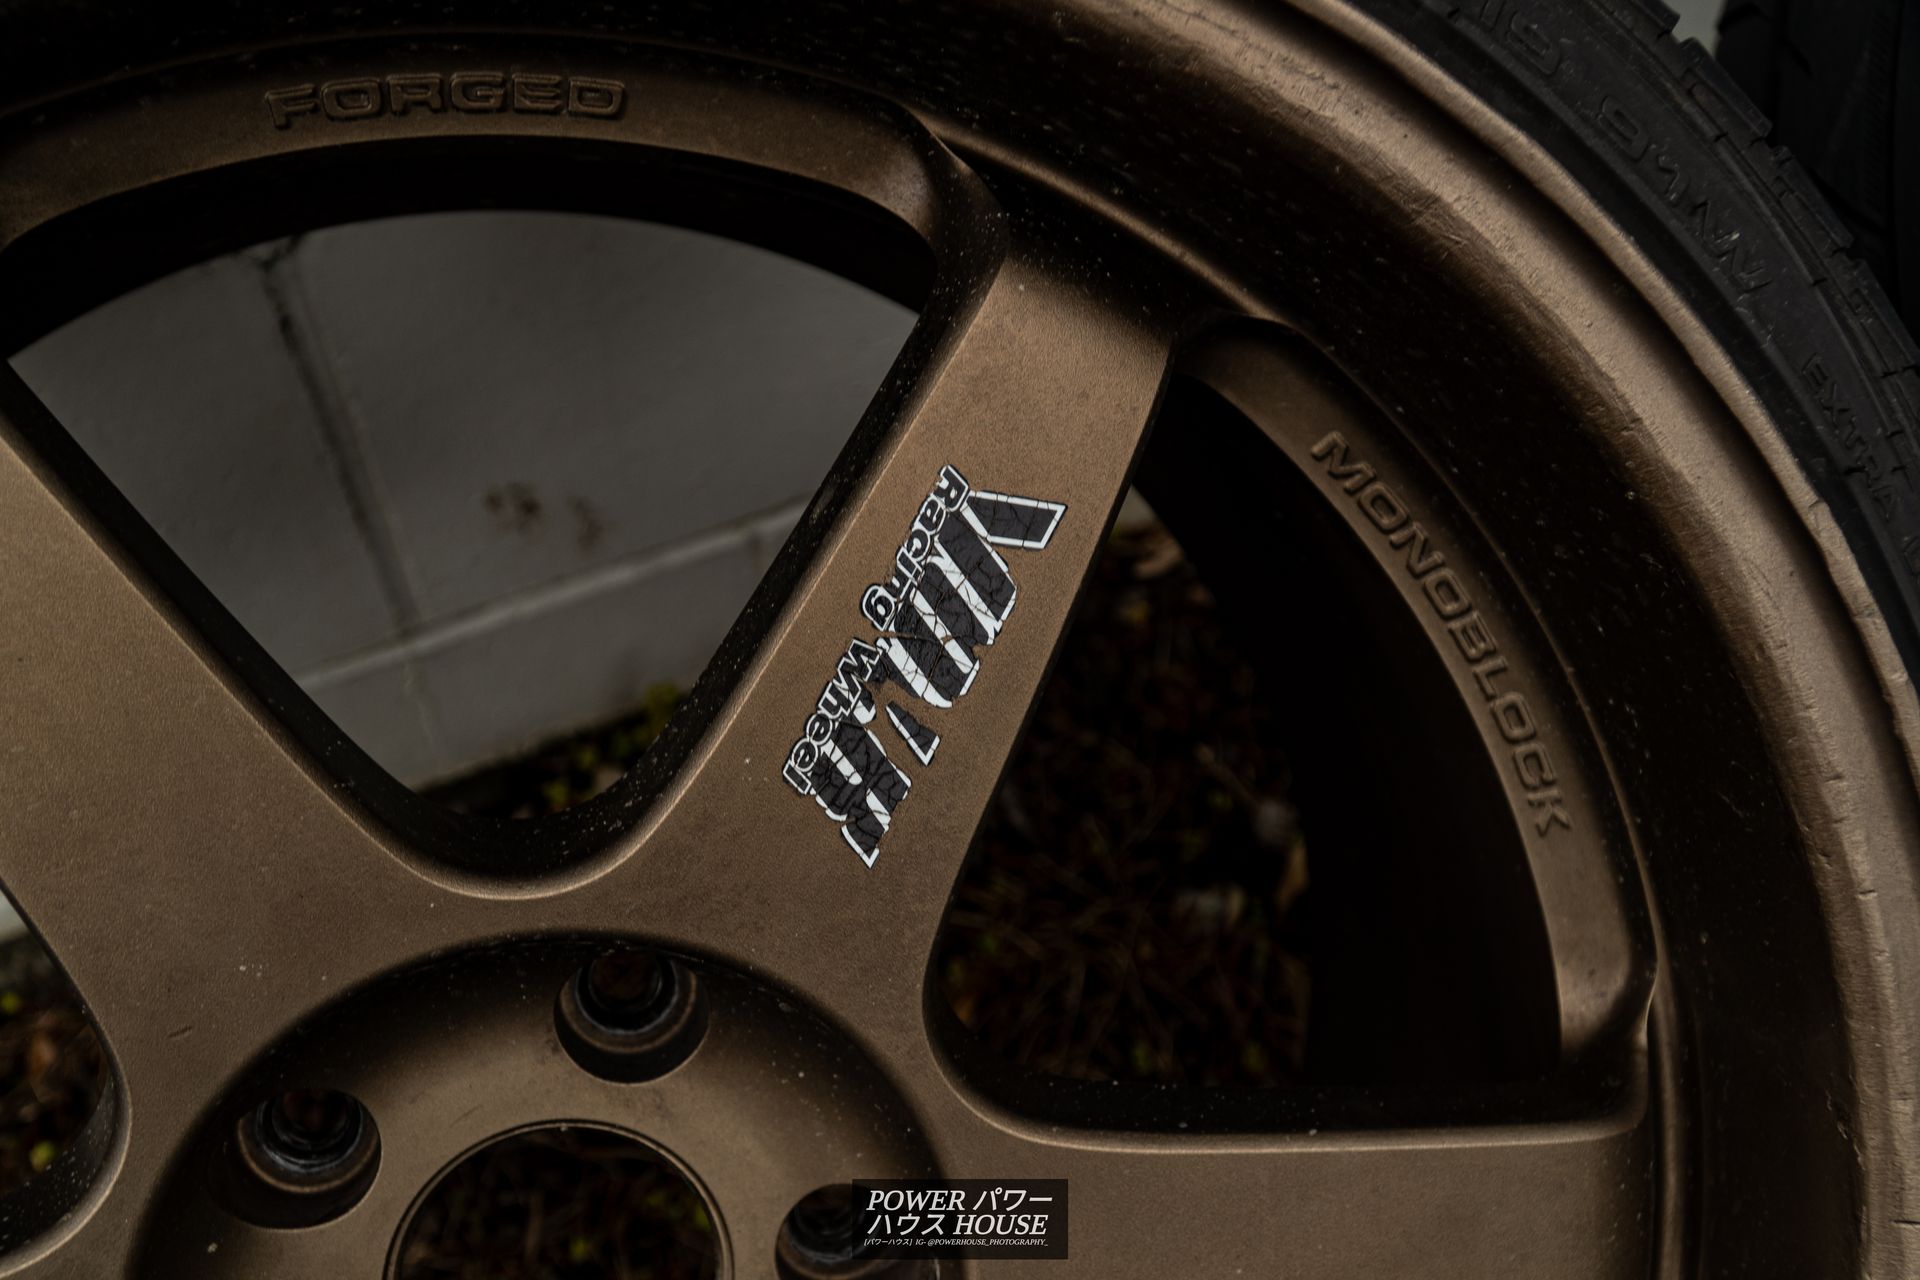
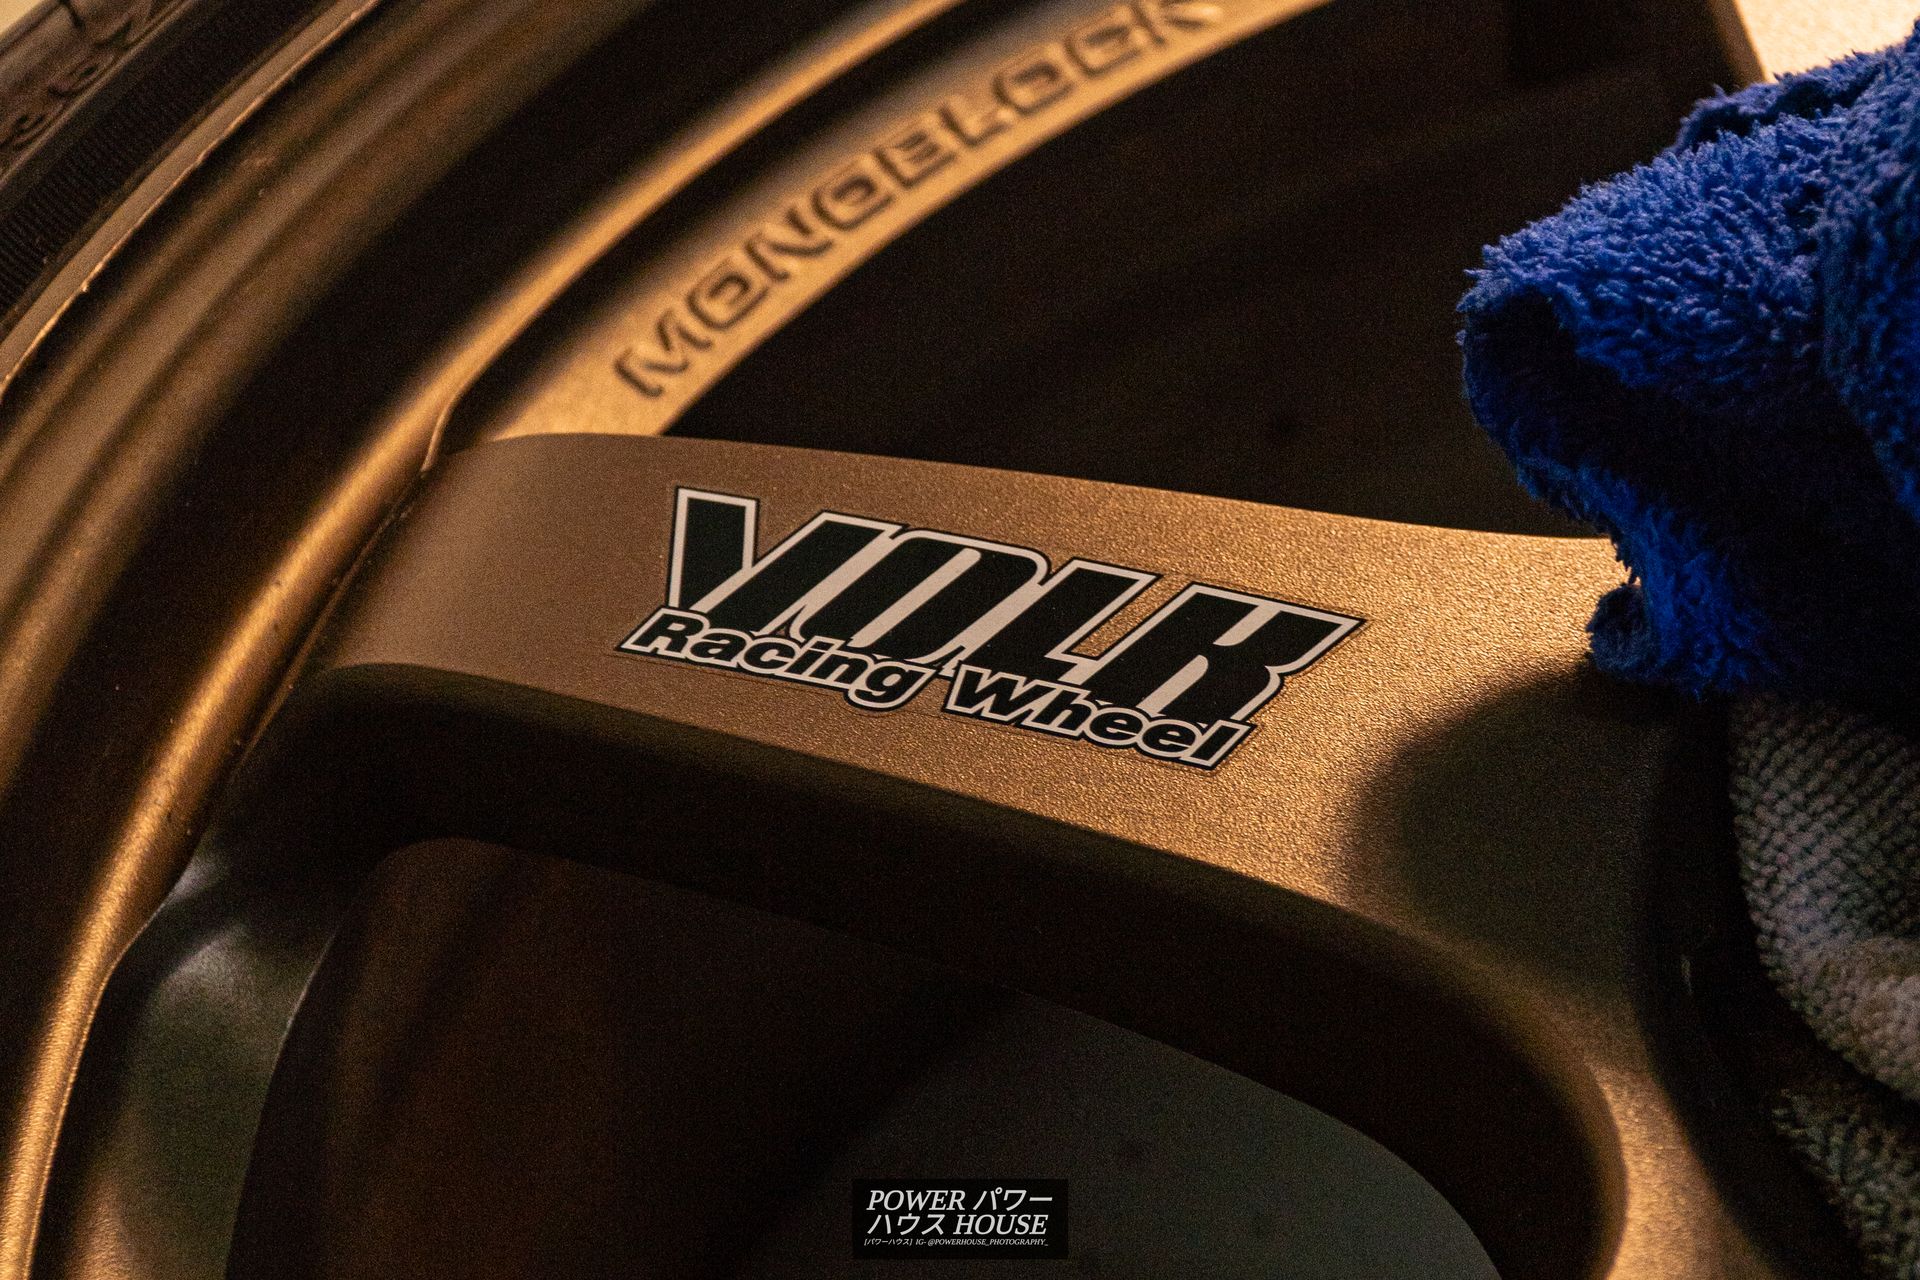
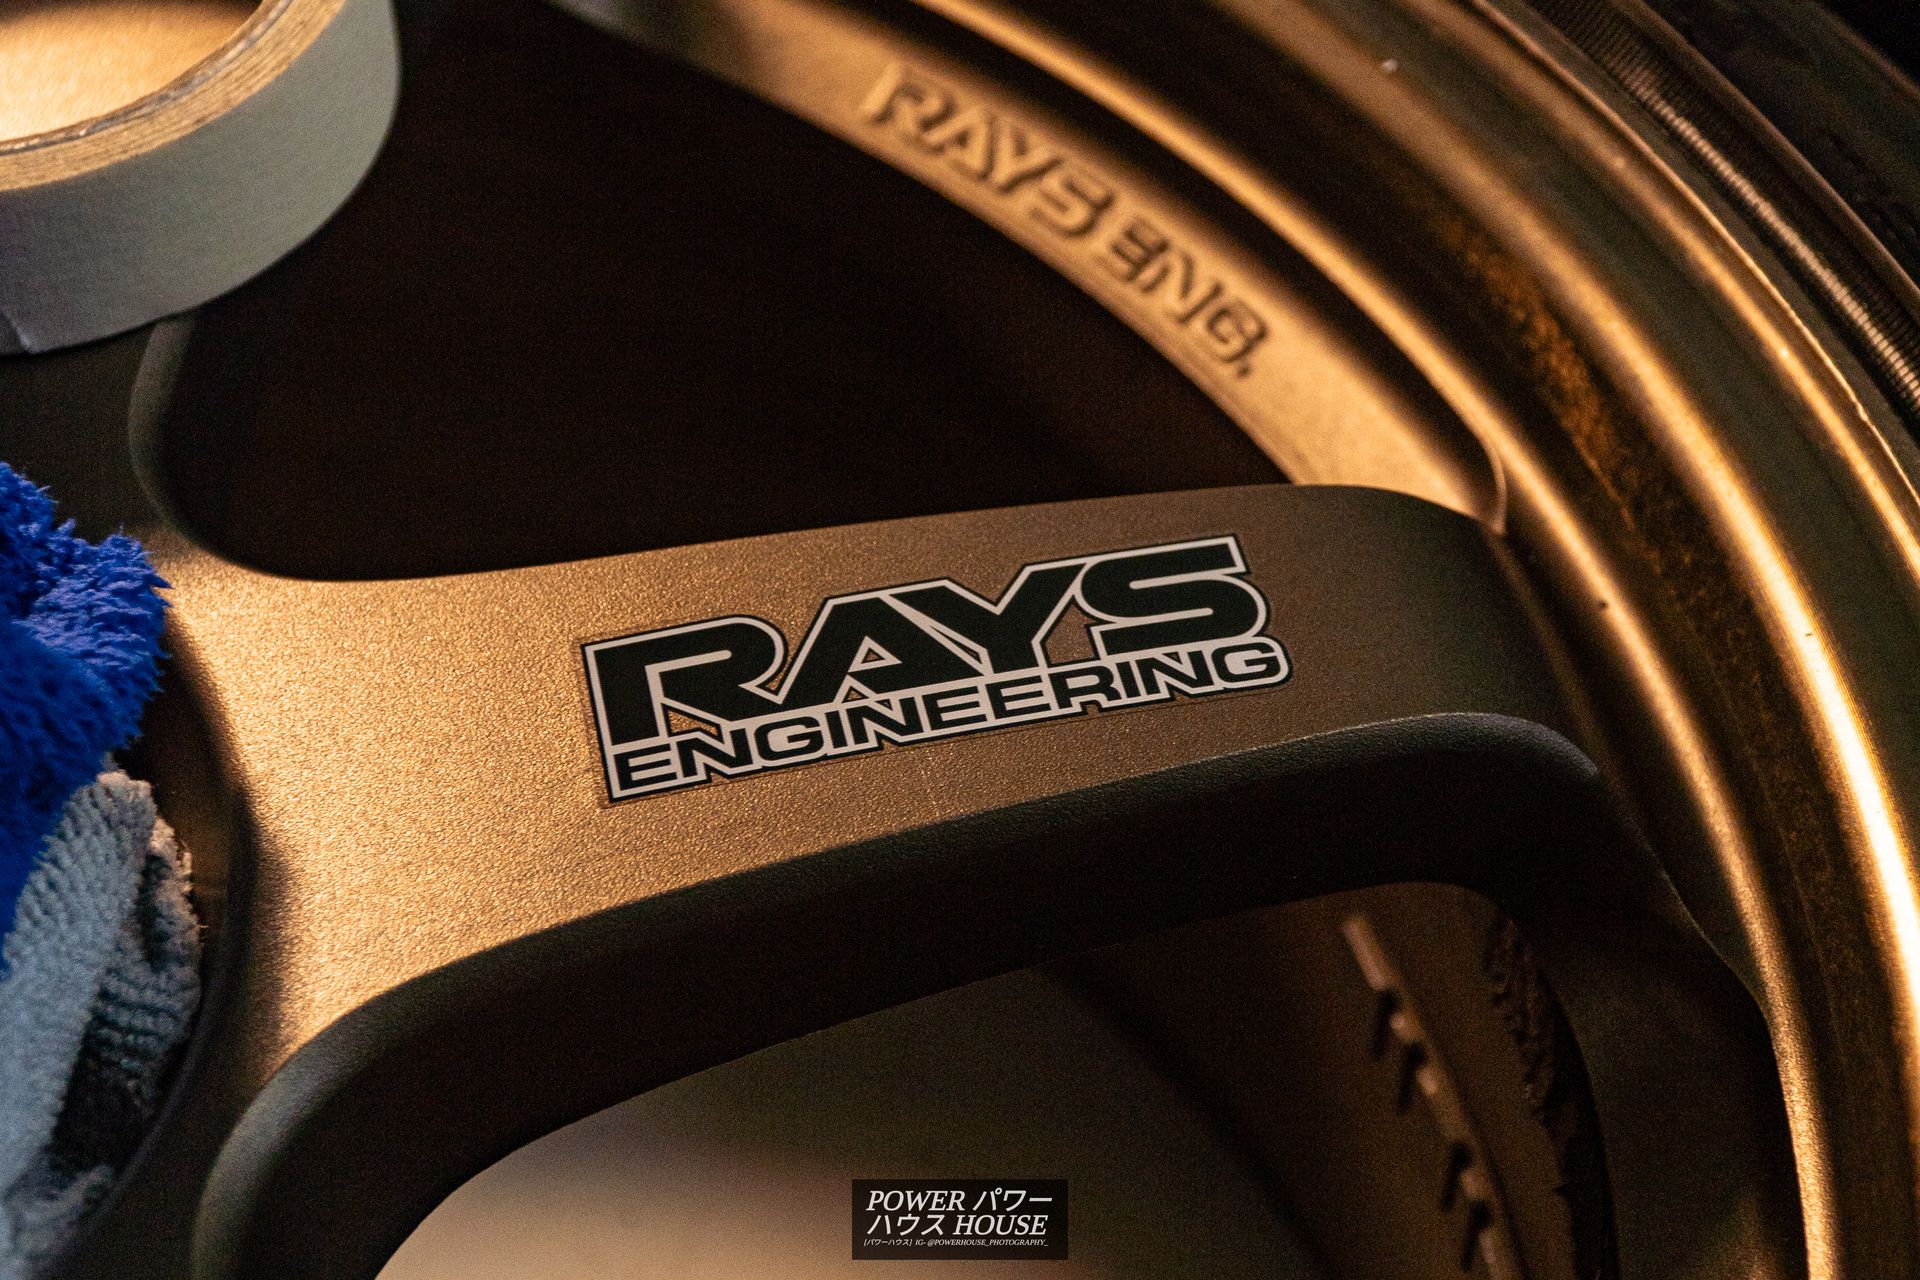
I also finally got my new TE37 stickers on! These have been sitting in my room since I first bought the wheels a few years ago, however, the crusty stickers never annoyed me too much so I never truly had much motivation to install the new ones.
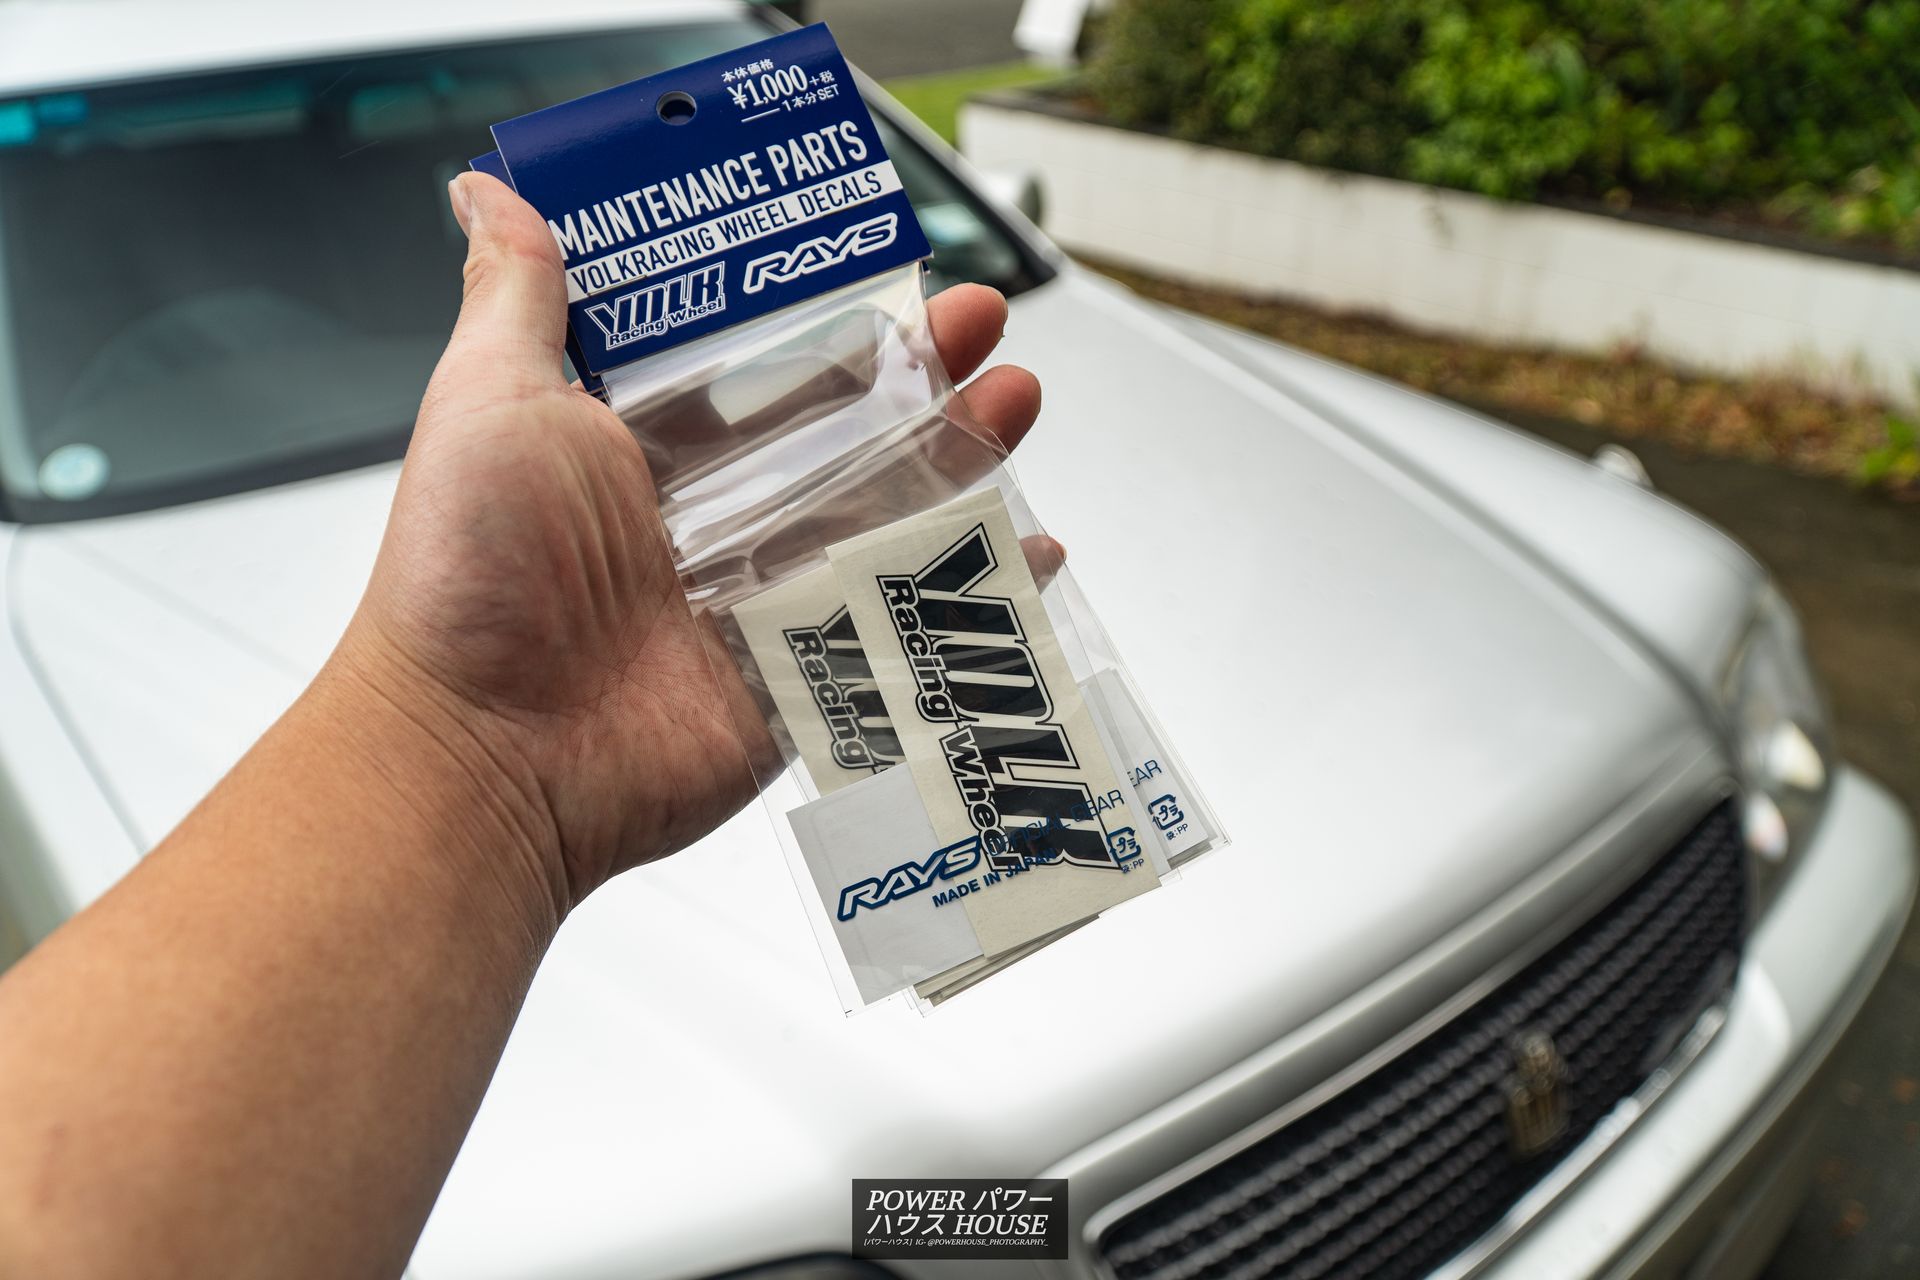
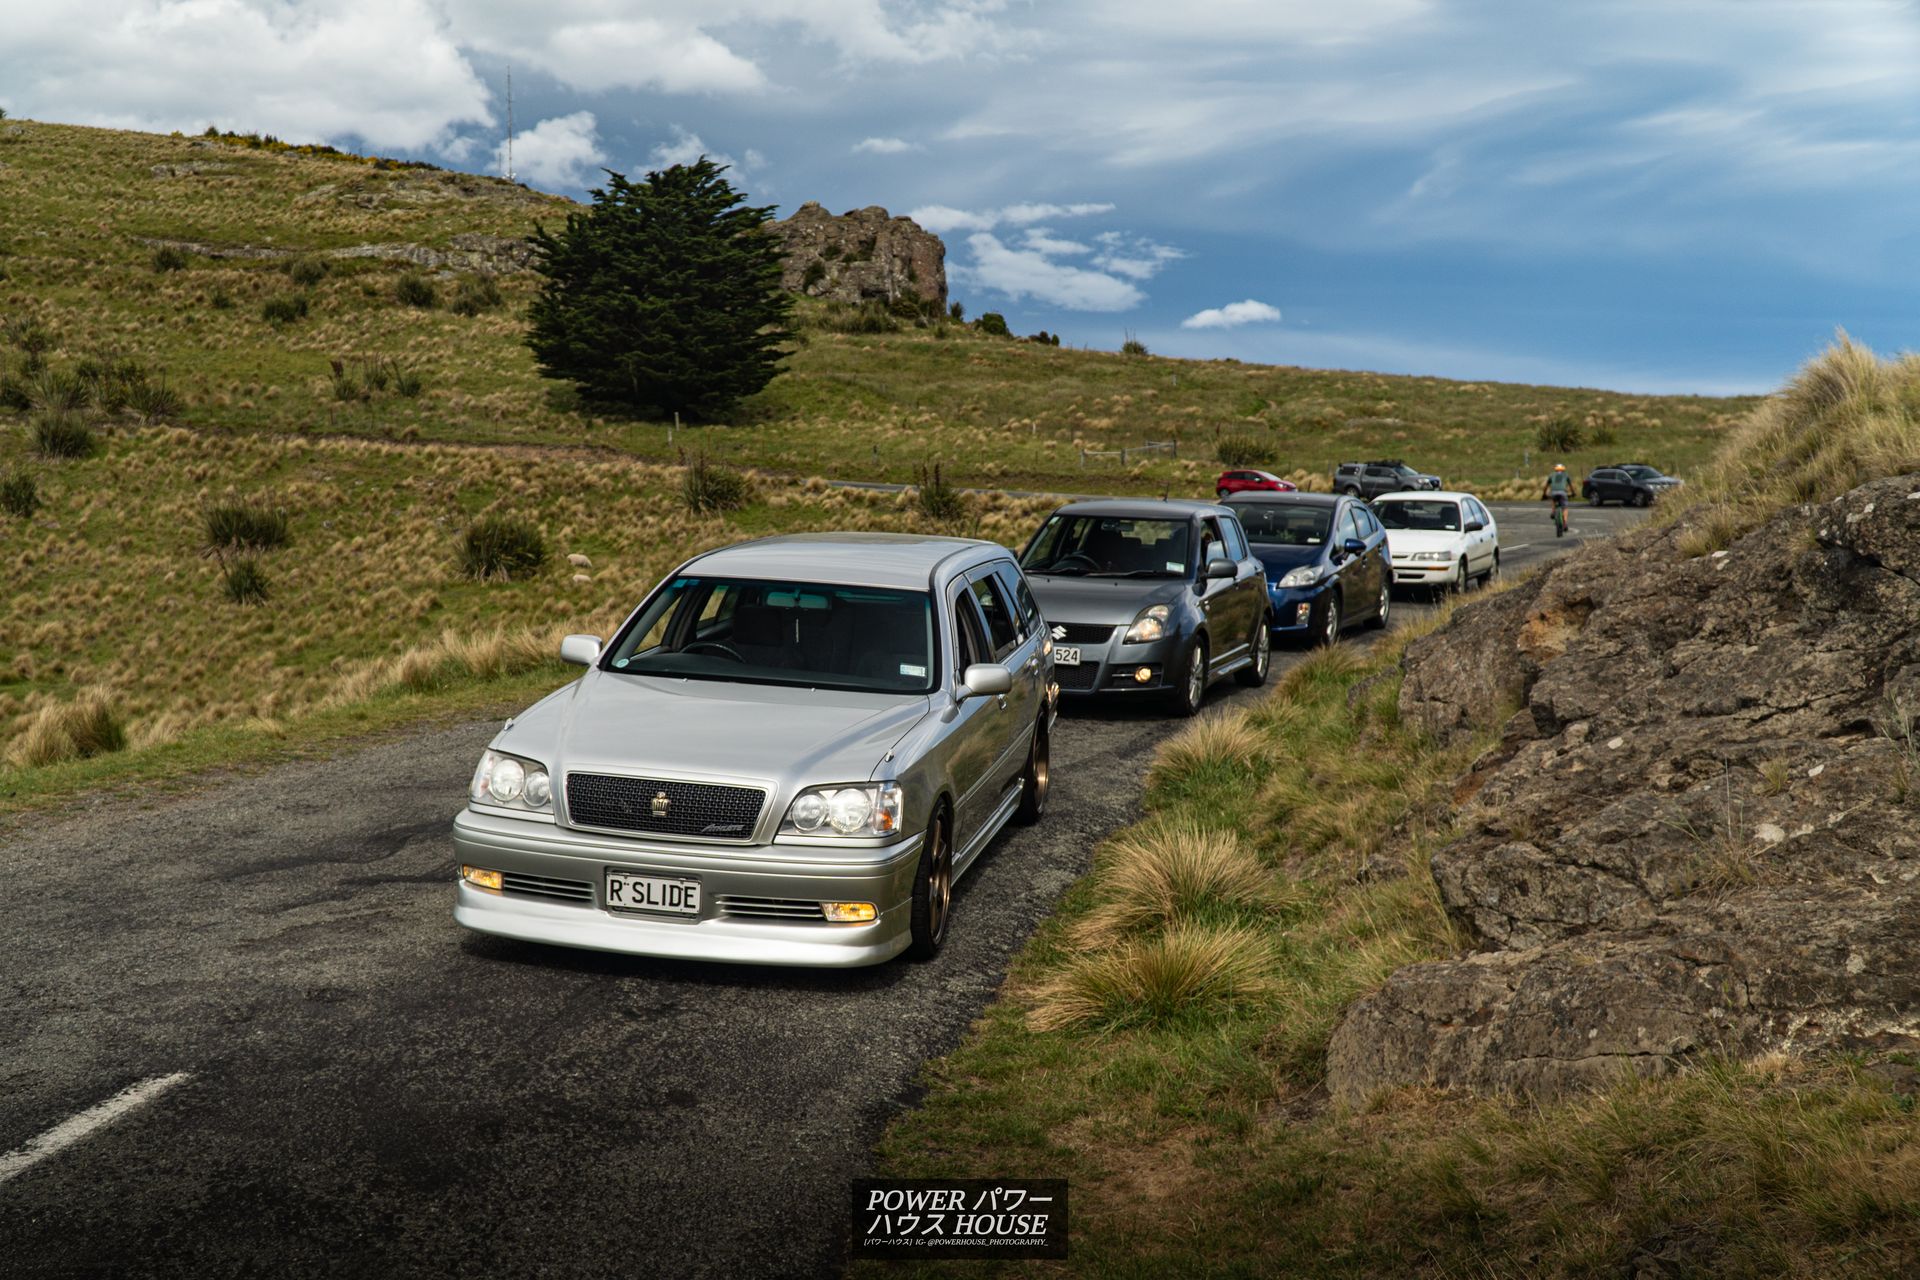
However, during a drive to Glentunnel, one of the stickers teared off, which was the final straw for the old stickers.
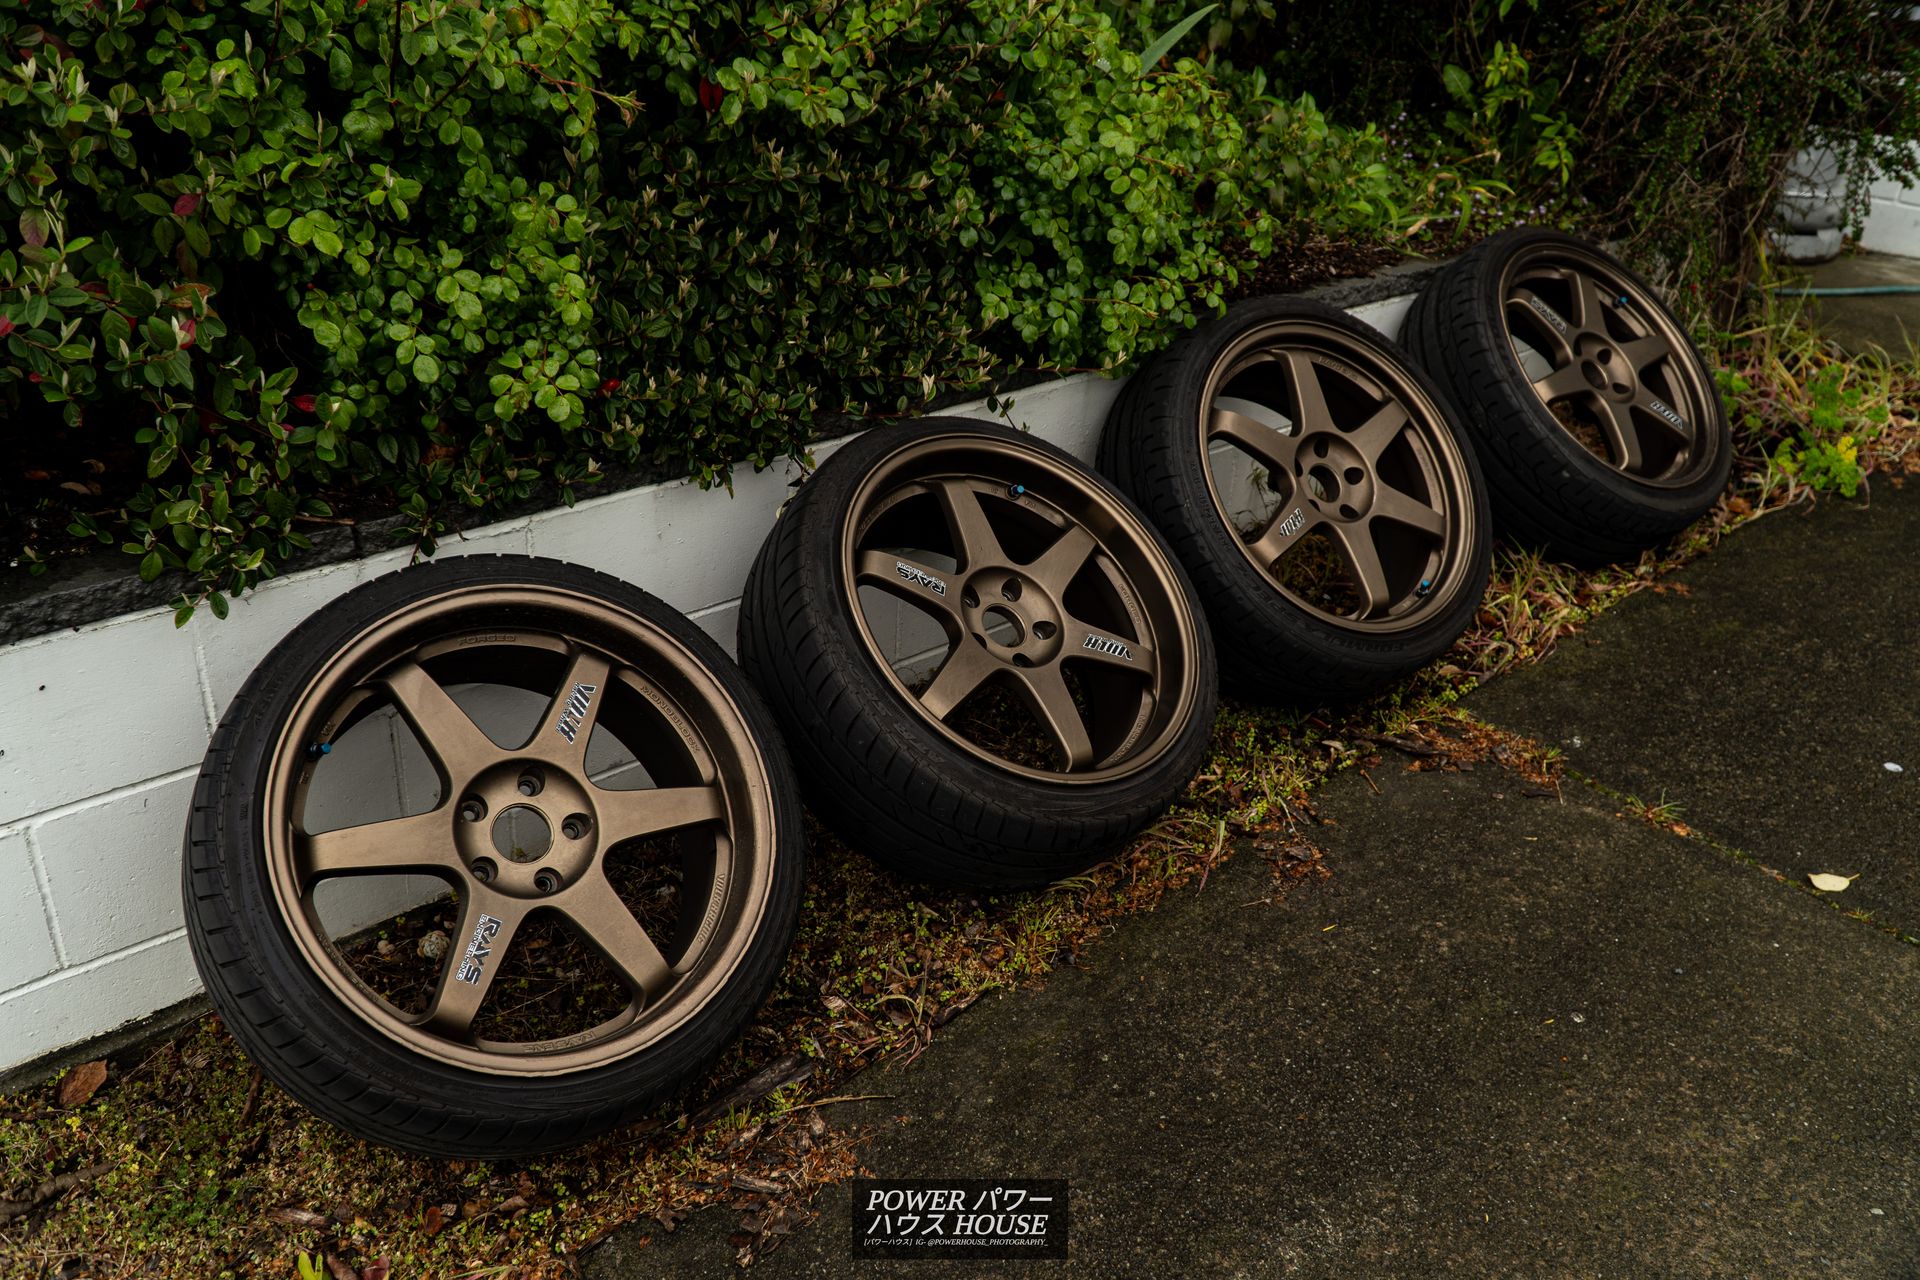
The wheels came off the car, and received a full clean with Bar's Bugs Car Wash and Protectant, which is ideal for cleaning OG Bronze, due to being PH neutral and wax free.
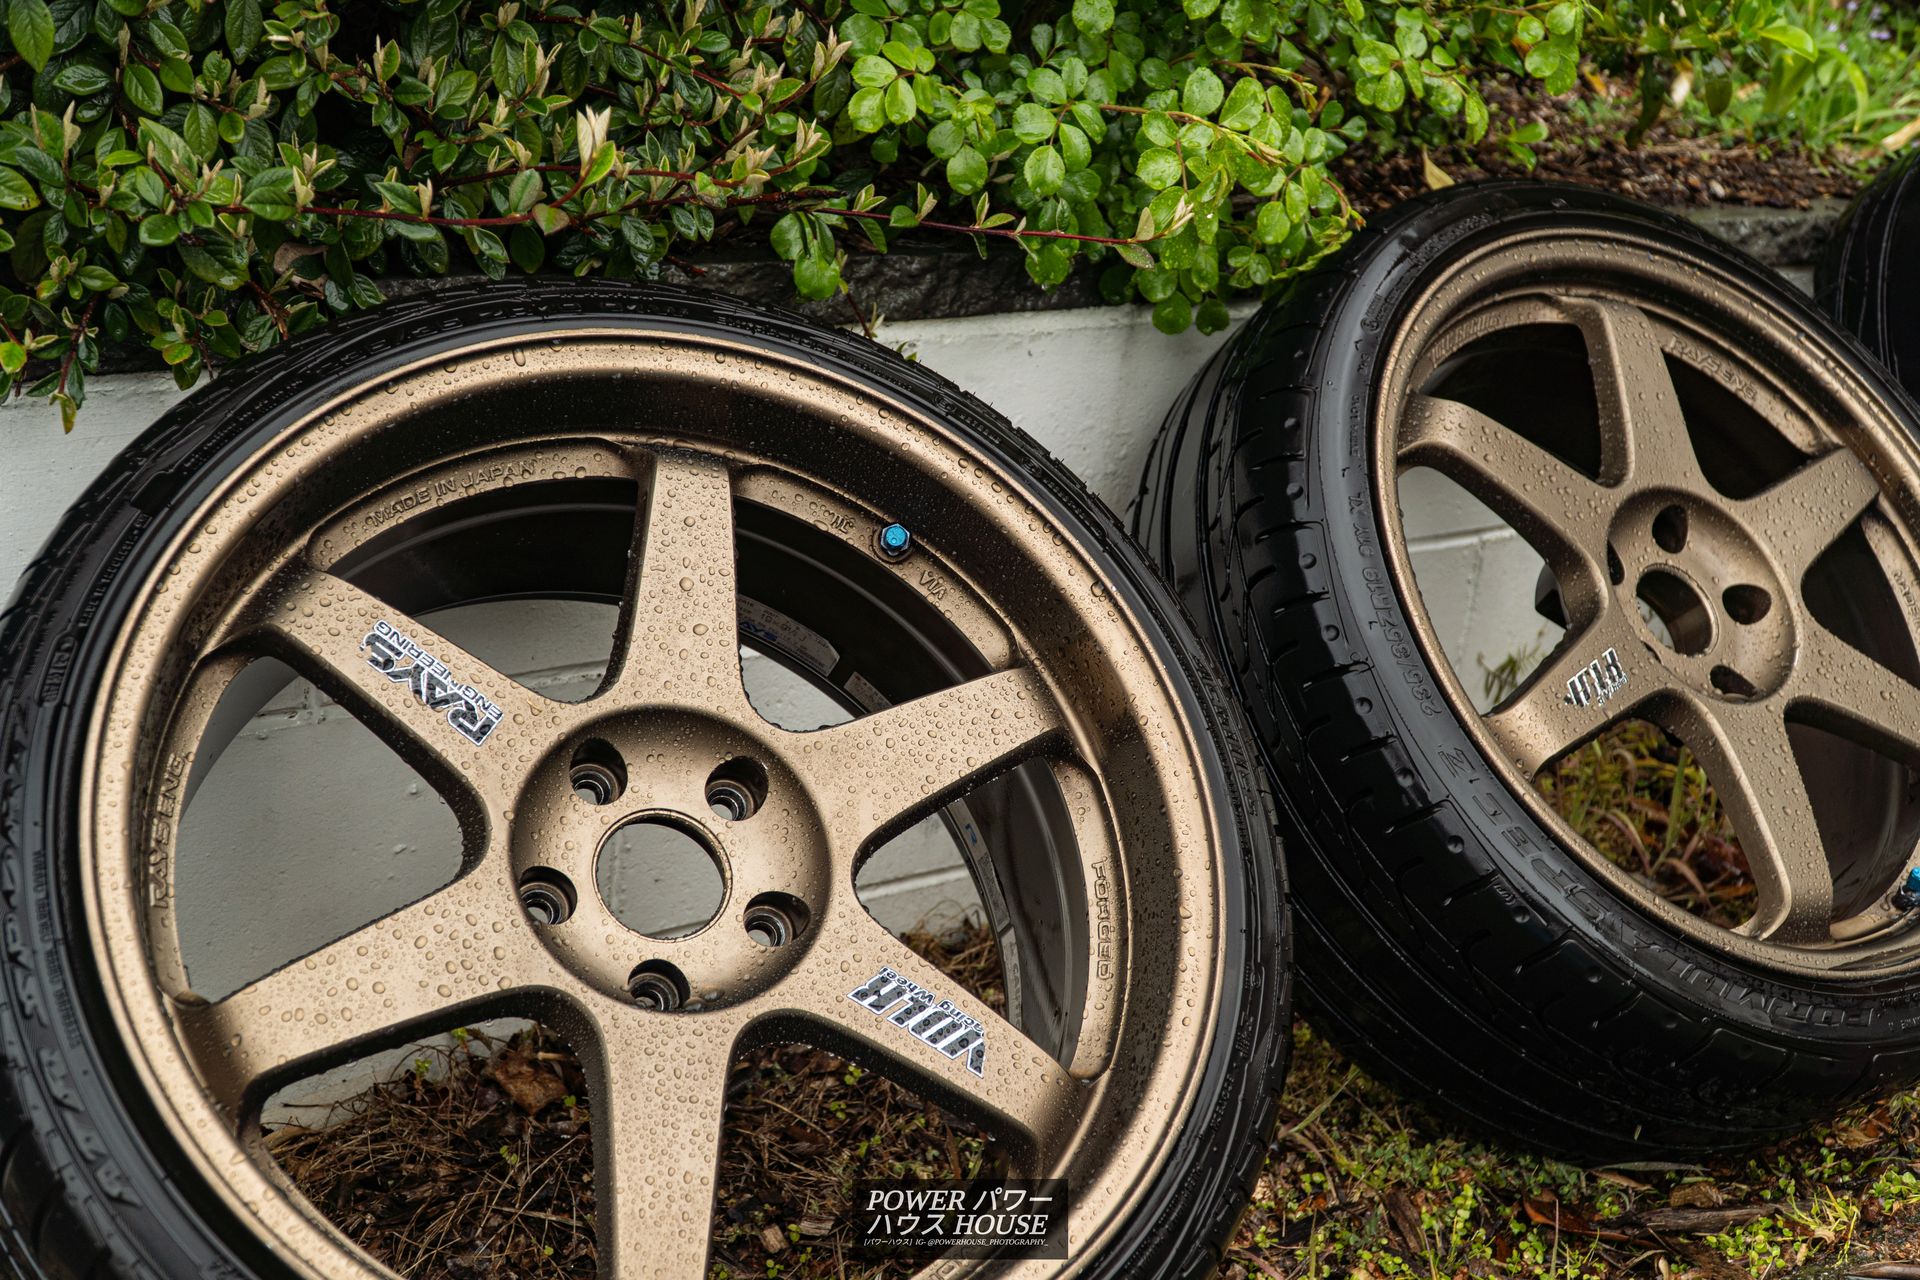
Here, you can see how crusty the old stickers were.
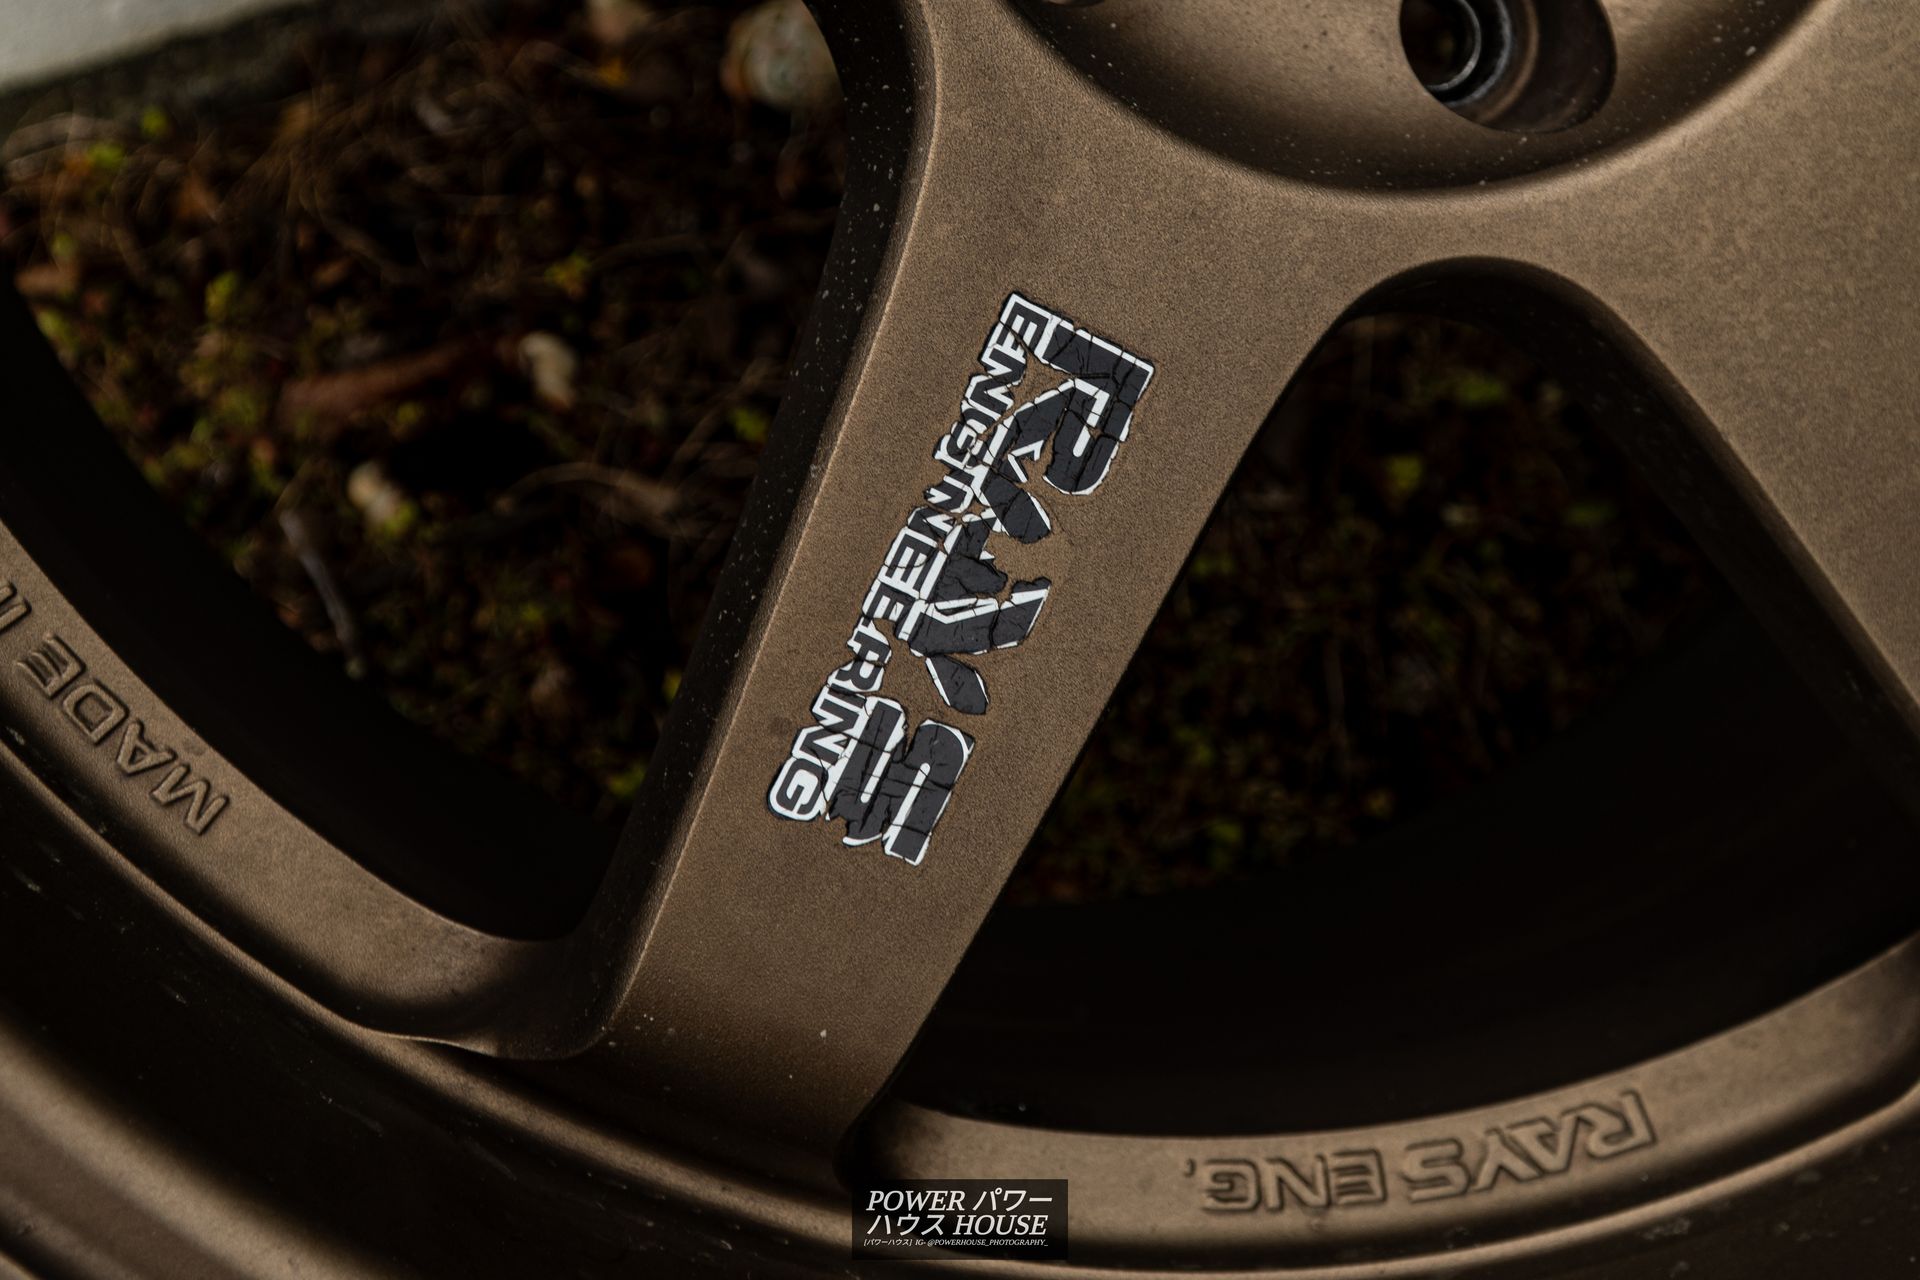
And they didn't come off easy either! They required a lot of heat, a lot of patience, and a lot of picking at.
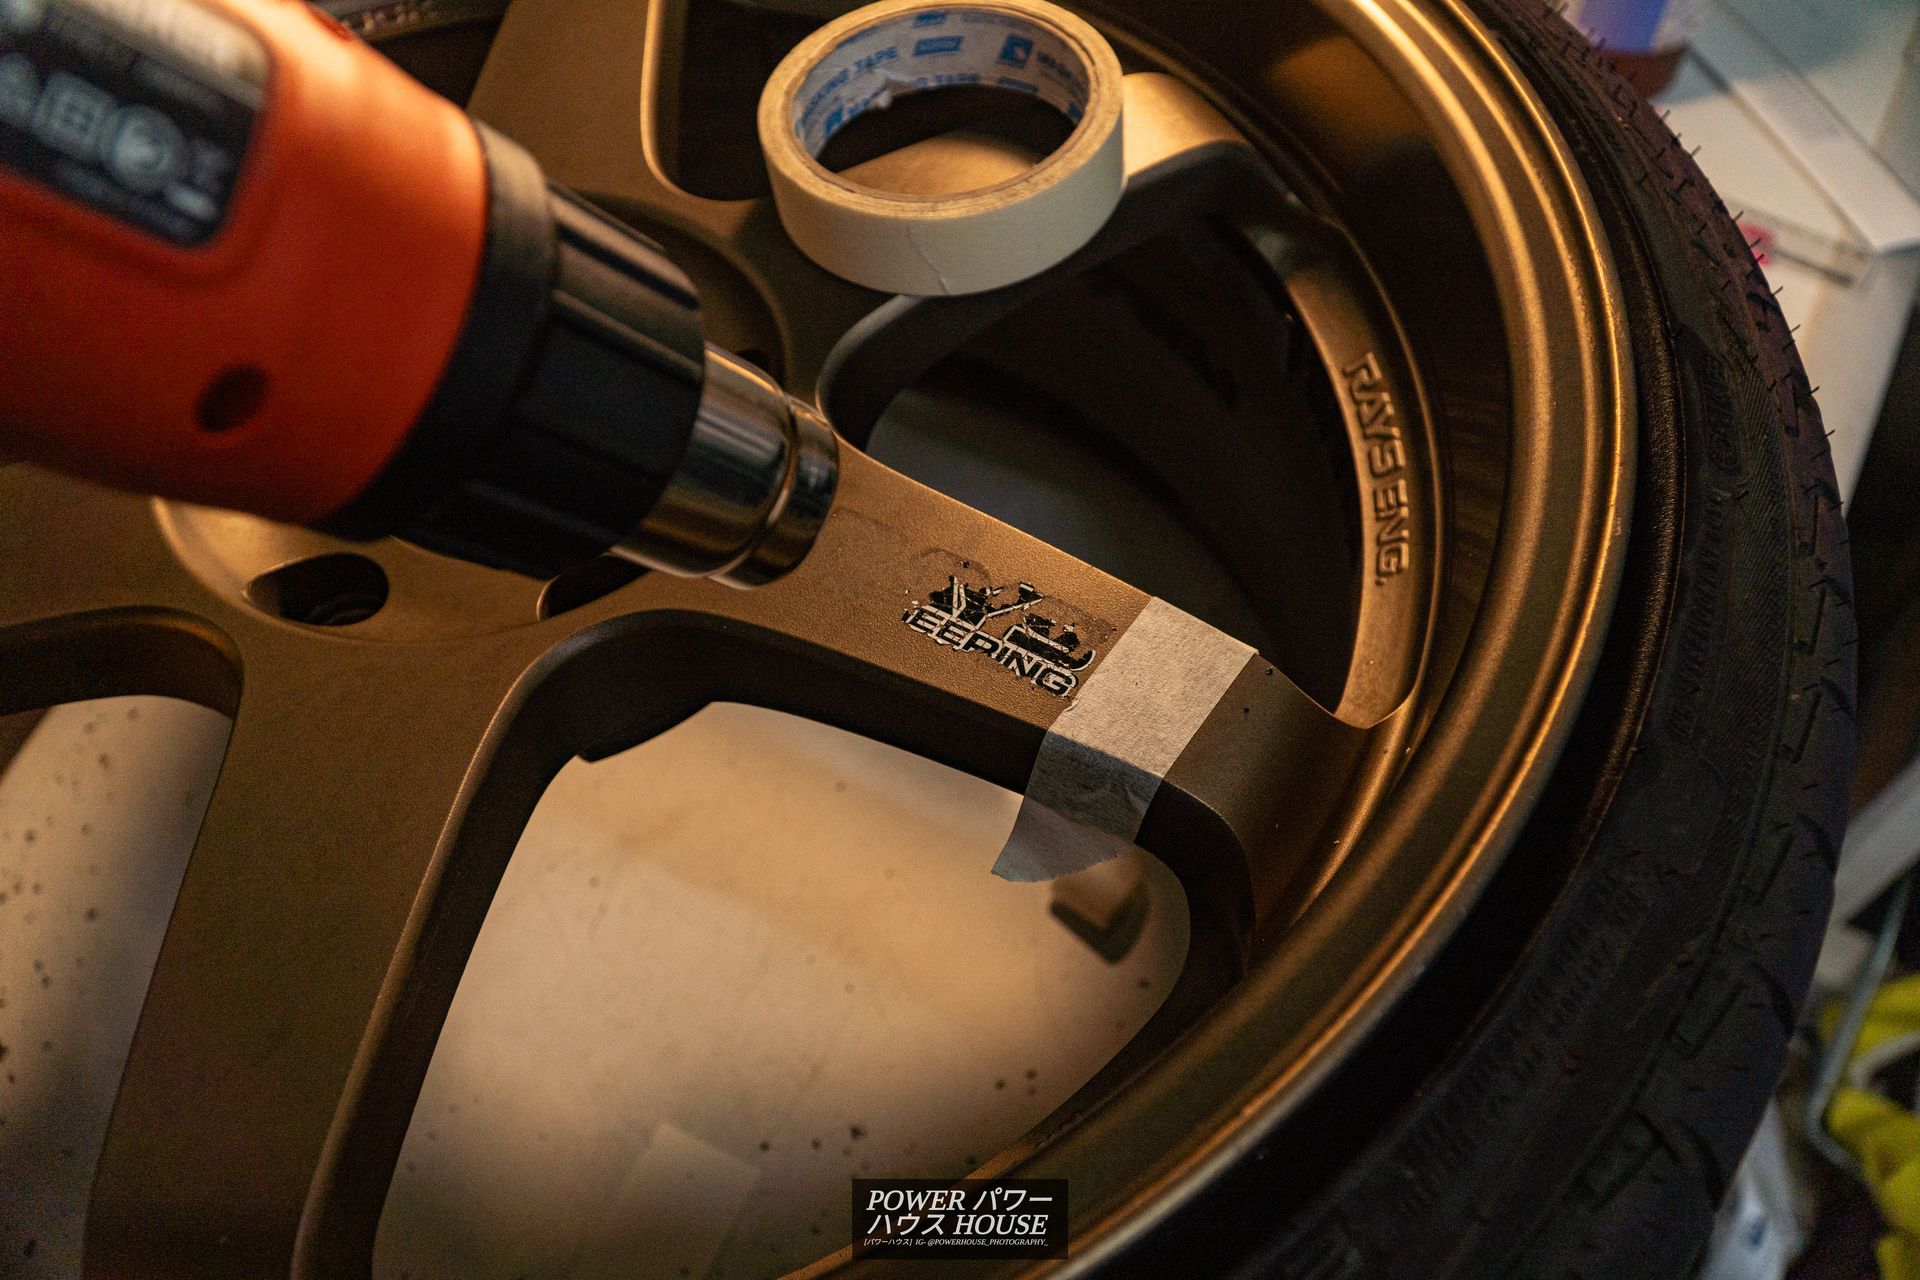
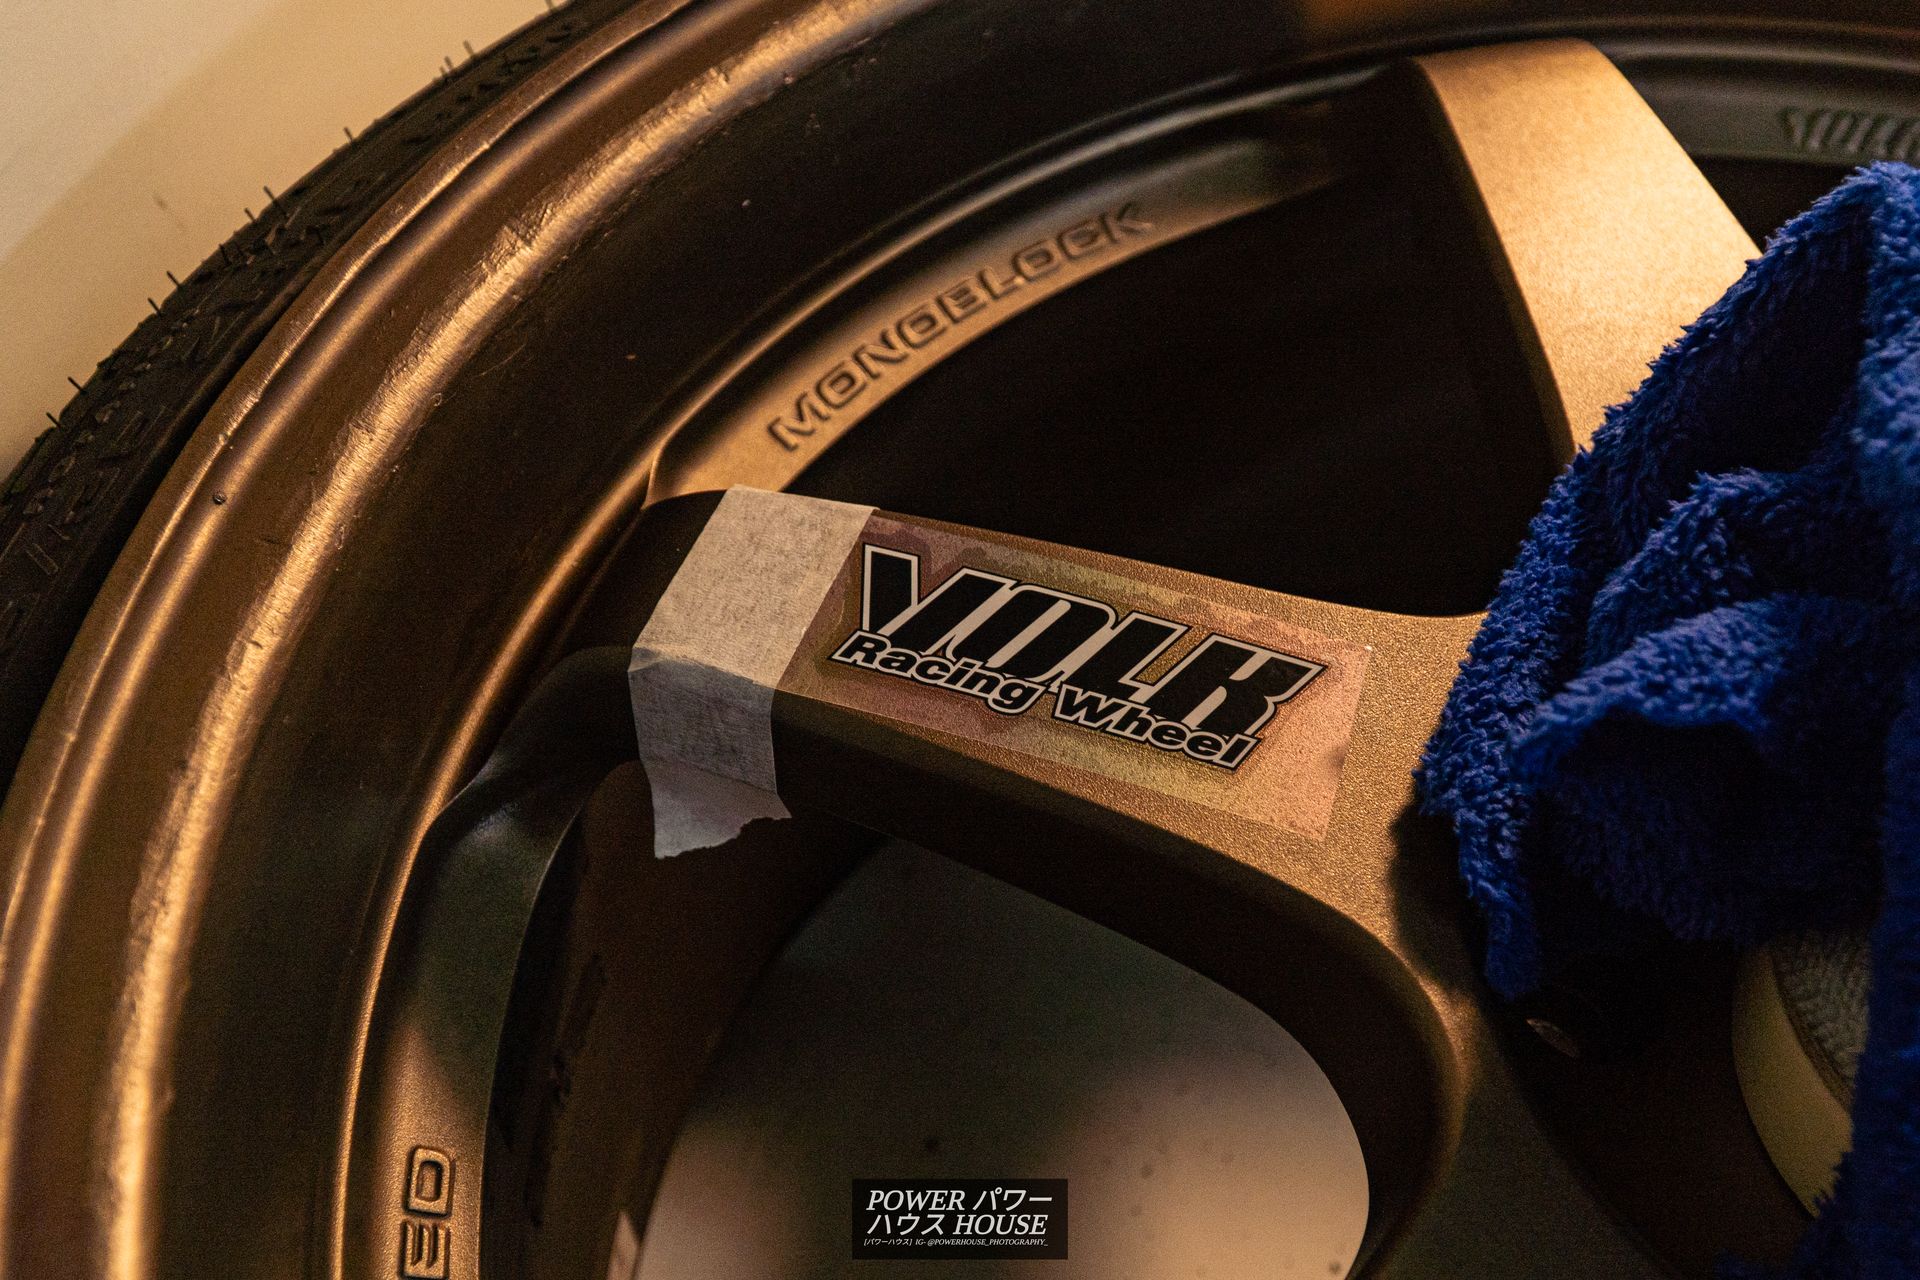
After the old stickers were peeled off, I wiped the surface down with isopropyl alcohol, lined some tape up as a guide, and applied the stickers.
Although, I was happy with how the Crown was coming along, I came to the realisation that I needed to change something bigger up on the exterior. The car just looked too basic, and so I decided that I needed to do one of two things: Get coil-overs and sack it, or get an aero kit. Although getting coil-overs would have been very cool, I didn’t want to have to run Altezza suspension and have the Crown bottoming out on every bump, but I also didn’t want to spend upwards of $2,500 to get coil-overs and to get LVV Cert. Therefore, I put suspension in the 'future mods' list, and decided that a new aero kit was what I would get.
However, I didn’t want the same look as every single Crown with the very nice looking, but common, factory lip kit. I wanted something a little different. I also didn’t want to have to wait for the 6 months or longer ETA for the parts to arrive in New Zealand via sea freight from Japan. Therefore, I began searching locally for aero for similar vehicles to get a base for something custom to be made up.
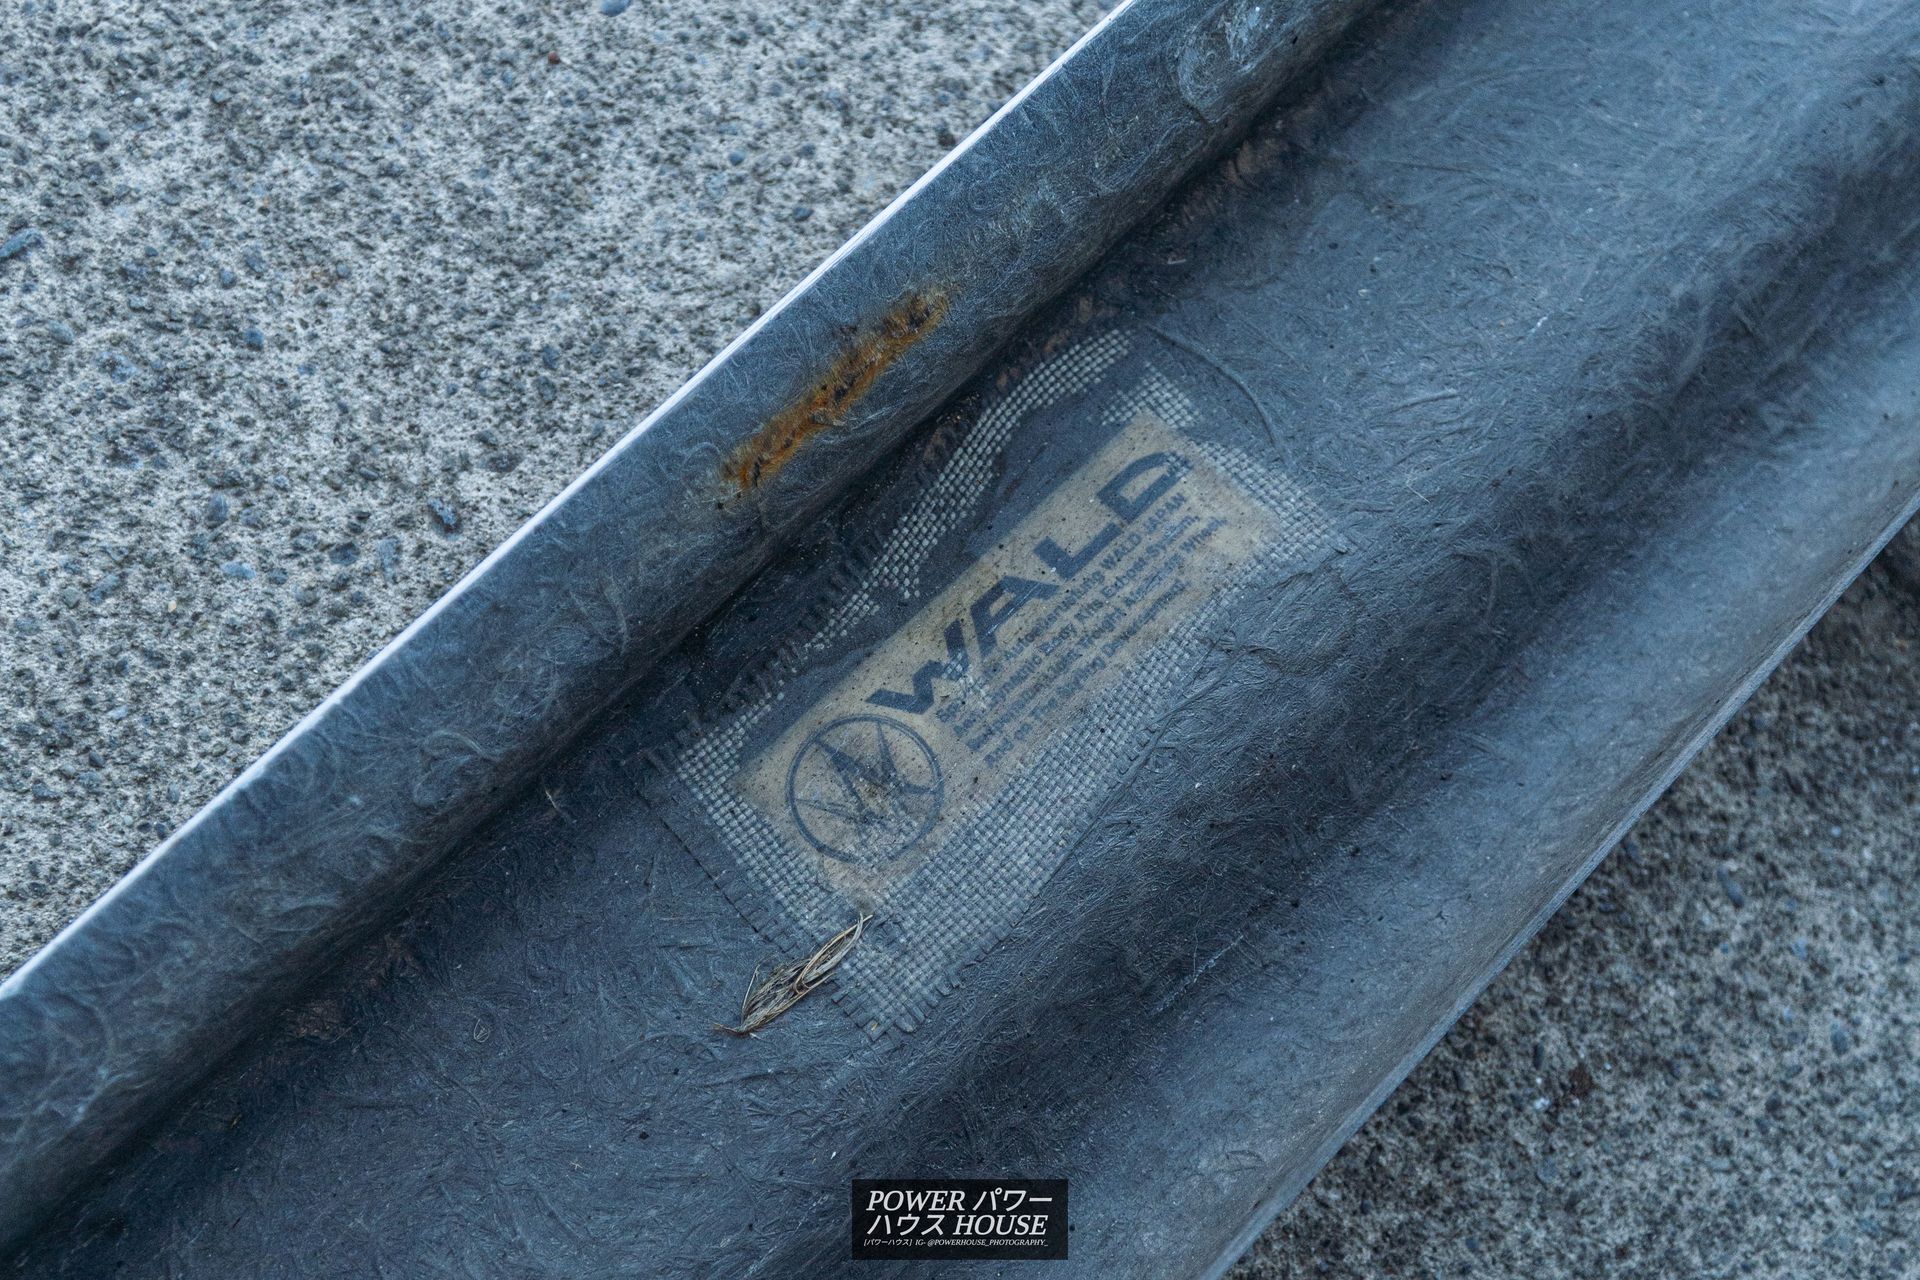
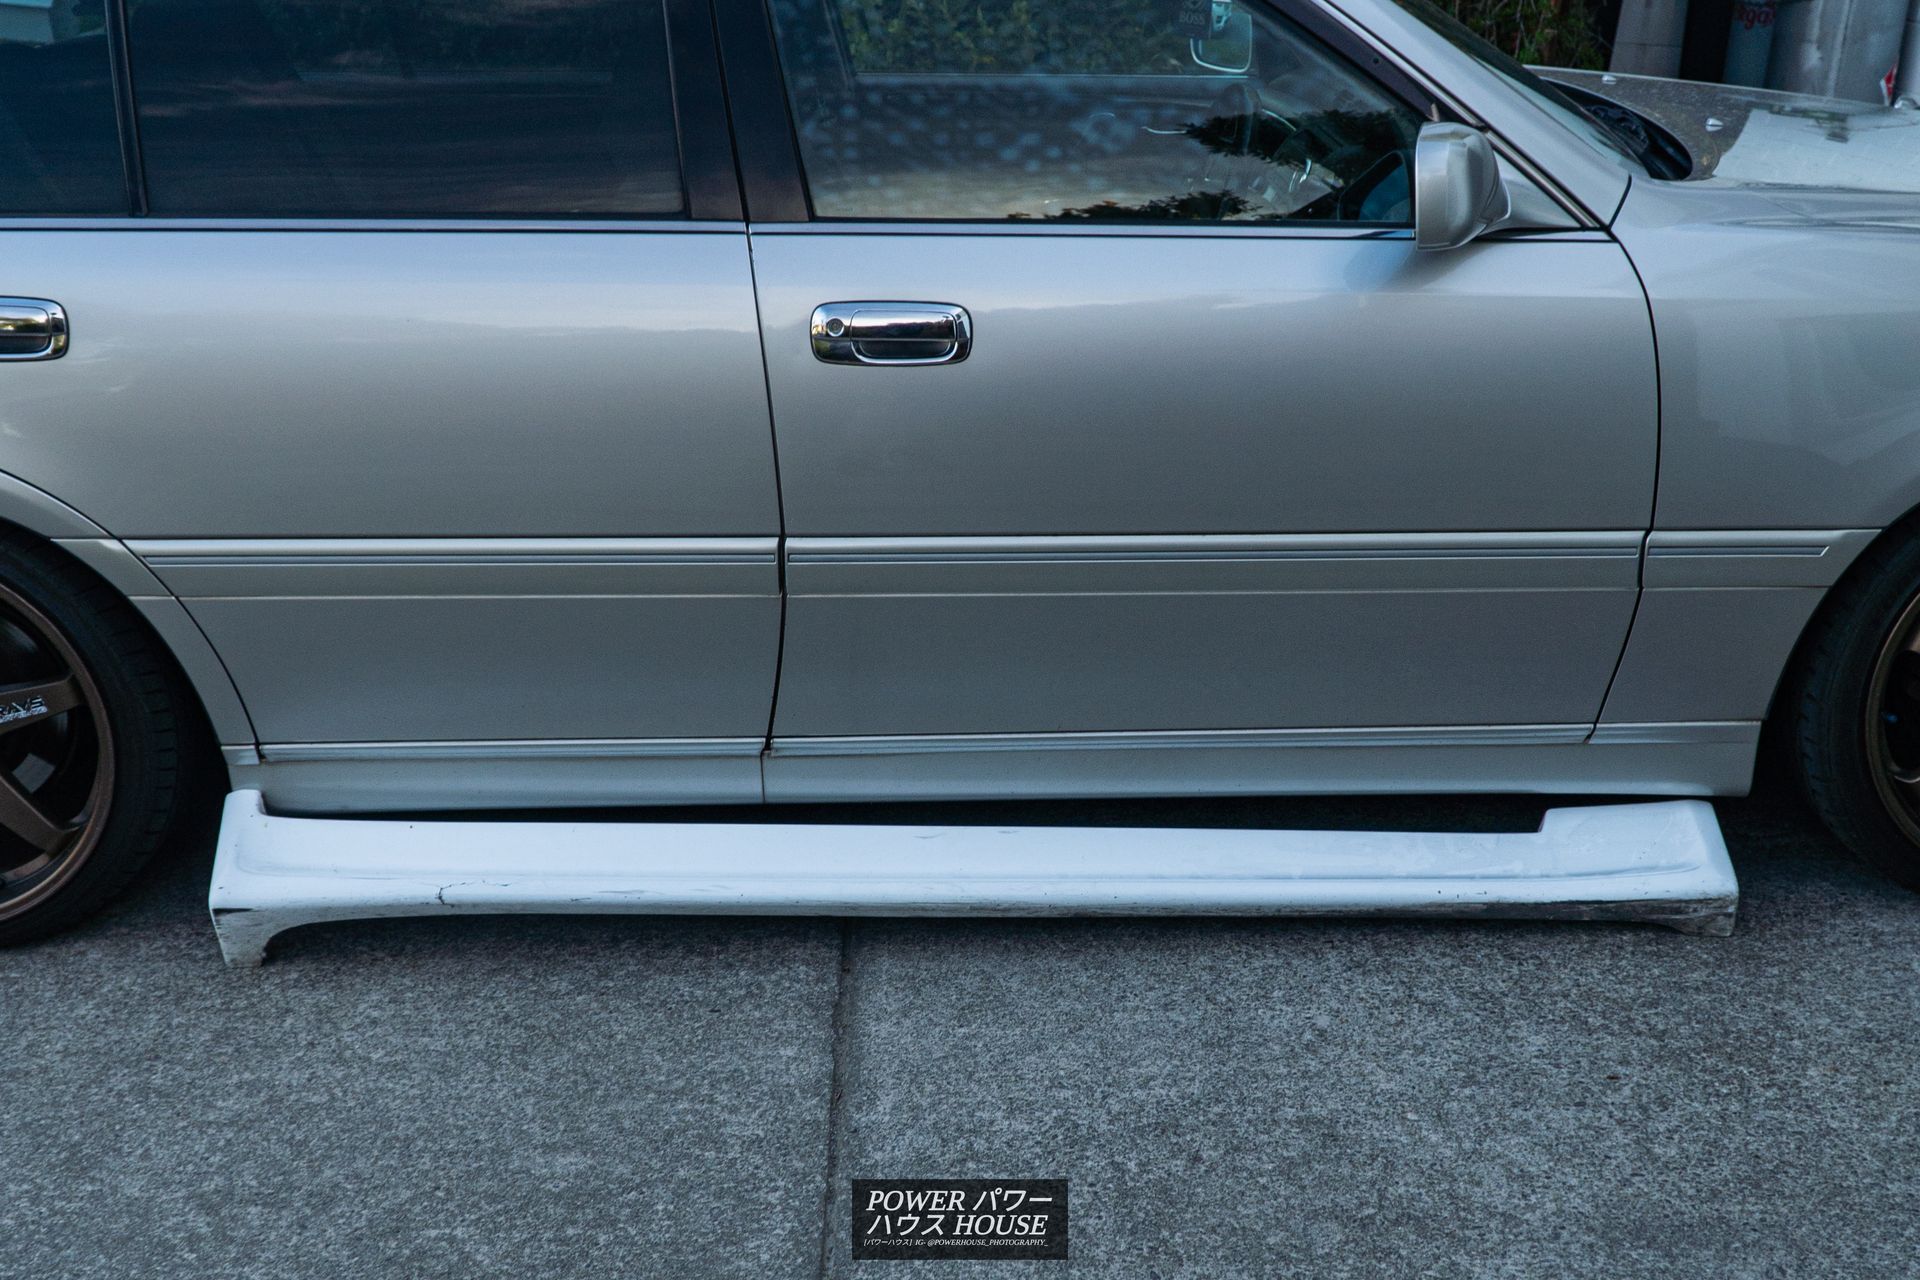
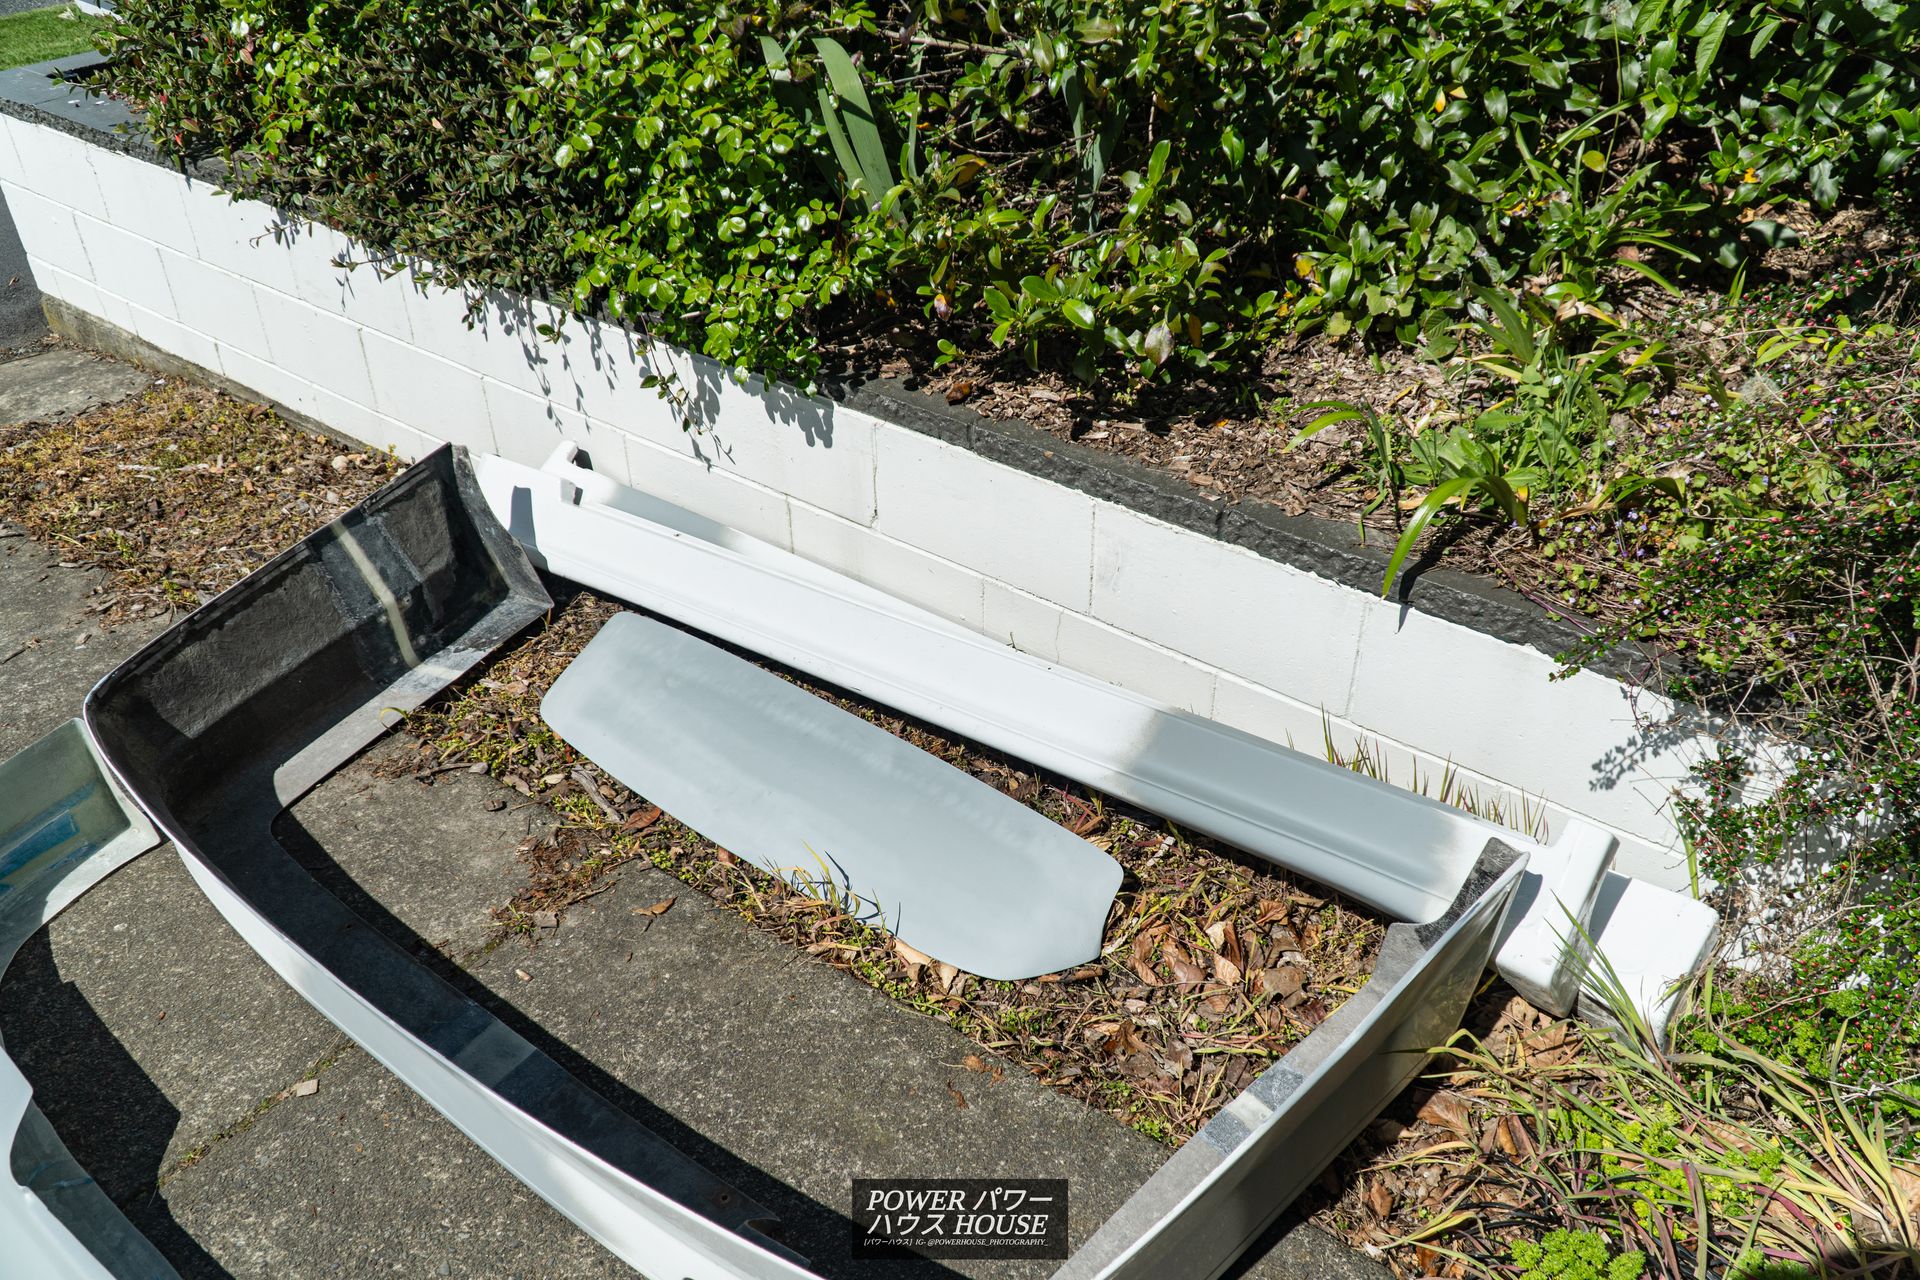
After a few days, I found some Wald International Sports Line side skirts and rear lip on a local JZX Facebook group. I loved the aggressive, but subtle period-correct design, and after a bit of negotiating, the price level was perfect as well, and so I got them.
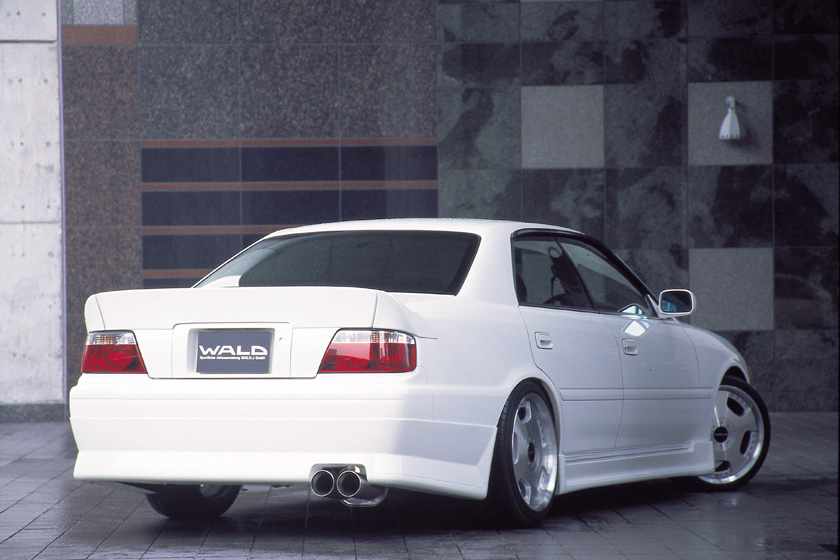
All the parts were in pretty good condition, and they were authentic too!
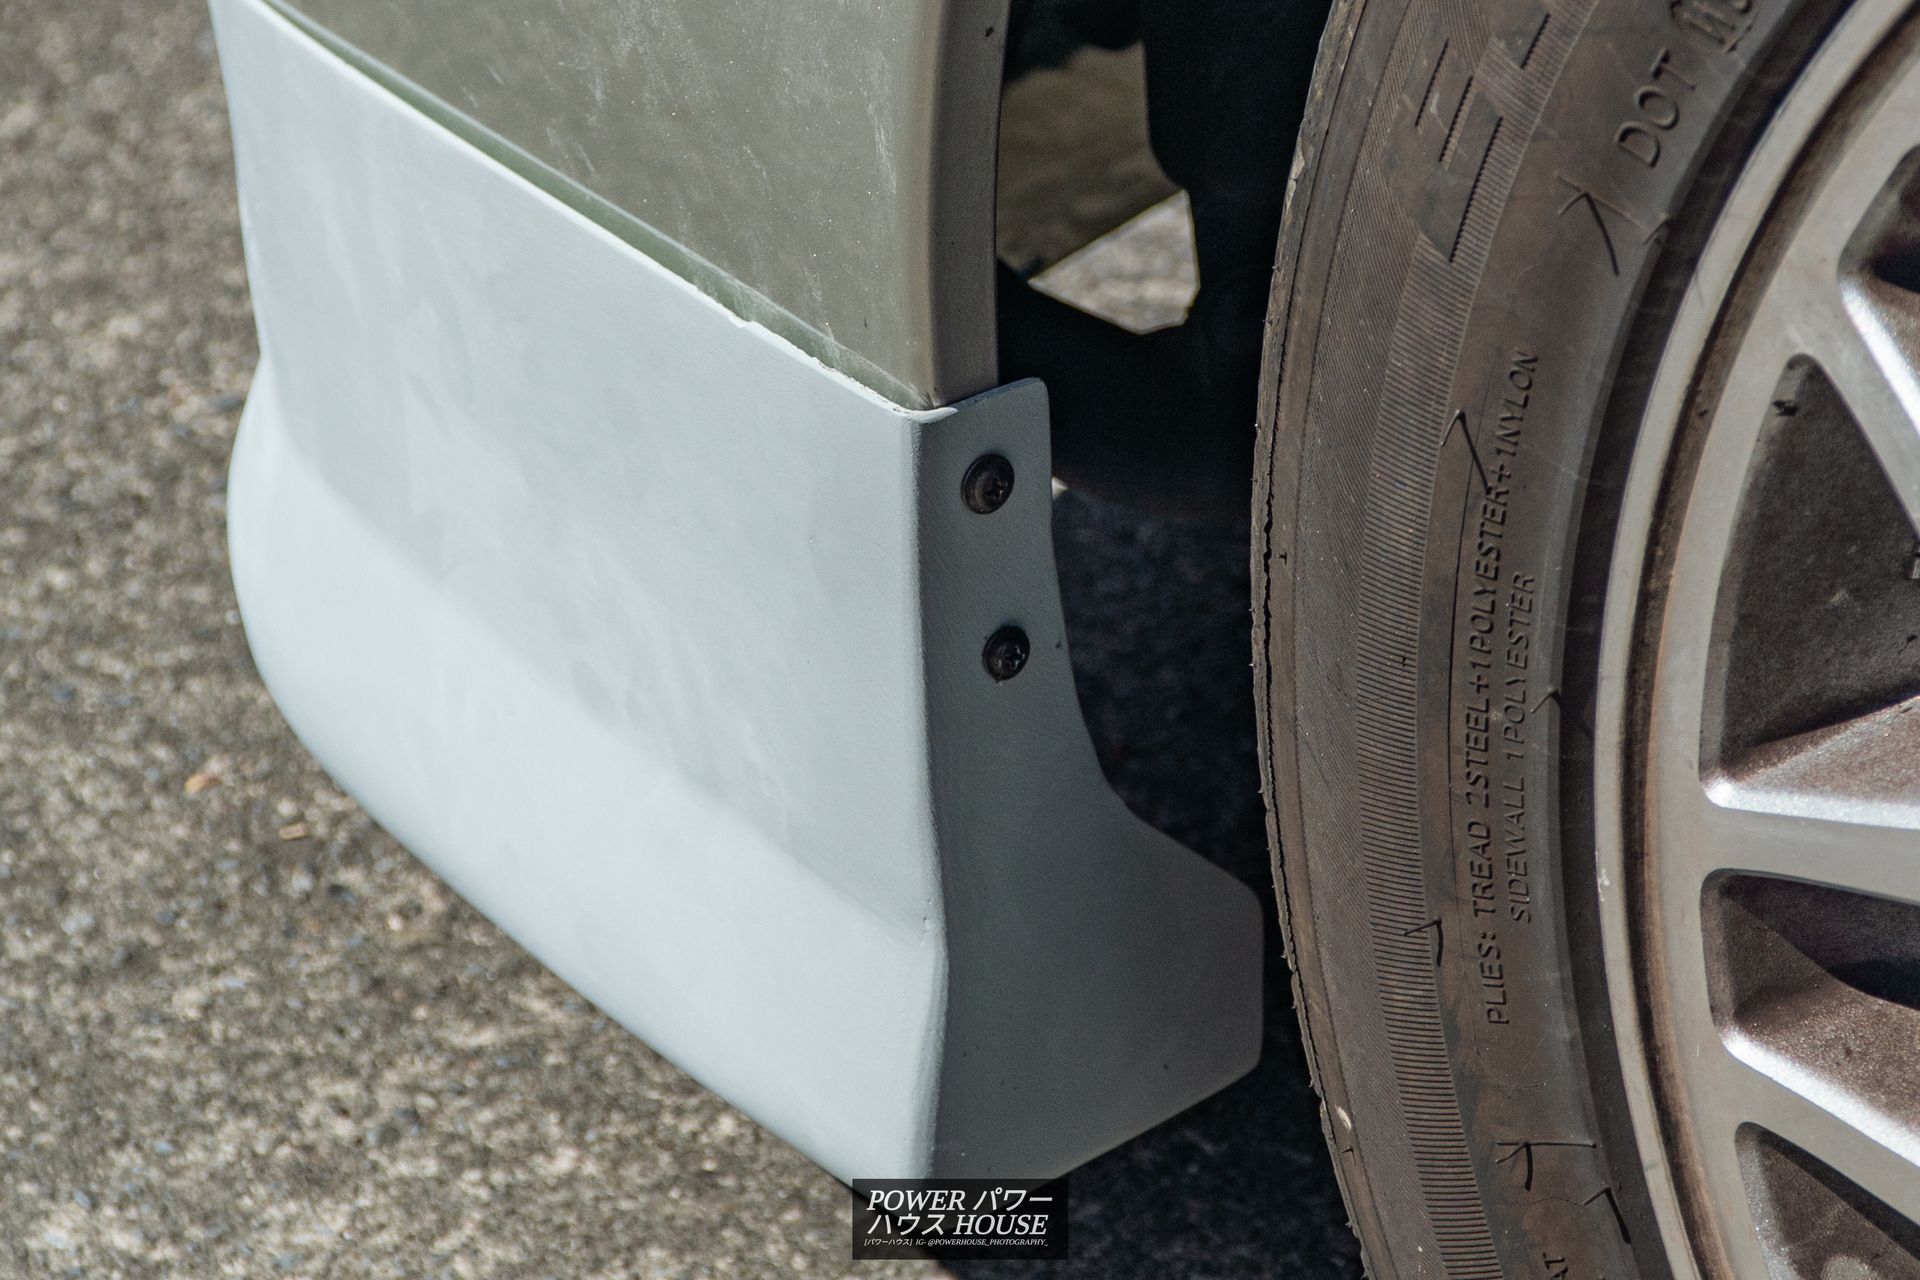
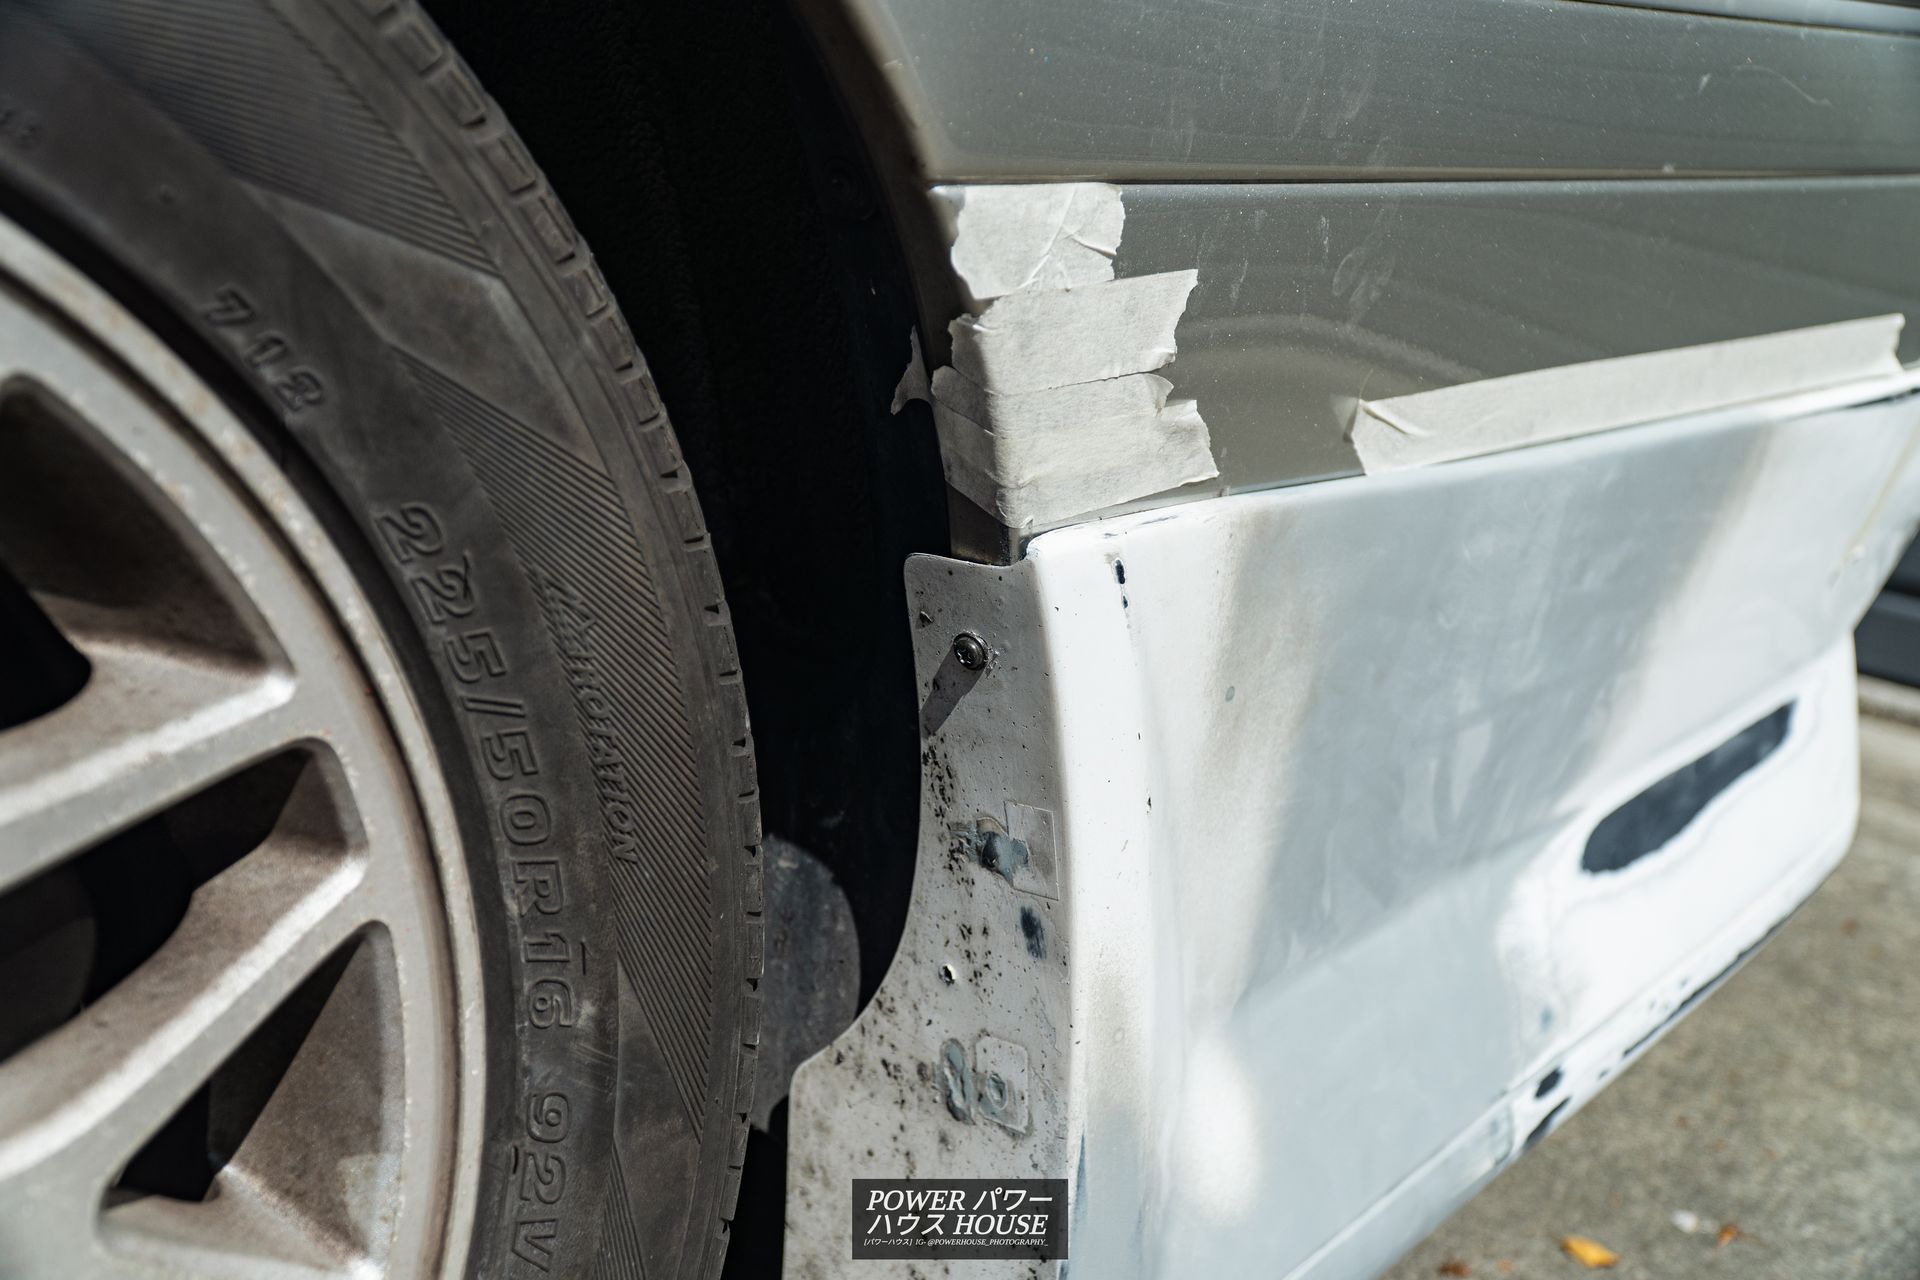
After mocking them up on the Crown, they were surprisingly close to fitting, but definitely did require some modification to be installed. The front and back parts of the side skirts were very close to fitting perfect.
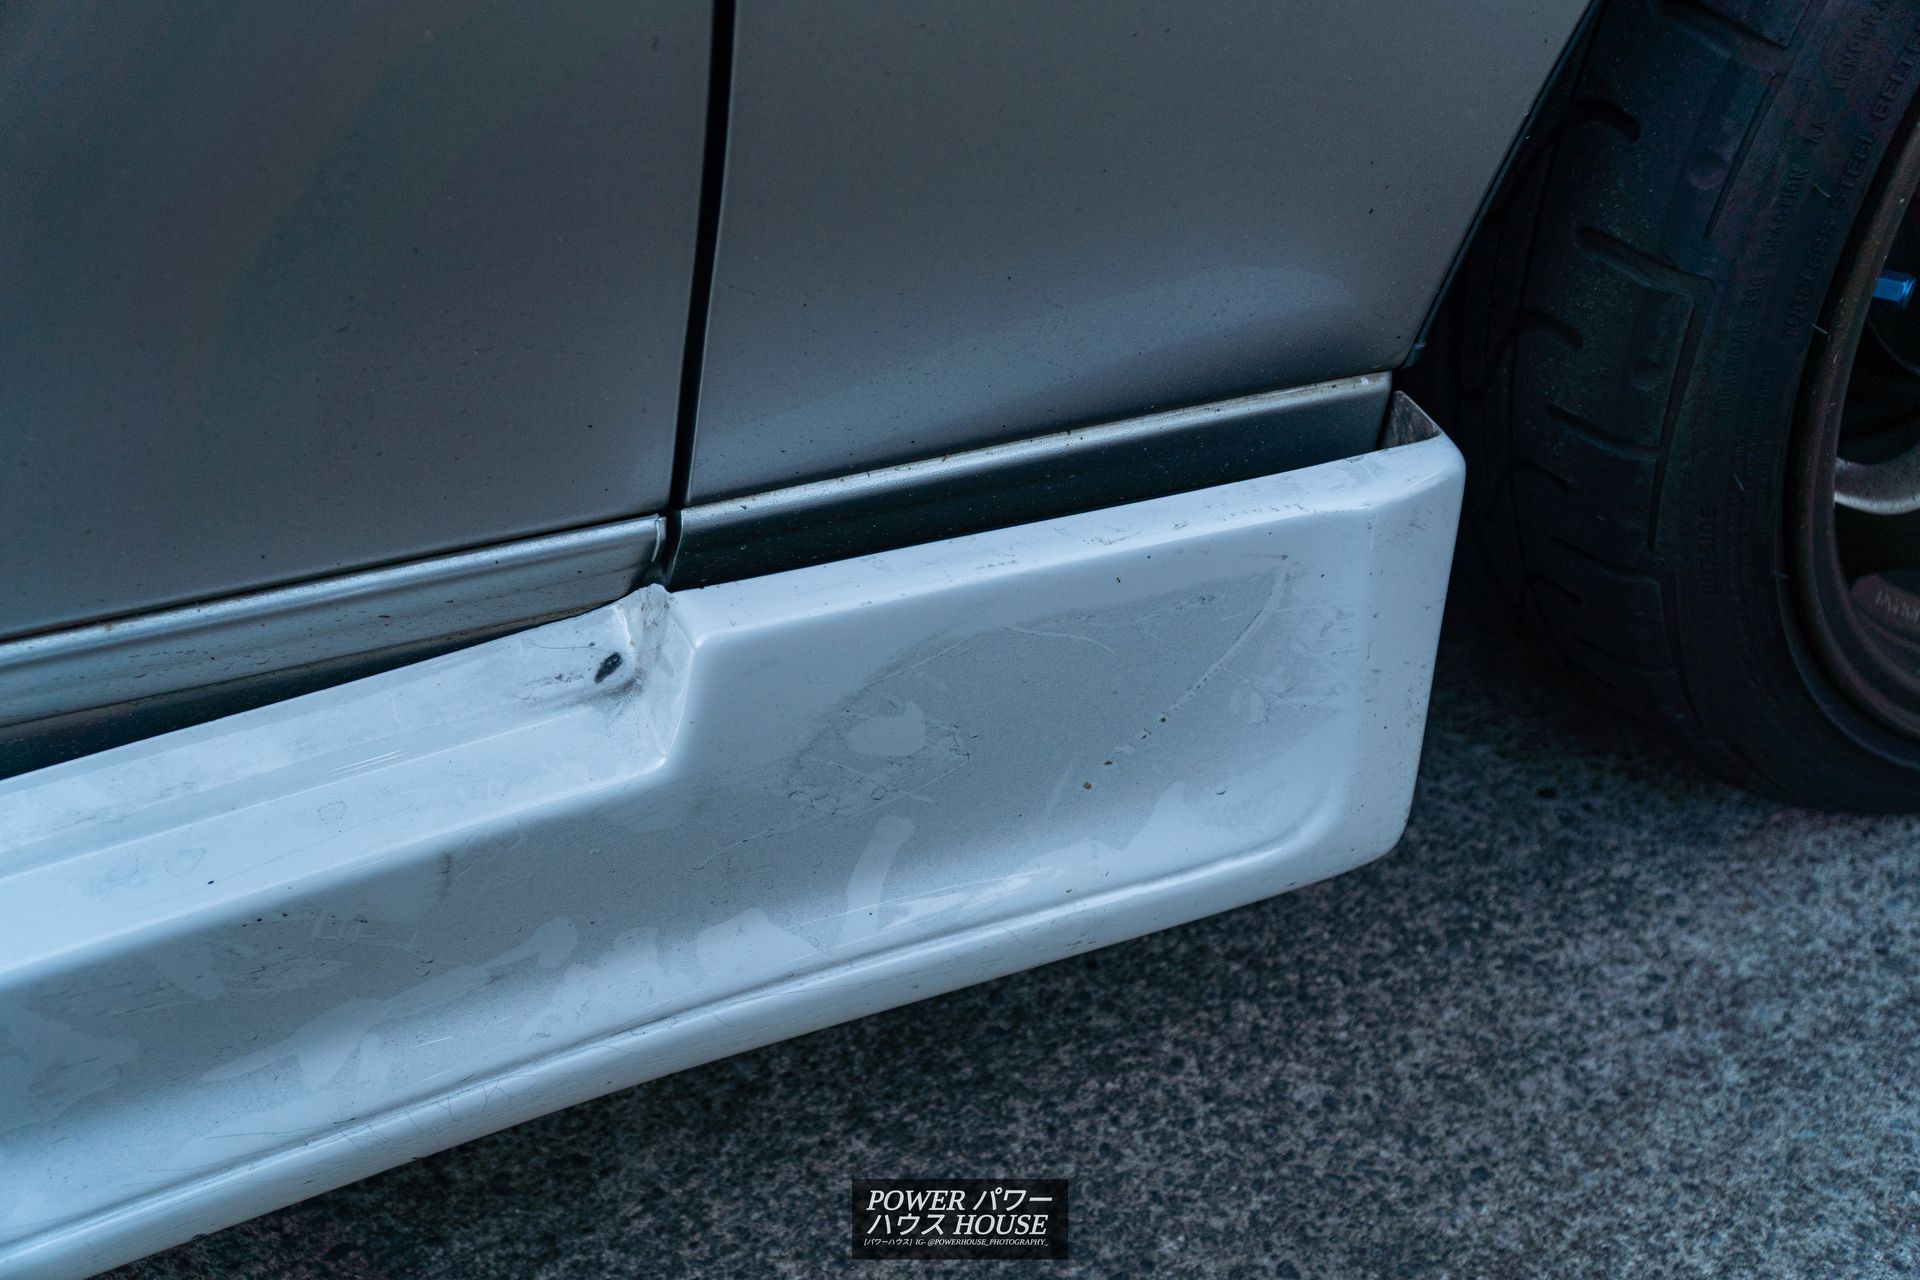
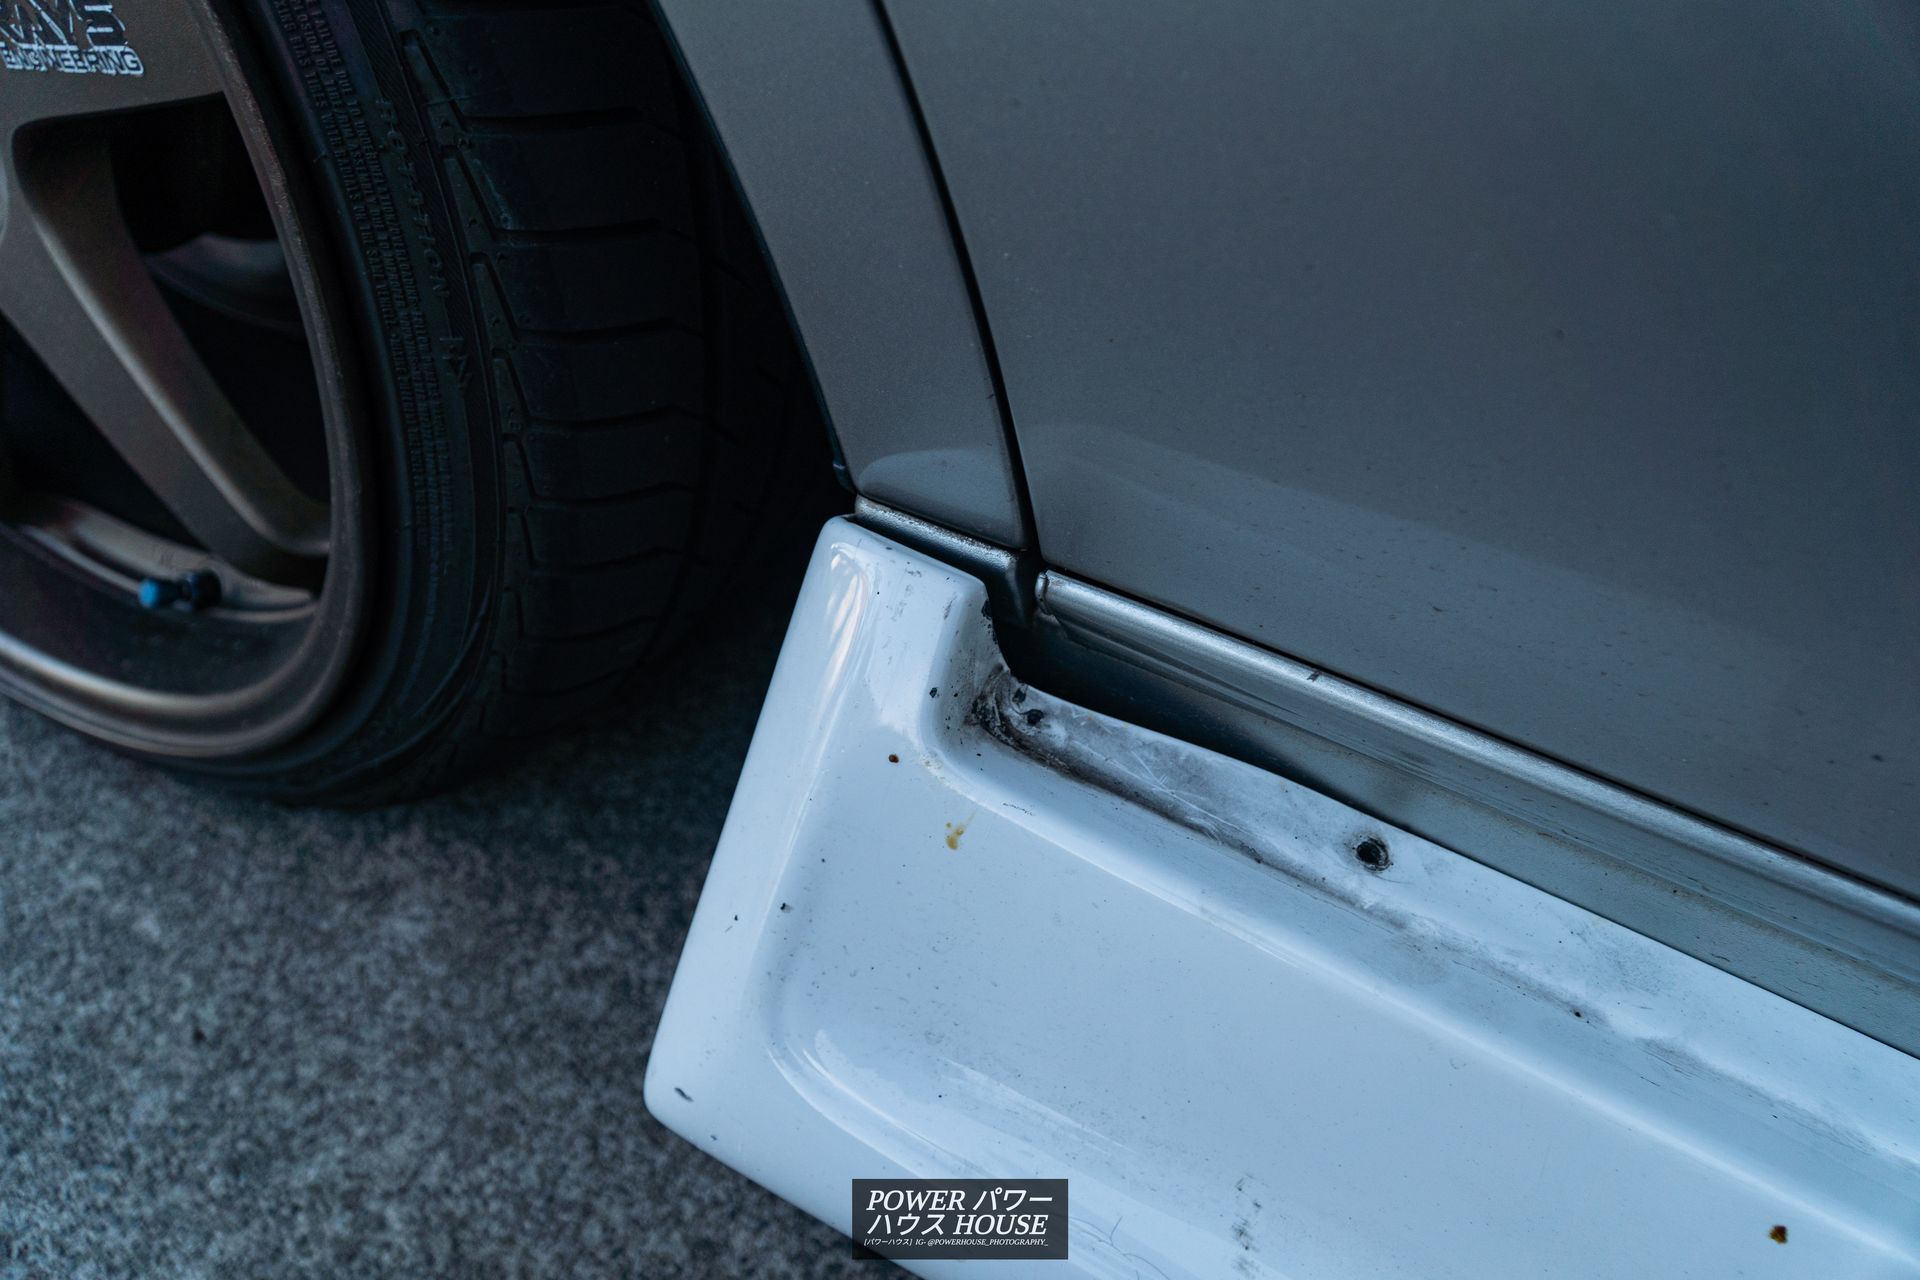
However, they were a little bit too short.
And the rear lip was close, but a little too small as well.
Therefore, to get everything to fit perfectly, the car and aero parts went to Rick Turner at Downforce Customs.
Here, Rick worked his magic and got the Wald sides and rear to fit up onto the longer Crown, cutting them, and extending them. Furthermore, he also made a custom front lip and rear spoiler from scratch, giving the Crown a true one-off look!
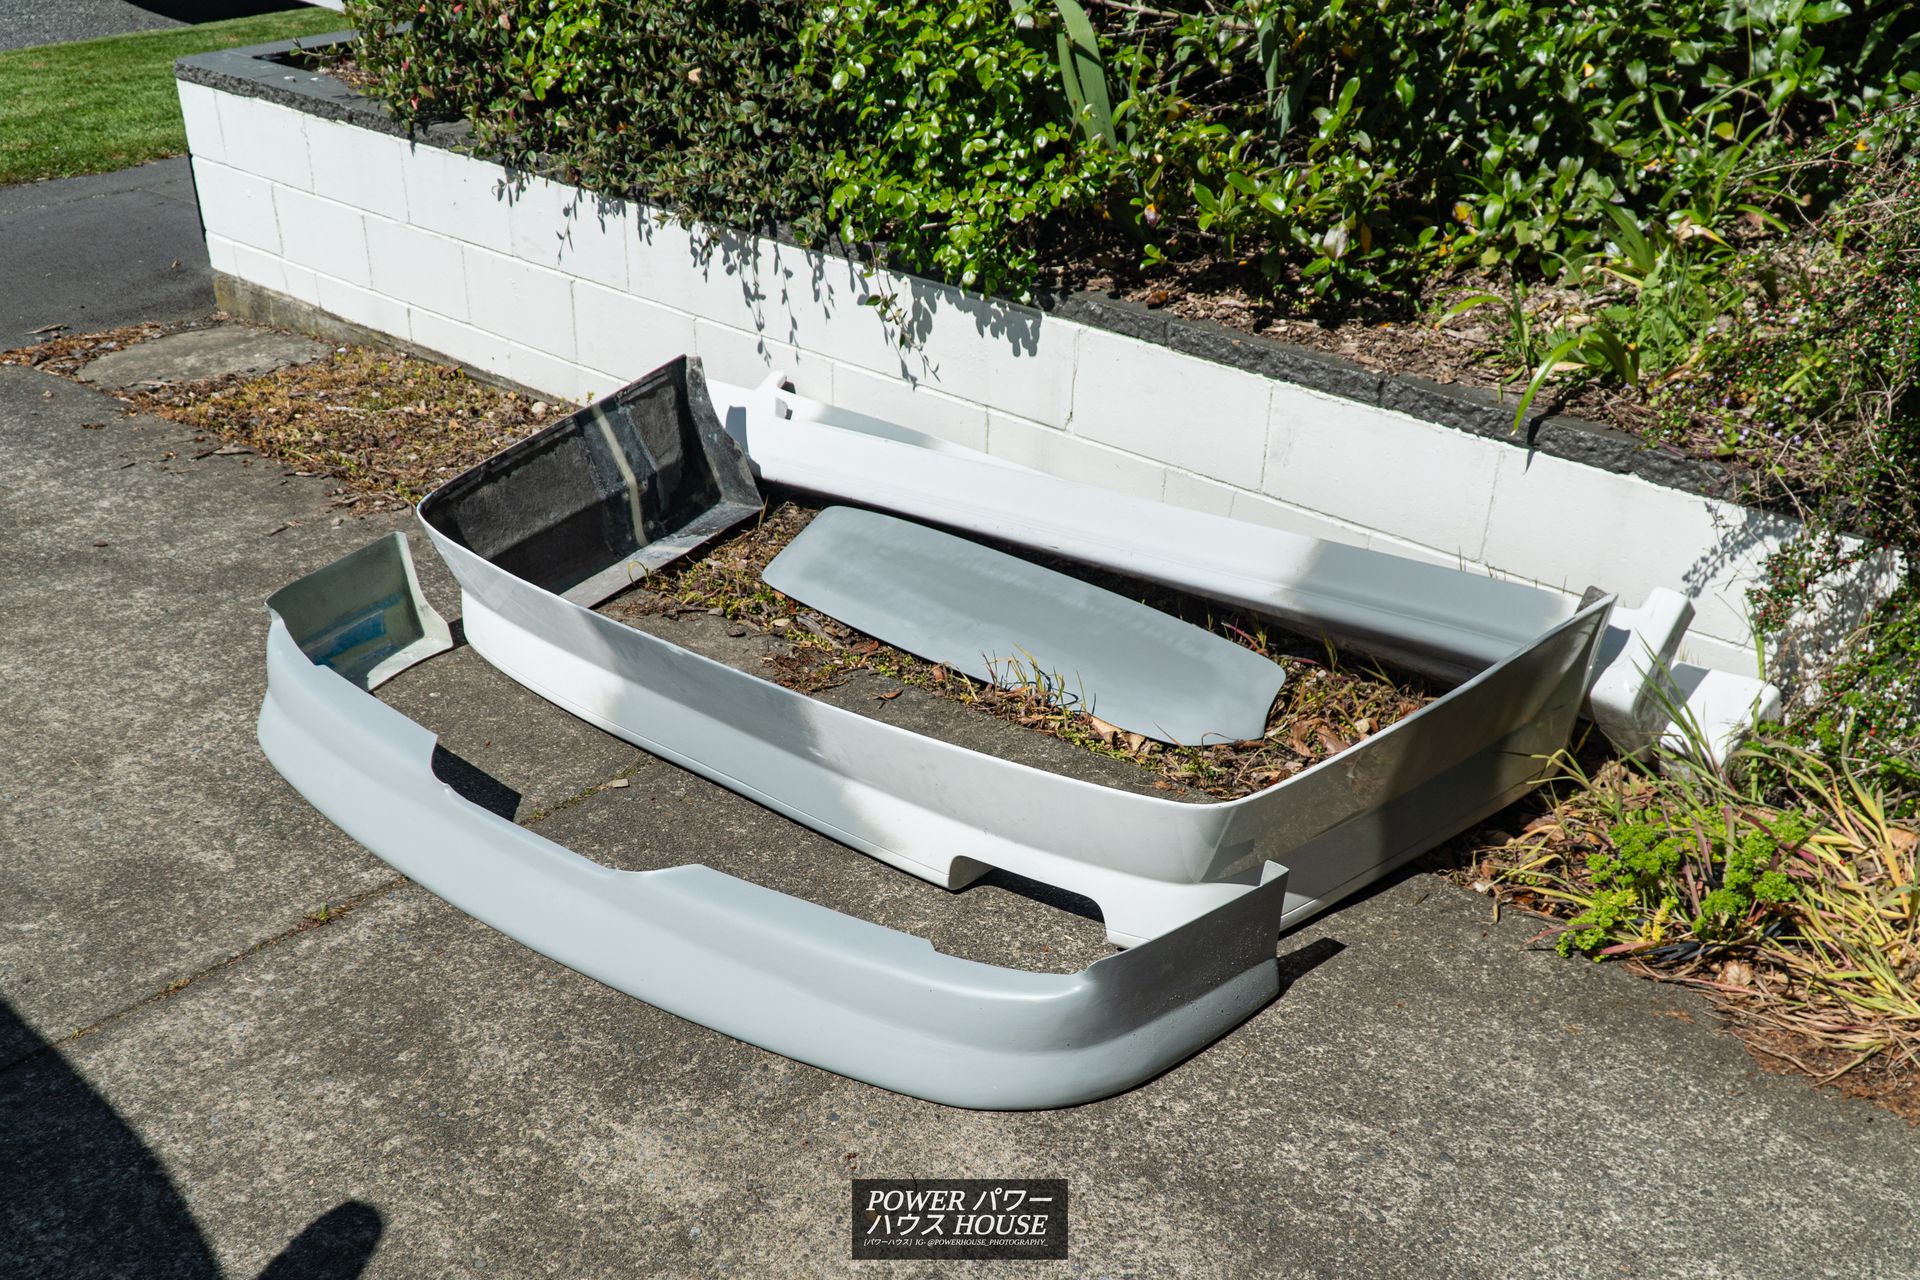
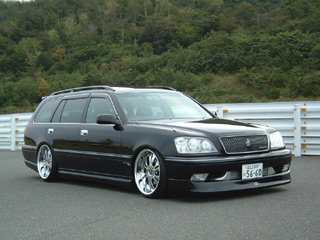
As for the front lip, it was loosely inspired by the T.S Projects one, of which there is only one low-resolution picture of that I could find on a wagon.
And the rear spoiler is a complete one-off, showing how skilled Rick is.
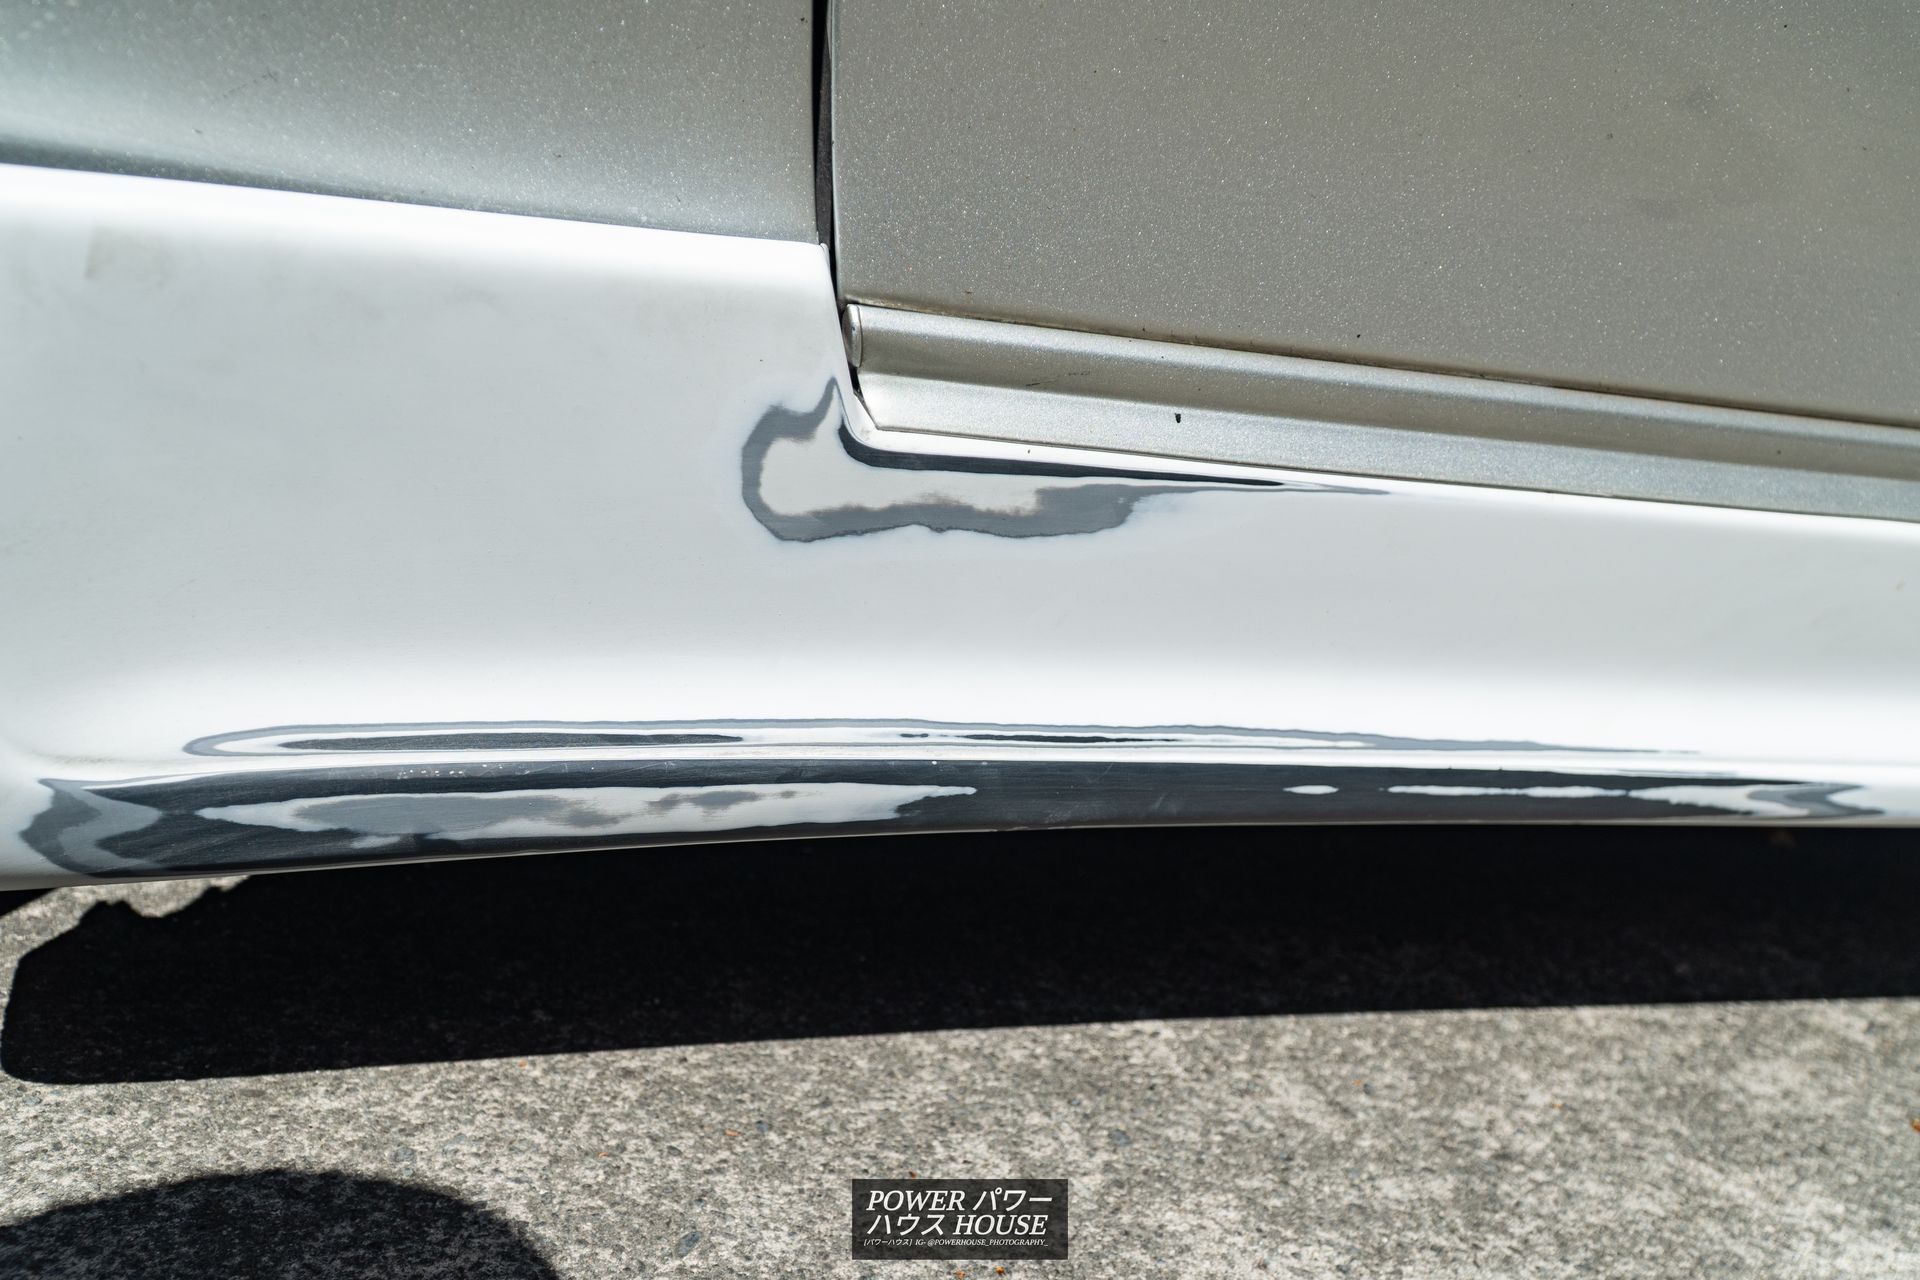
From, here I began to prep the parts for paint. Any cracks, scuffs, or blemishes in the old paint were sanded down using 240, 320, and then 400 grit sandpaper, and then all of the parts were scuffed up with red scotch pad.
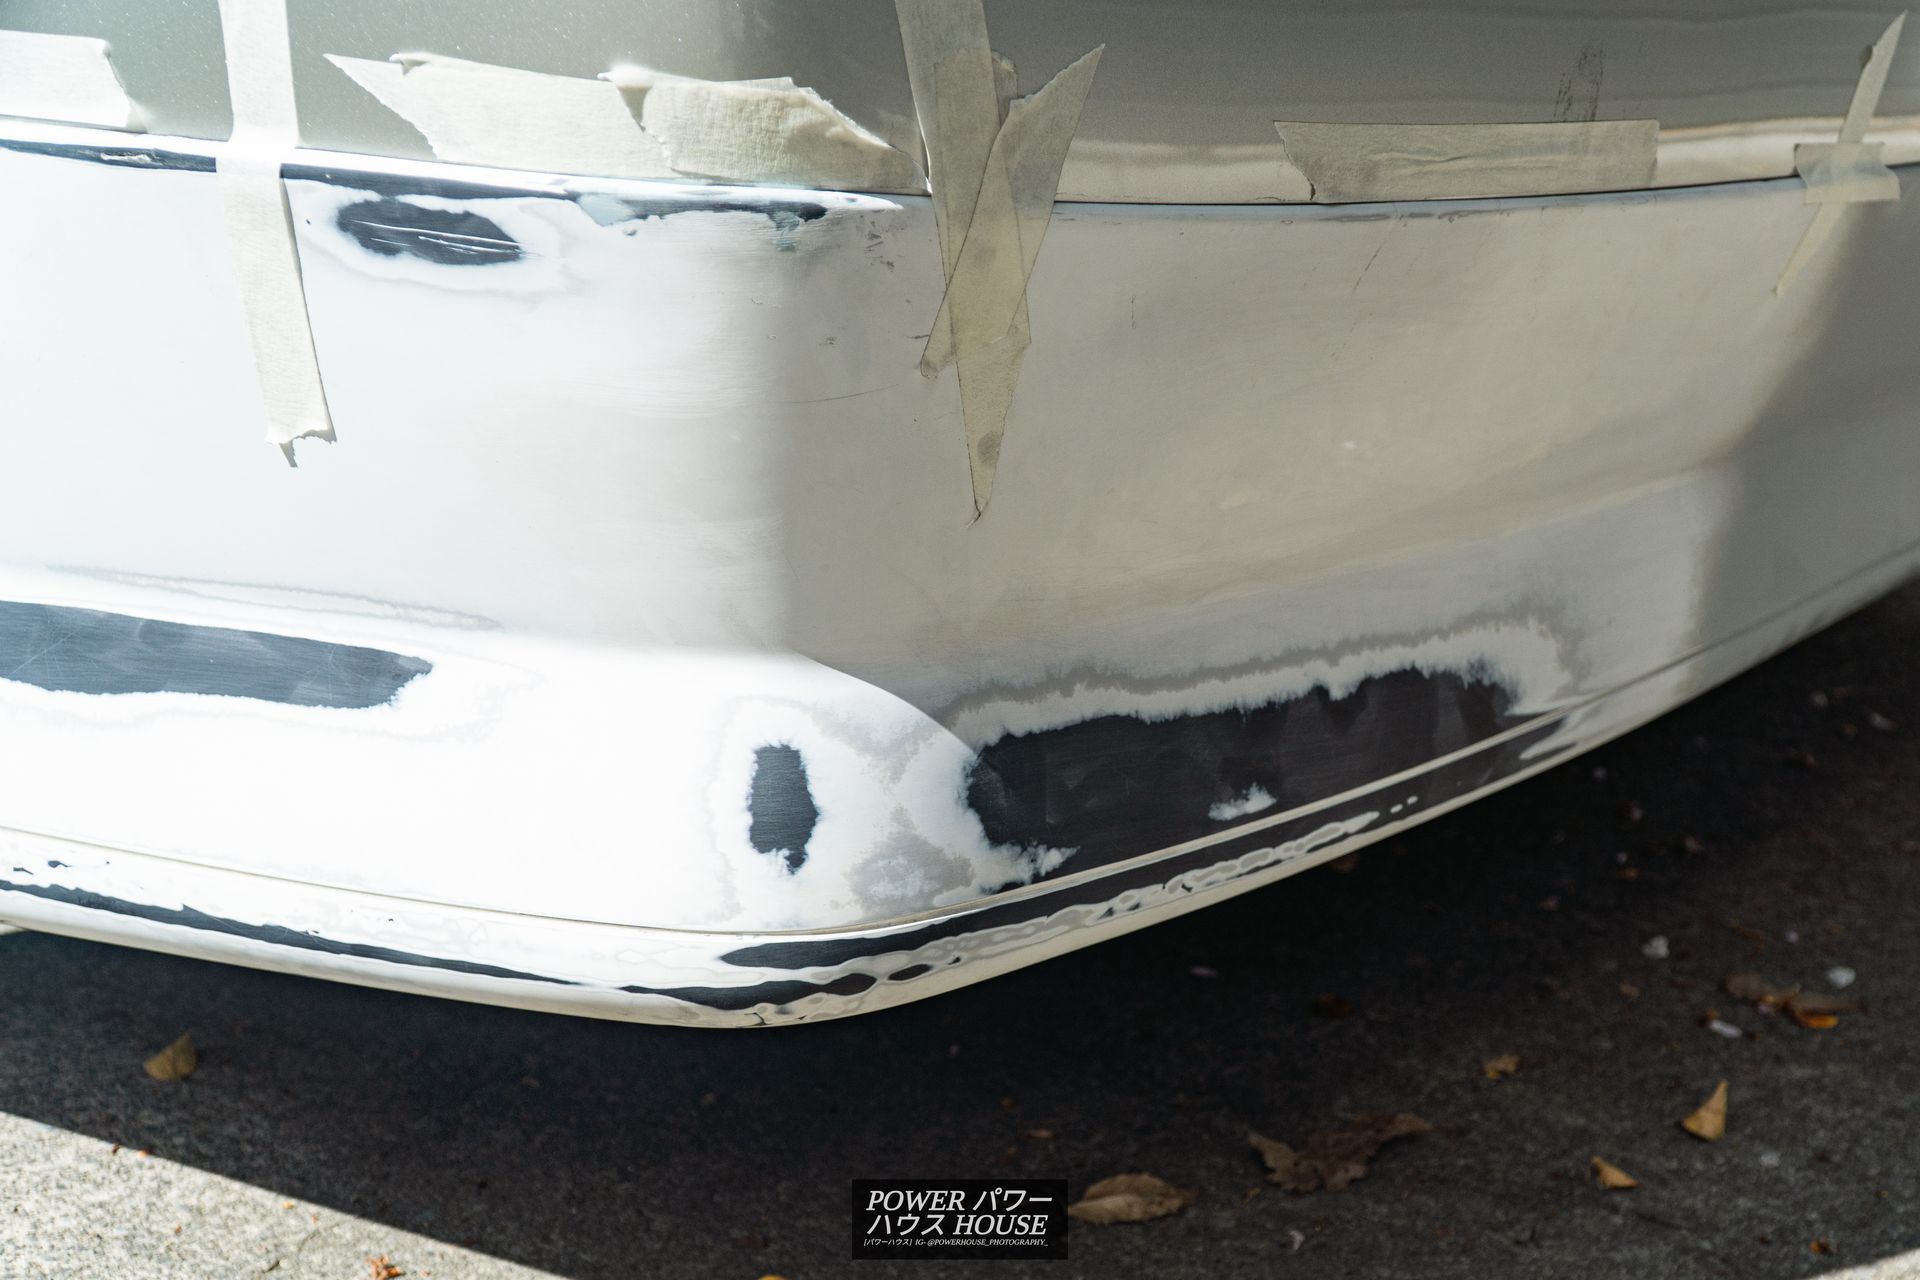
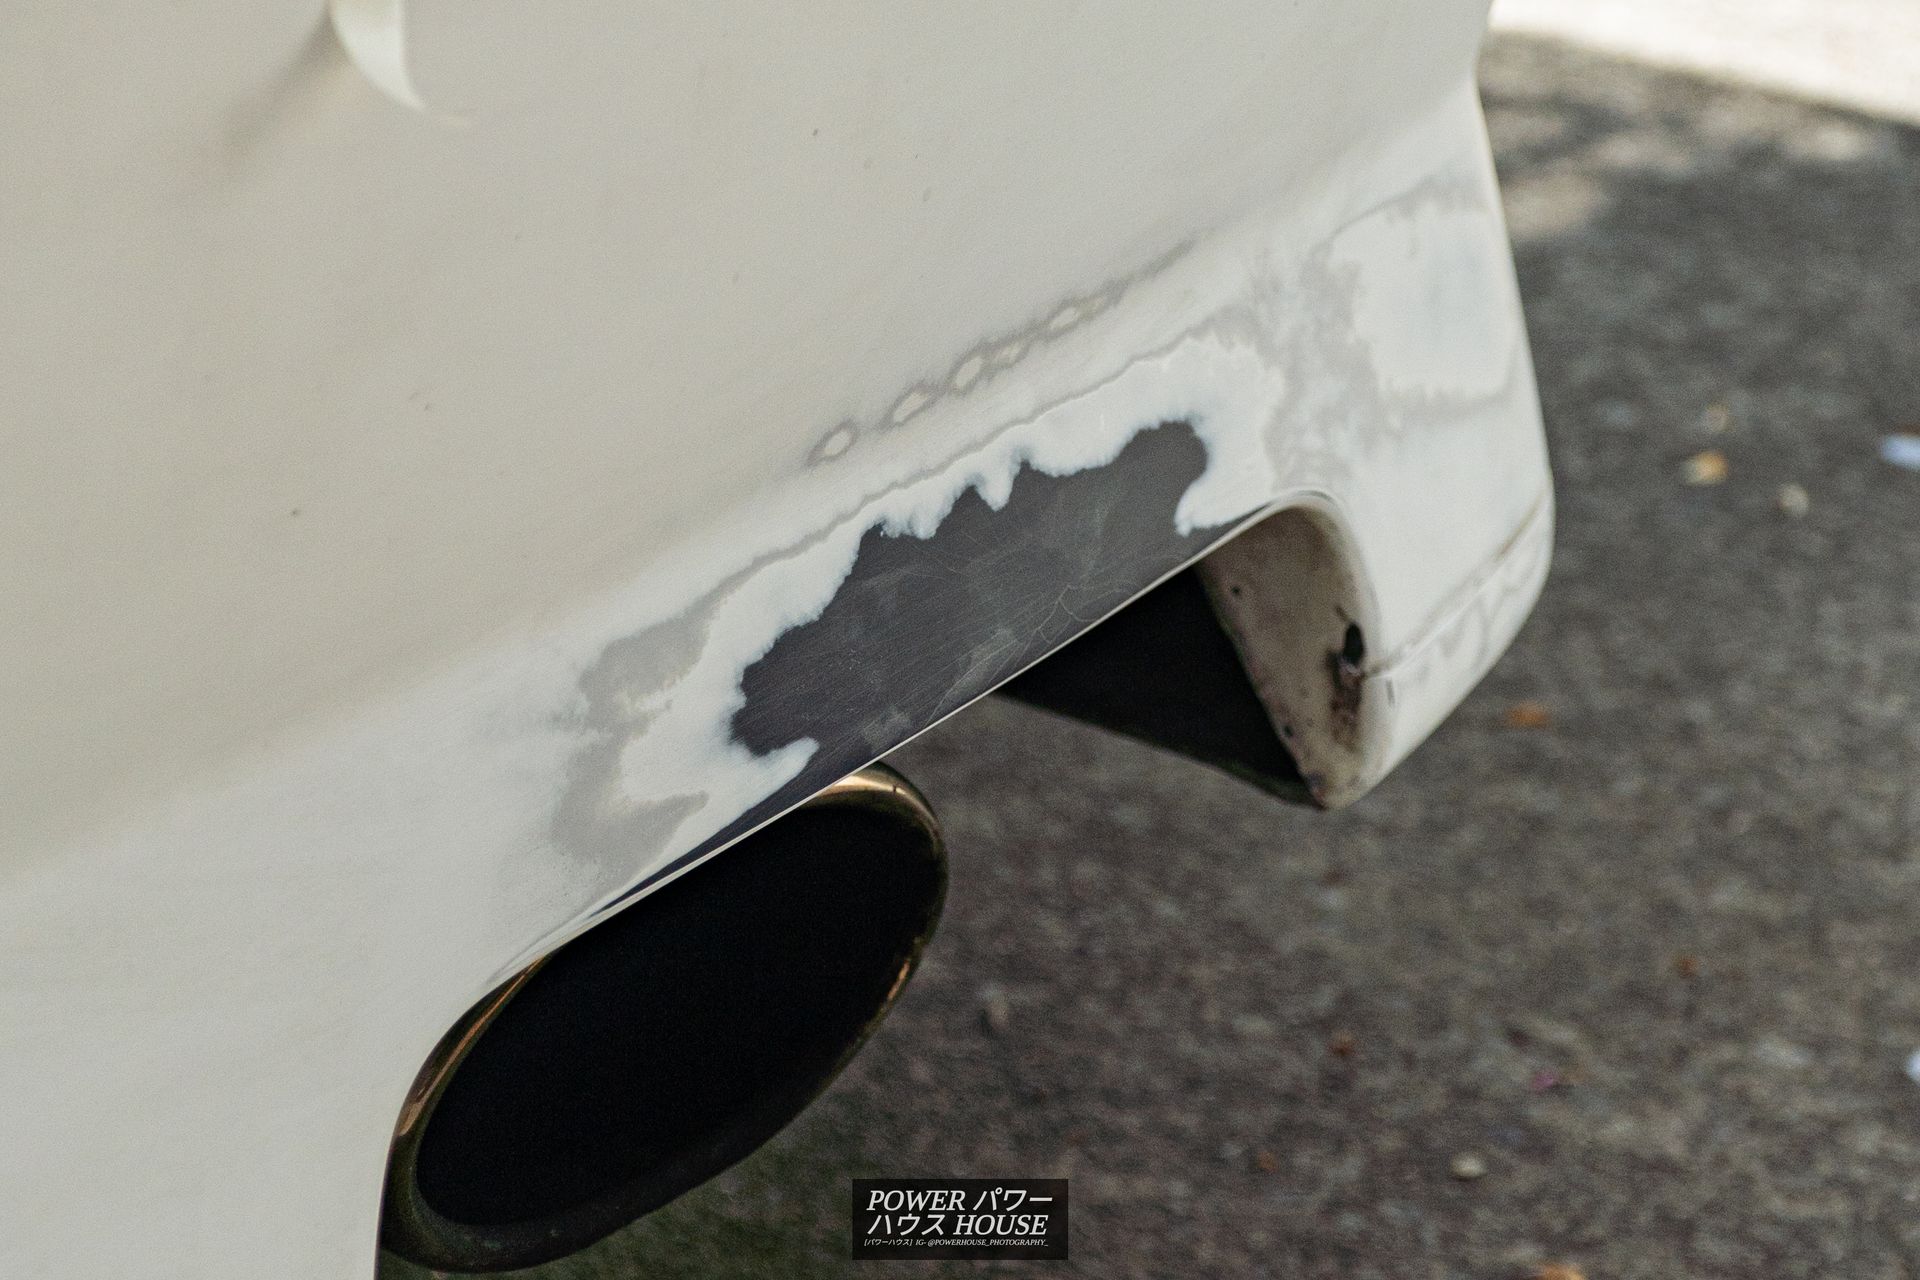
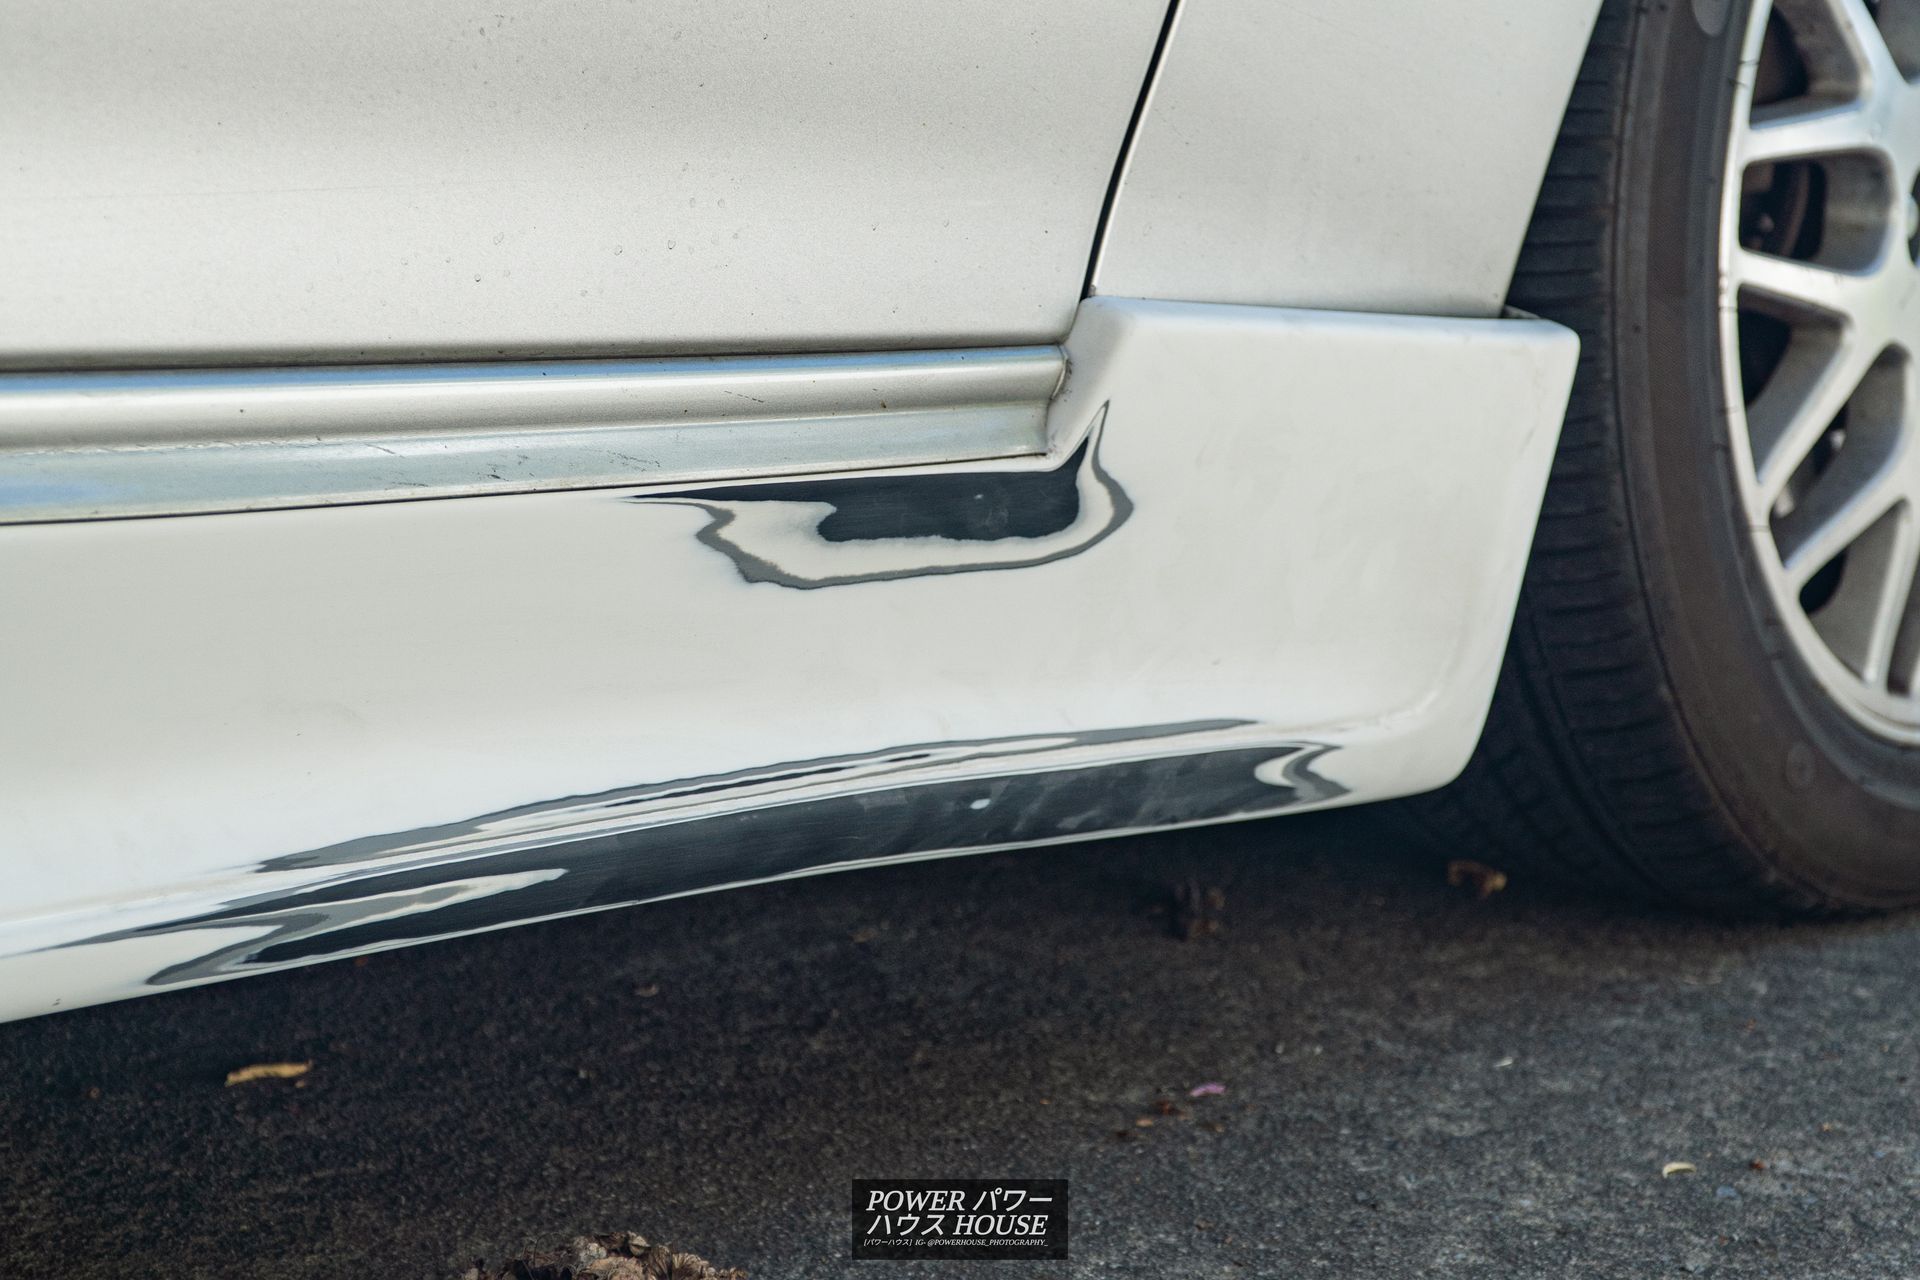
After everything was all ready for paint, I mocked all of the parts on the car for the mounting holes to be drilled up.
Now, everything was finally ready for paint, so D.A. Classics and Customs gave all the parts a colour-match, and the Crown's new aero was finally ready to be fitted.
To attach the rear lip and rear spoiler, Sikaflex MS Bond 123 was used. Although everything came out all okay in the end, it was extremely messy and difficult to use. In order to stop the rear lip from sagging, three jacks had to be put under the lip to hold it up. And as for the rear spoiler, it had to be held up with some very tight masking tape over night until all the urethane was dried and cured.
However, the side skirts and front lip simply bolted up, and fit easily.
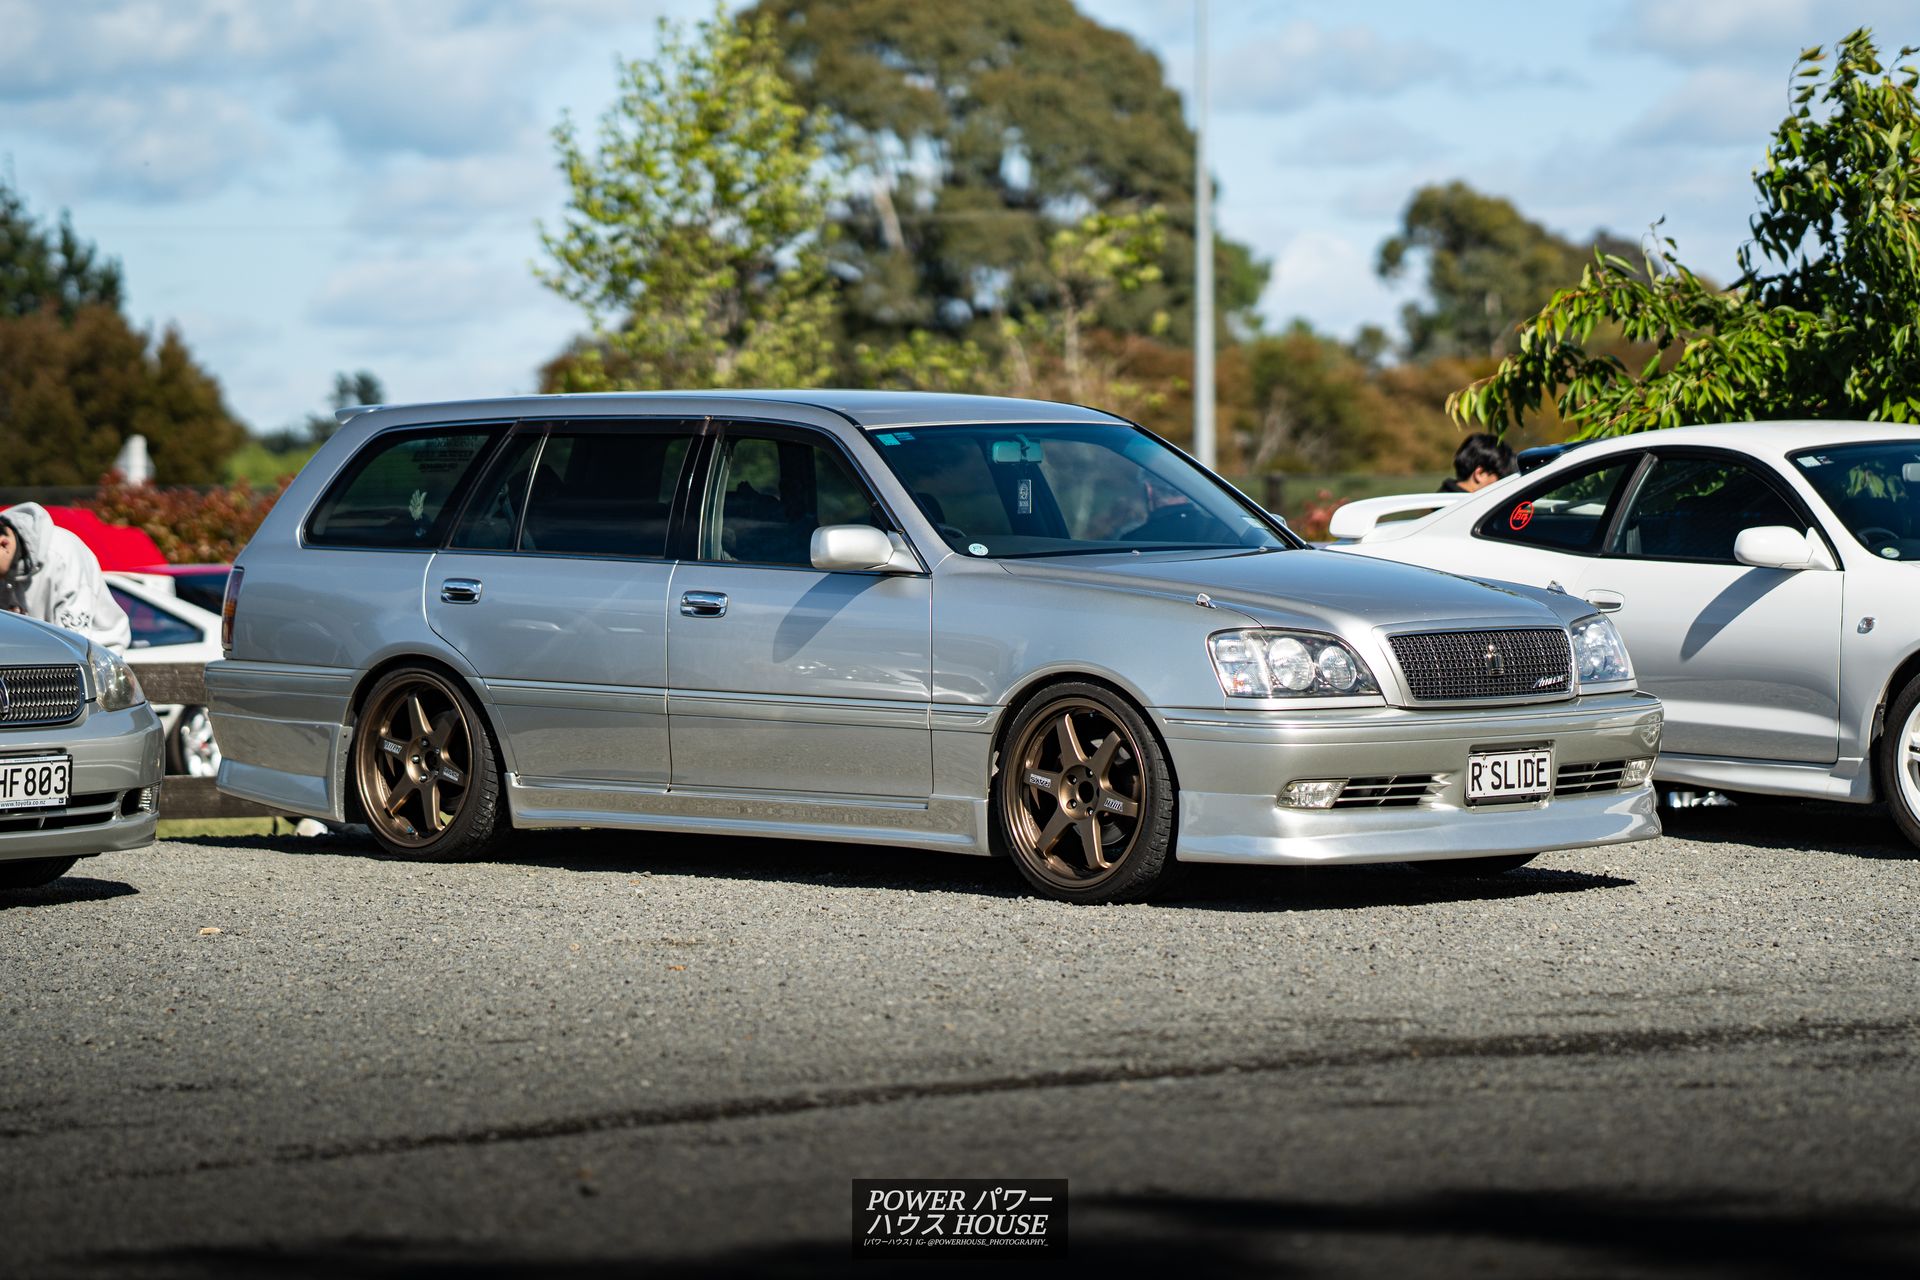
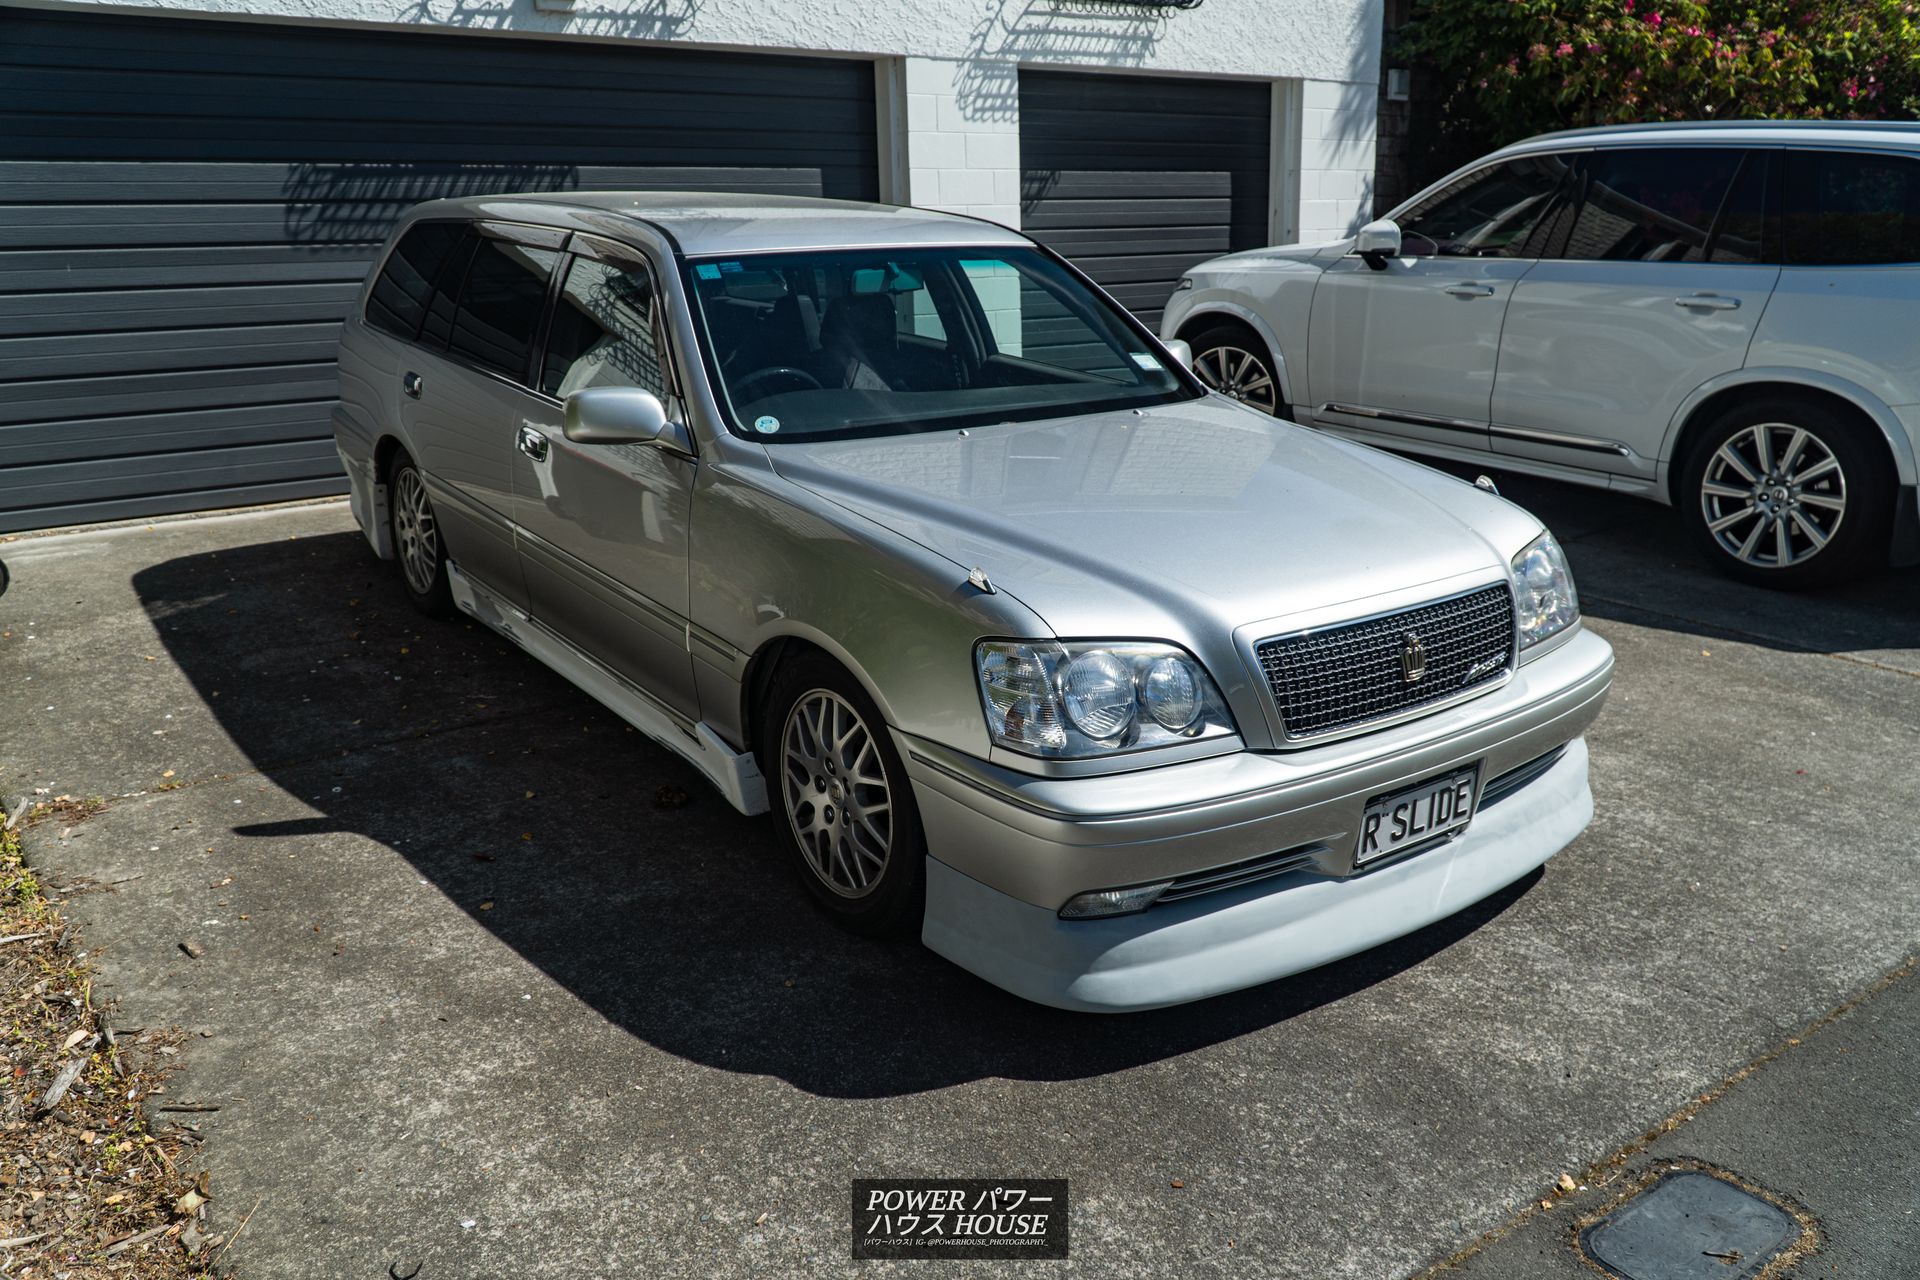
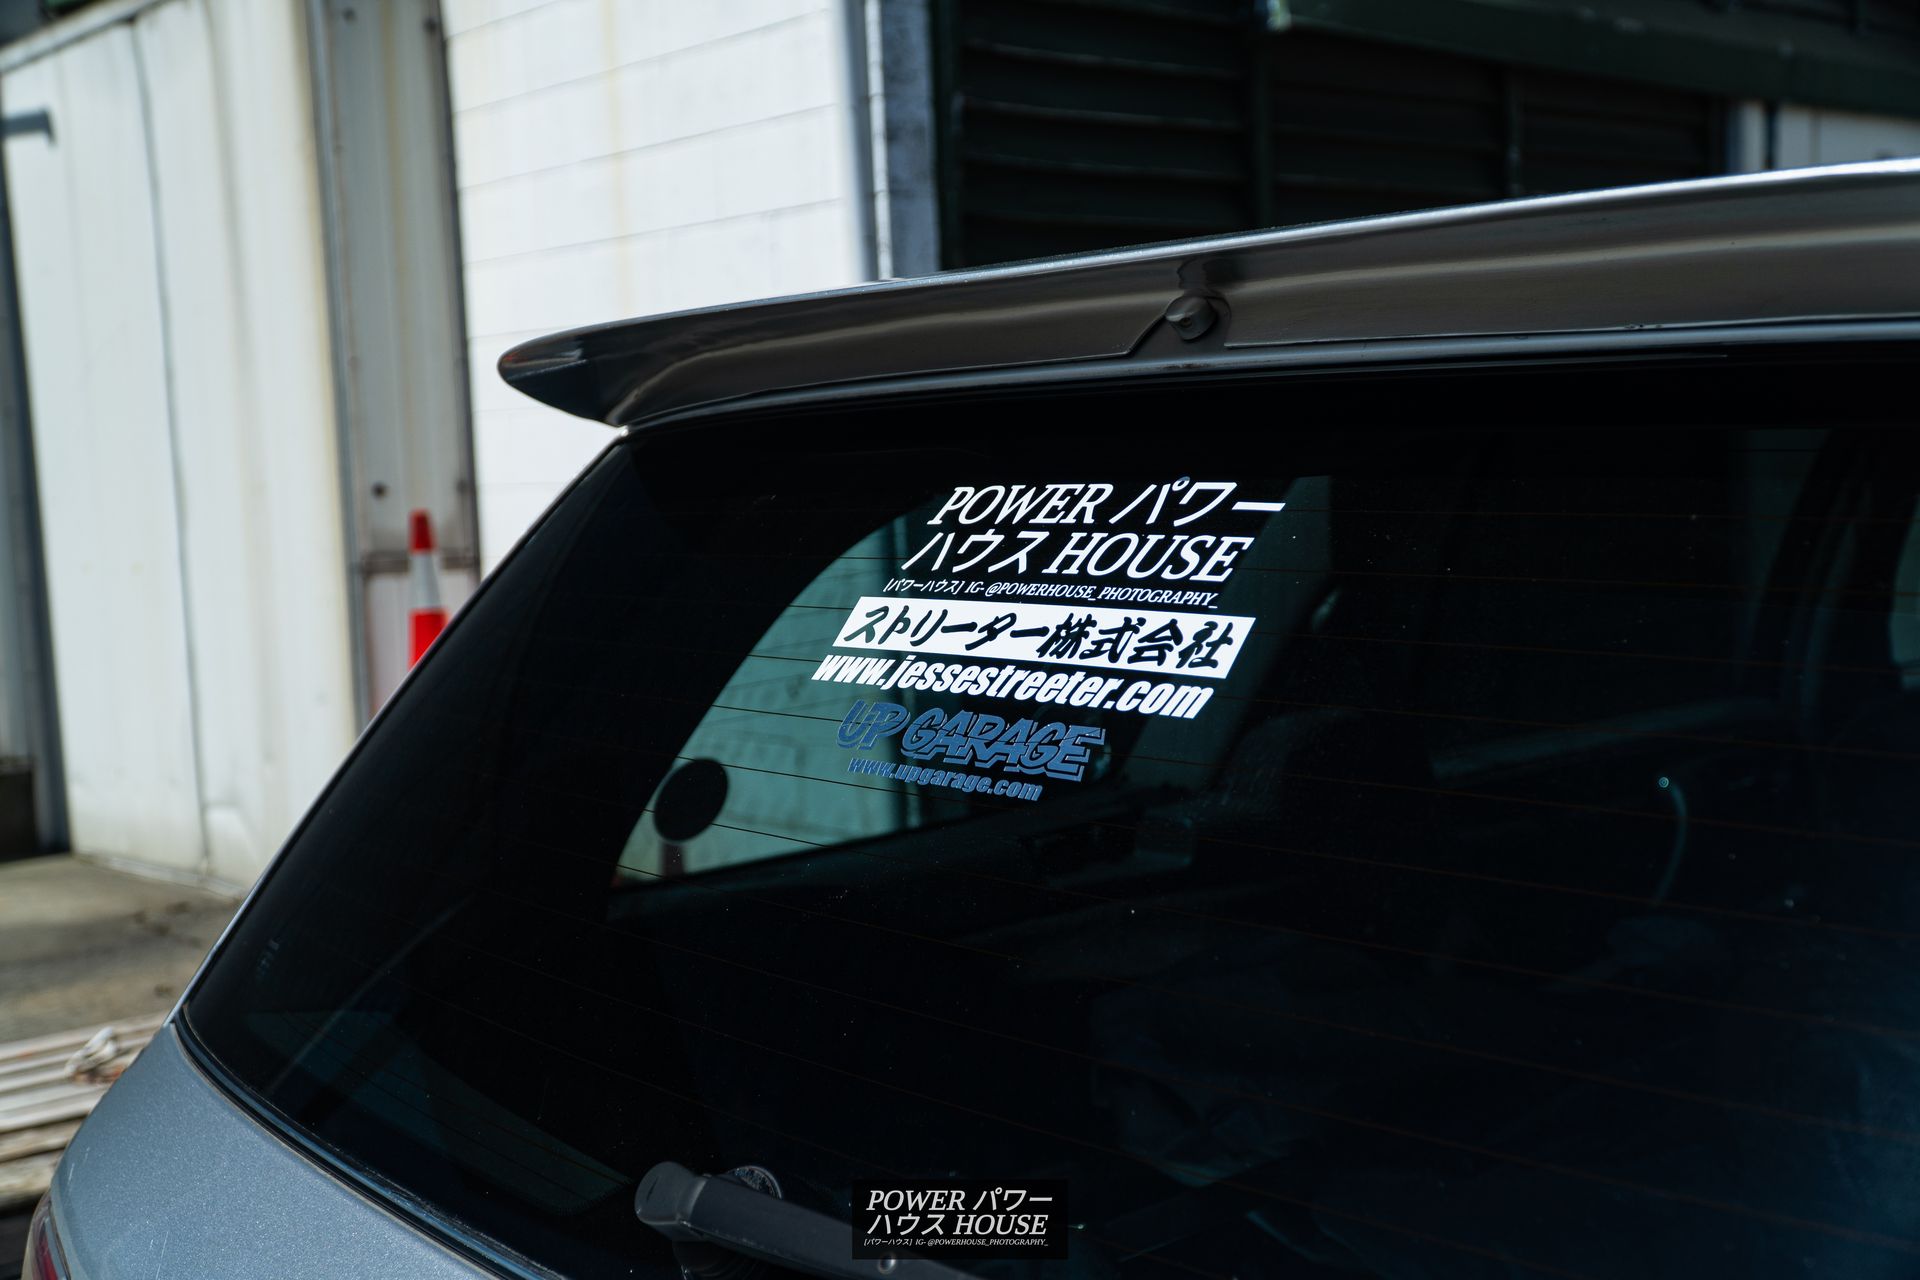
Words cannot describe how happy I am with the Crown’s new look! However, for the few last final finishing touch, I also installed a few stickers I've had patiently waiting in the closet! An OG Powerhouse Photography sticker, a Jessestreeter sticker, and a chrome Up Garage I got during my stay in Japan!
The Crown looks amazing now in my opinion, and is ready to attend some car meets! Although, I do also have a few more parts coming in the mail... and still need to install that pesky down-pipe...