Project Crown: Refinement, the Expensive and Time-Consuming Part of a Build
06 July 2023
Chapter 1: Fixing the Issues, Not Fixing the Issues, and Finding New Issues Since the Crown got some new Tanabe DF210 springs and KYB New SR Special shocks last time, the first thing on the to-do list was a wheel alignment! After going to Tyrecare, they sorted the Crown out with a new alignment. Now it's driving straight and perfectly!
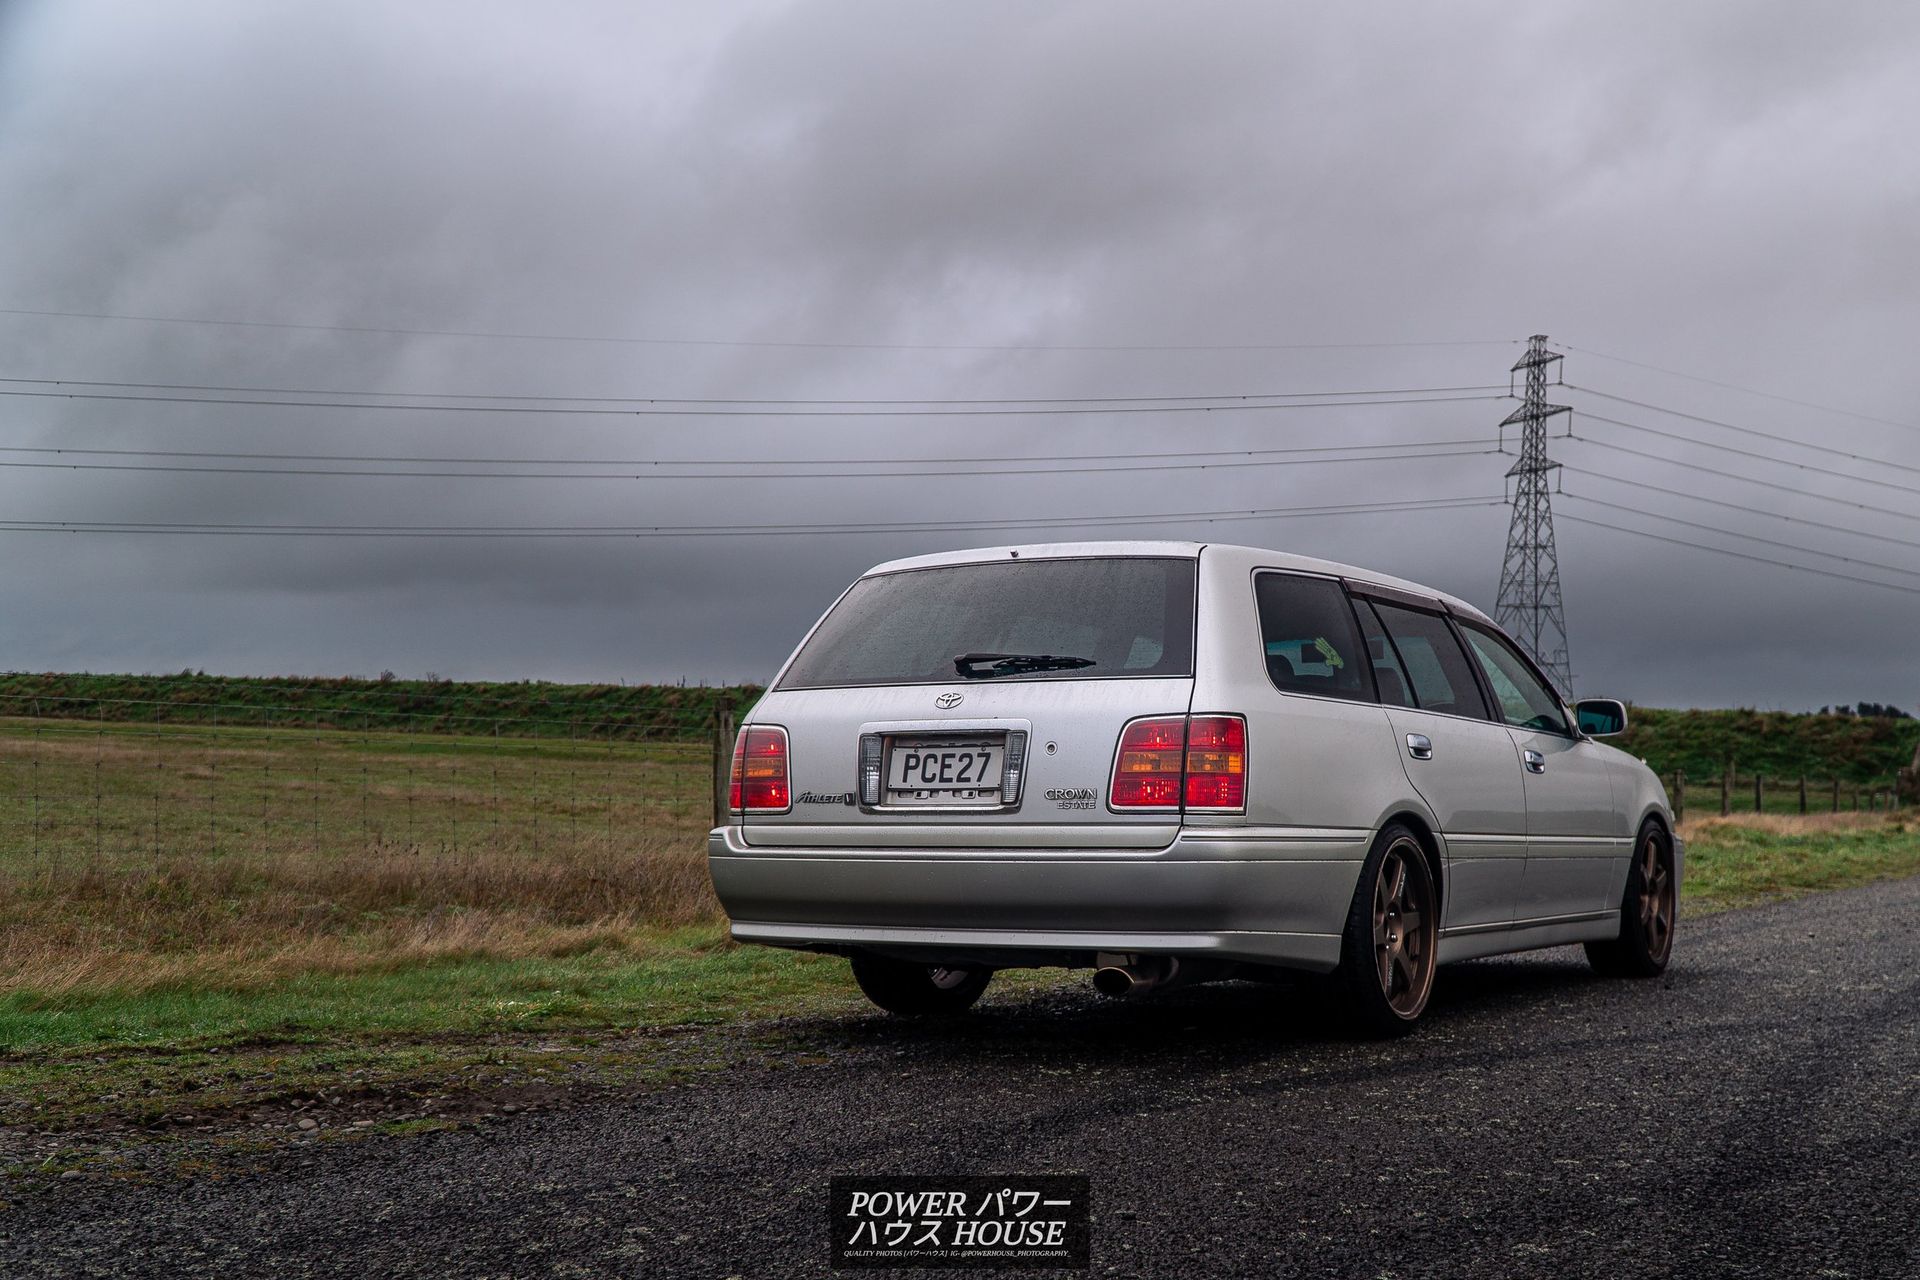
Next up on the to-do list was another issue I wanted to iron out on the Crown. While going to get that alignment, at idle, the car was vibrating a lot more than usual when the gearbox was in drive. After diagnosing it to be engine mounts, I ordered a couple of new ones through Jesse Streeter in Japan and got Garage 5 to installed them while the Crown went in for its yearly WOF. The car runs as smooth as silk now, just like a straight-6 should.
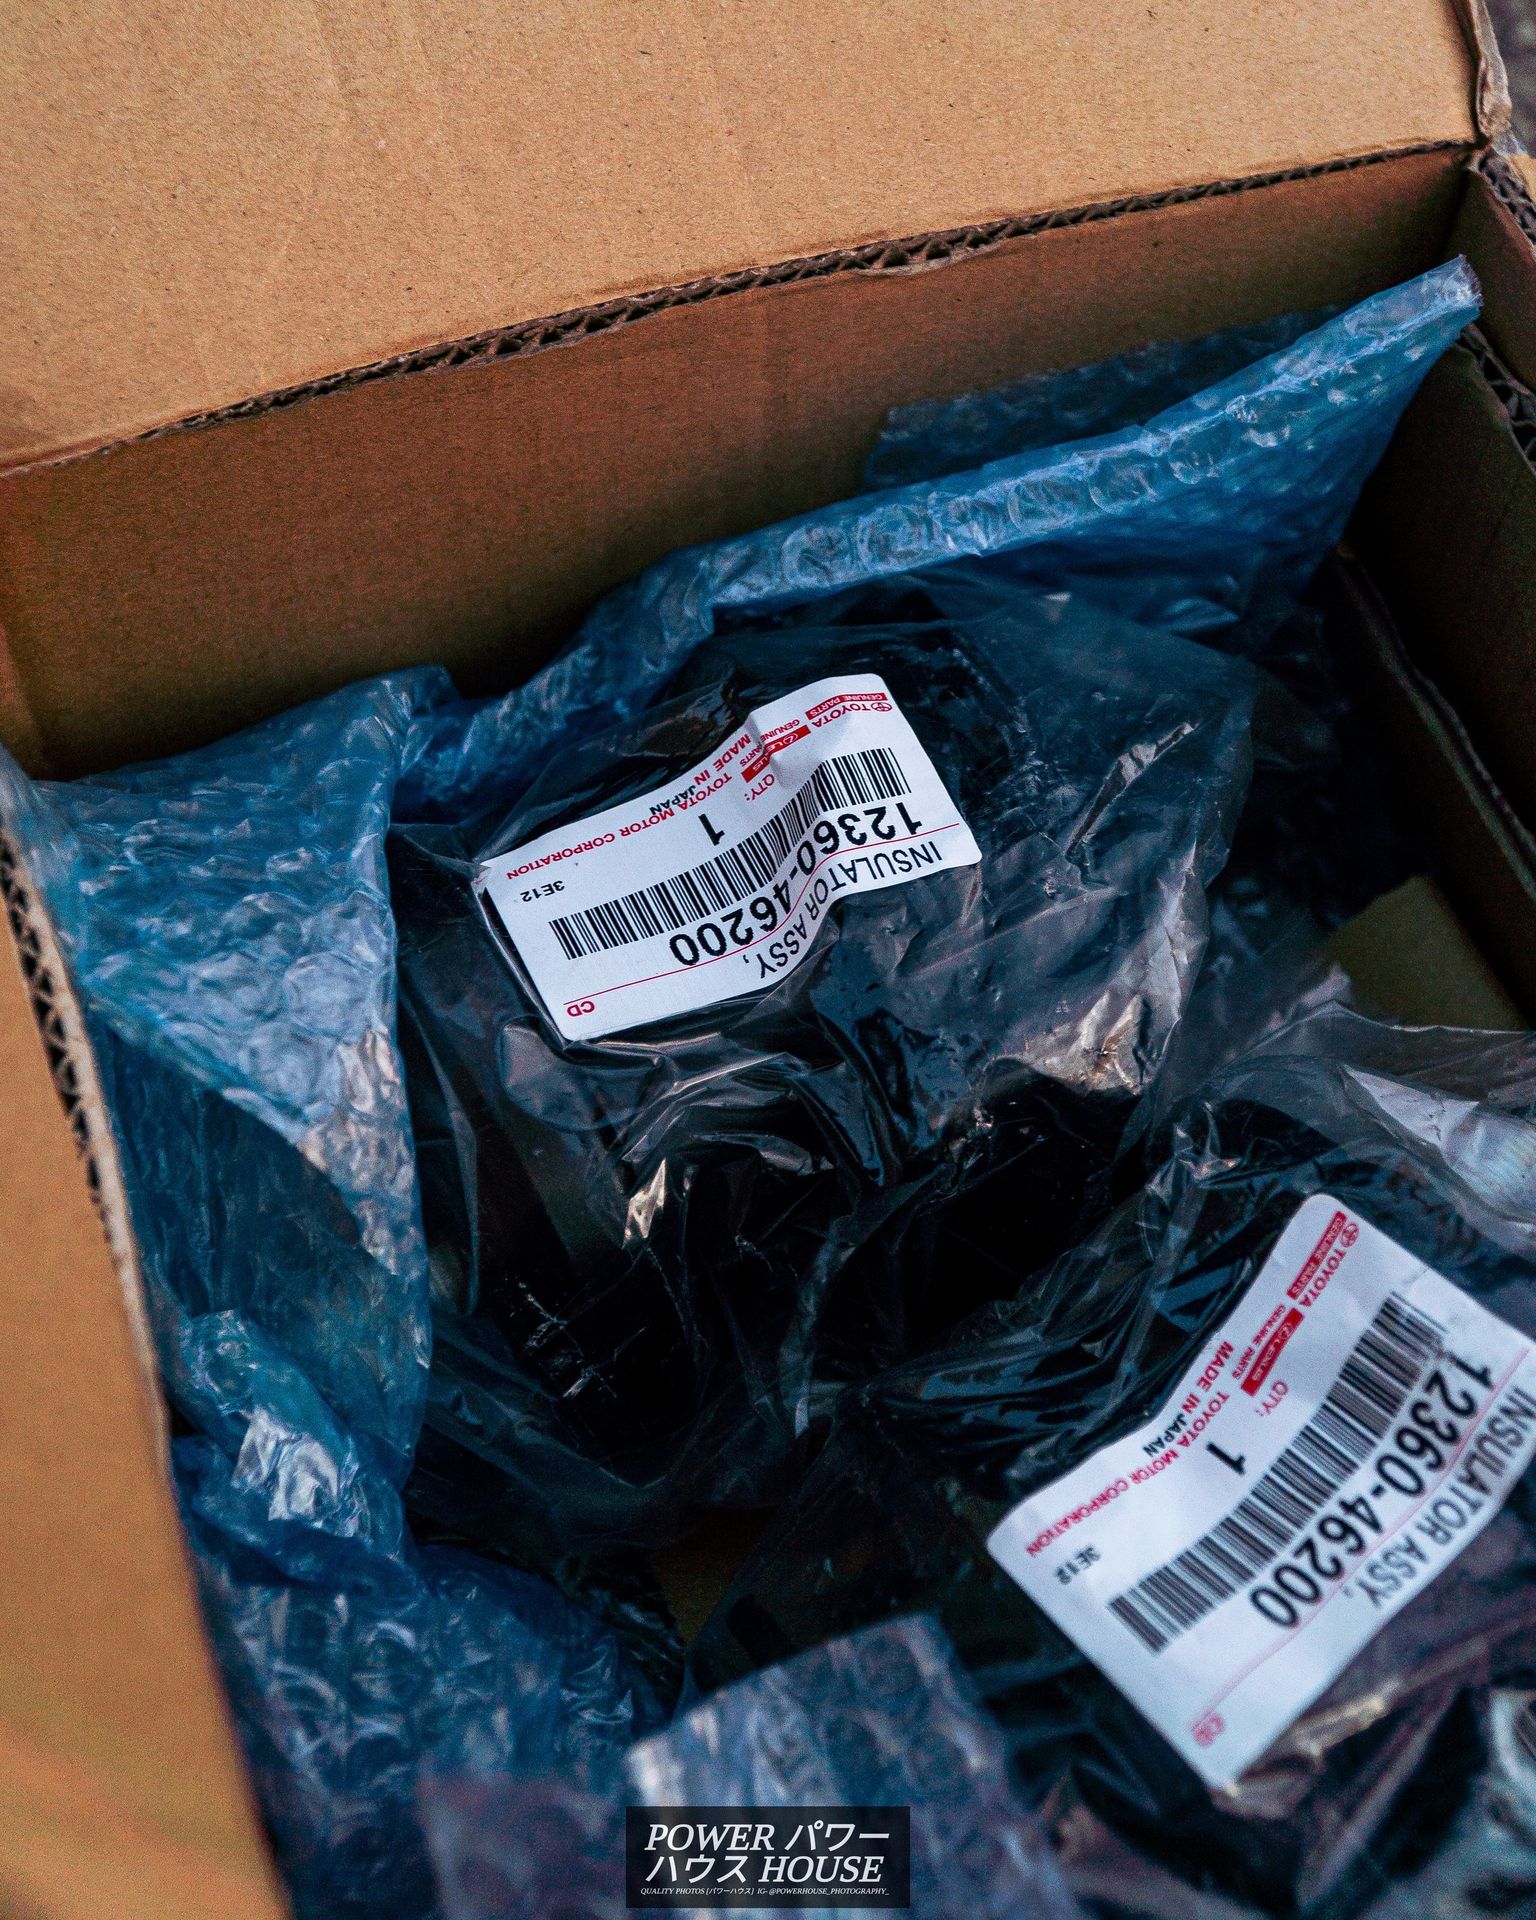
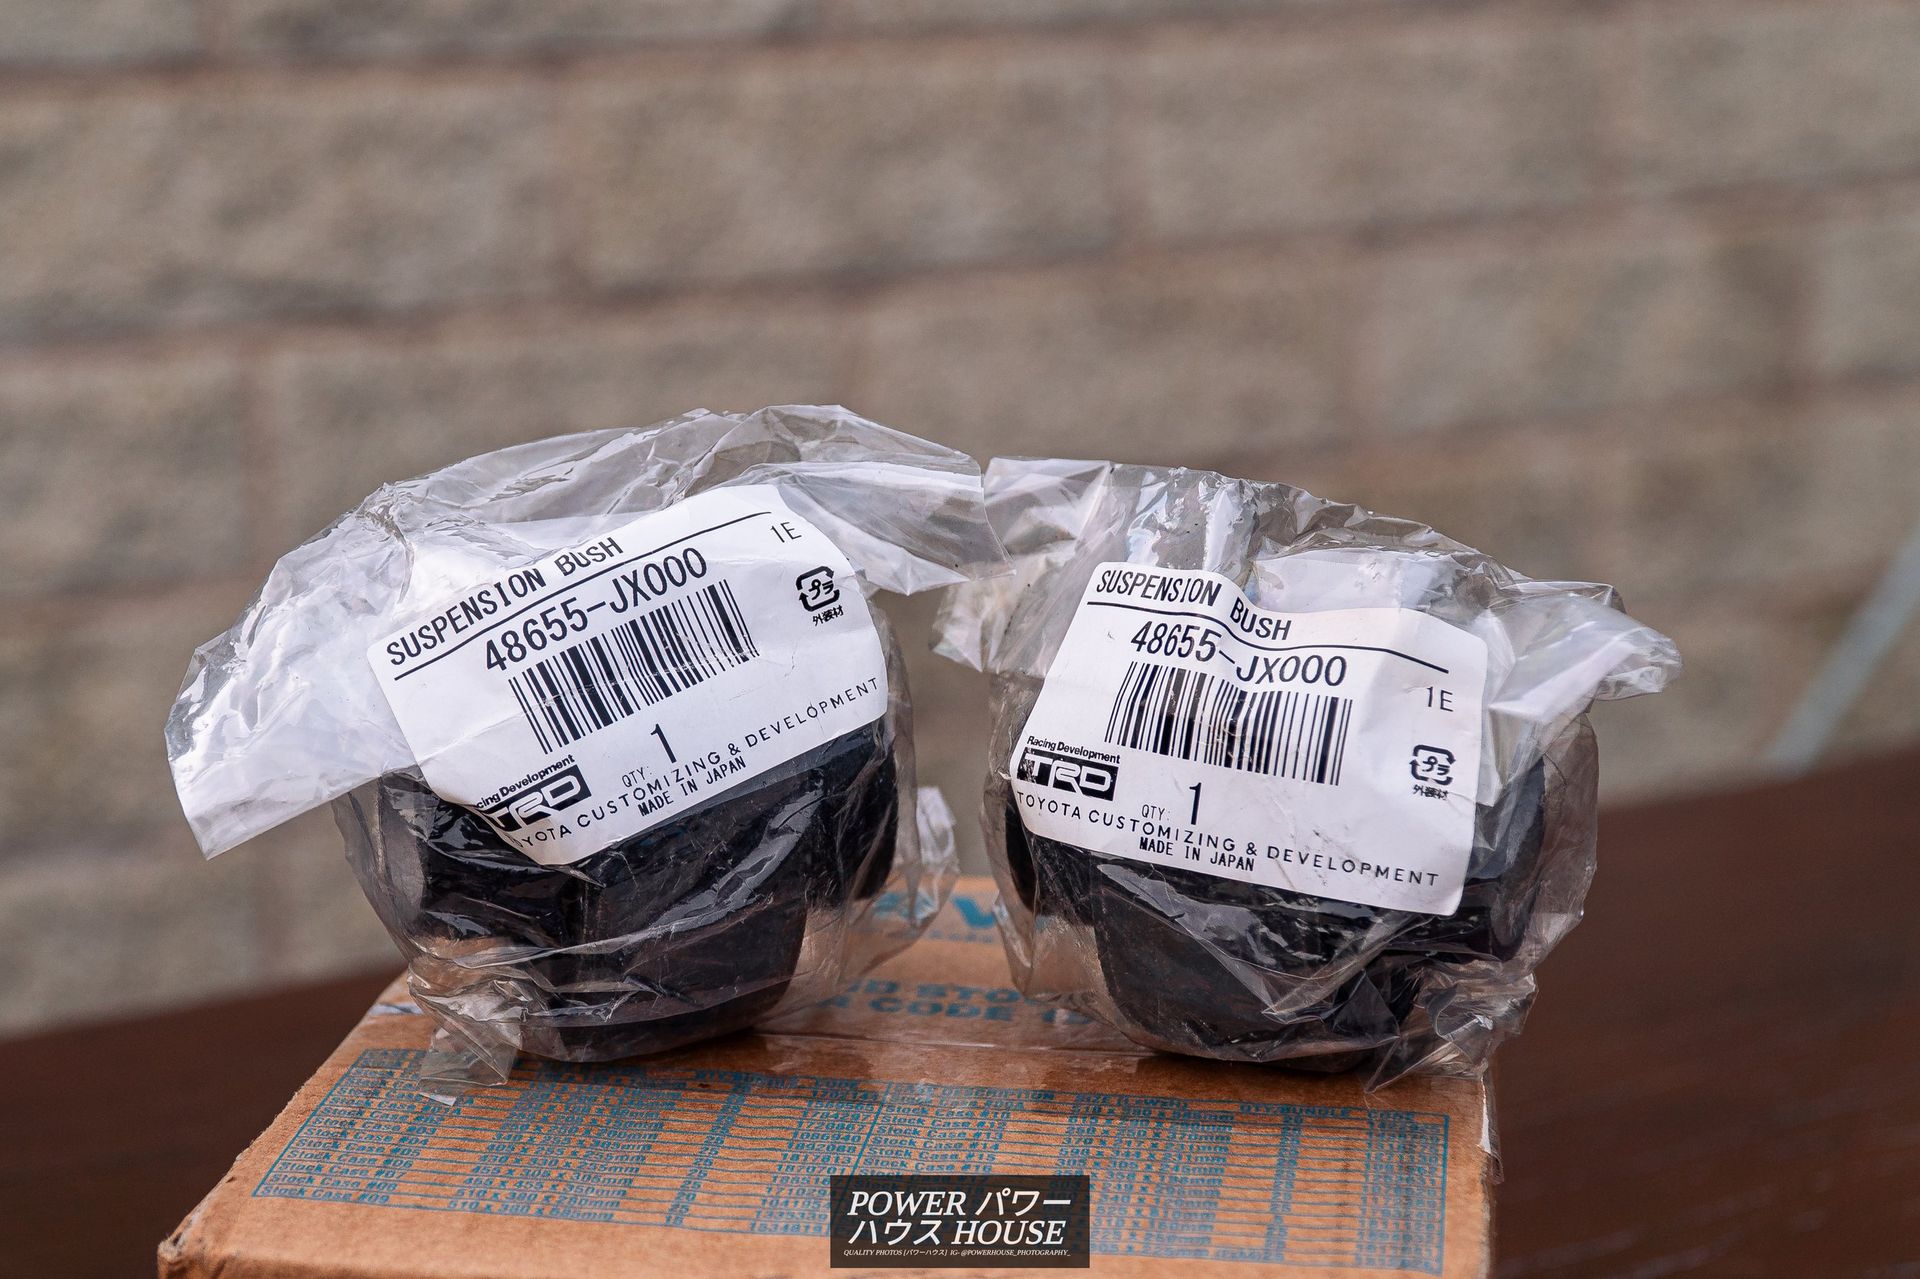
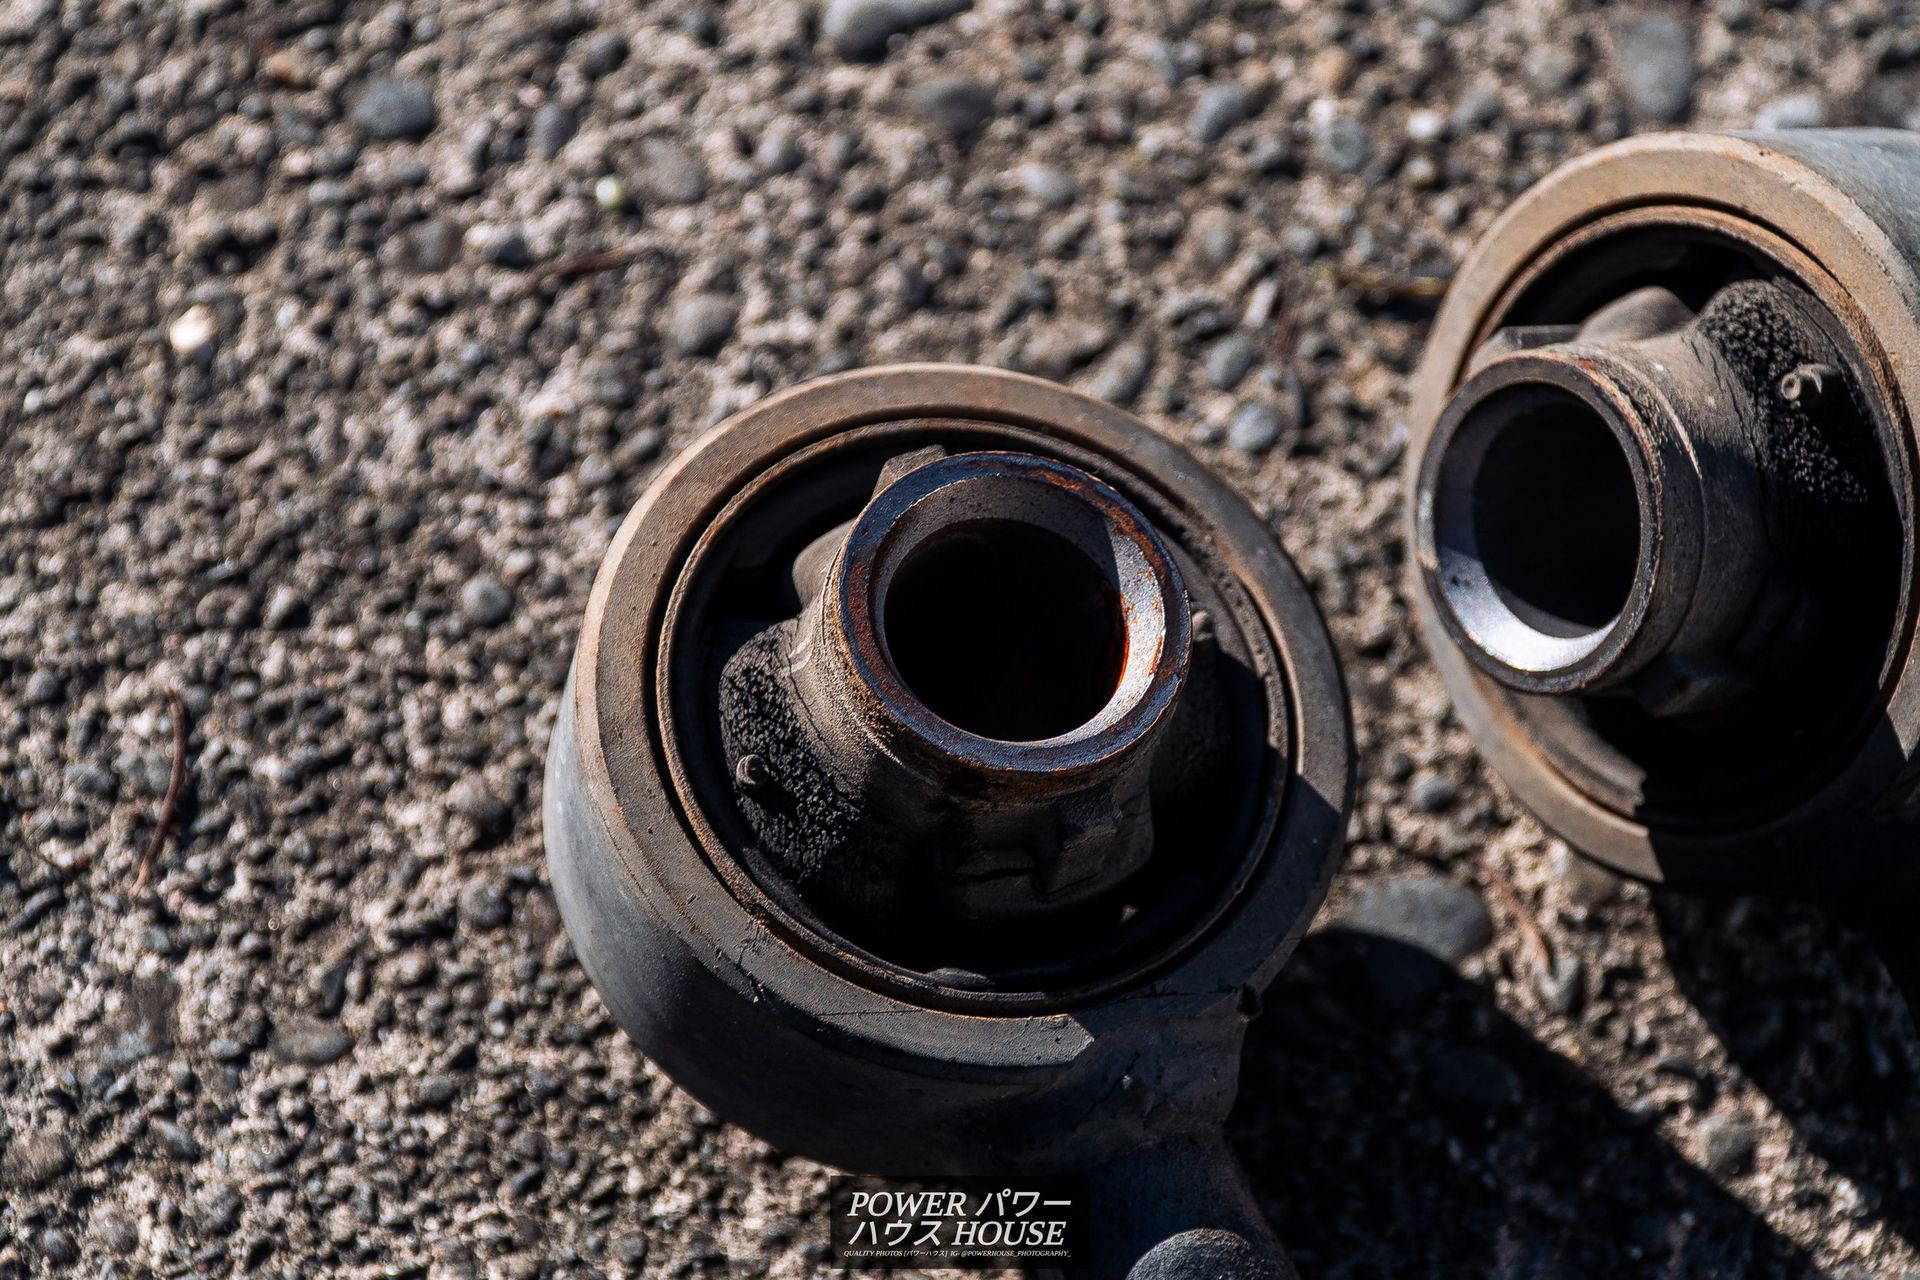
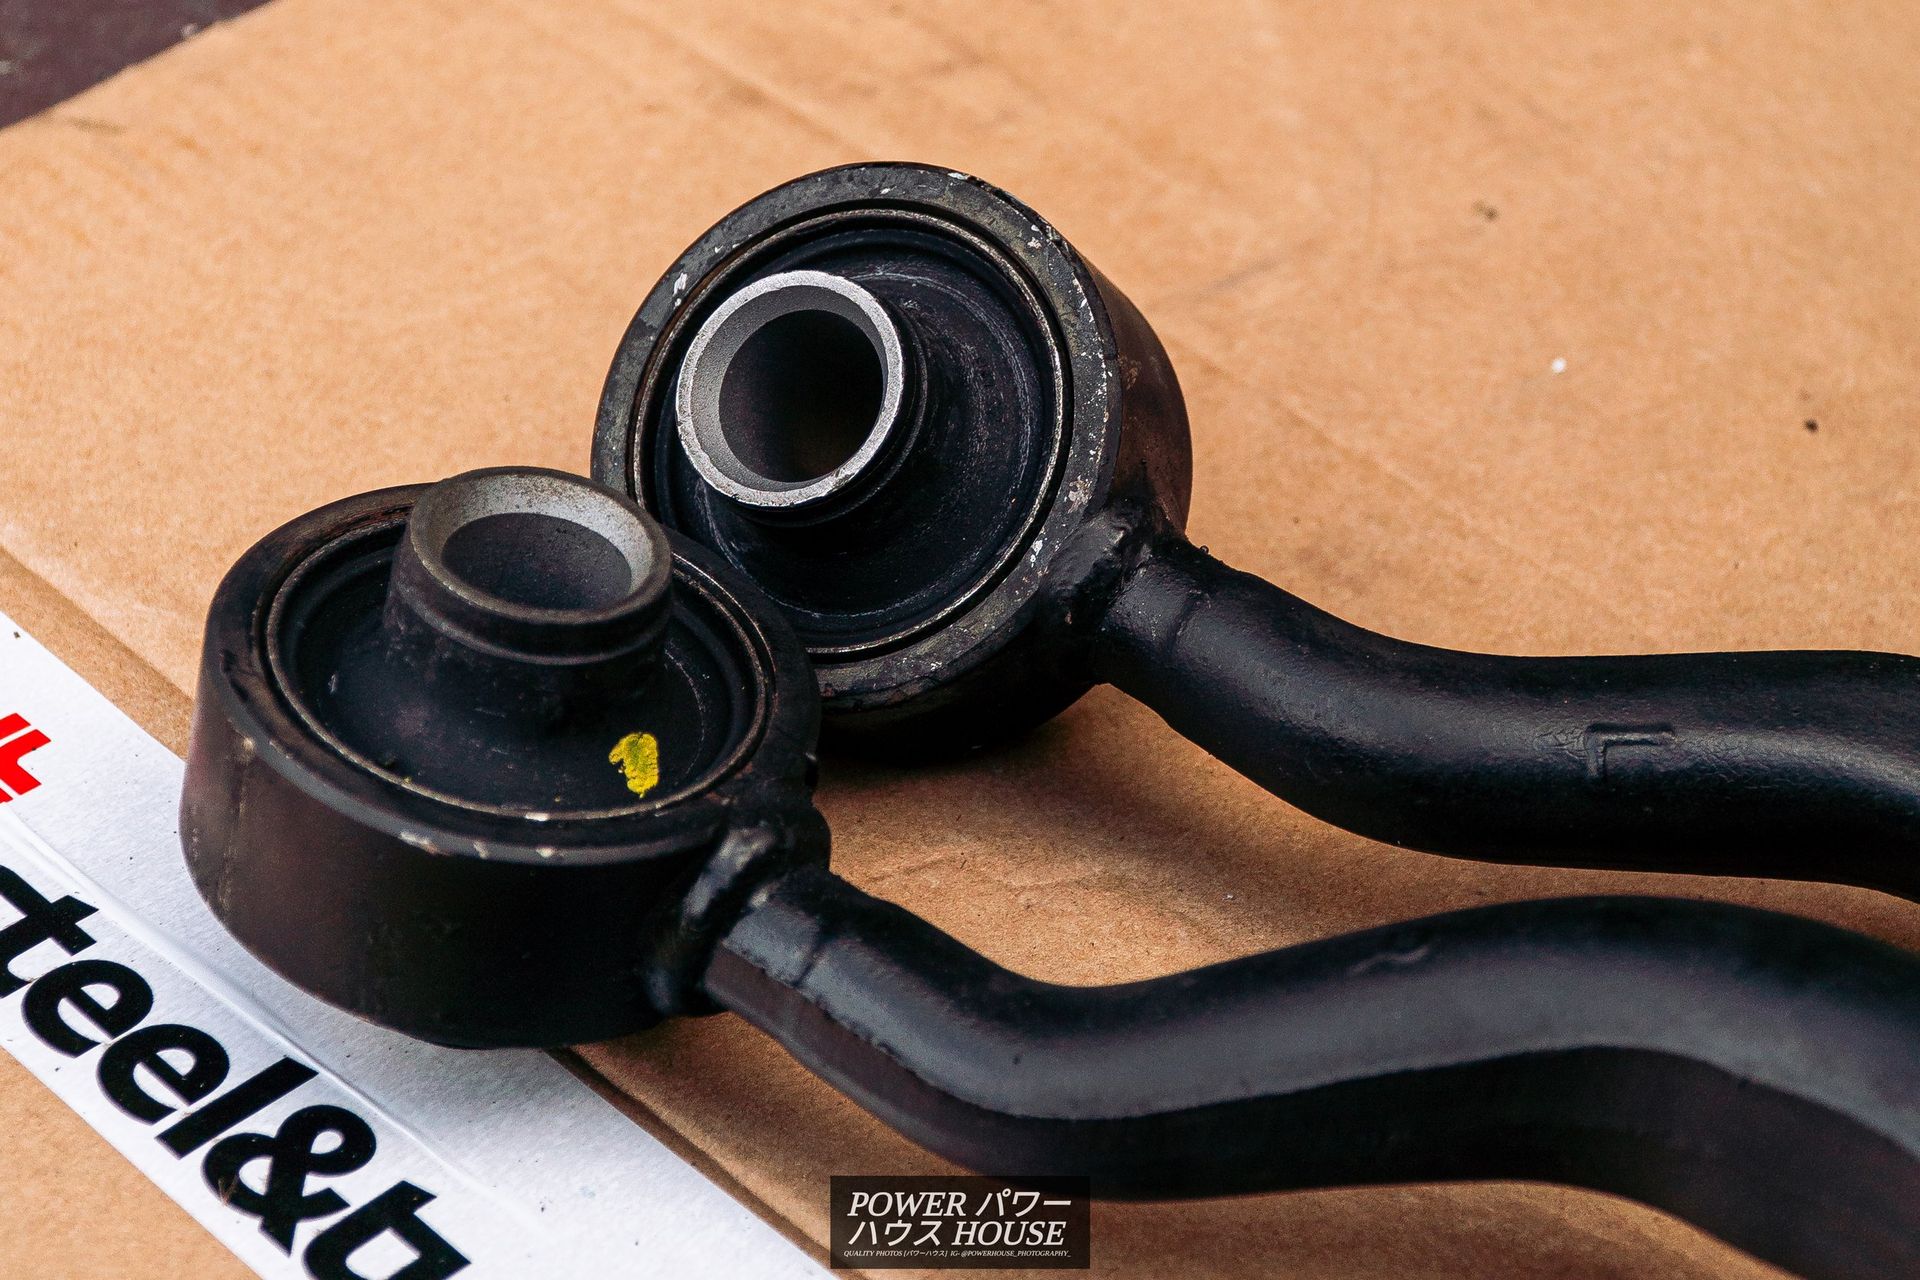
Unfortunately, they also found some not so positive news. Although the Crown passed its WOF, I was notified that my front castor arm bushes are cracked, and my rear knuckle to lower control arm spherical bushes also needed to be replaced. The big problem was that Toyota doesn't sell the bushes individually. The front arms are $190 each, and the rear knuckles are $630 each. That meant that just the parts would cost roughly $1640. Luckily, for the front arms, I found TRD hardened bushes on sale at NST Parts for $88 including shipping.
After removing the first bolt holding the caster arms on, I realized that the two connecting the caster arm to the lower control arm were extremely tight. After searching for a while, I found a massive pole which I added to the end of my breaker bar to crack the bolts loose. After this, the removal of the arms was pretty easy, only taking me 10 minutes a side.
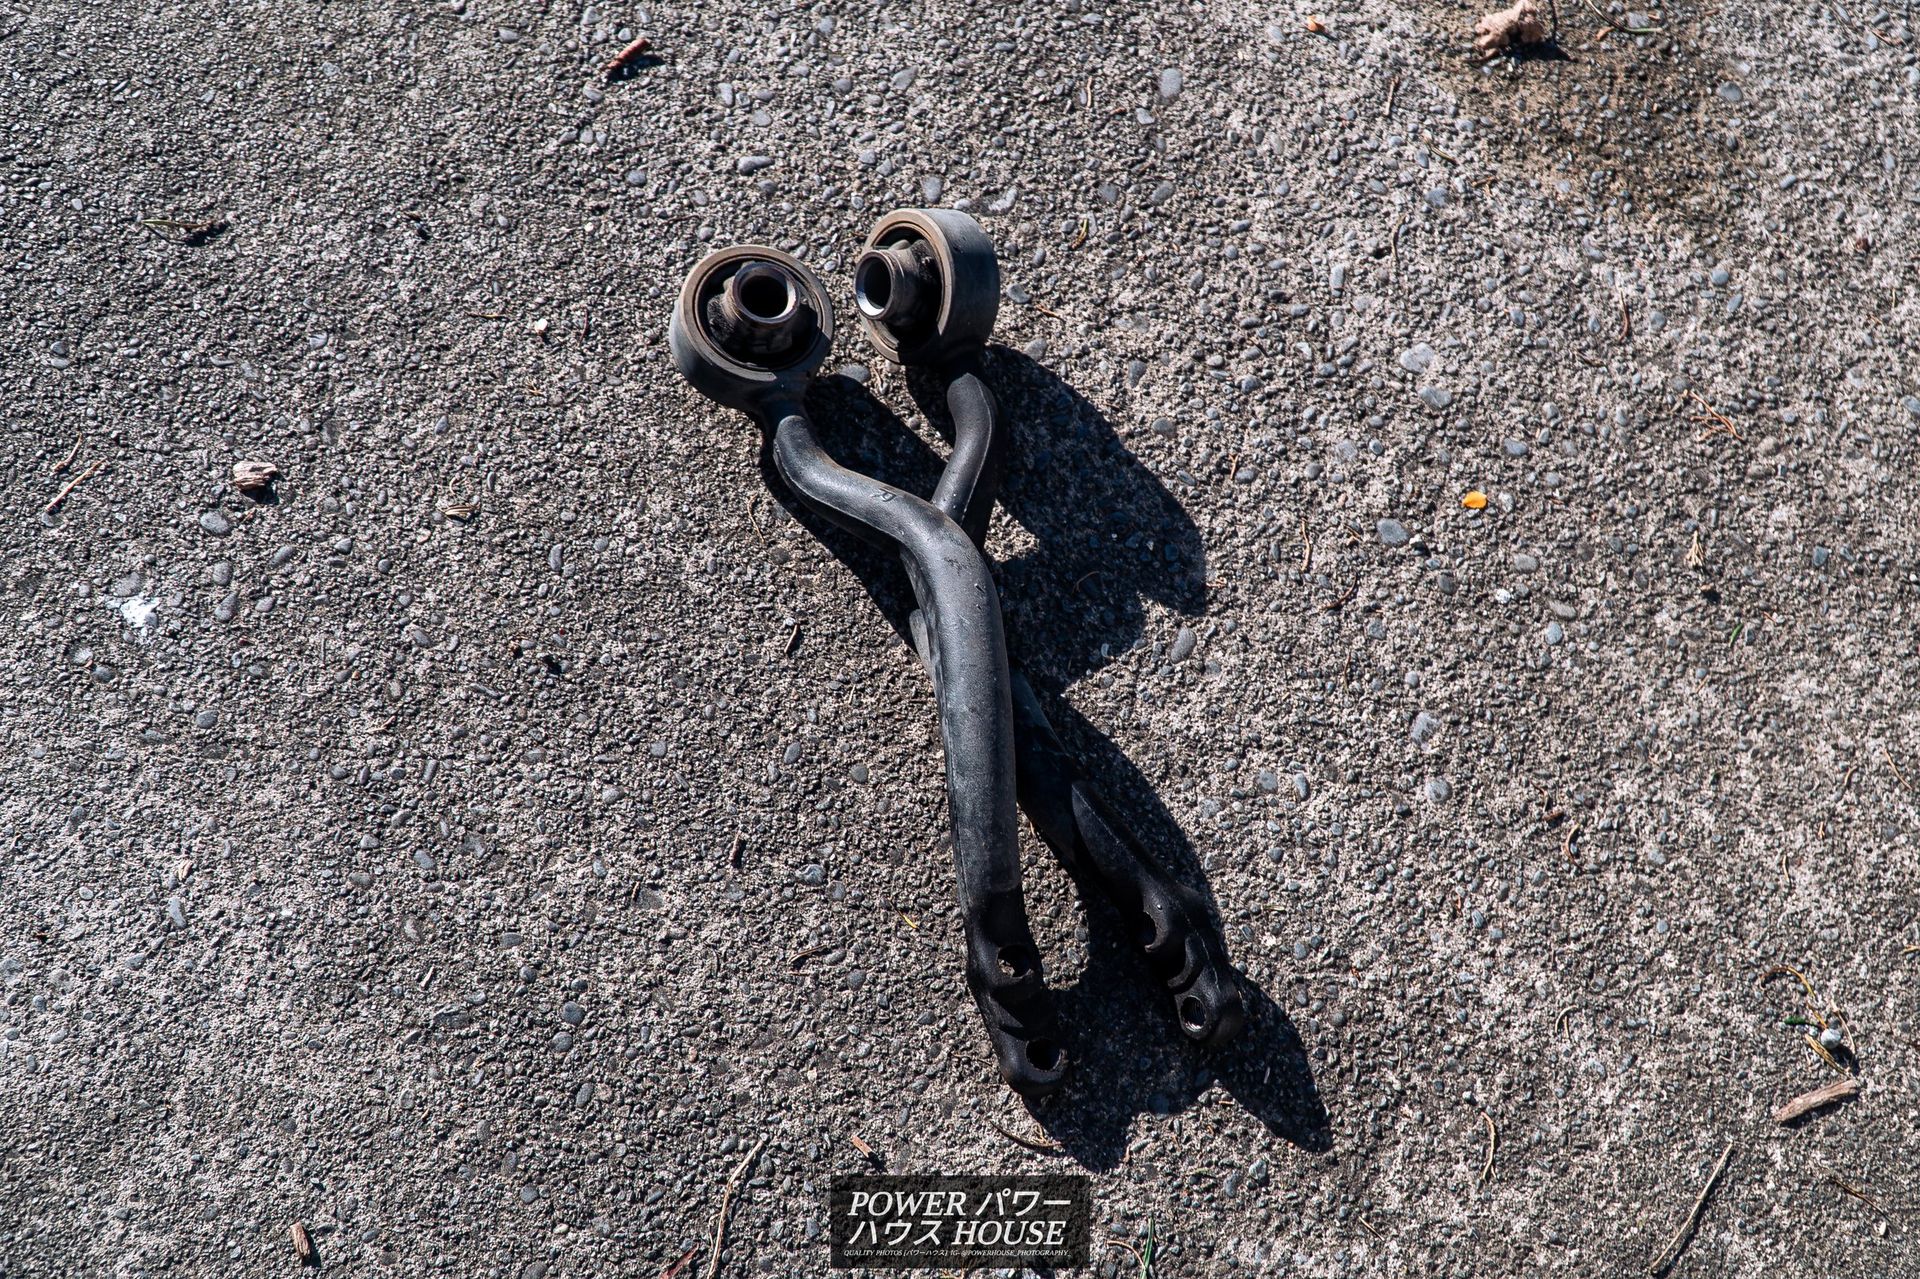
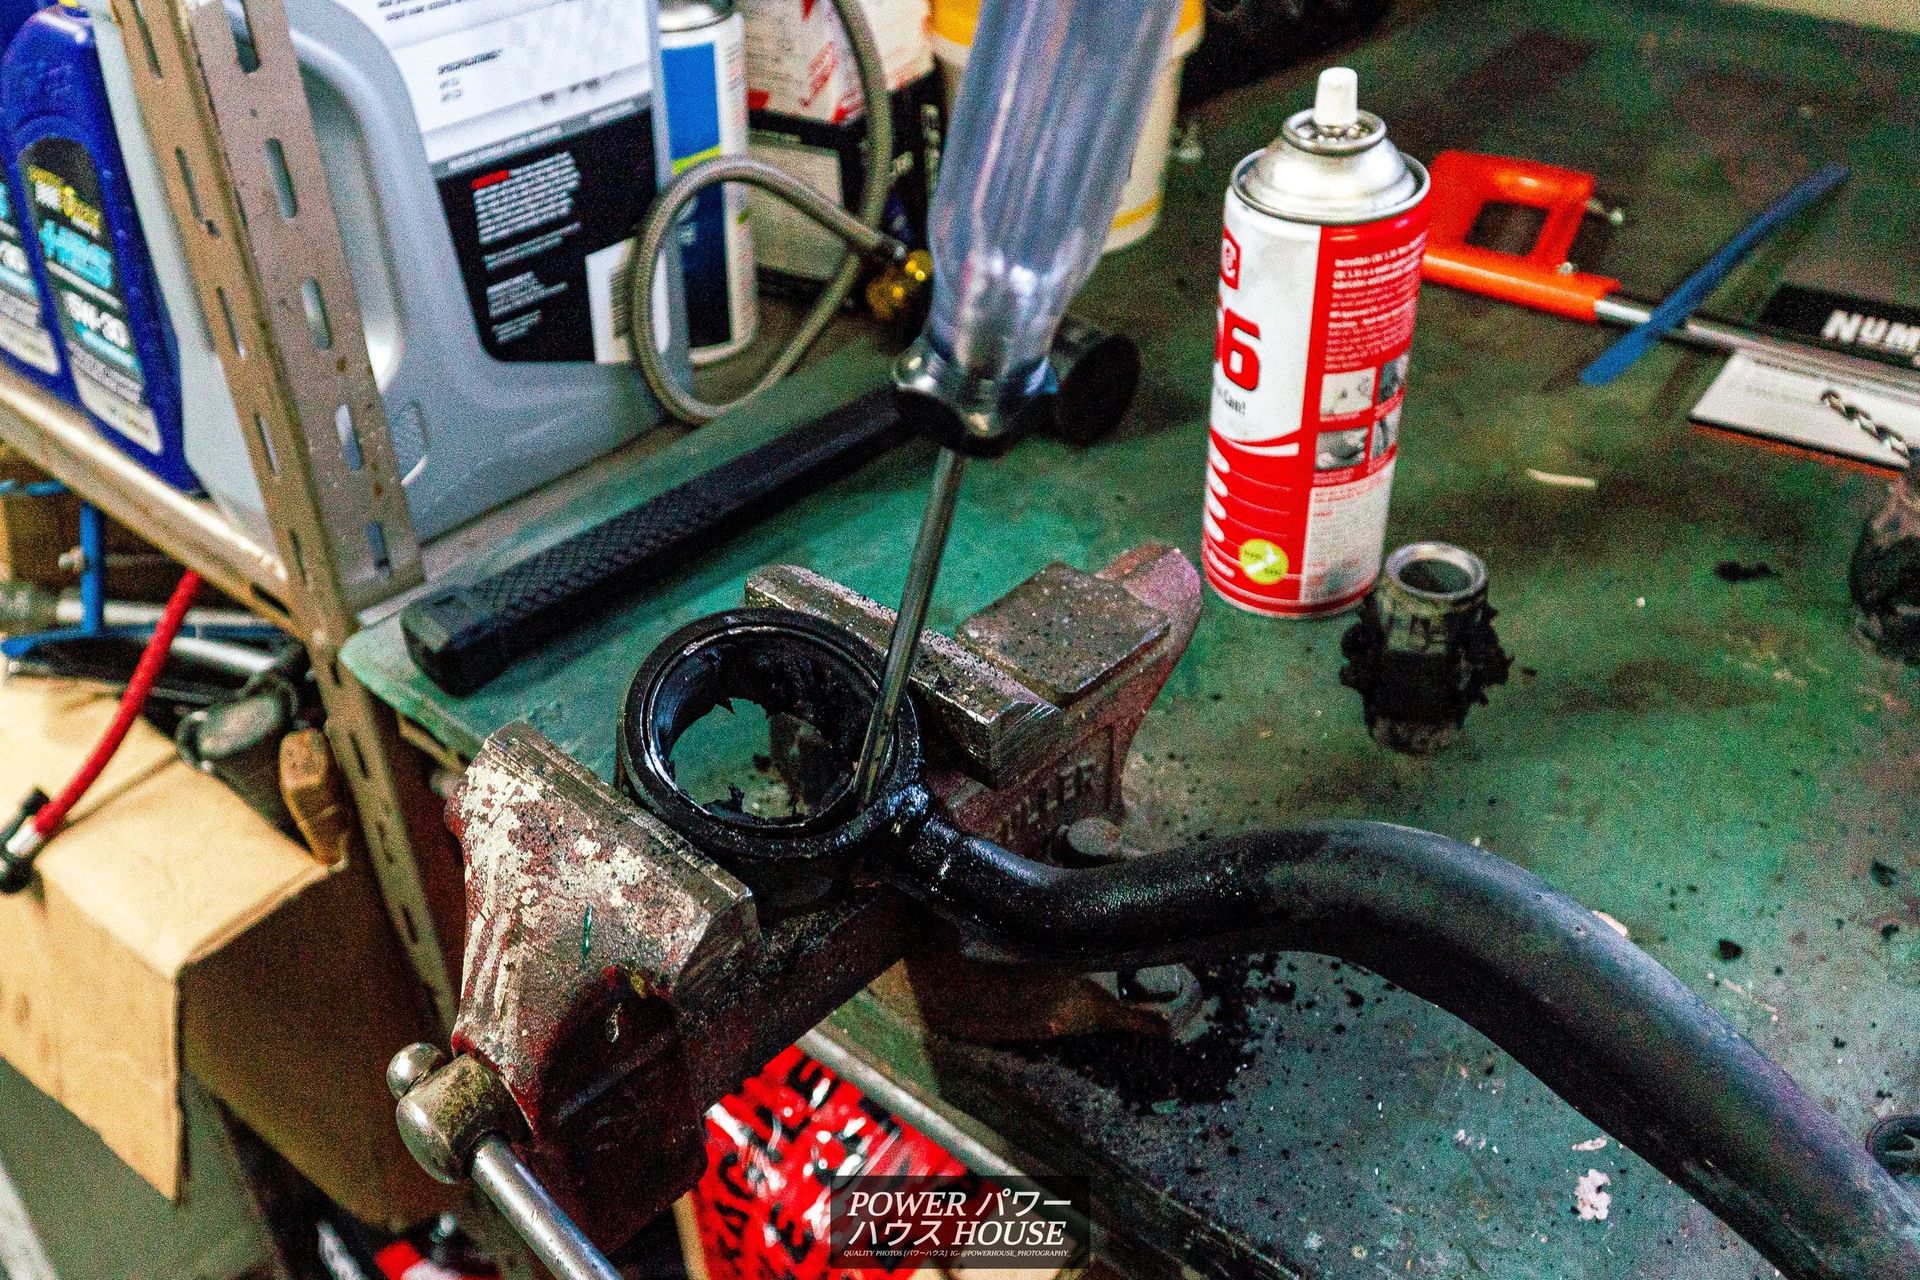
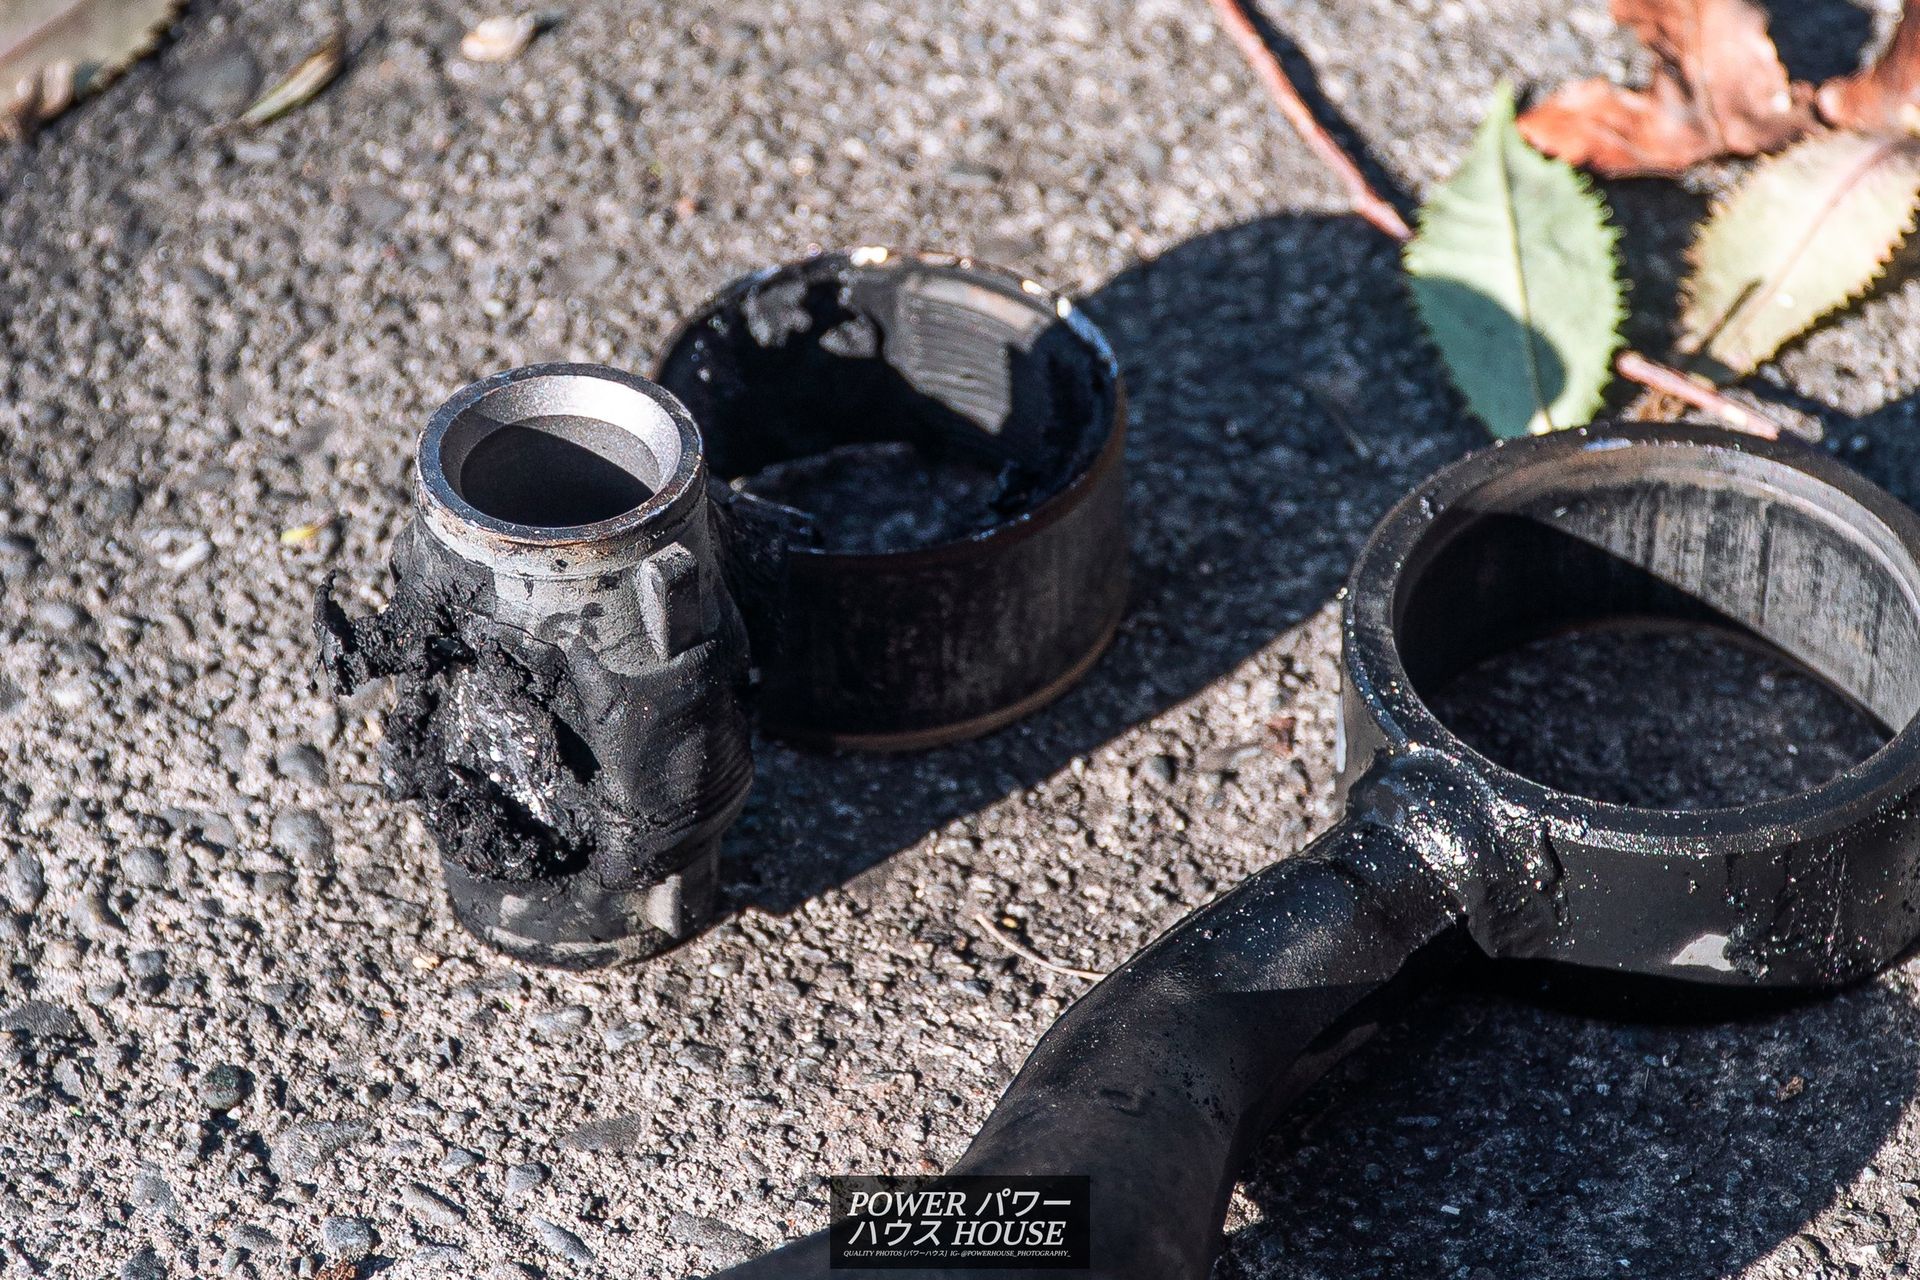
Once the arms were off the car, I went about removing my worn and cracked bushes. To do this, I got a drill with a drill bit and drilled through the rubber.
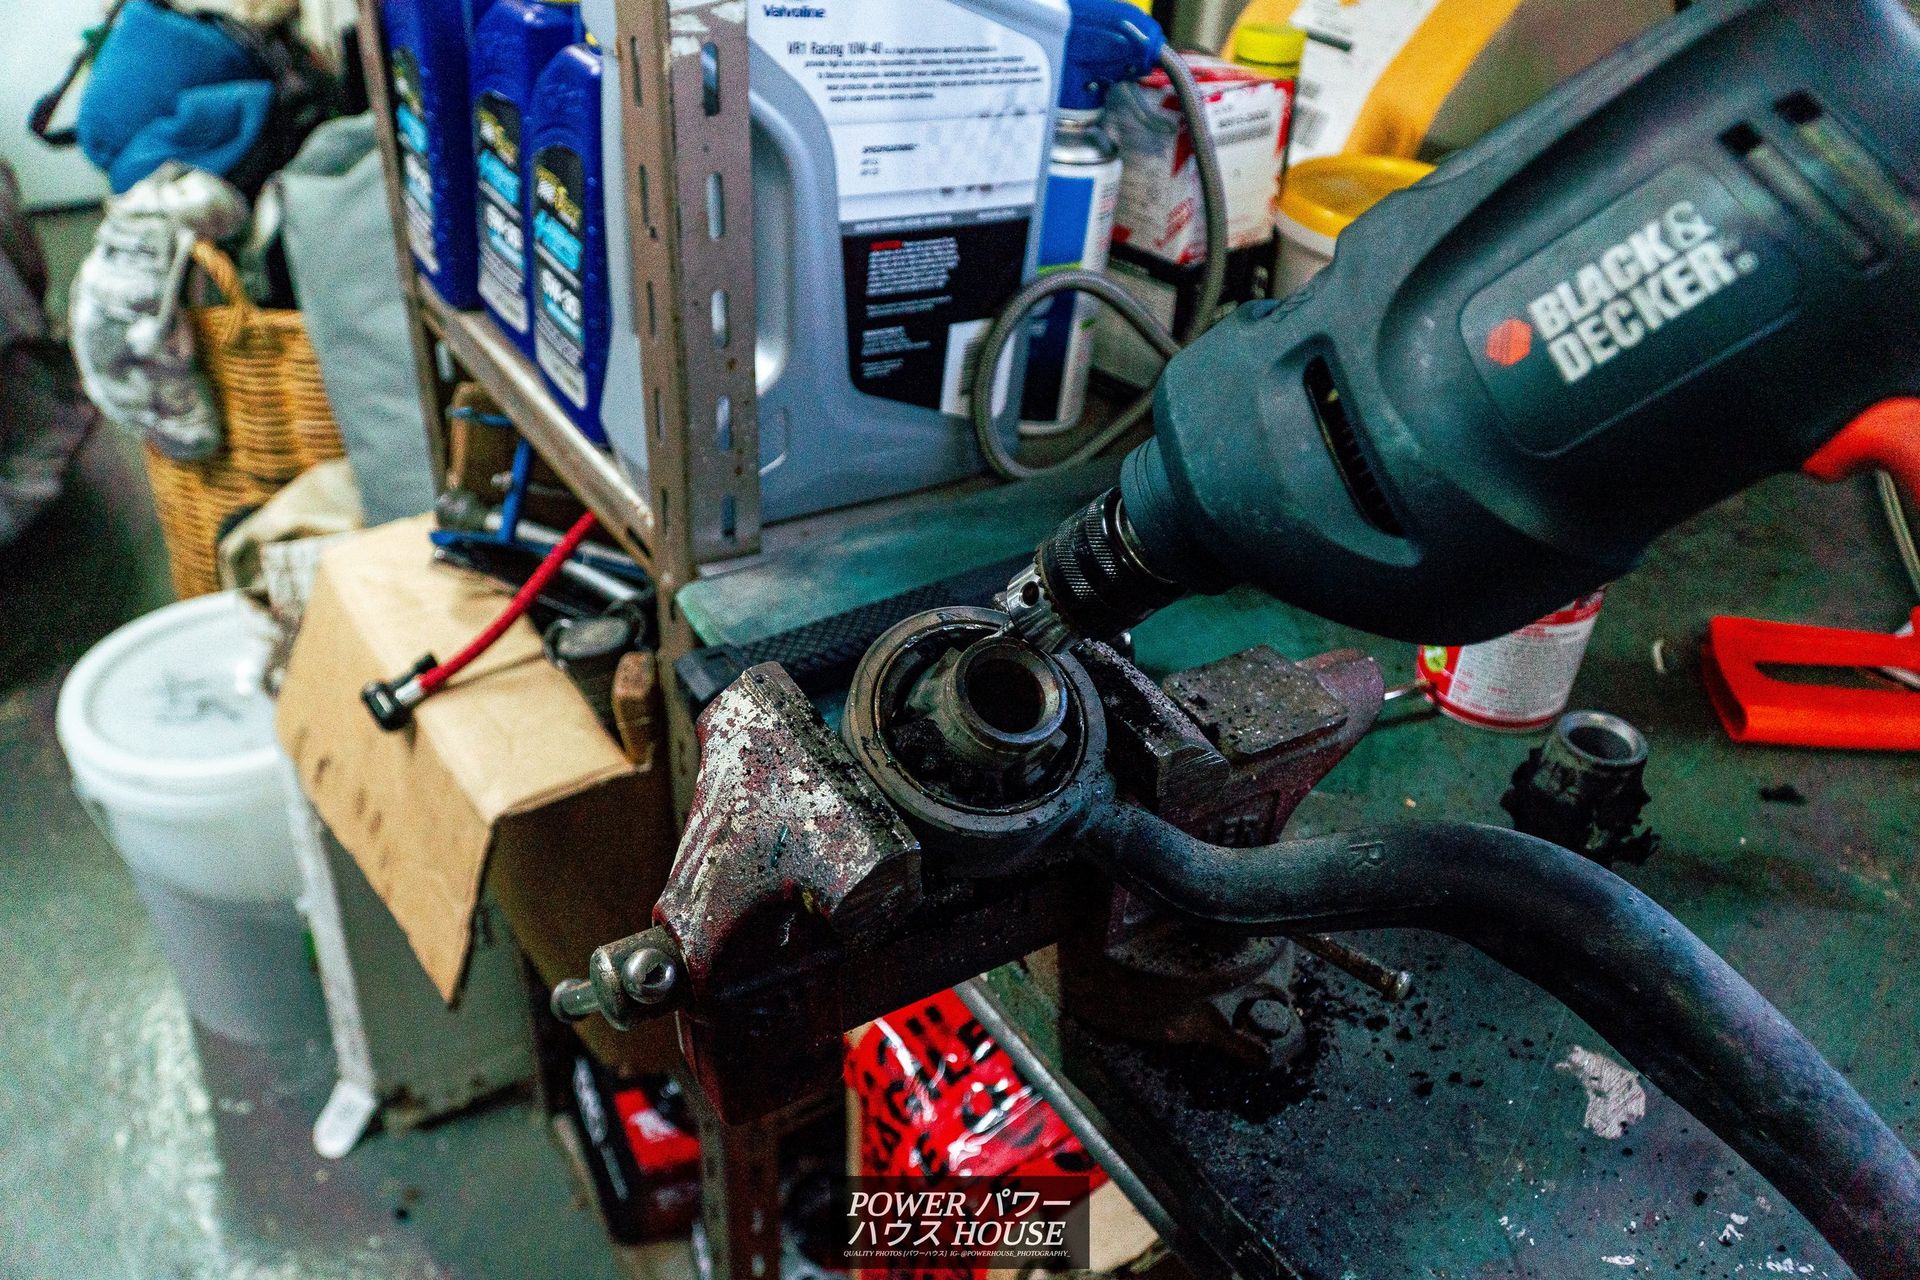
Once the inner rubber was separated from the outer metal band, I got a hacksaw and sawed through it. This allowed me to get a flathead screwdriver between the metal band and the arm. After tapping the screwdriver in, the band collapsed and slid right out.
Since I didn't have a hydraulic press, I took the arms, along with my new bushes to Garage 5 for them to be pressed in.
Once I got the arms back, installing the arms was pretty tricky, until I figured out the right way to do it. After roughly positioning the arm so the bushing sat near the spigot and the two bolt holes on the caster arms were close to lined up with the two bolt holes on the lower control arm, I slightly twisted and moved the arm so the front bolt could thread in. After threading the first bolt in securely, I manhandled the arm and pushed the bushing over the spigot before jacking the bushing-end of the arm up so that it slid over the spigot. After this, I just fully tightened the front bolt, and the rear bolt self-aligned itself.
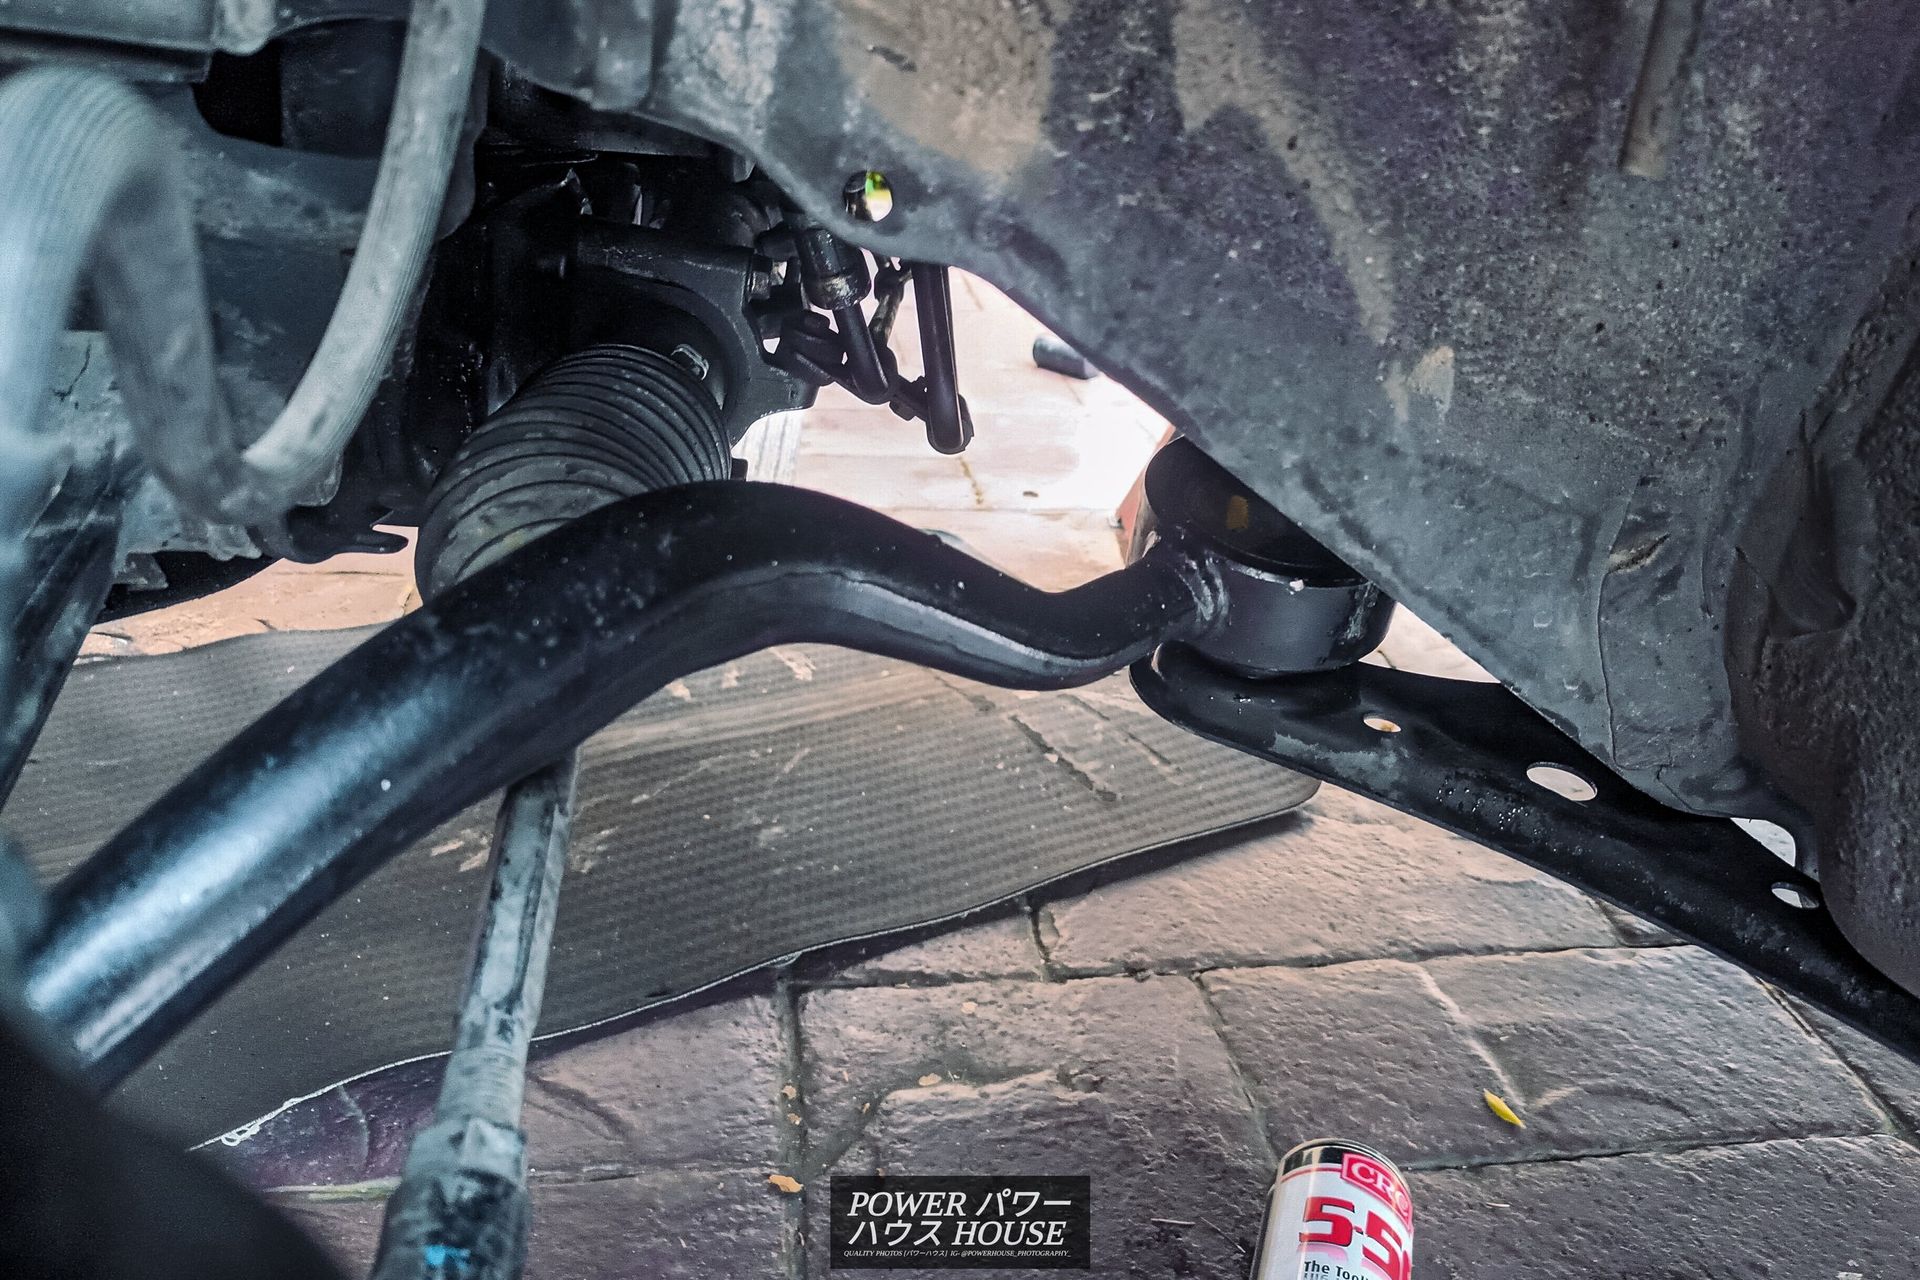
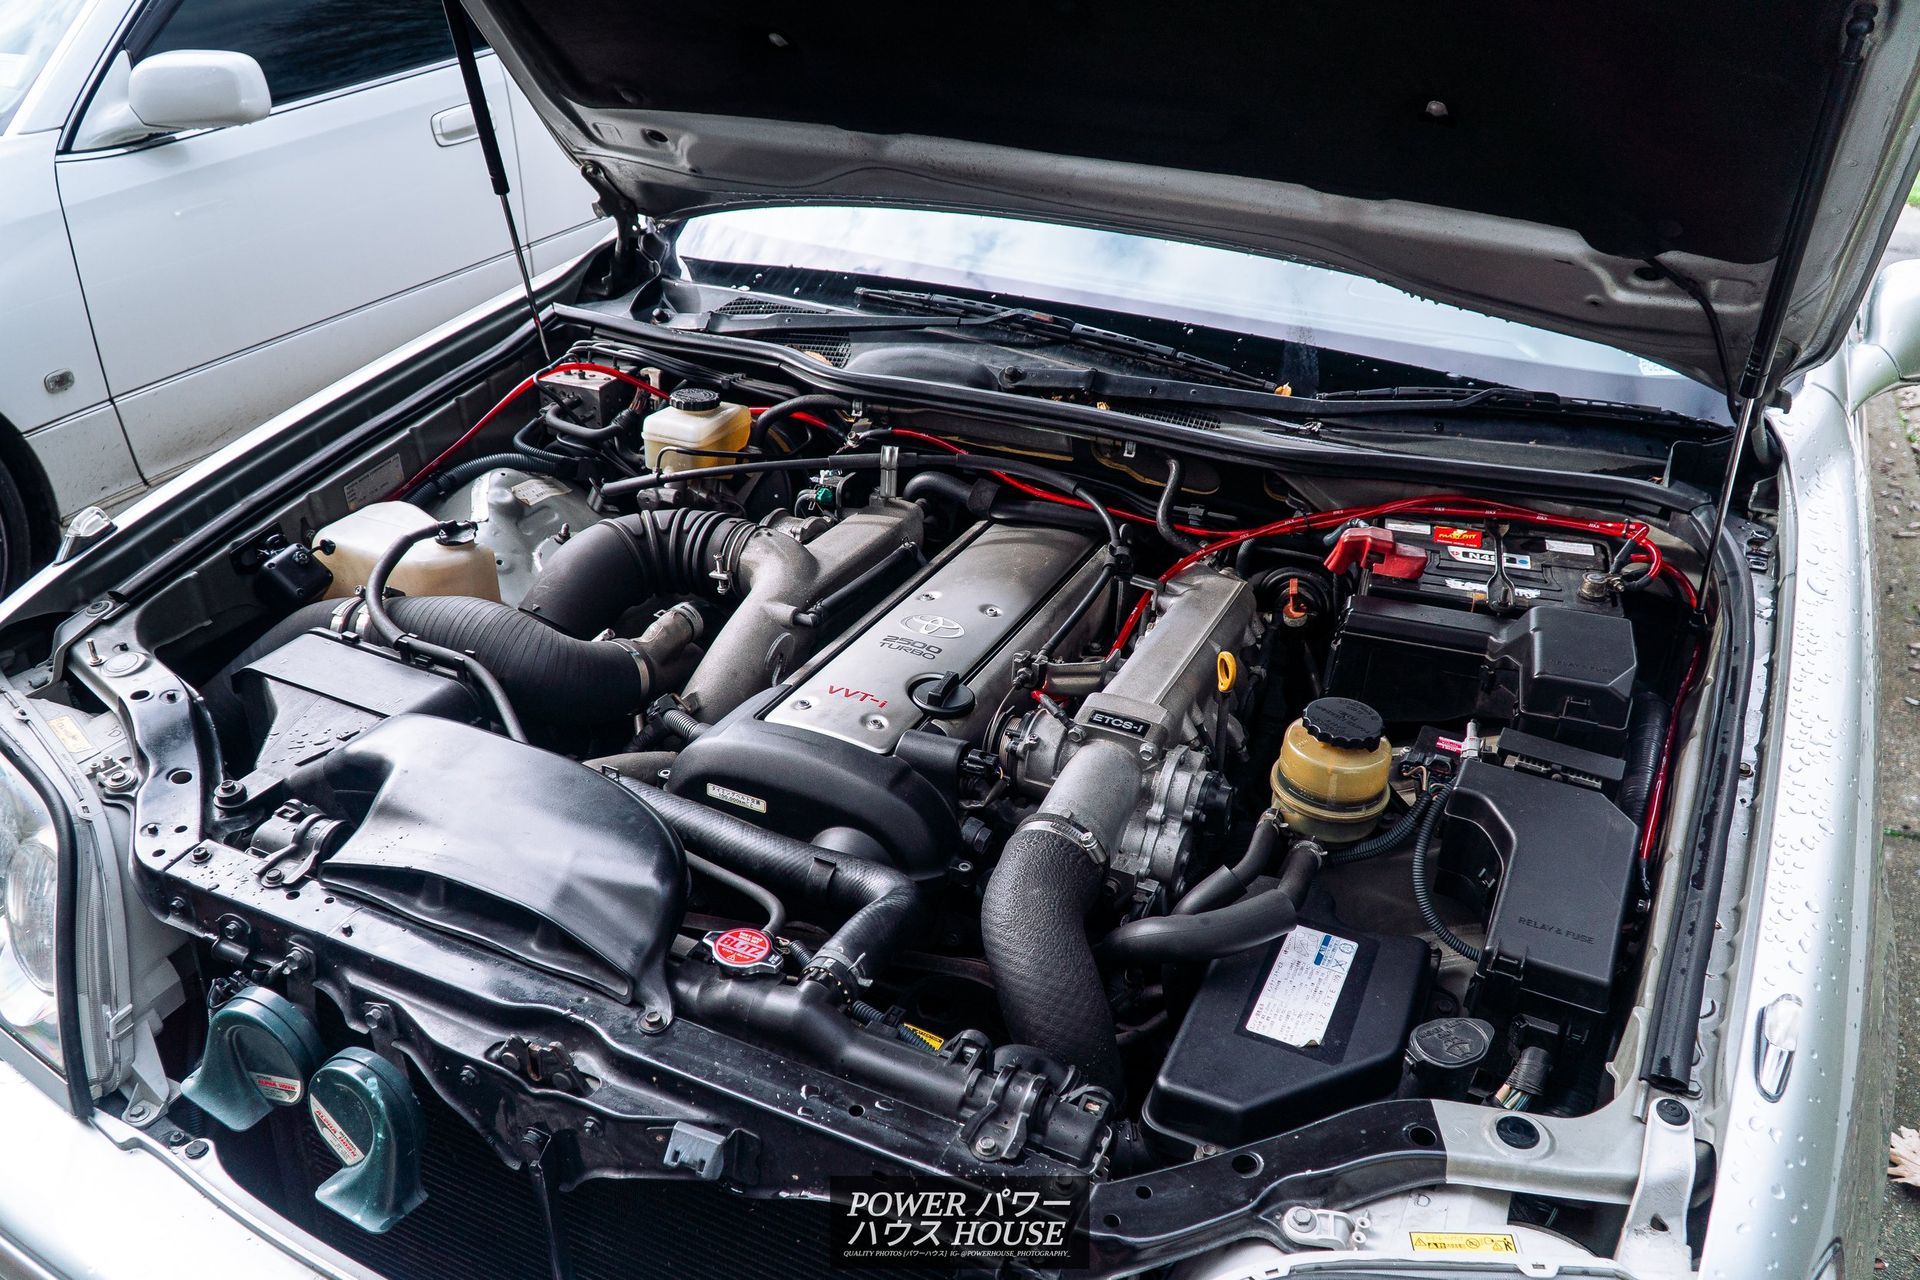
Now that the new hardened caster arm bushes are in, the front end feels much tighter and more direct than before. For the rears, I’m still currently undecided. I will most likely buy the Ikeya Formula pillow ball bushes and the Ikeya Formula rear knuckle bush removal kit and try to install them myself. Now, continuing on with the main issue the Crown has been having for a while. As previously covered, after installing a new air filter, cleaning the battery terminals, swapping MAF sensors, swapping ignitors, resetting the ECU, resetting the throttle body, and testing the VVTi sensor, the car still ran rough after the cold start. By this, I mean that when it’s really cold outside, and the car hasn't been warmed up, the throttle has absolutely zero response and it also occasionally backfires. The next, and probably the last thing on the list to try was the genuine Toyota ECU coolant temp sensor (Part Number 89422-30030) I ordered last time from Amayama. After a month of waiting, it finally arrived. The installation was as simple as removing the intake snorkel and disconnecting the battery, unplugging the ECT Sensor, and then unscrewing and screwing the sensor on with a deep 19mm socket.
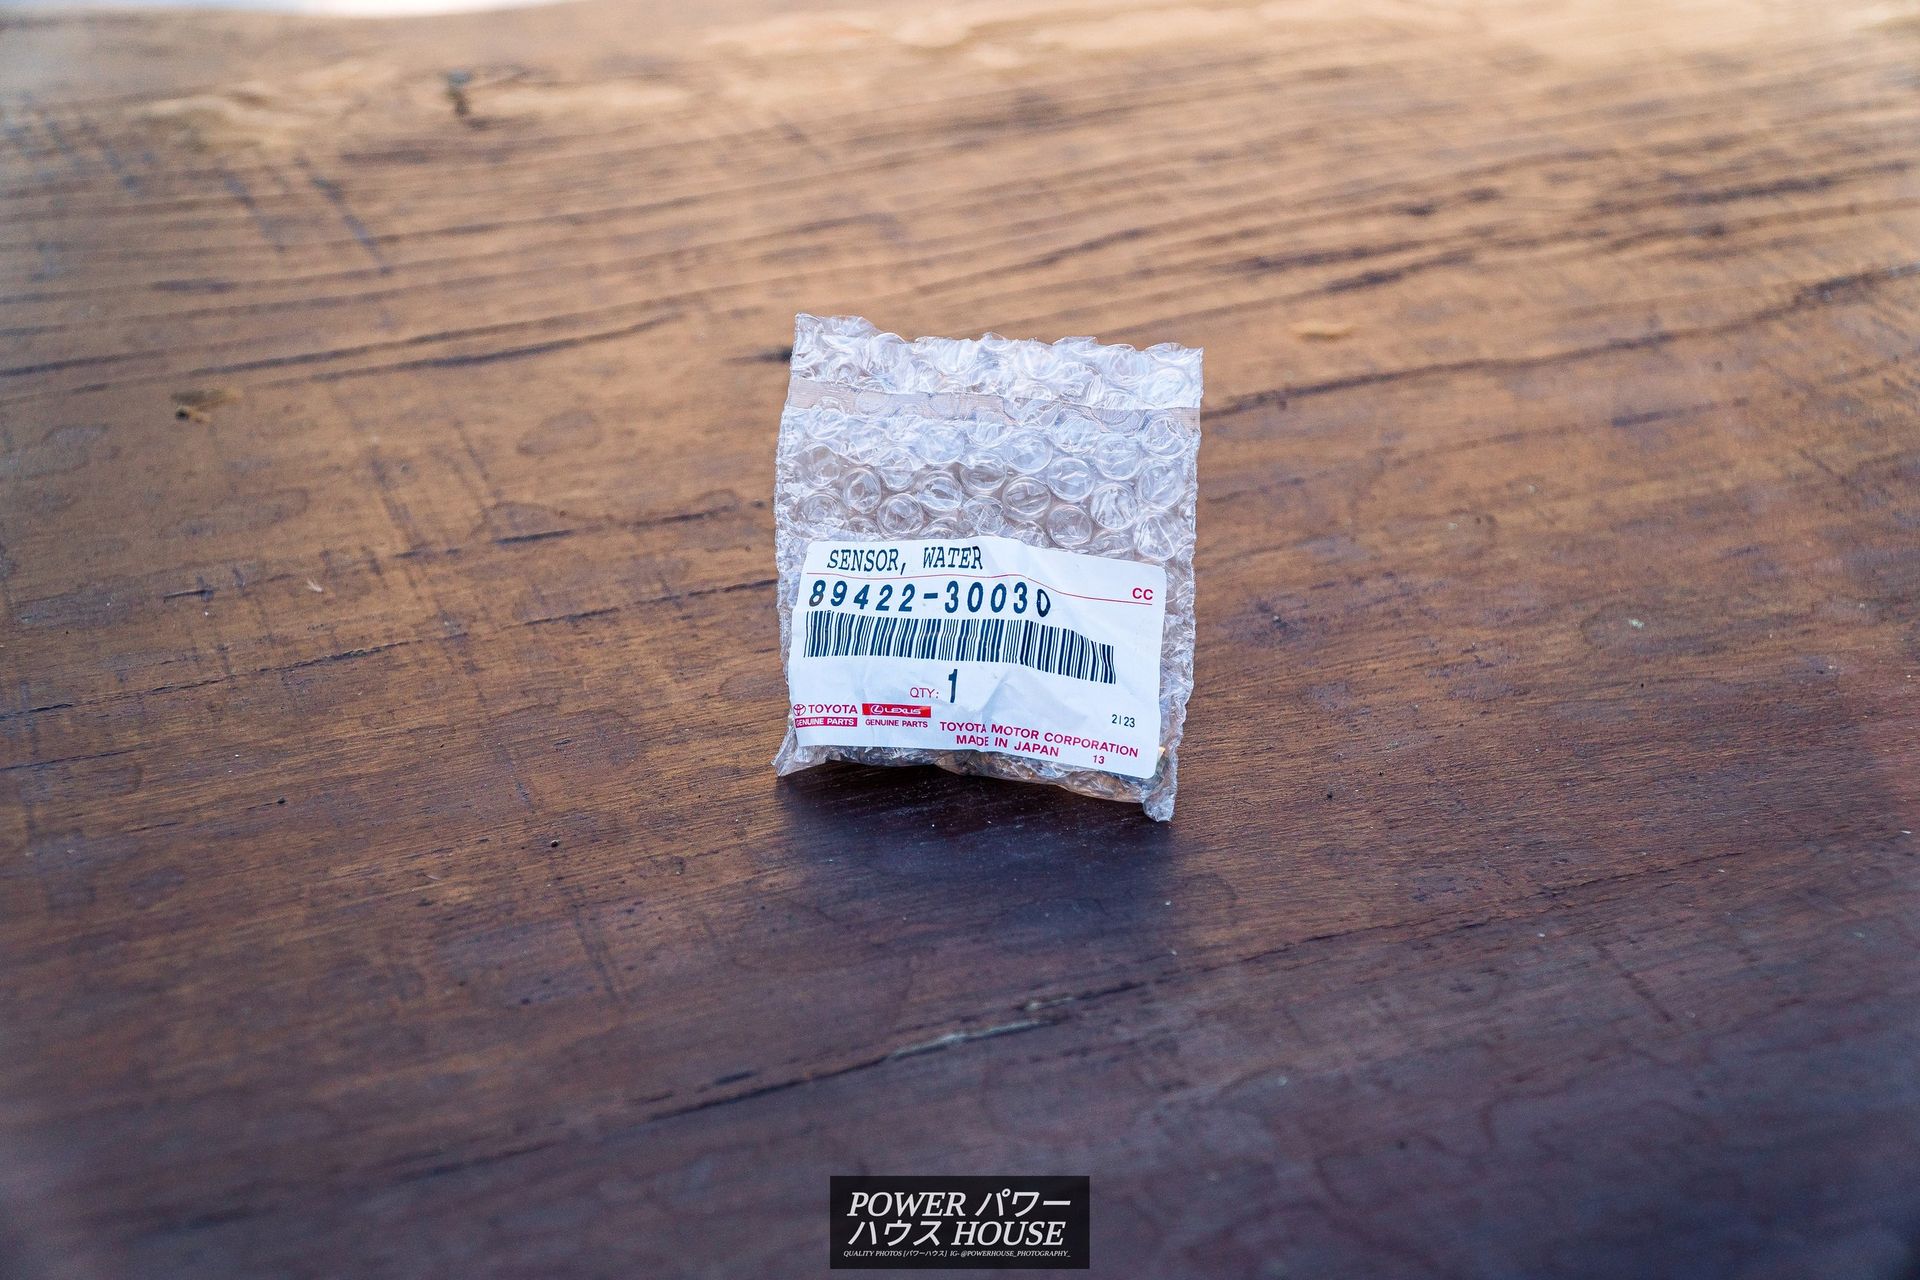
Once everything was all installed and reassembled, I started the car with my fingers crossed, but unfortunately, the problem was still there. Oh well.
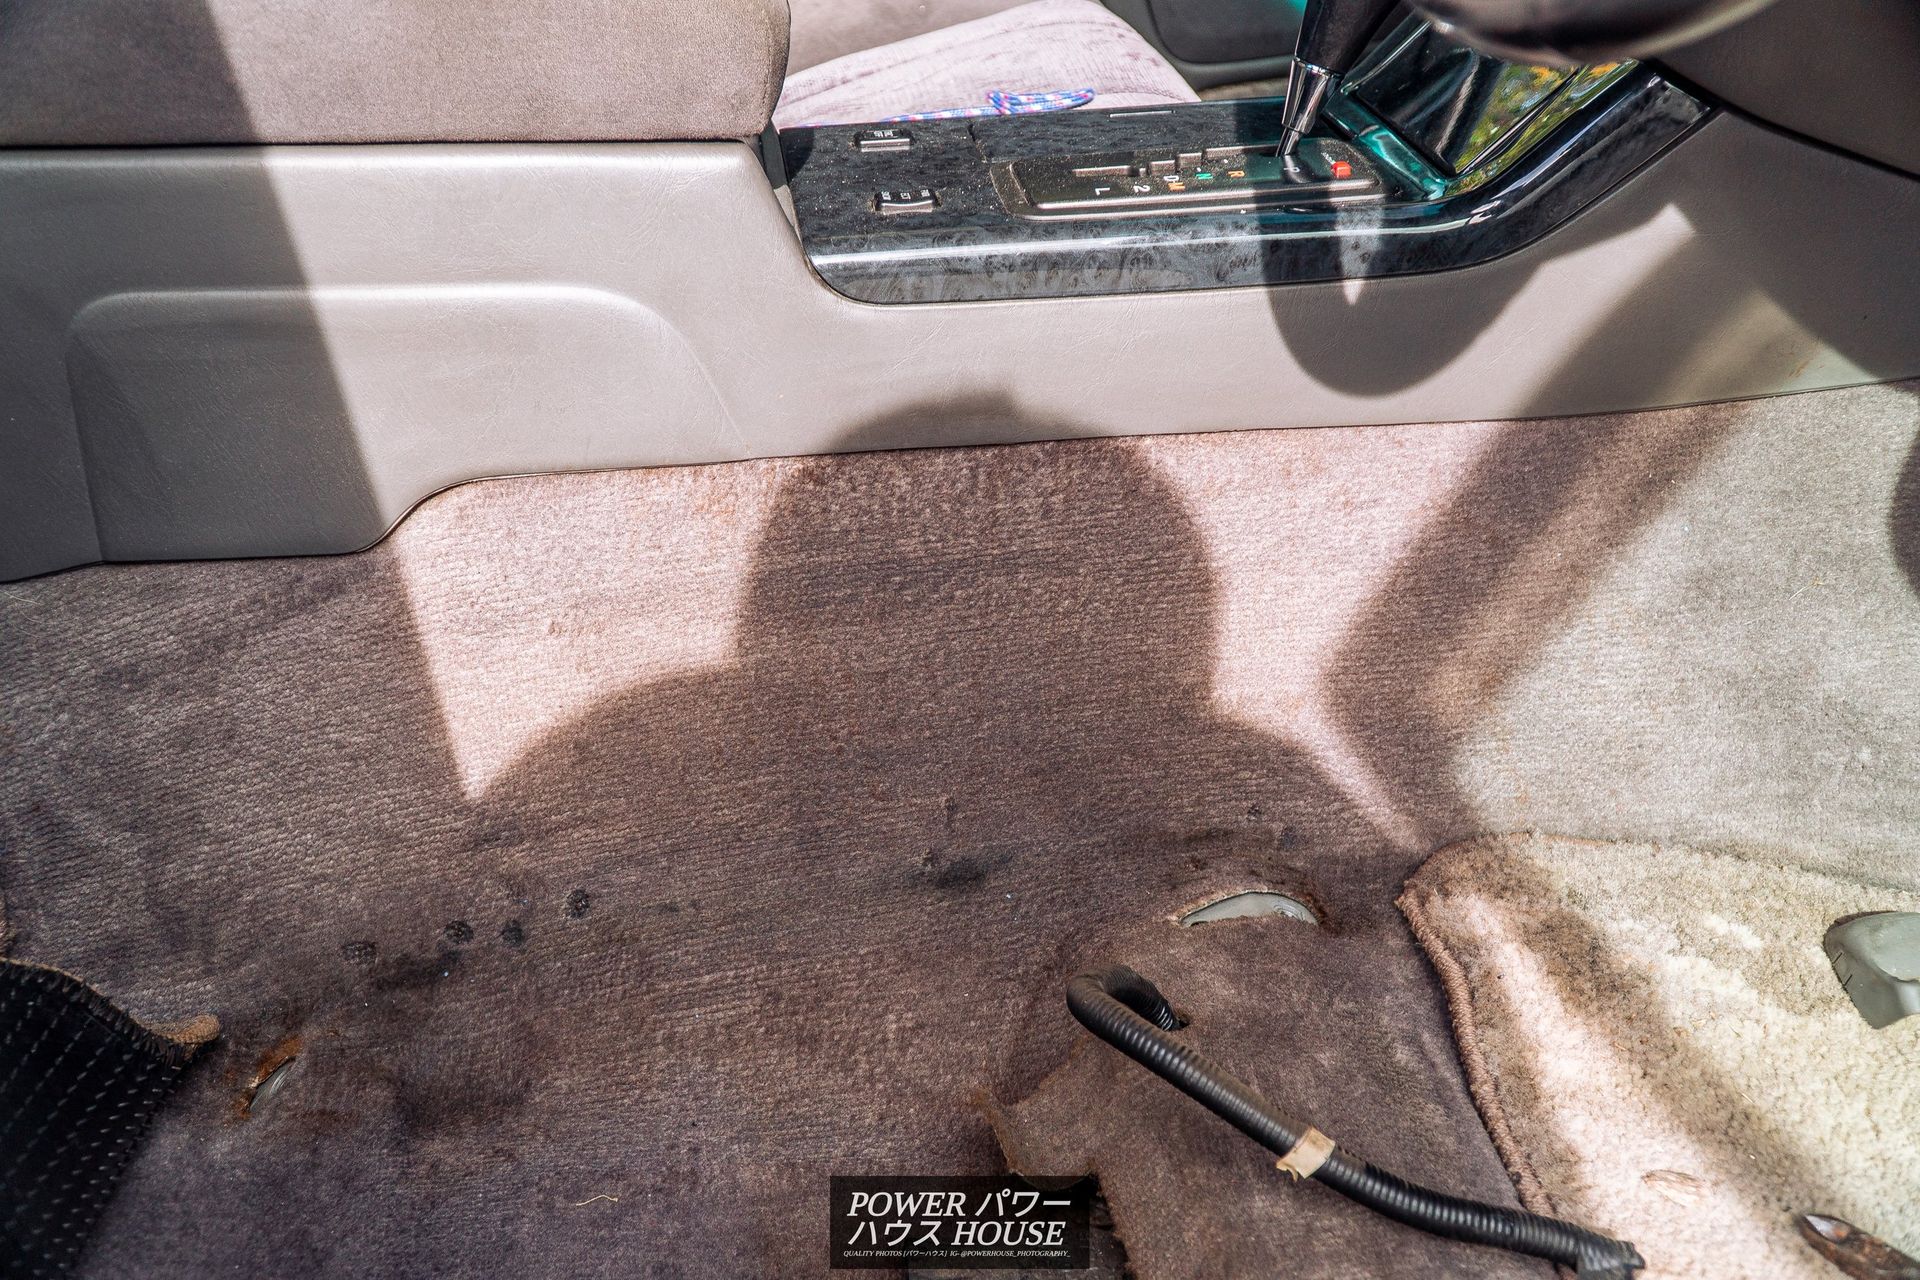
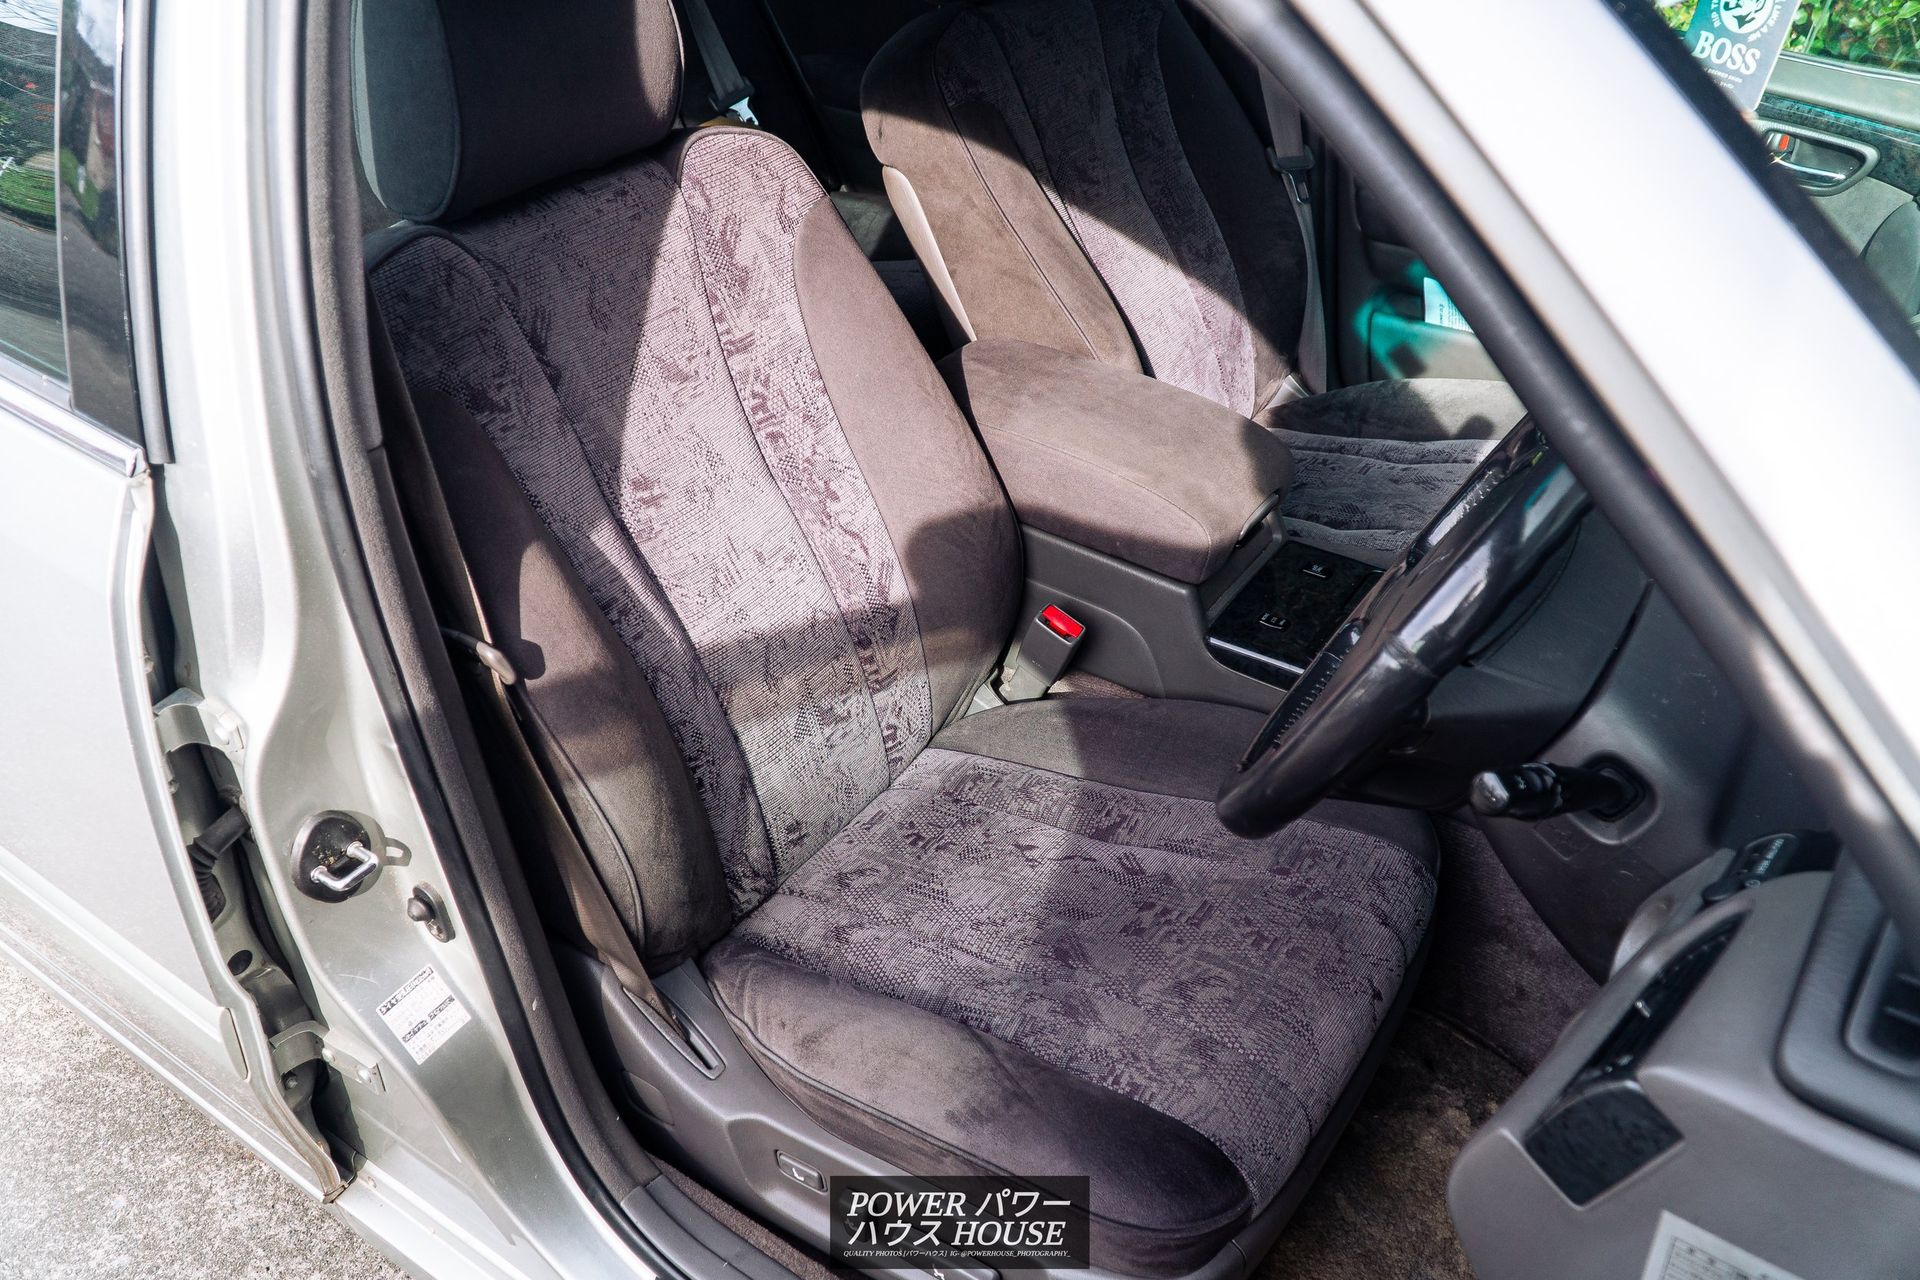
Chapter 2: The Small Things Two things that always bothered me in the interior were the driver's seat and the centre armrest. This was because the centre armrest had some pretty heavy wear and felt yucky, while the driver's seat electrics were loud and sounded like they were about to explode. To complement the loud sounds, there were also a couple of significant cigarette burns and wear on the inner bolster of the driver’s seat.

I was lucky enough to find that both these items were still available from the car I got my suspension from and that both things were in excellent condition as the car only had around 80,000km on the clock. Once I took the seat out though, I found that someone had split coffee between the seat, but luckily, after brushing in some cold water, it mainly looked like nothing had ever happened.
After reinstalling both items, the interior felt much cleaner and newer.

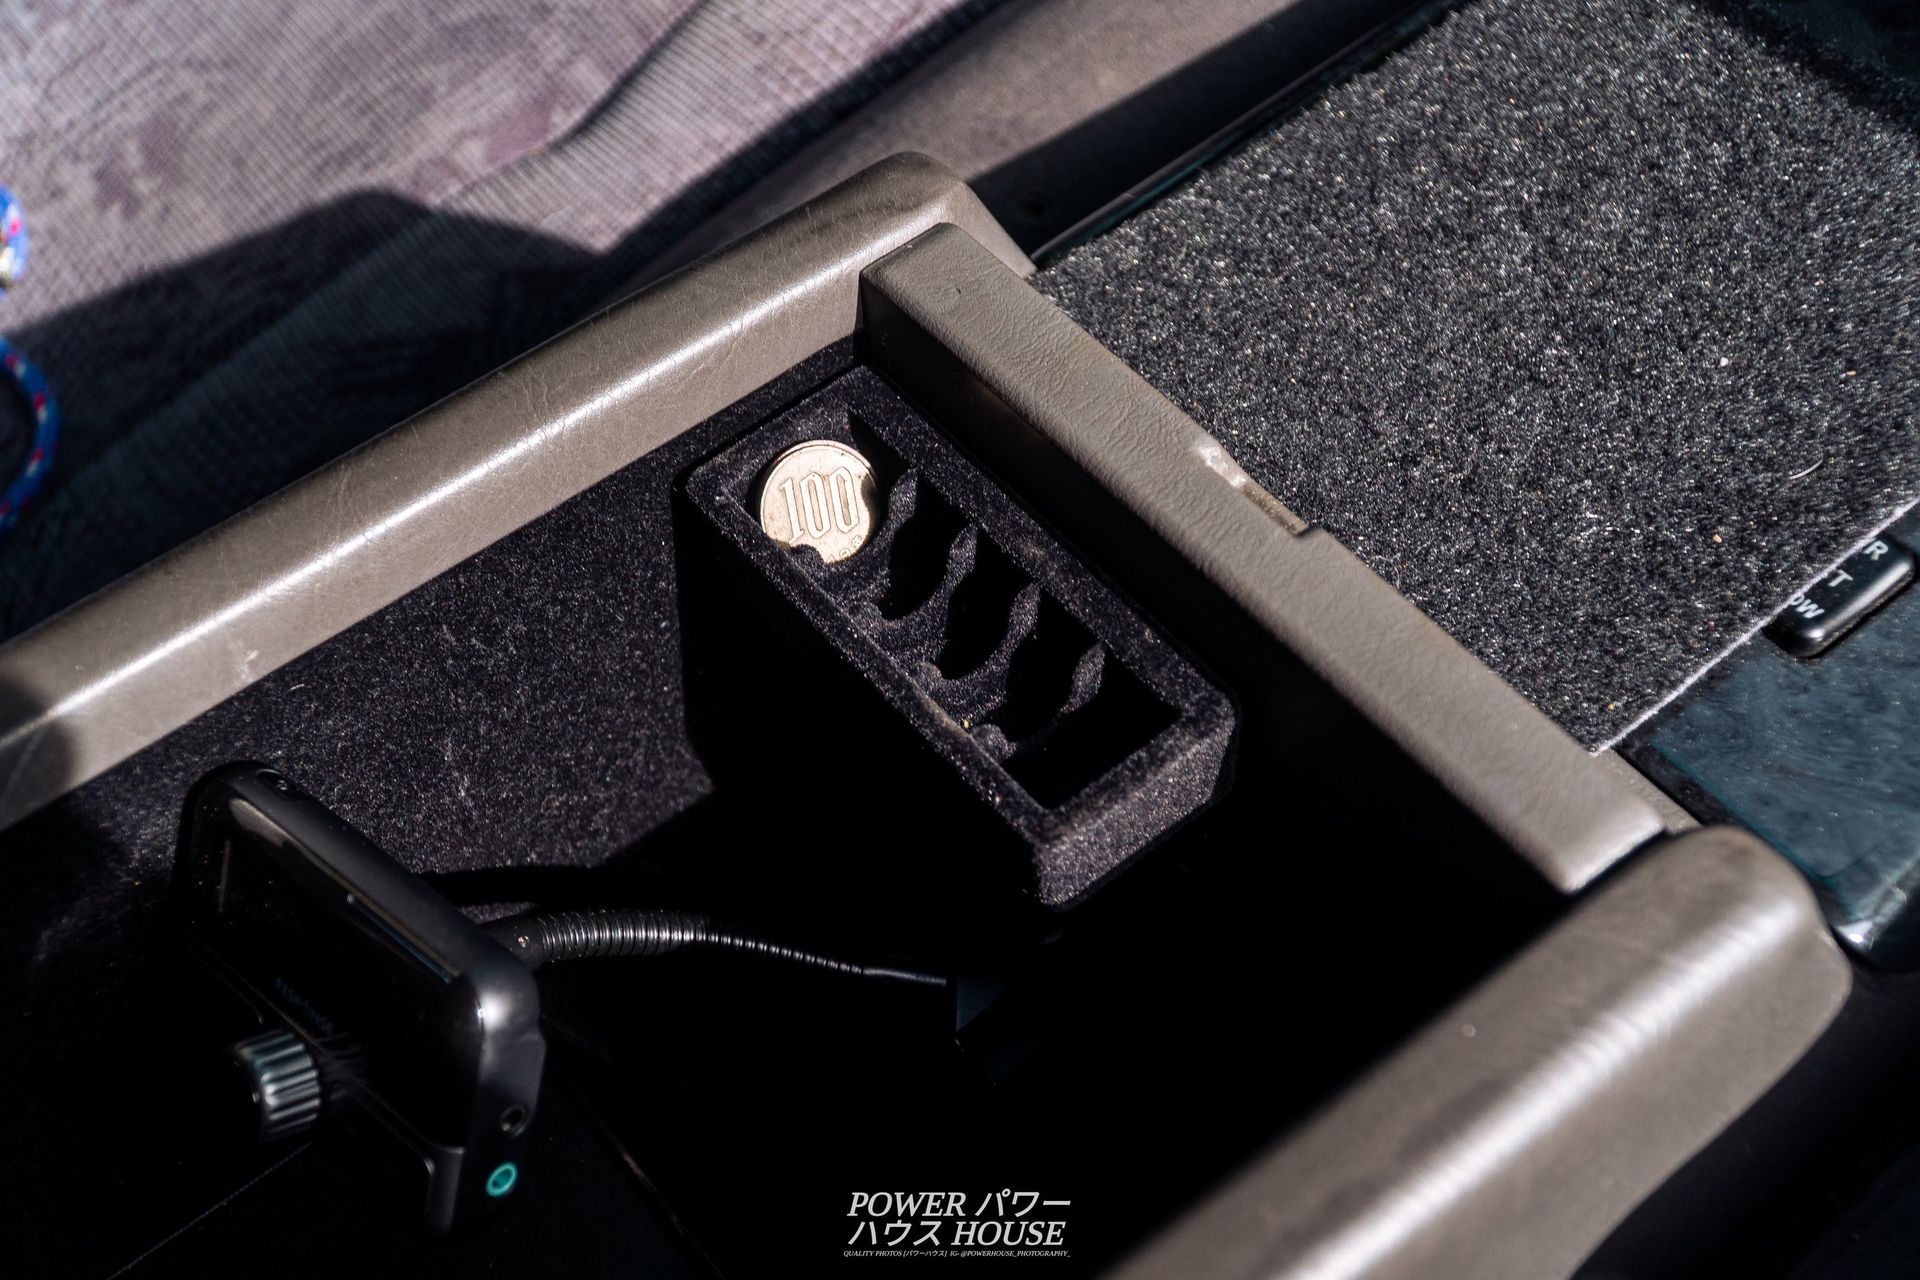
I also found a couple more Japanese coins under the seat to add to my collection!
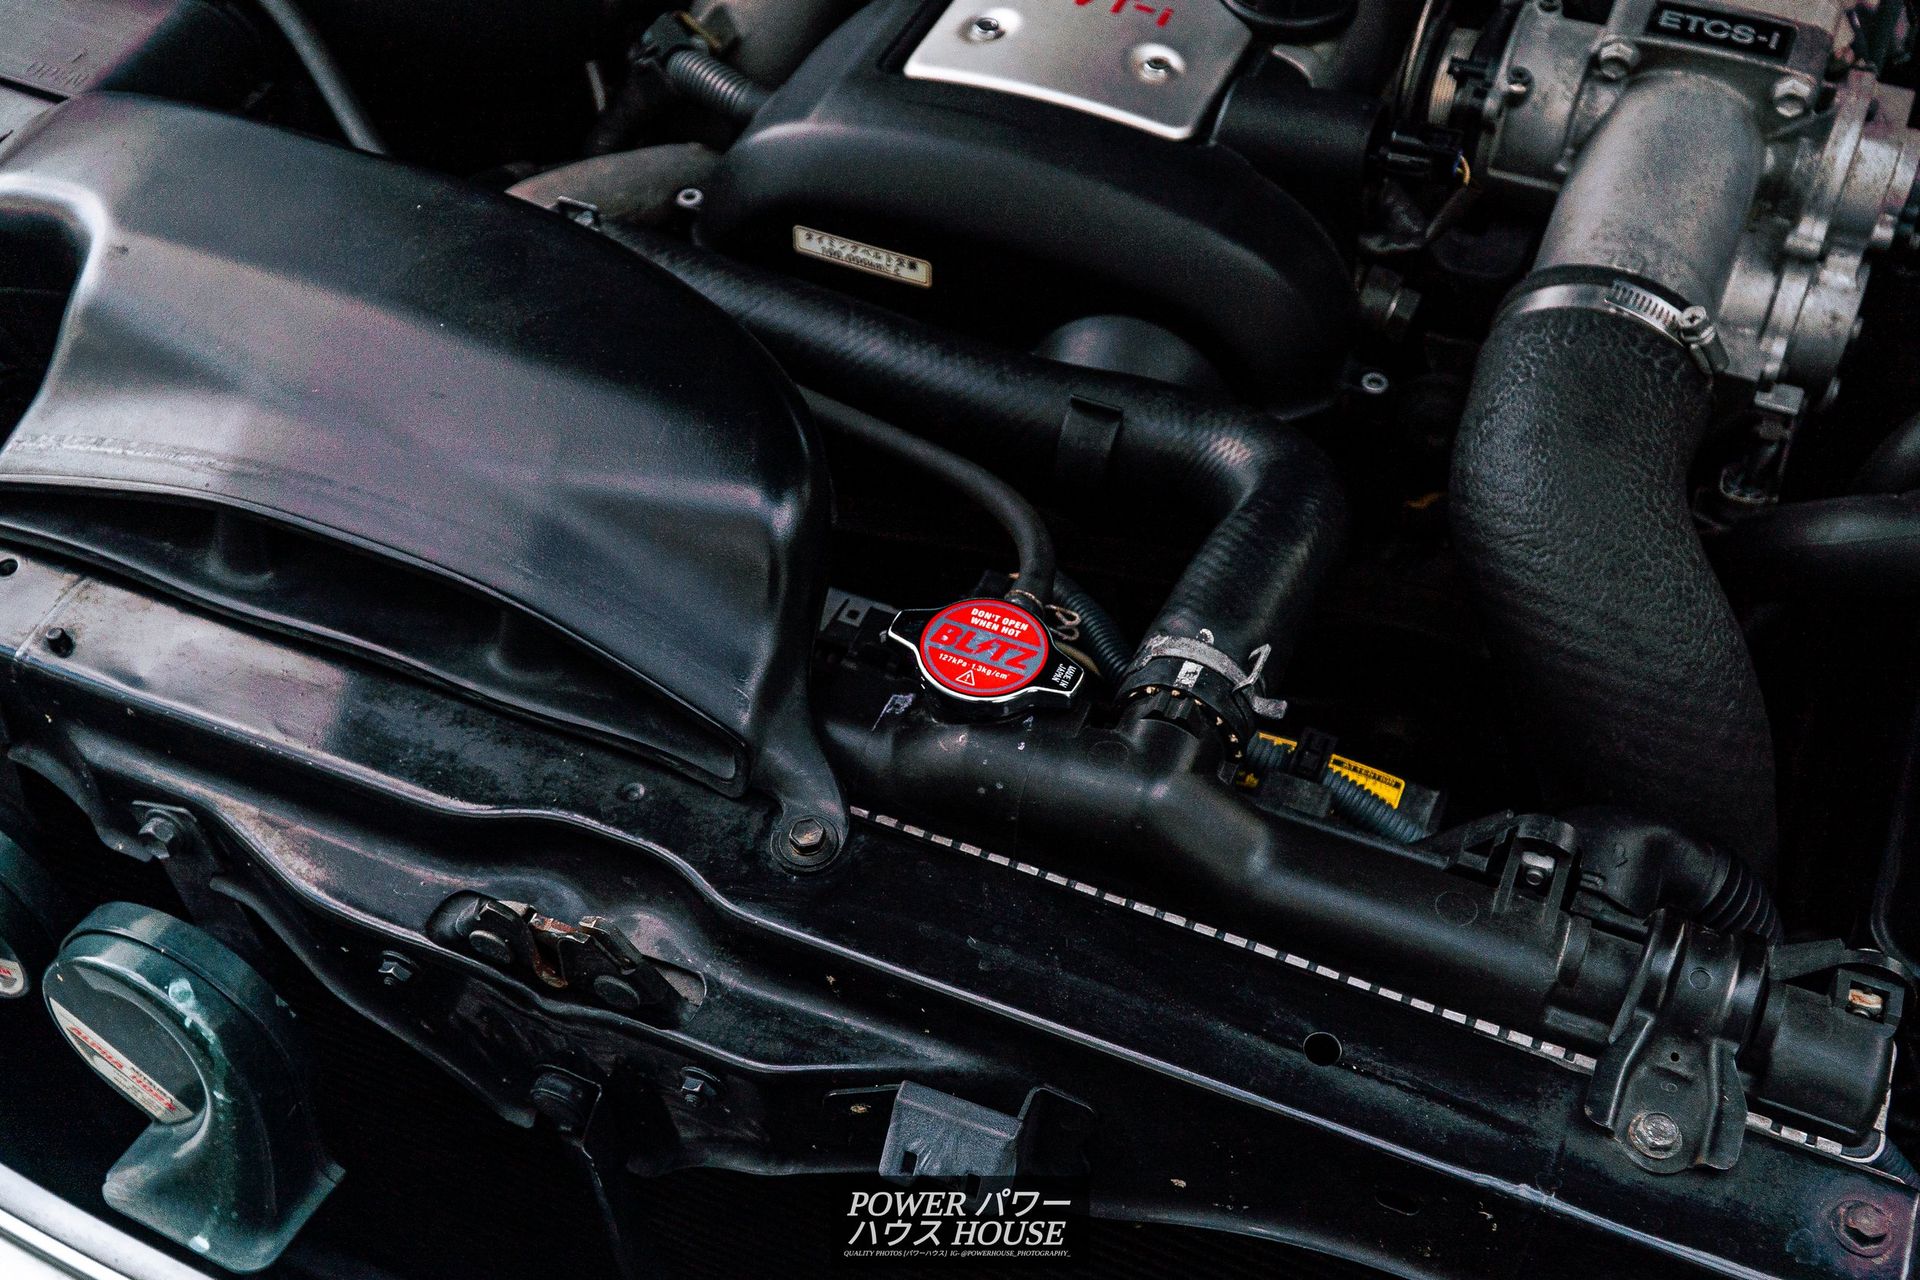
Although most might think the radiator cap is fine and actually good since it seems brand new, I have always thought the Tridon unit in the car was an eye sore and looked ugly.
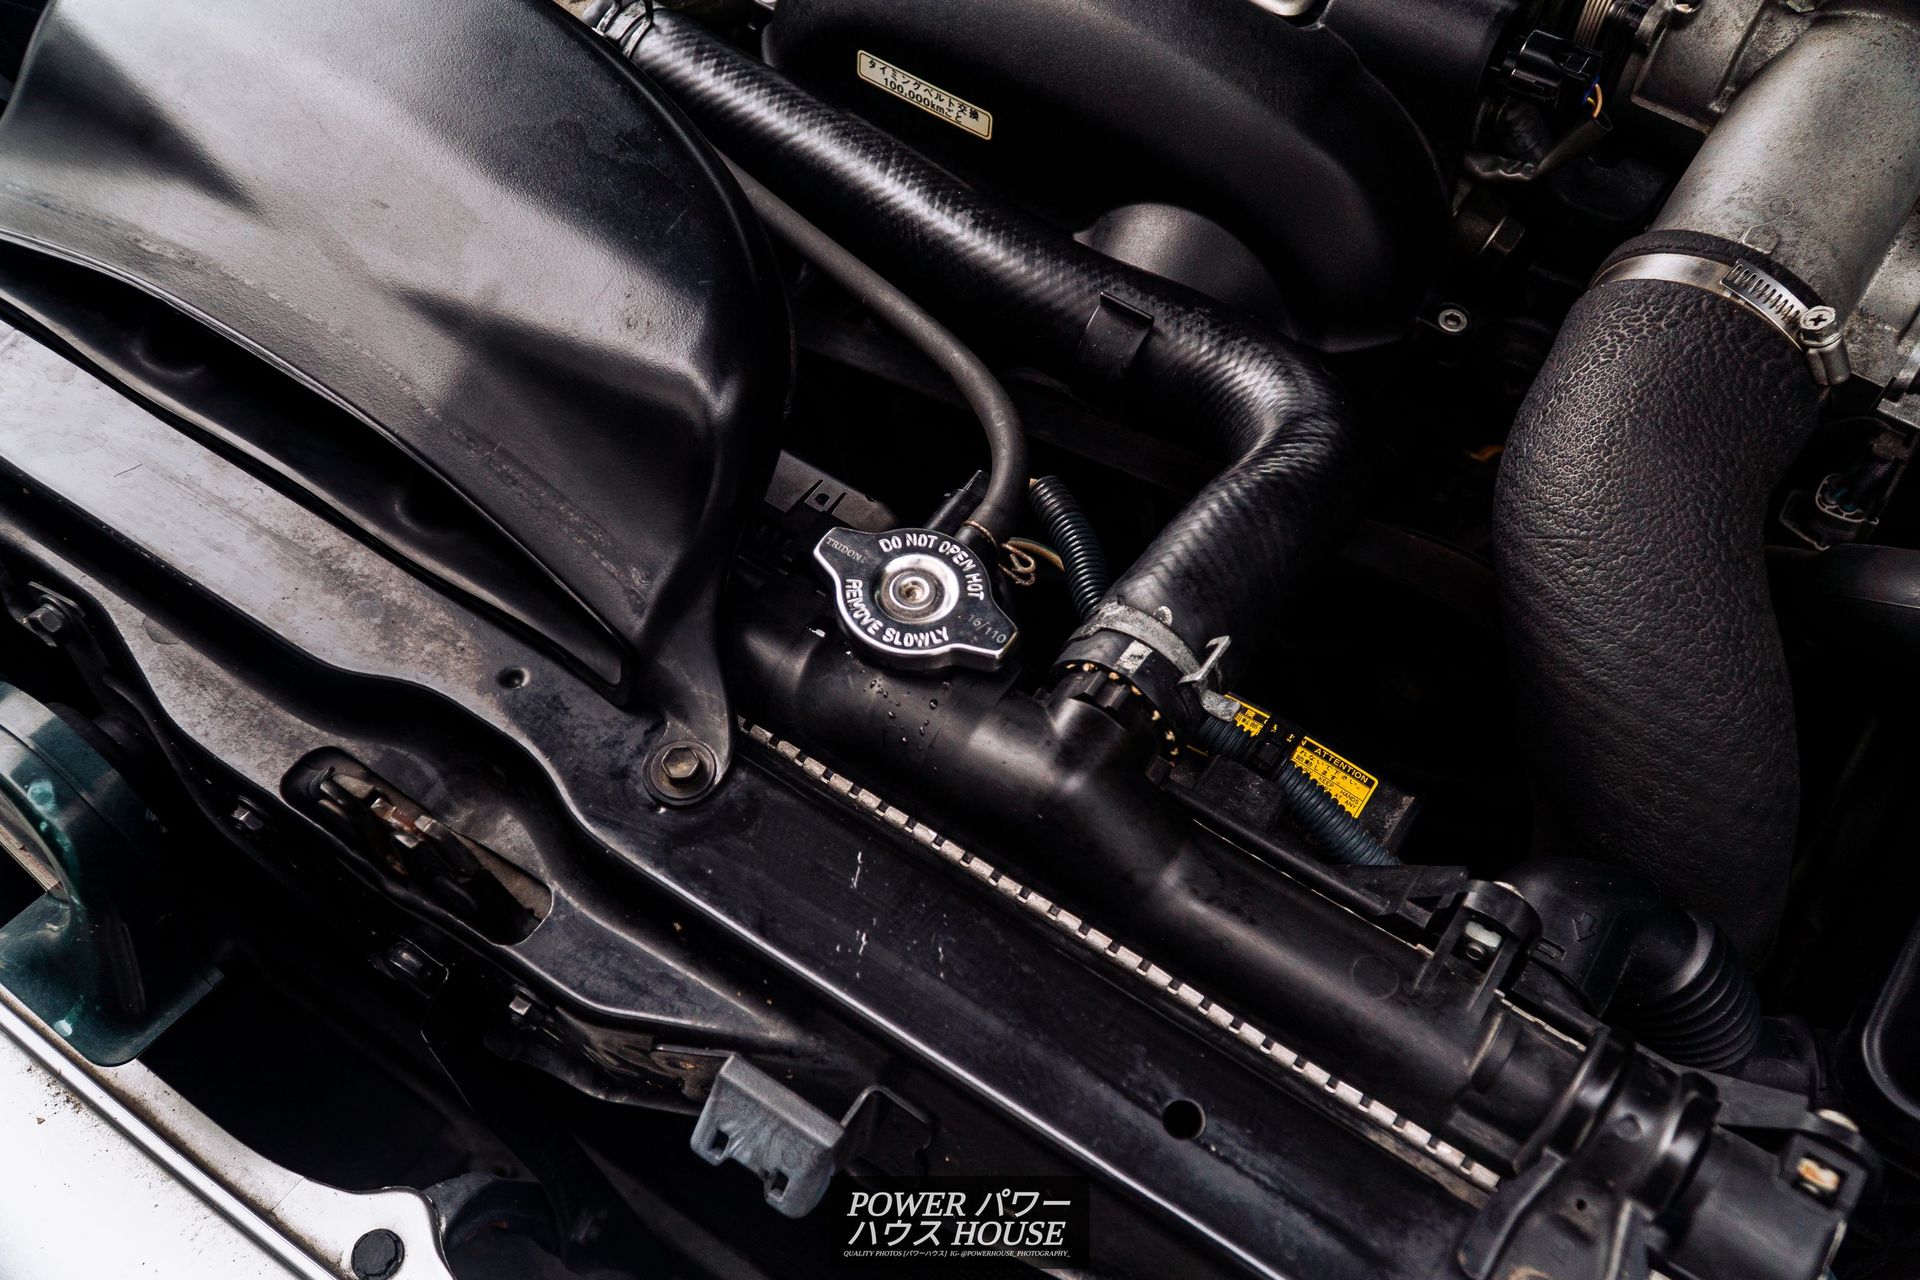
My new one is from Japan through Jesse Streeter and is a high-pressure Blitz Racing 1.3-bar radiator cap. That means that not only does it look cool, but it raises the boiling point of the coolant as well.
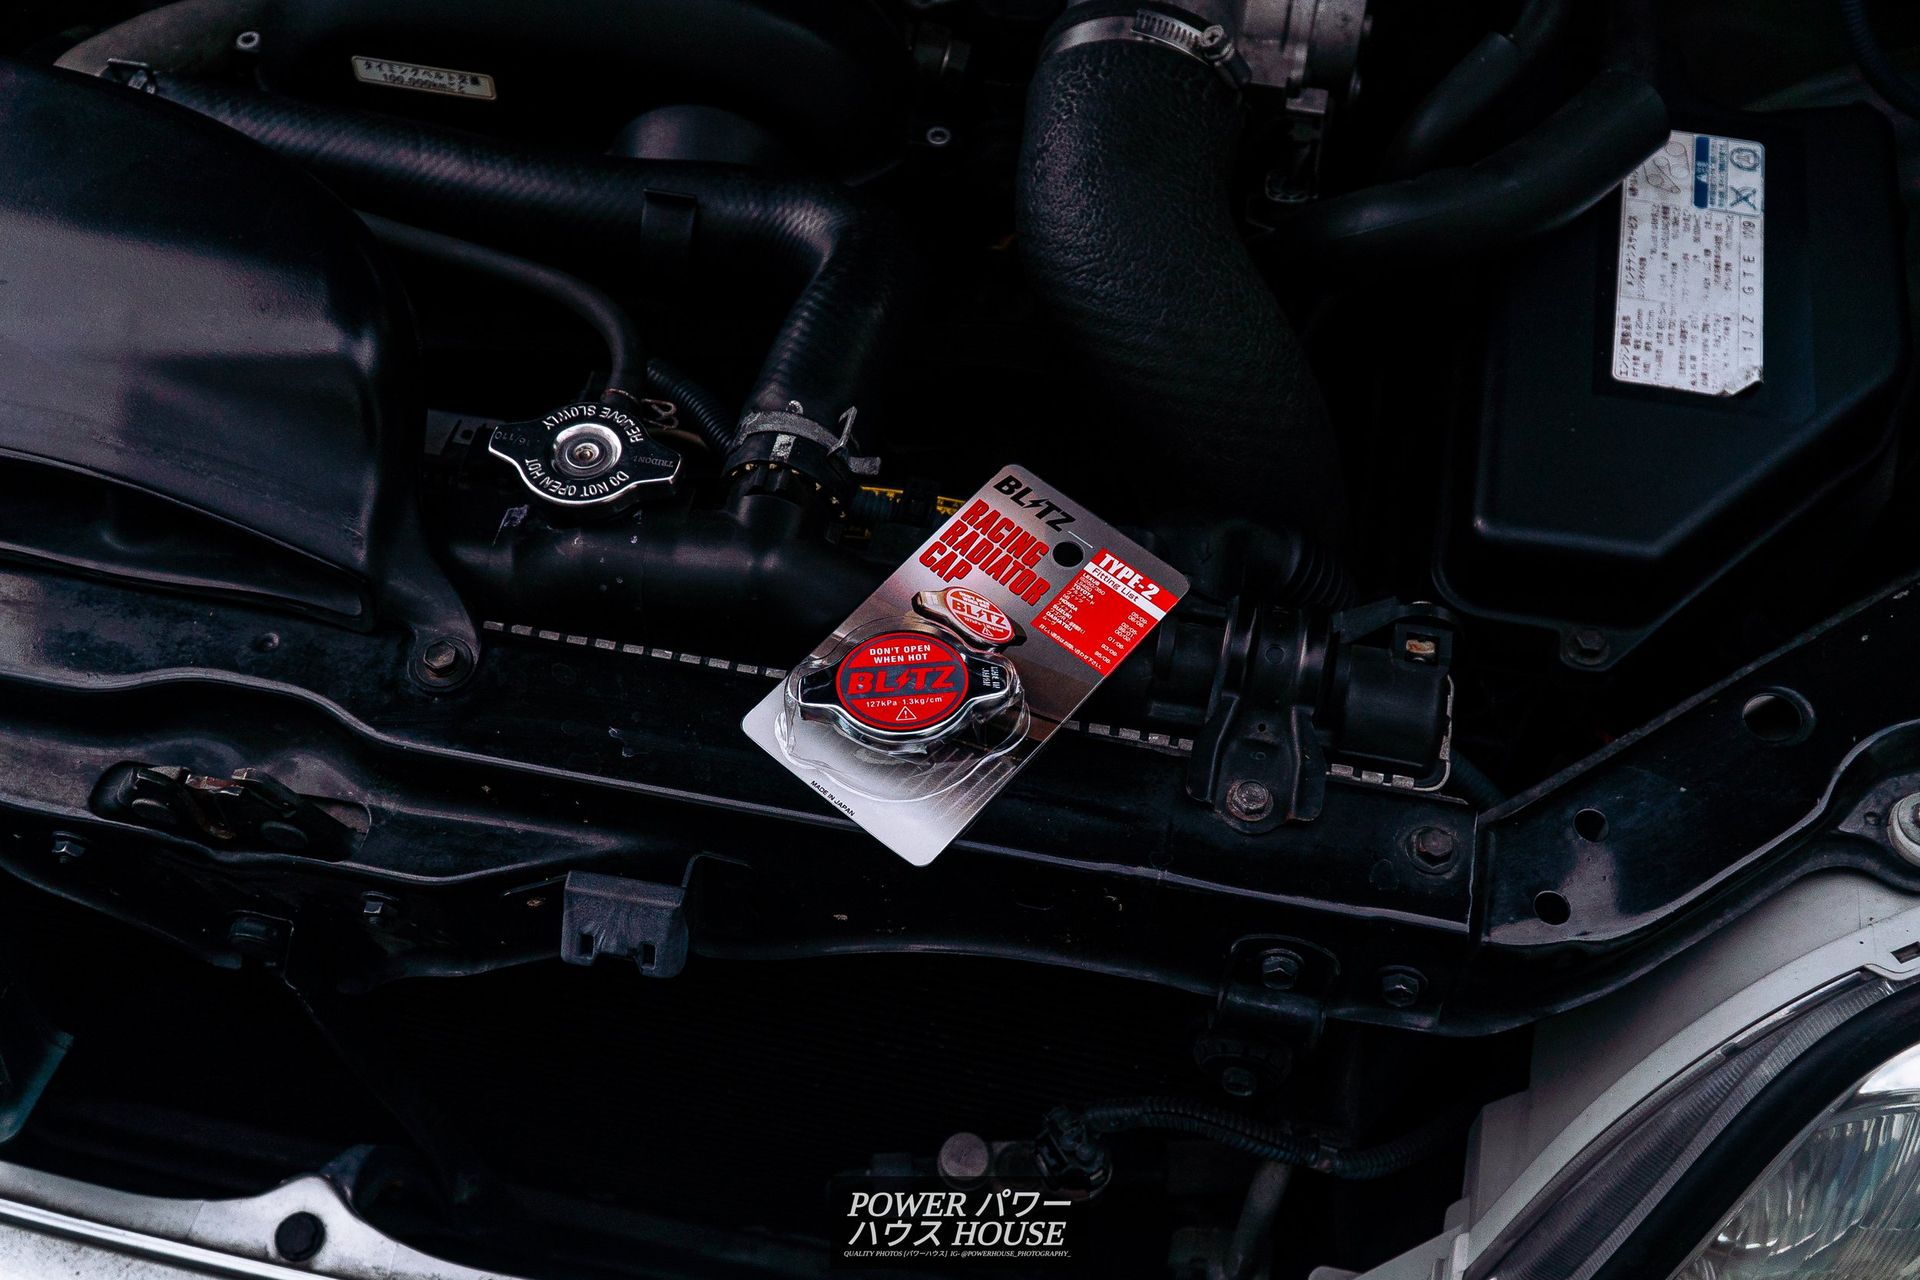
I really do think this little radiator cap has changed the look of the engine bay!
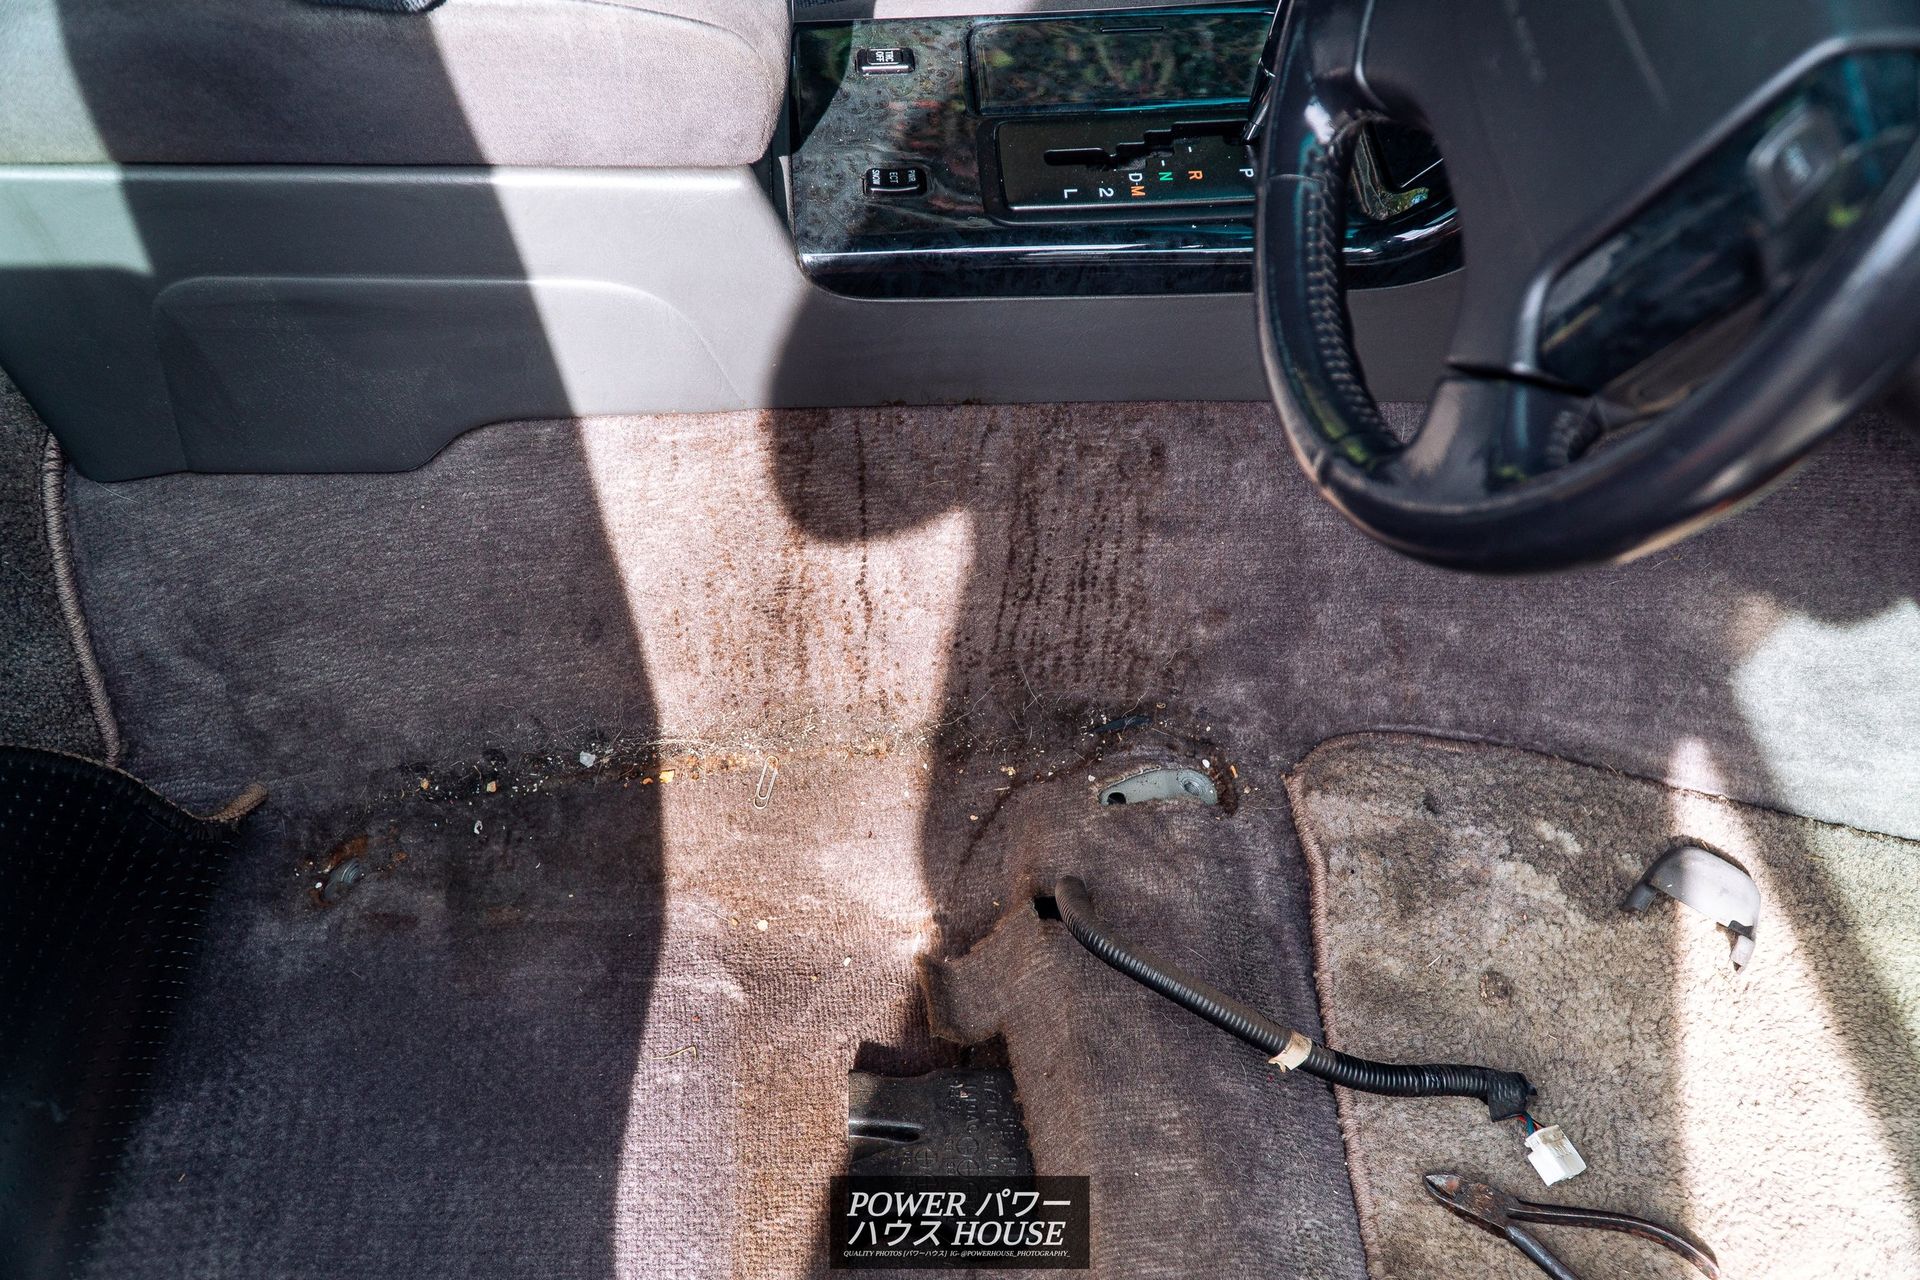
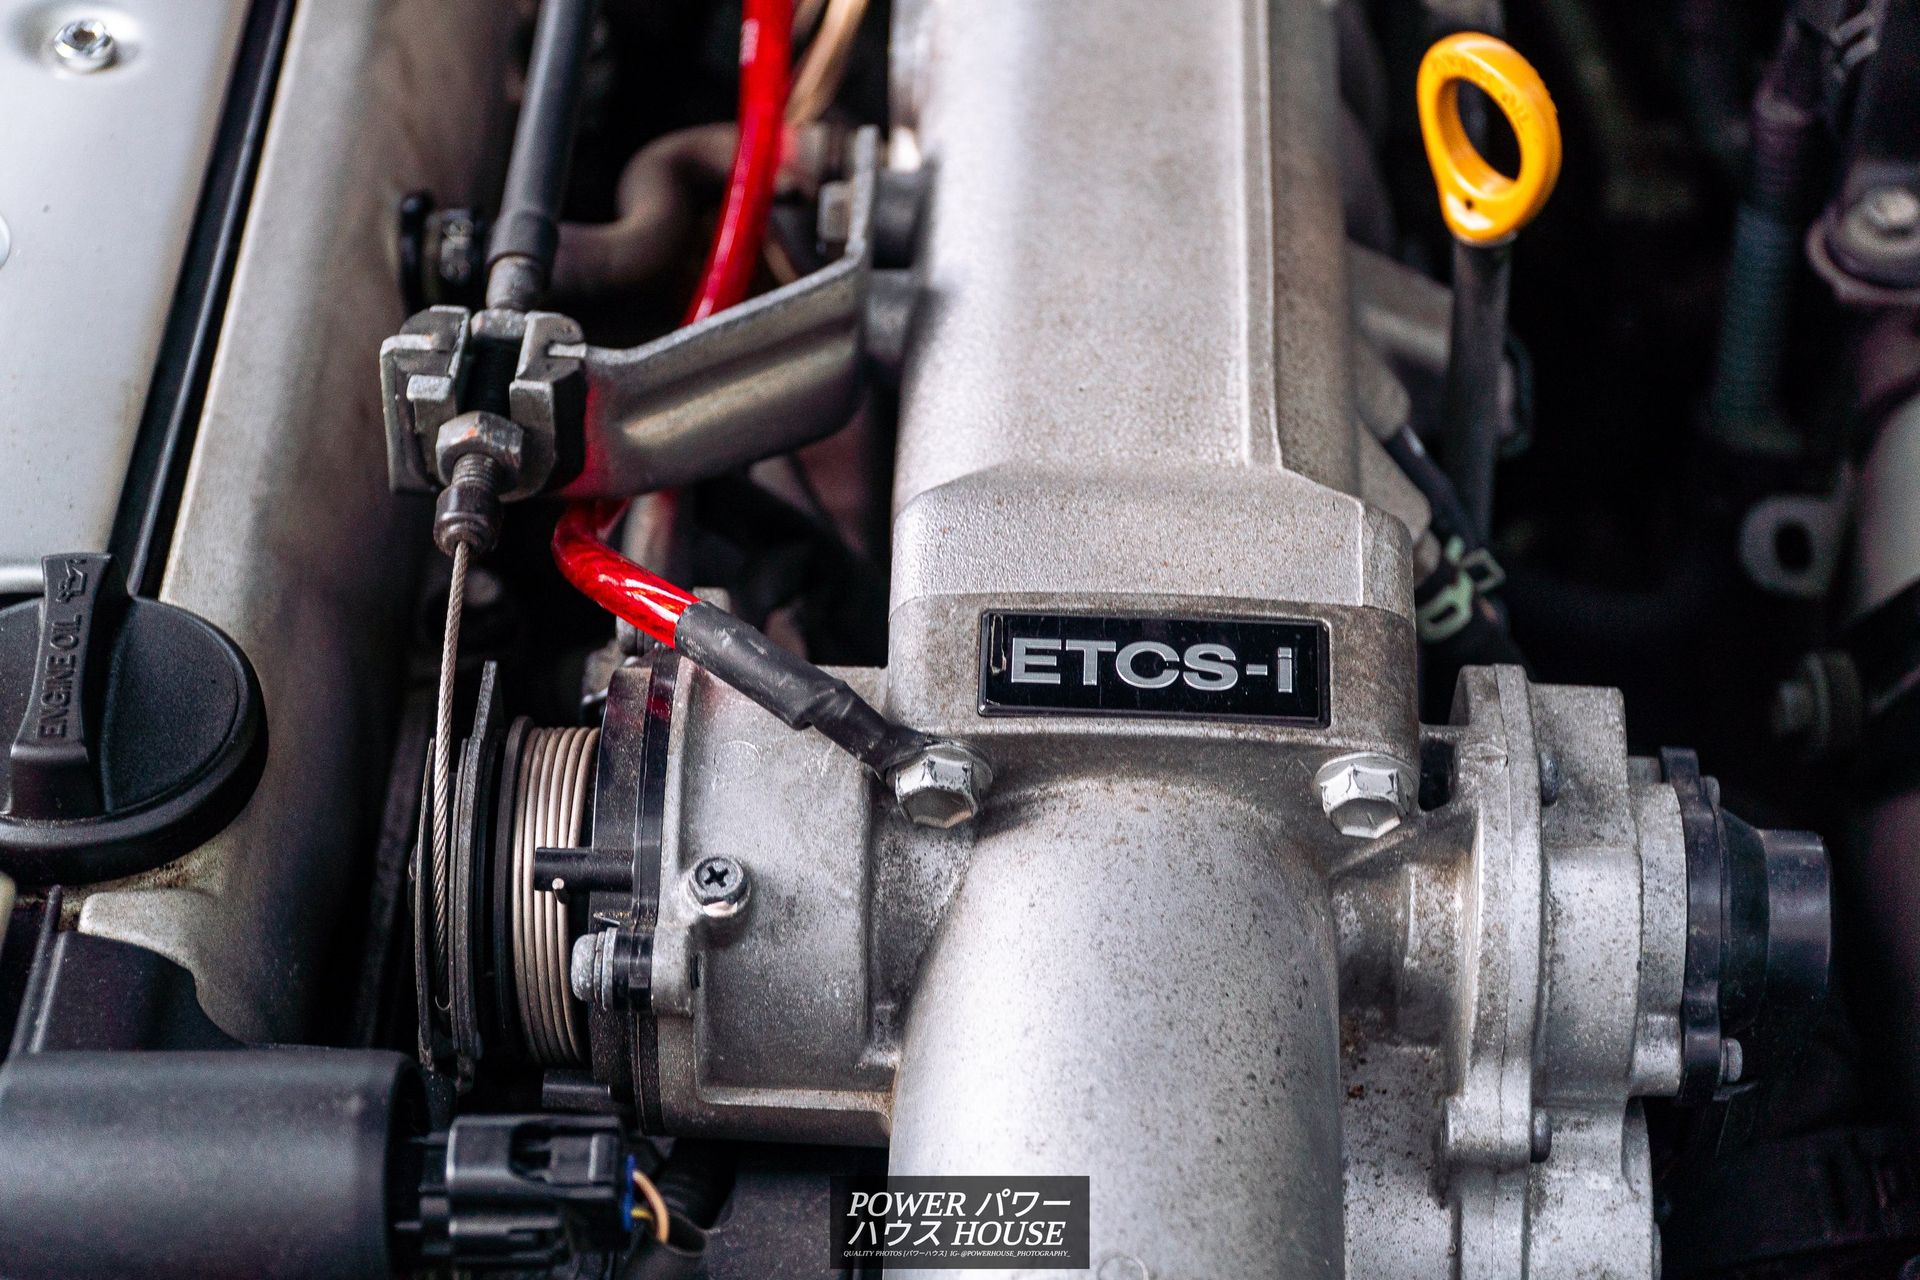
Next up, the Crown seemed to be having really bad static sounds when the radio was turned on. To try fix this, I thought I'd try to install an old HKS earth grounding kit I found in the garage from my dad's old Tommy Kaira GC8 in the early 2000s. After a lot of research and a bit of experimenting, I decided to go for the same routing as the factory-optional Netz Club Racer kit for the Toyota Aristo V300 JZS161.
From the negative battery terminal, the grounding kit goes to all 3 OEM chassis grounding points, along with the throttle body. The Netz Club Racer kit for the JZS161 also utilizes a brace from the intake manifold to head which apparently improves the efficiency of the VVTi system. Unfortunately, the 1JZ doesn't have this brace so I had to bypass it.
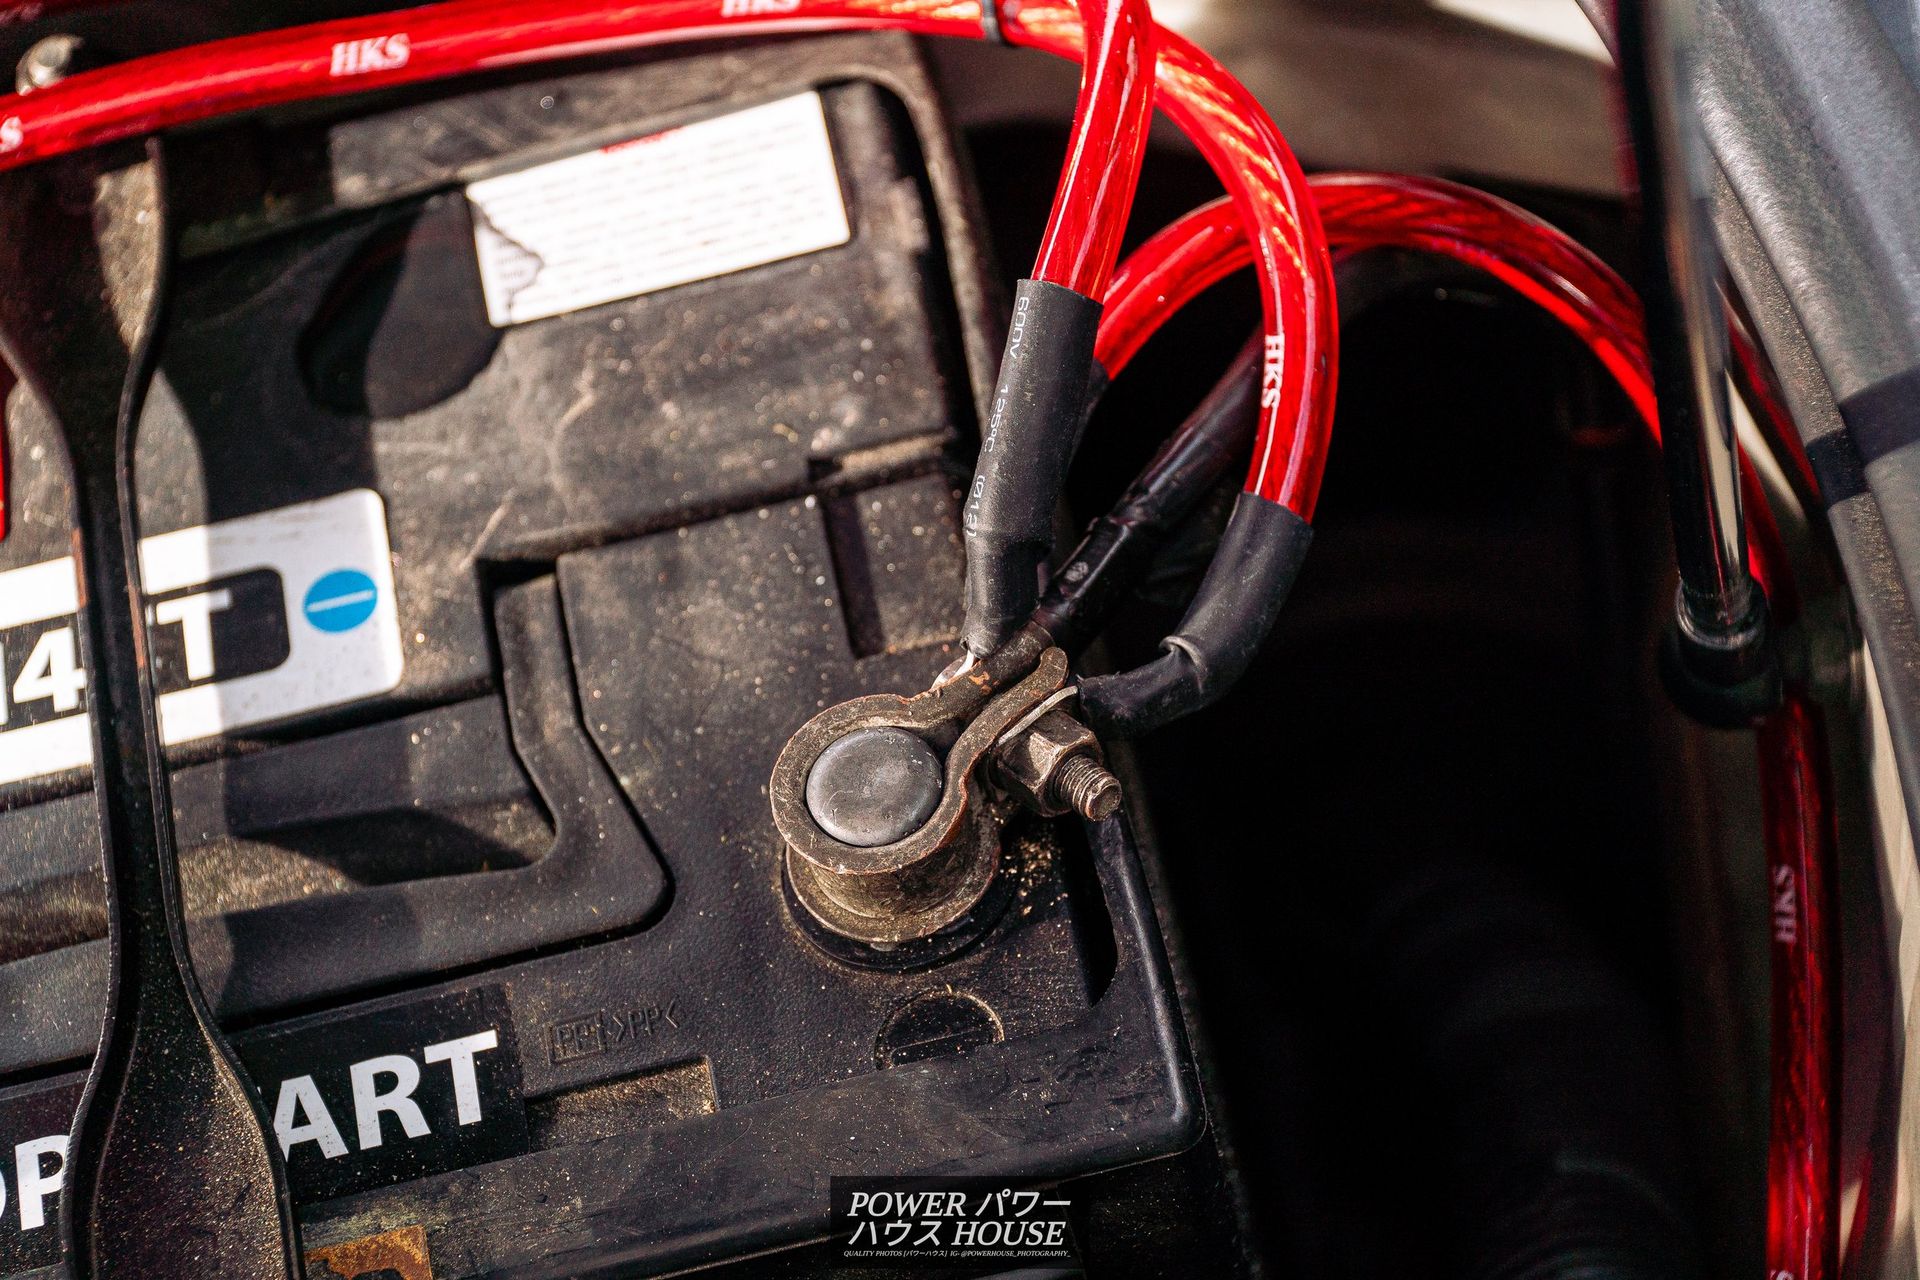
I noticed that the radio static definitely got better, as well as the quality of the sound system. Although, in saying that, I don't think there are any performance gains. I guess it also looks cool which is a bonus.
Now that the Crown was basically perfect, I needed to ensure no thieves would take it from me. To do this, I hit up Installer Services to get an alarm installed. I got an AVS S5 5-star alarm, and they even got the central locking working, which I know many other shops wouldn't have been able to do.
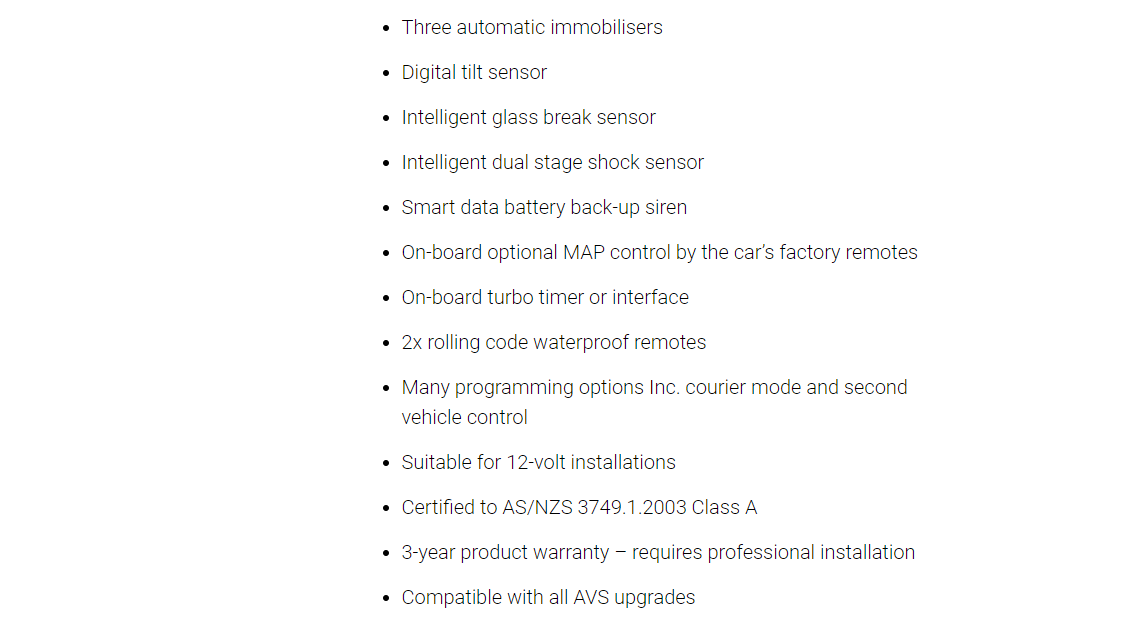
Being the top-of-the-line model, it has all the bells and whistles, including a built-in turbo timer which is super cool!
Chapter 3: Conclusion Now that the Crown is mainly trouble-free, in better nick, cooler, and more secure, it is ready for me to start driving regularly when I get my learners in November. Can't wait!