Project Crown: Mo Mods Mo Problems
08 March 2023
After the 3 hour drive picking the car up, I quickly got to work. First up was the biggest problem the car, the wet spare tyre well.
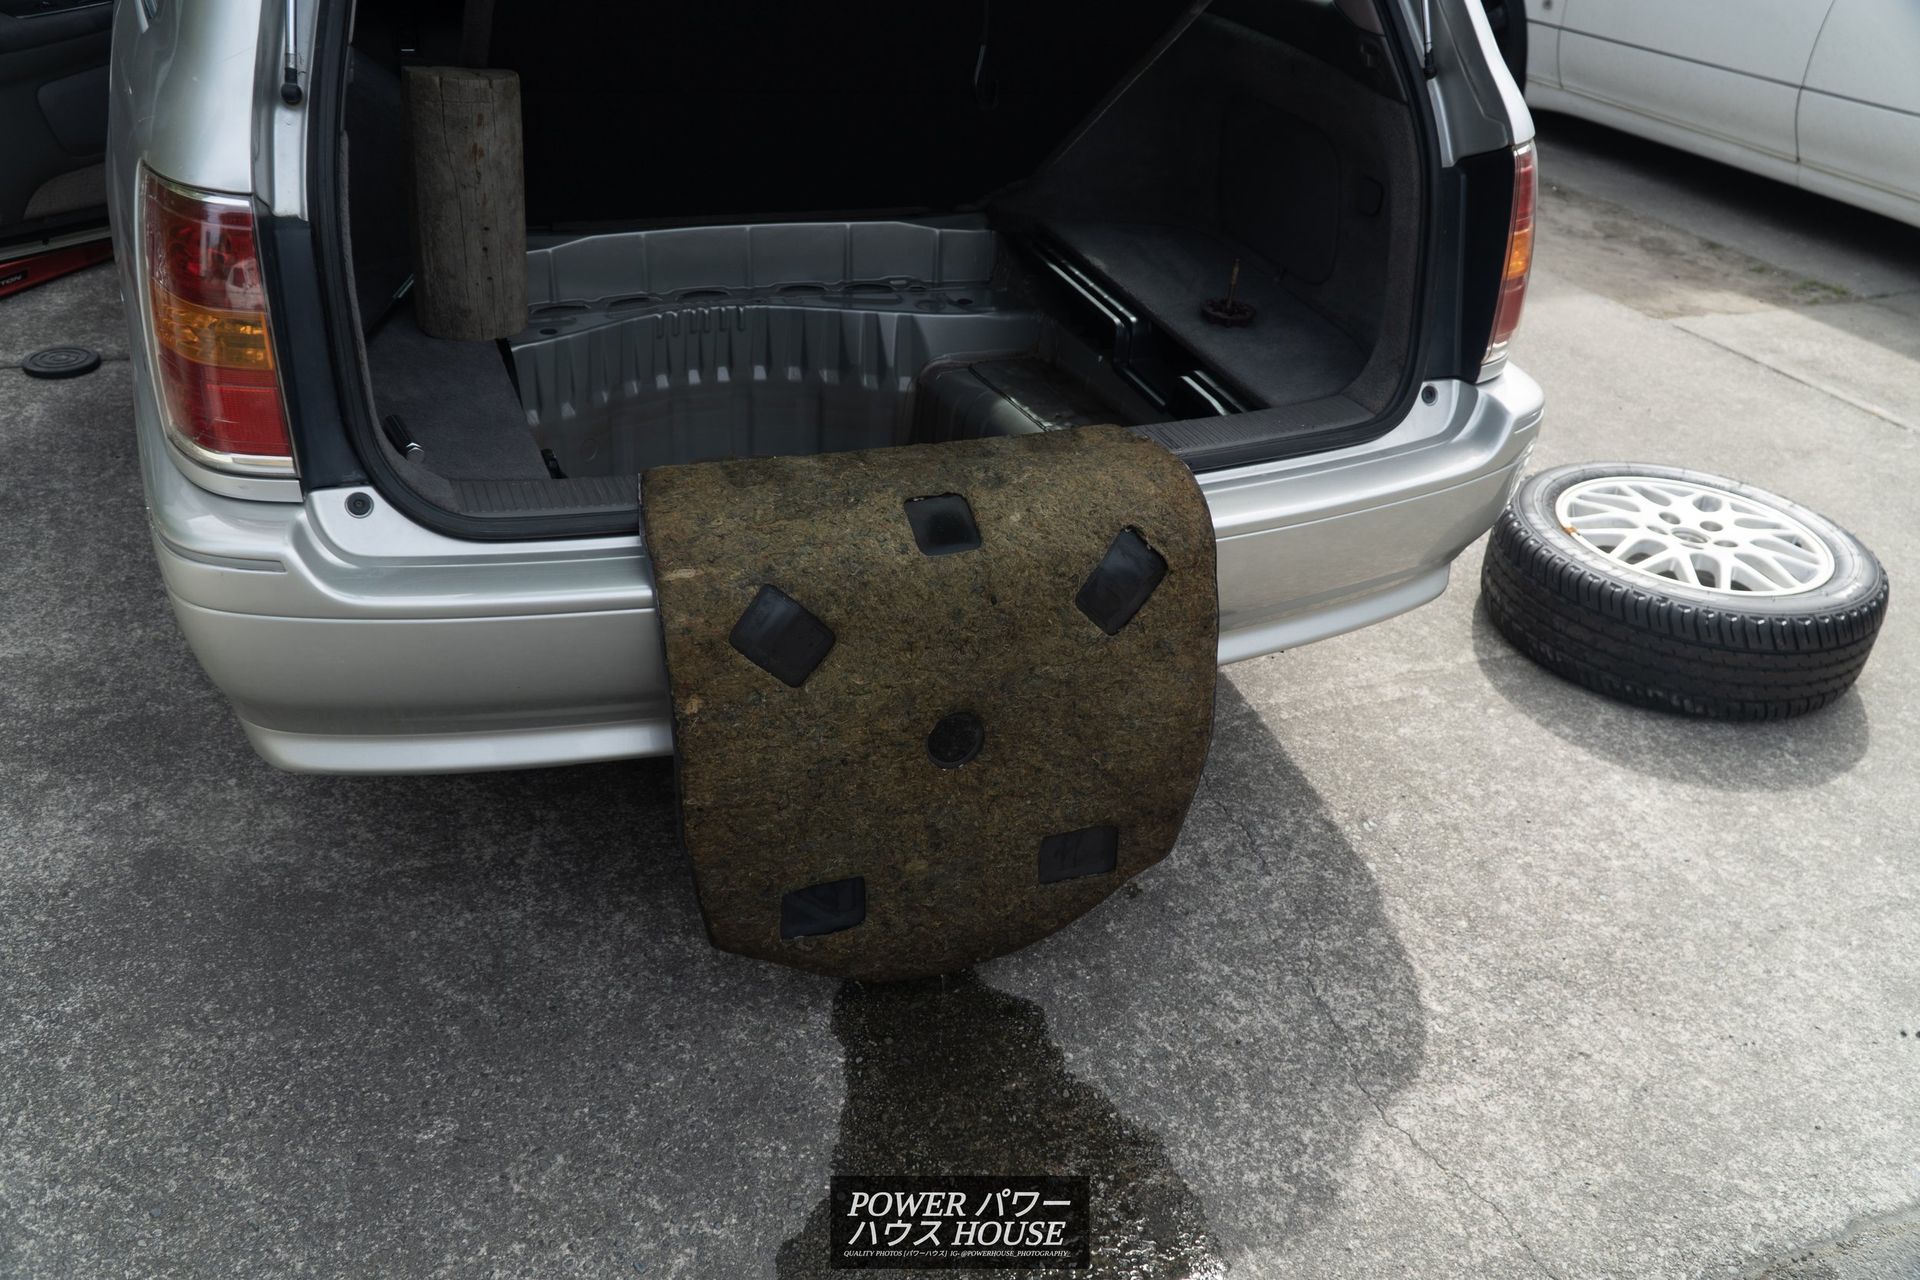
After I emptied all the water out and let it air dry, I was pleasantly surprised to find no leaks. Unfortunately though, this was not the case. Water was leaking into the side pockets of the trunk and the water would spill over into spare tyre well when taking corners. After emptying everything out, I began the leak testing. After completely spraying from the bottom up, I concluded that the leaks were coming from either the roof rails or the rear side windows. I deemed the rear side windows leaking water unlikely so I started on removing the roof rails.
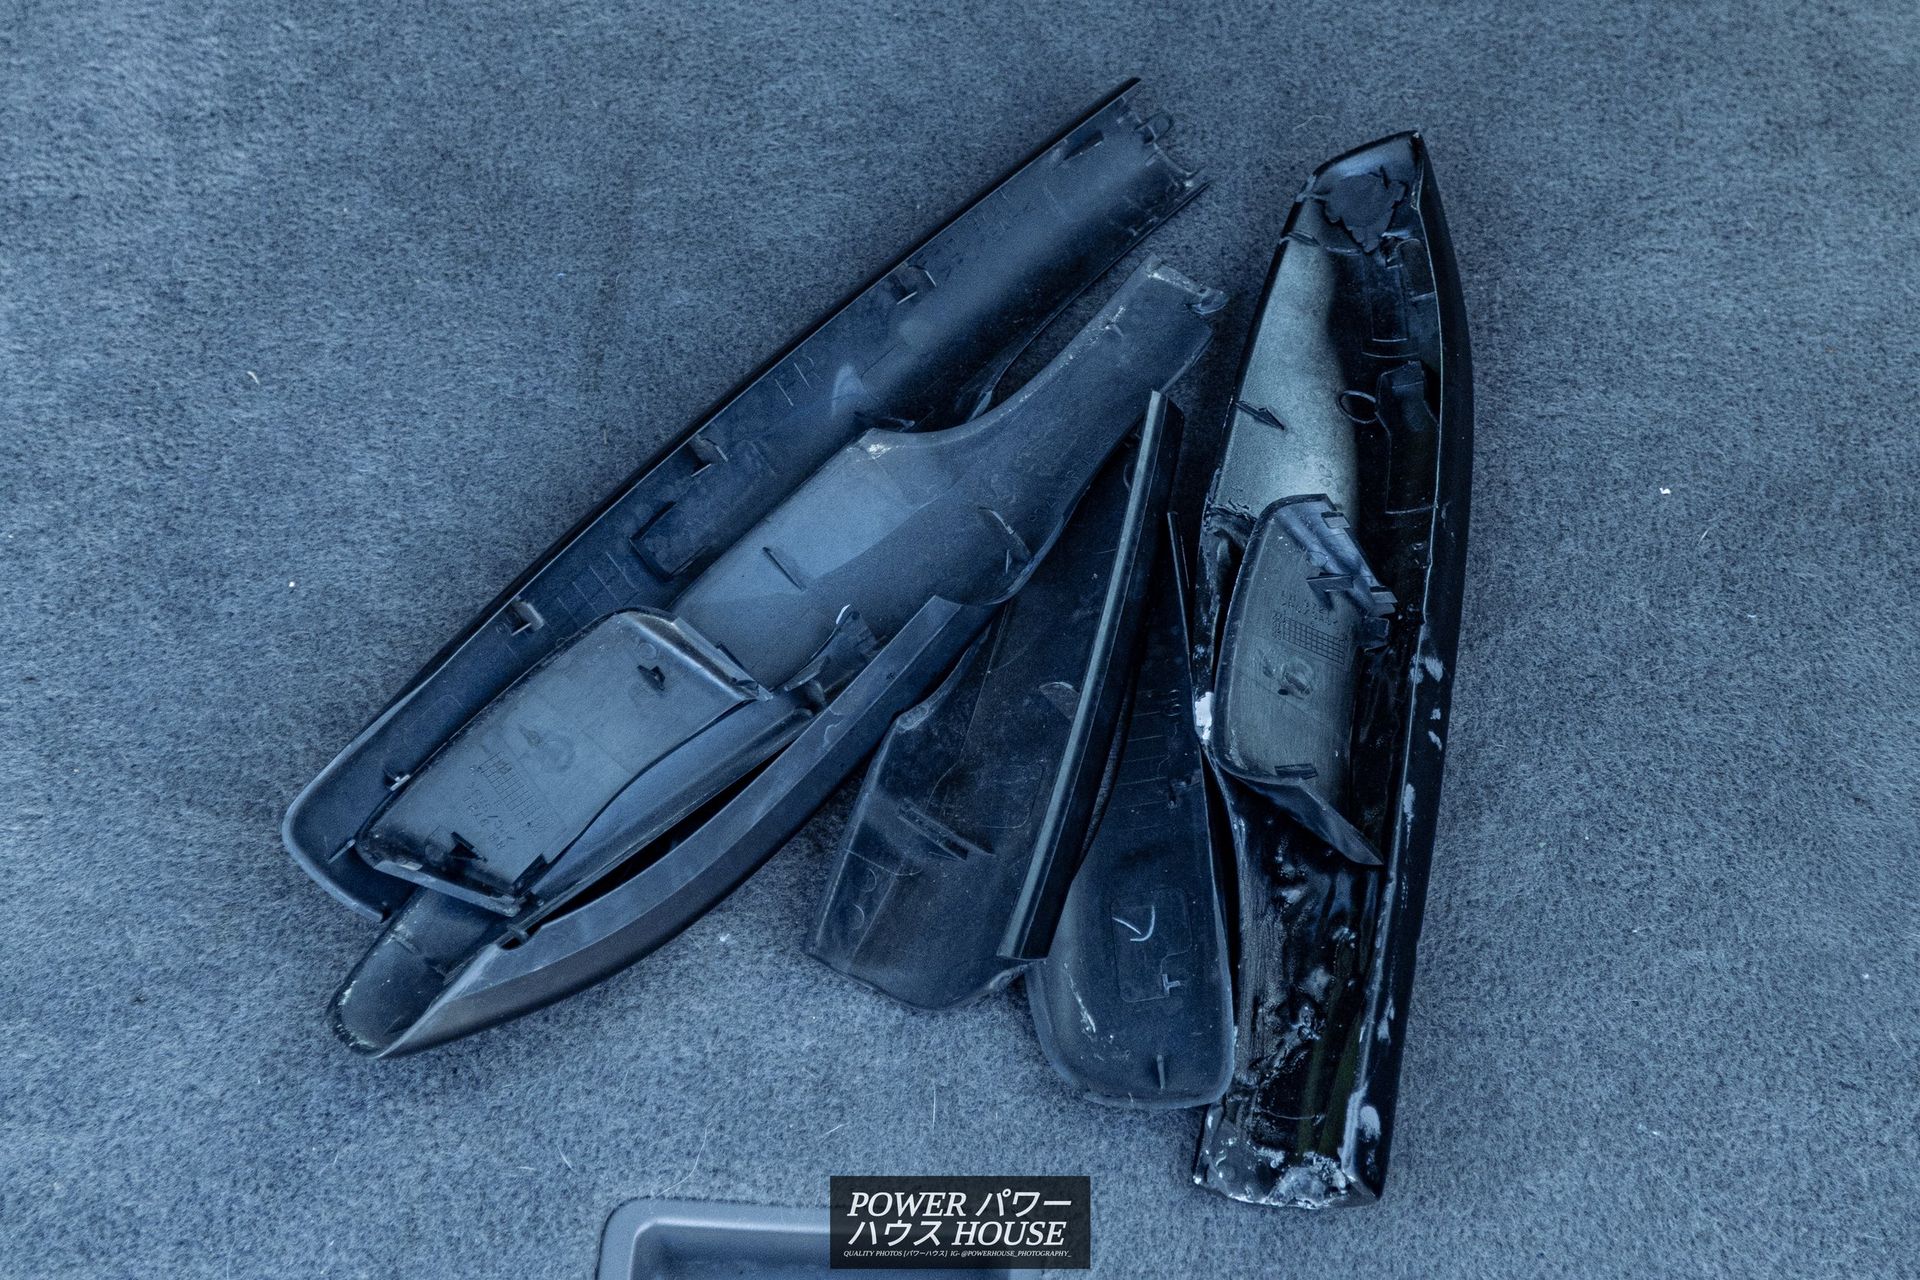

Unfortunately, every single plastic cover shattered into bits when removing them, but more surprisingly, the rear passenger side on was covered in sealant.
After unbolting both roof rails and removing them, I went out and got some supplies.

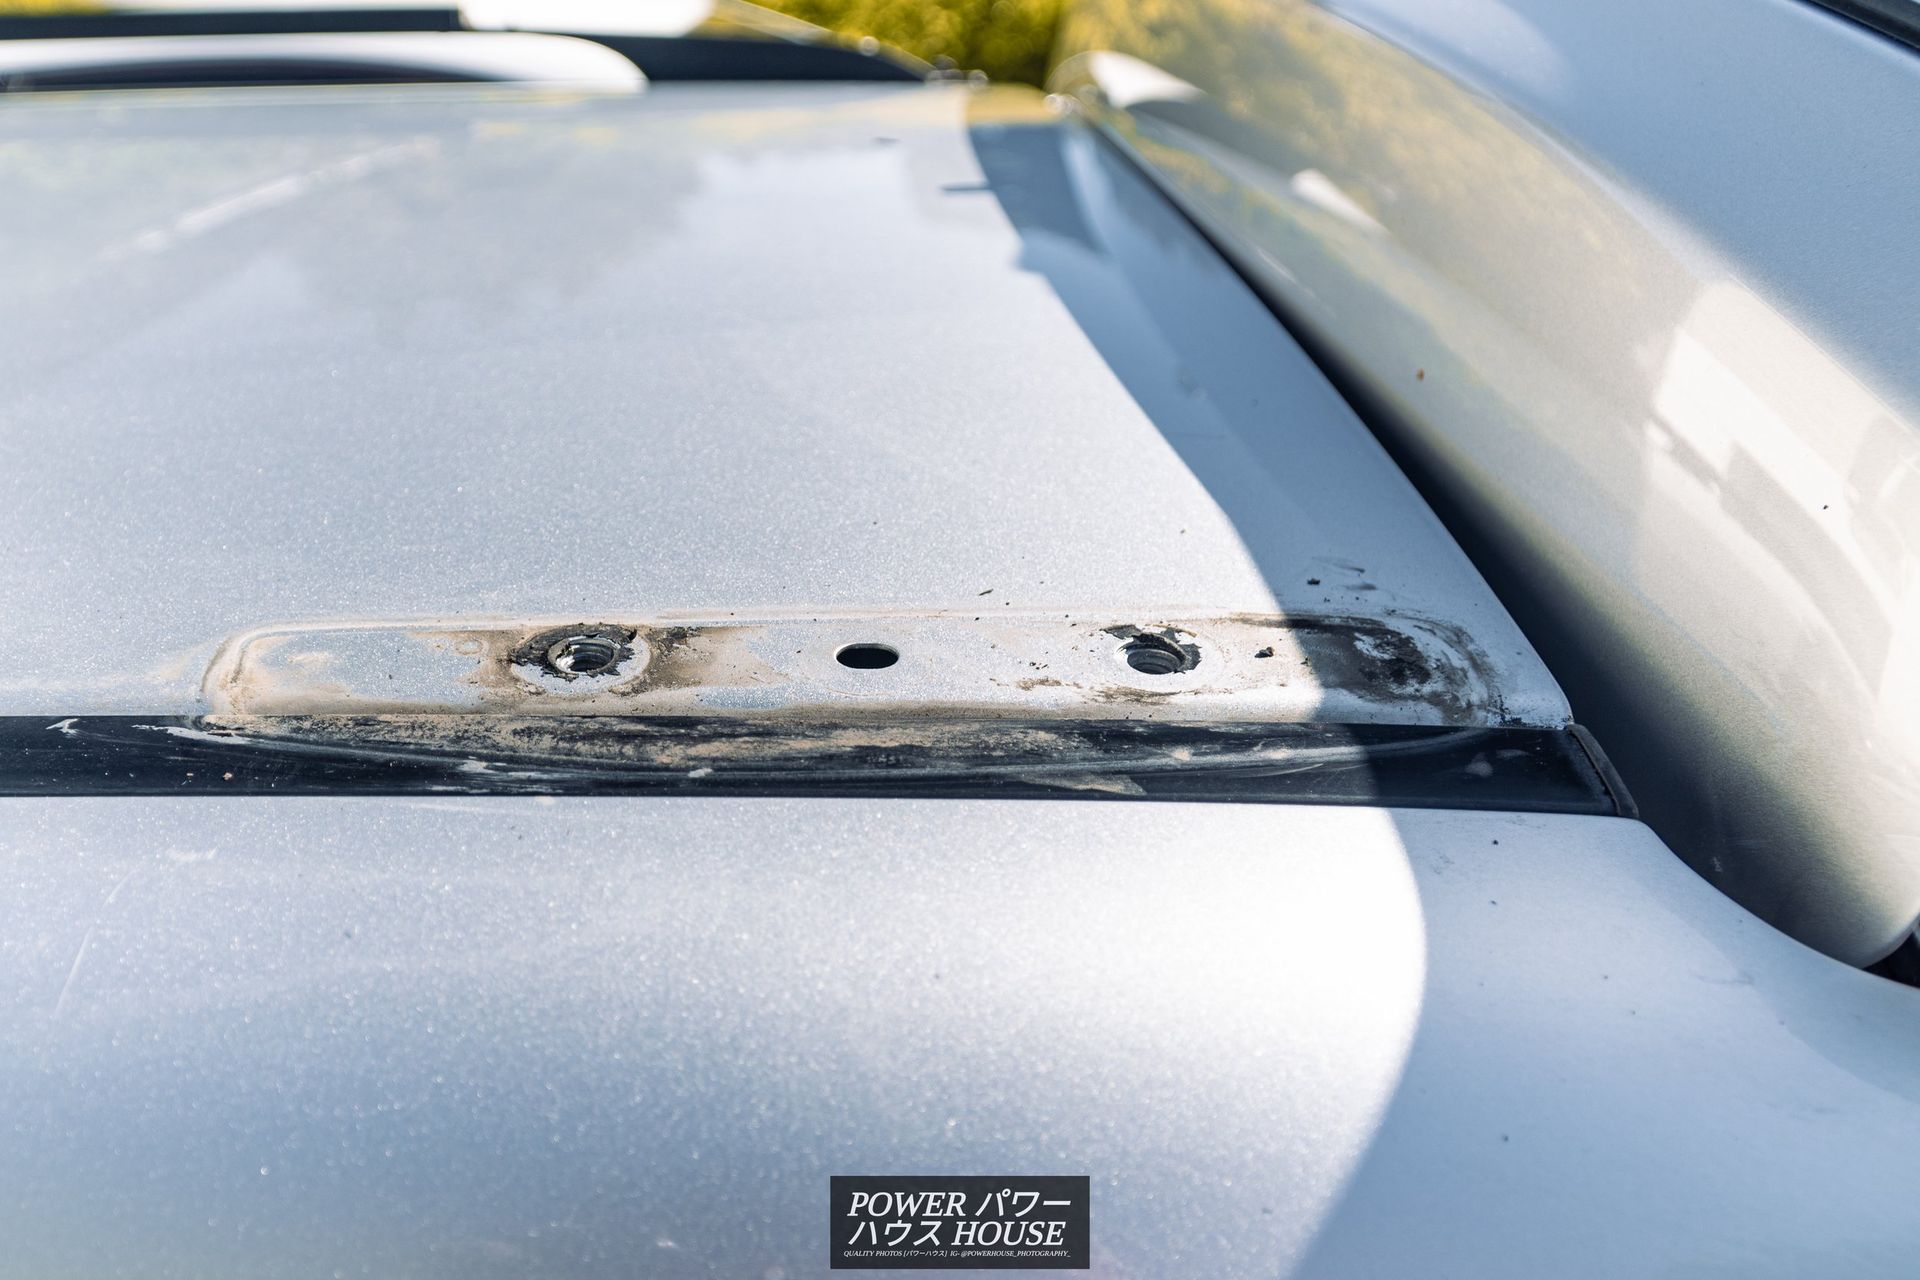
For my D.I.Y "roof rail delete kit" I got x8 M8xM16 grub screws, thread seal tape, electrical tape, x2 9.5mm body plugs, x2 12.7mm body plugs, and 15cm of sponge strip. First up was filling in the holes on the roof.
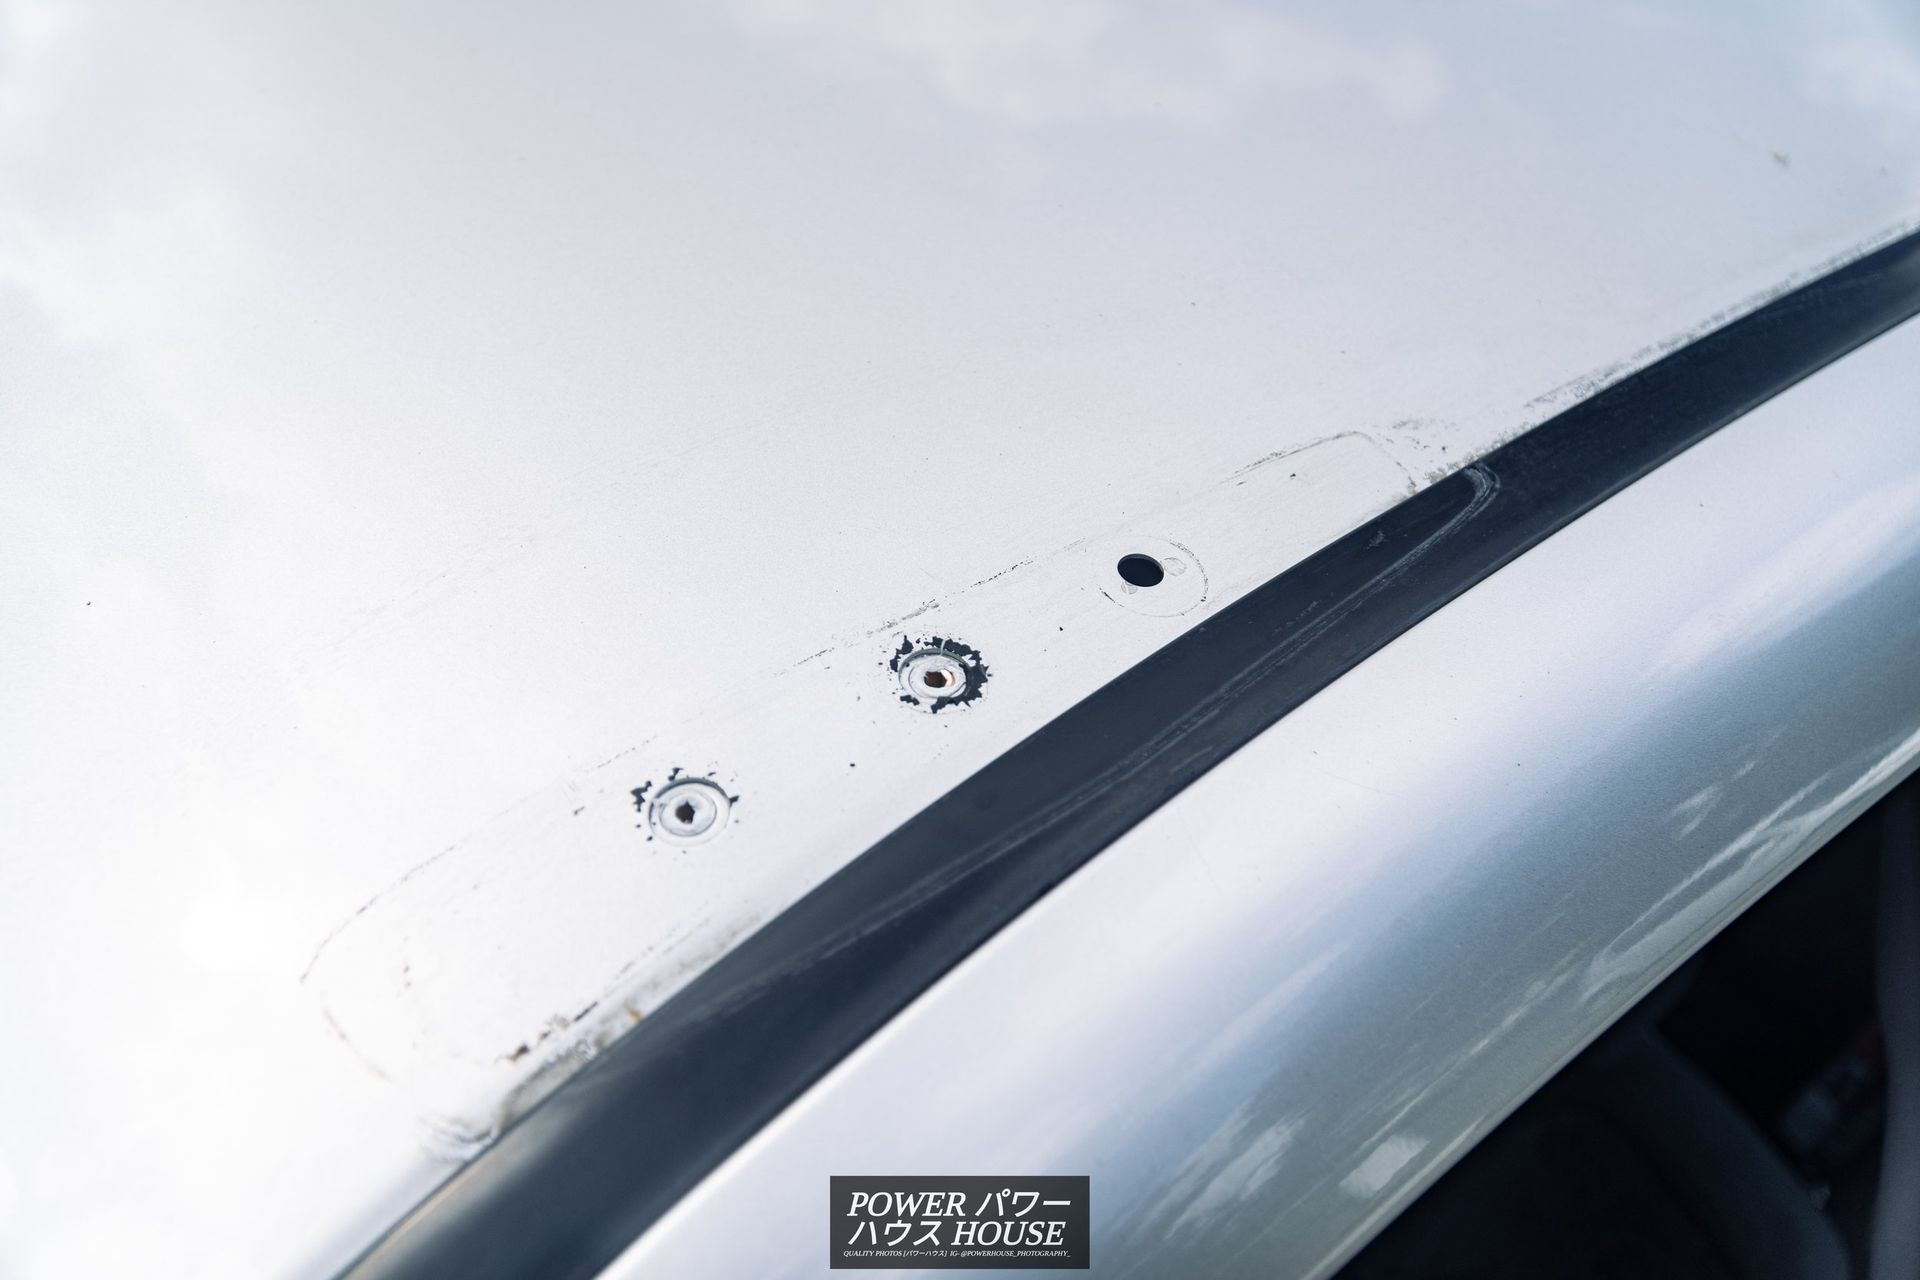
After wrapping the grub screws in the thread seal tape, I screwed them into all eight of the bolt holes and then filled in the remaining non-threaded holes using the rubber caps.
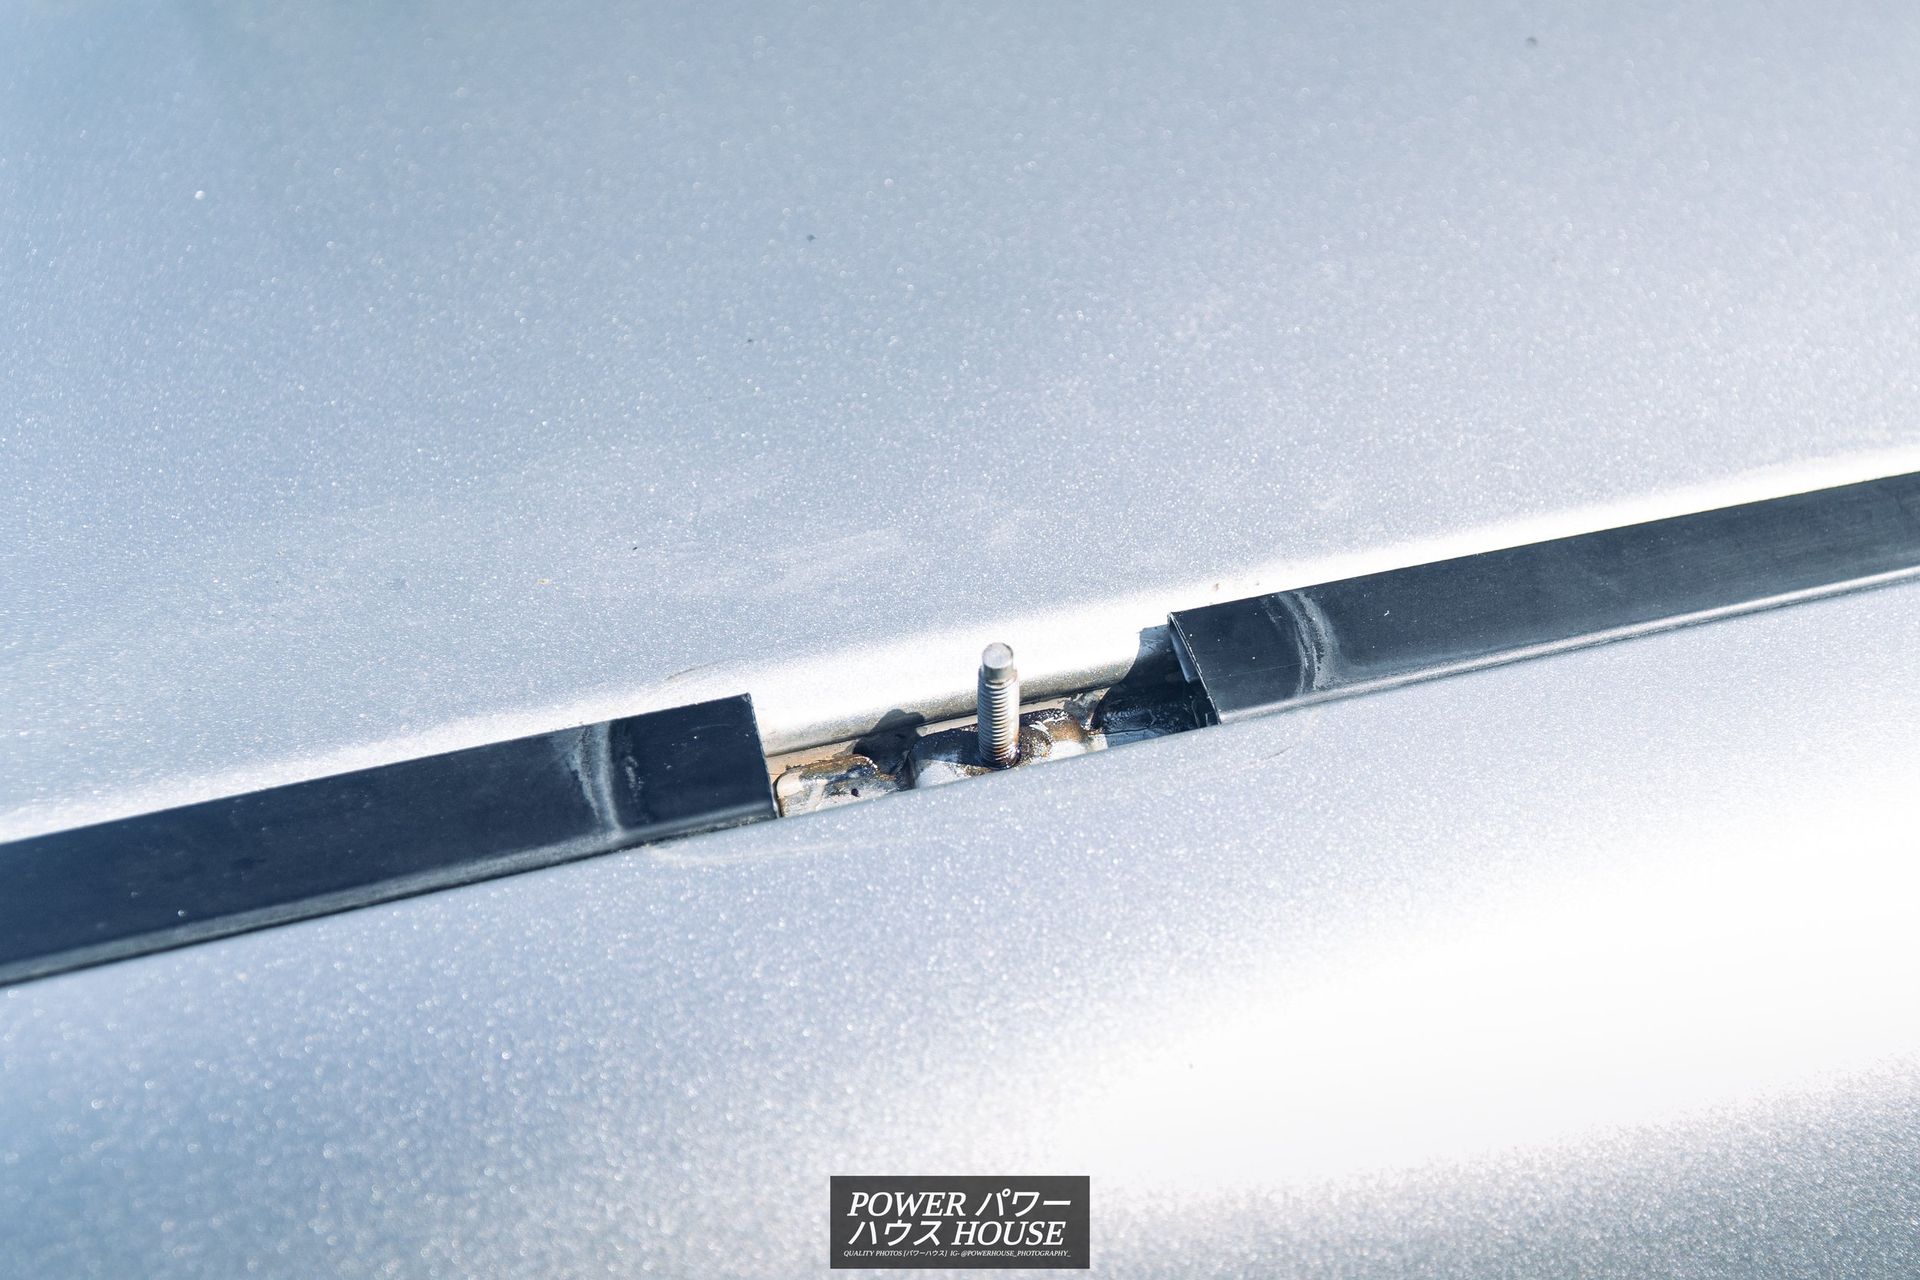
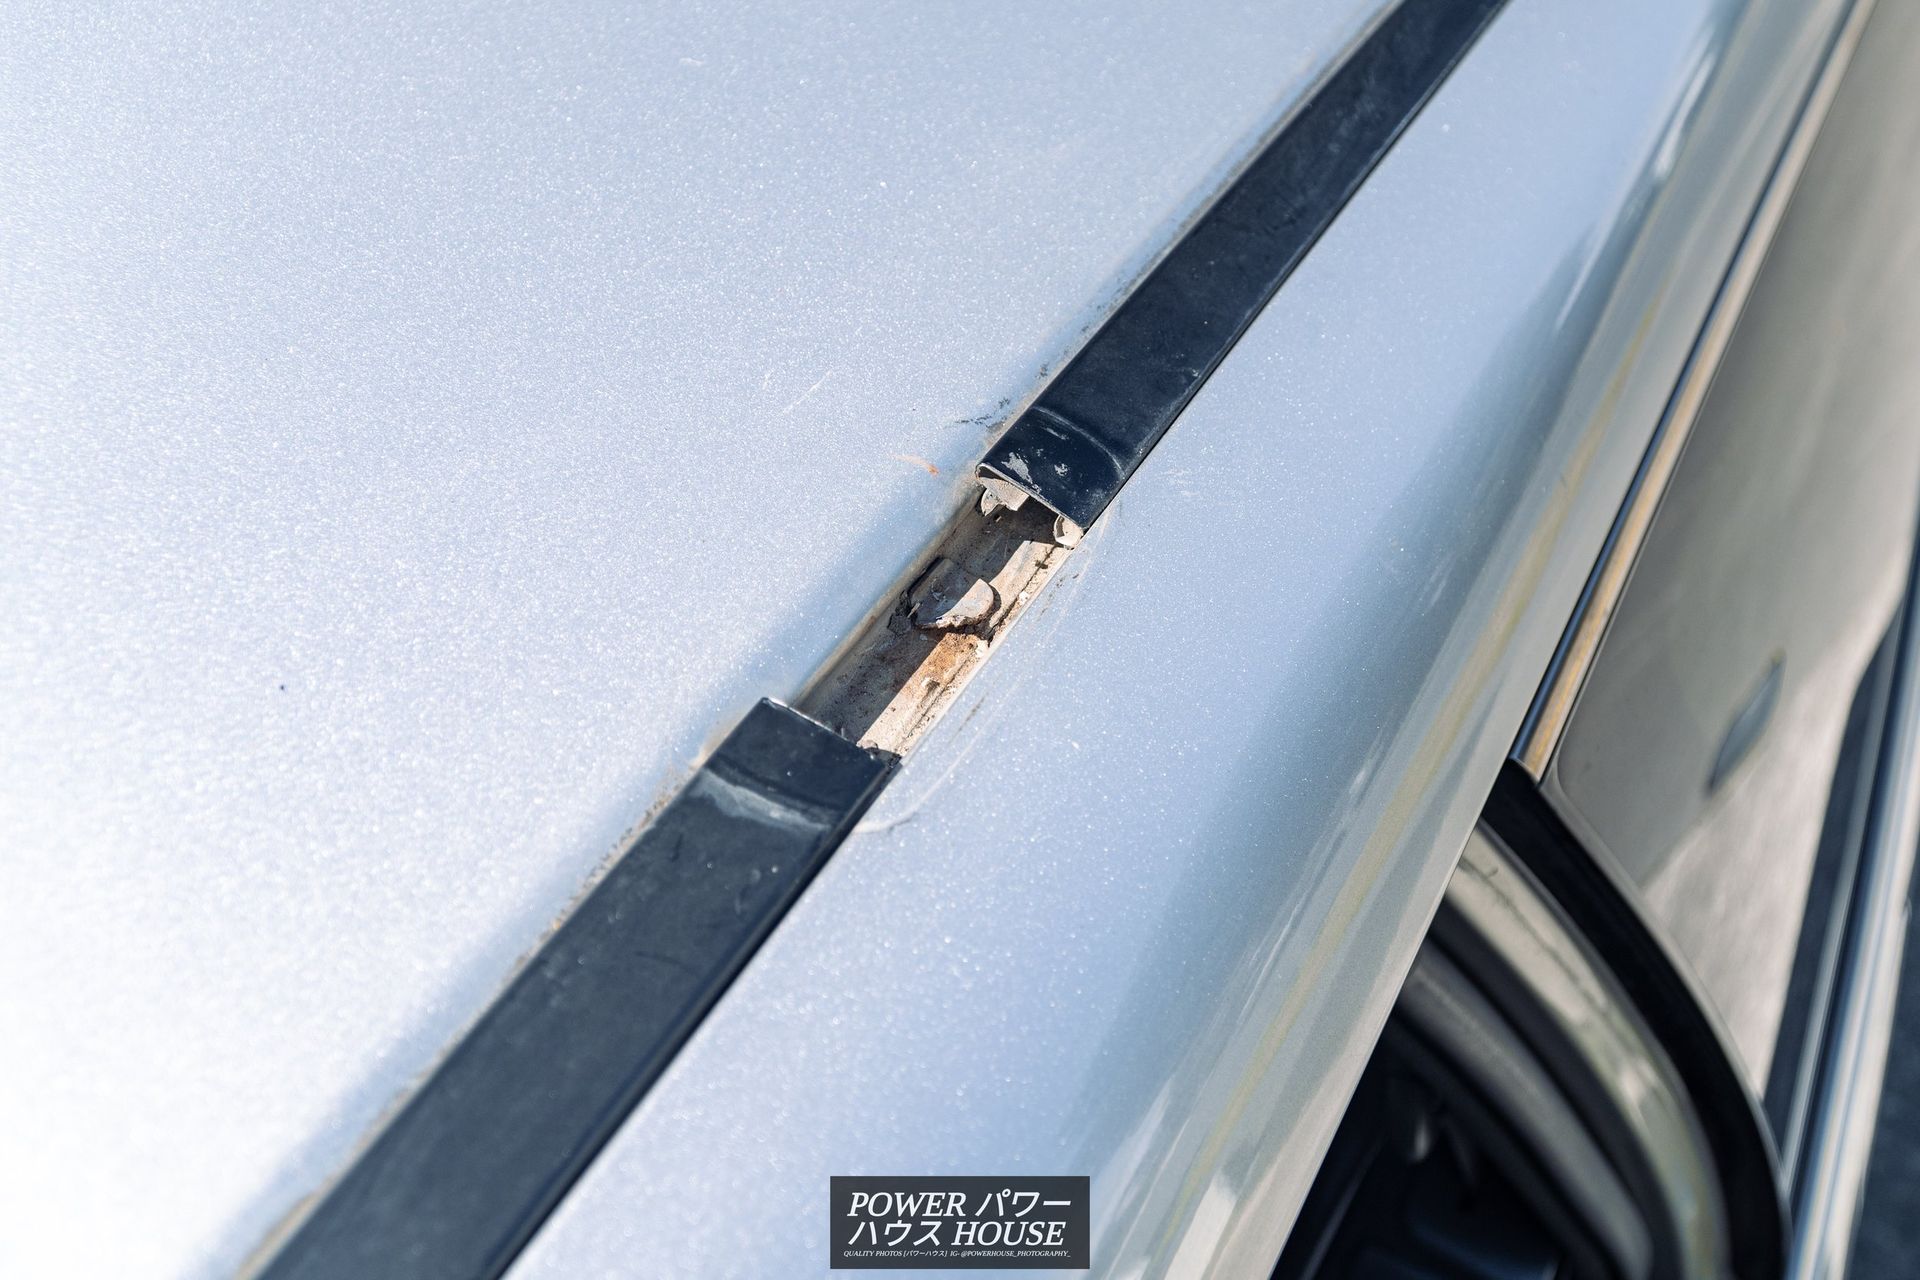
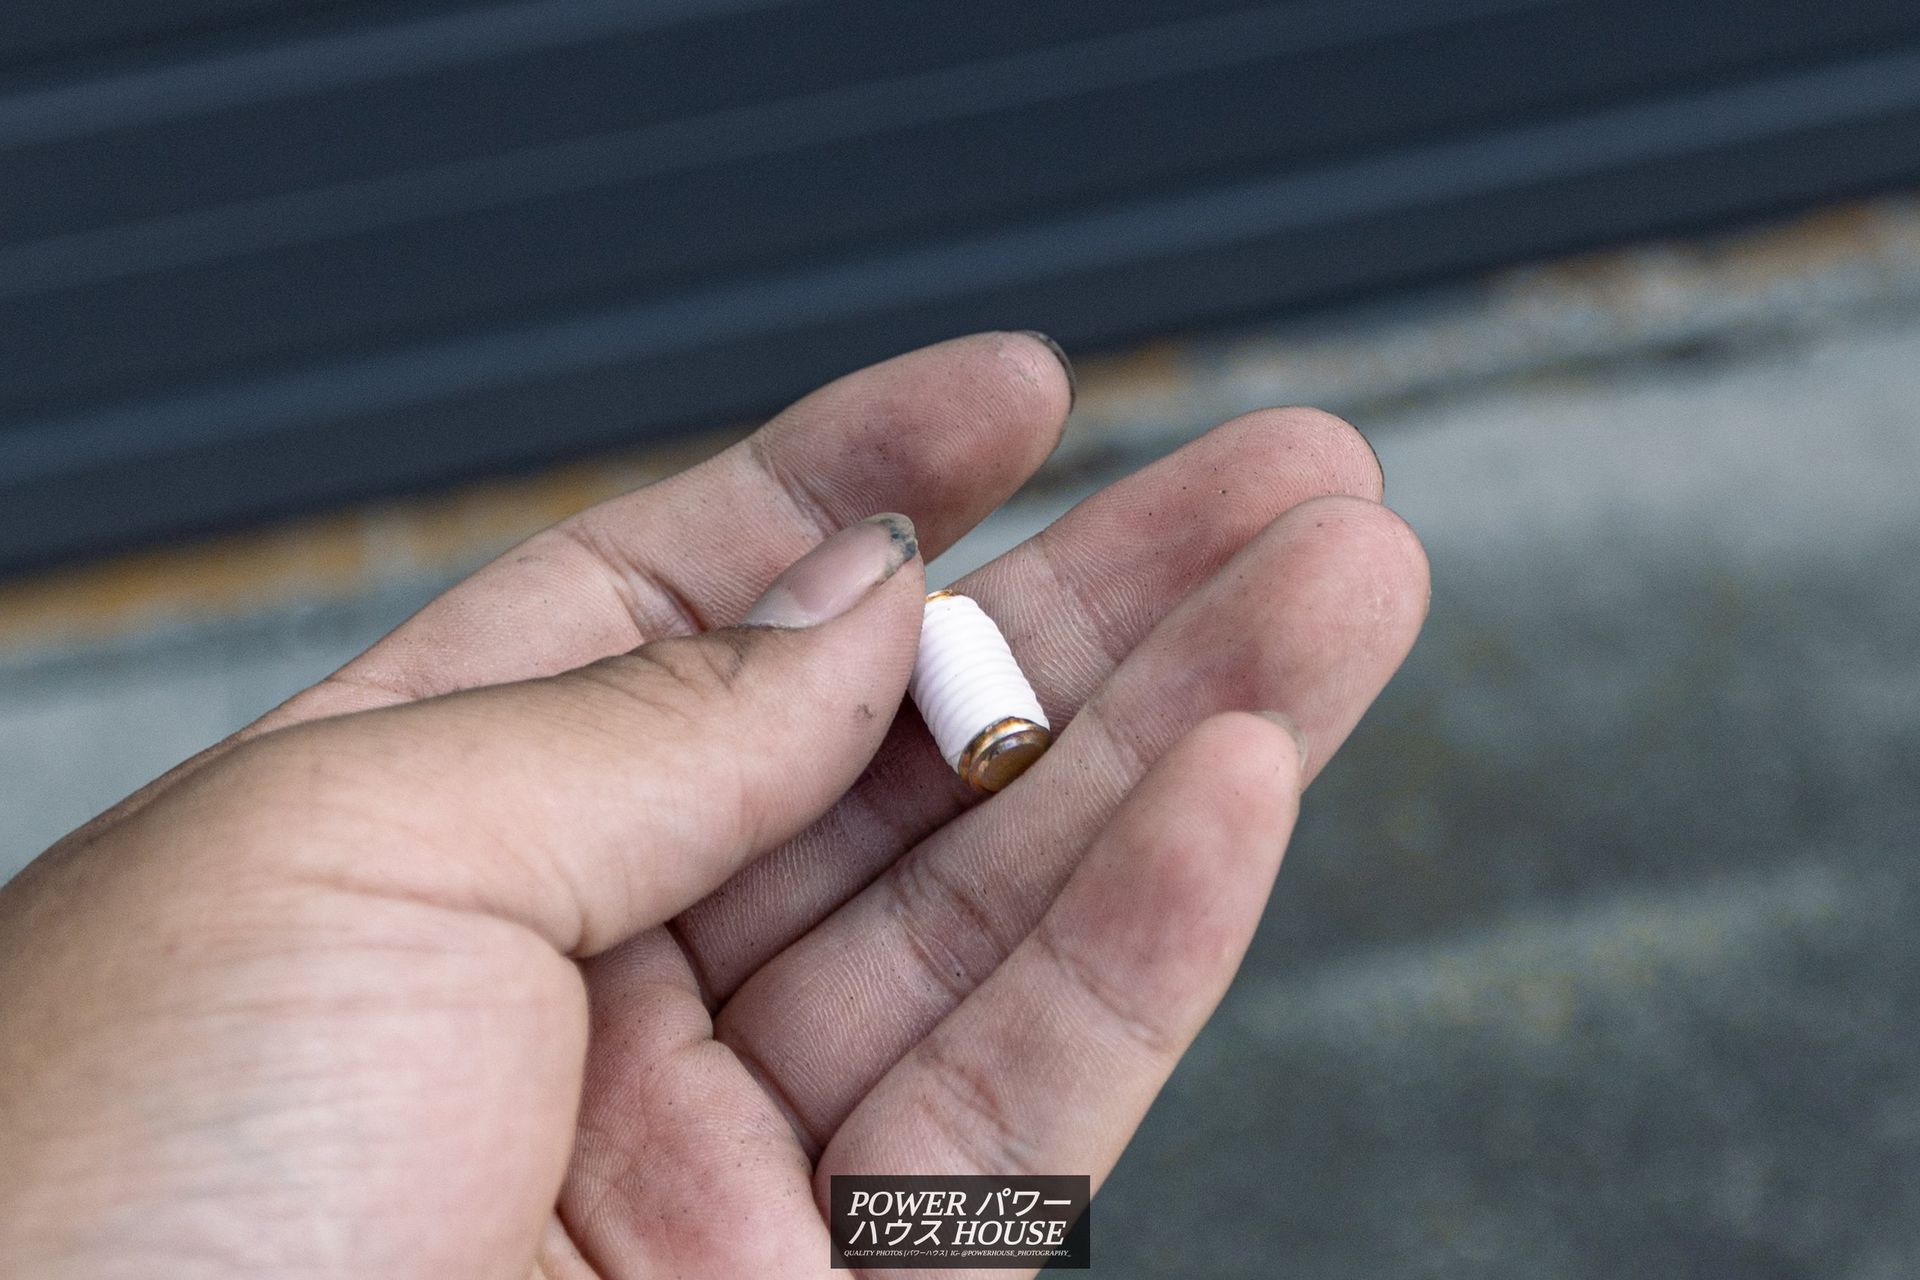
The next step was getting the centre studs out. After a bit of research, I found that I could remove it by just prying back and forth on it using some vice grips and eventually, the spot welds released the stud. Once the studs on each side were removed, I coated the areas with CRC Rust Kill, and then there was only one step left, filling the roof mouldings in.
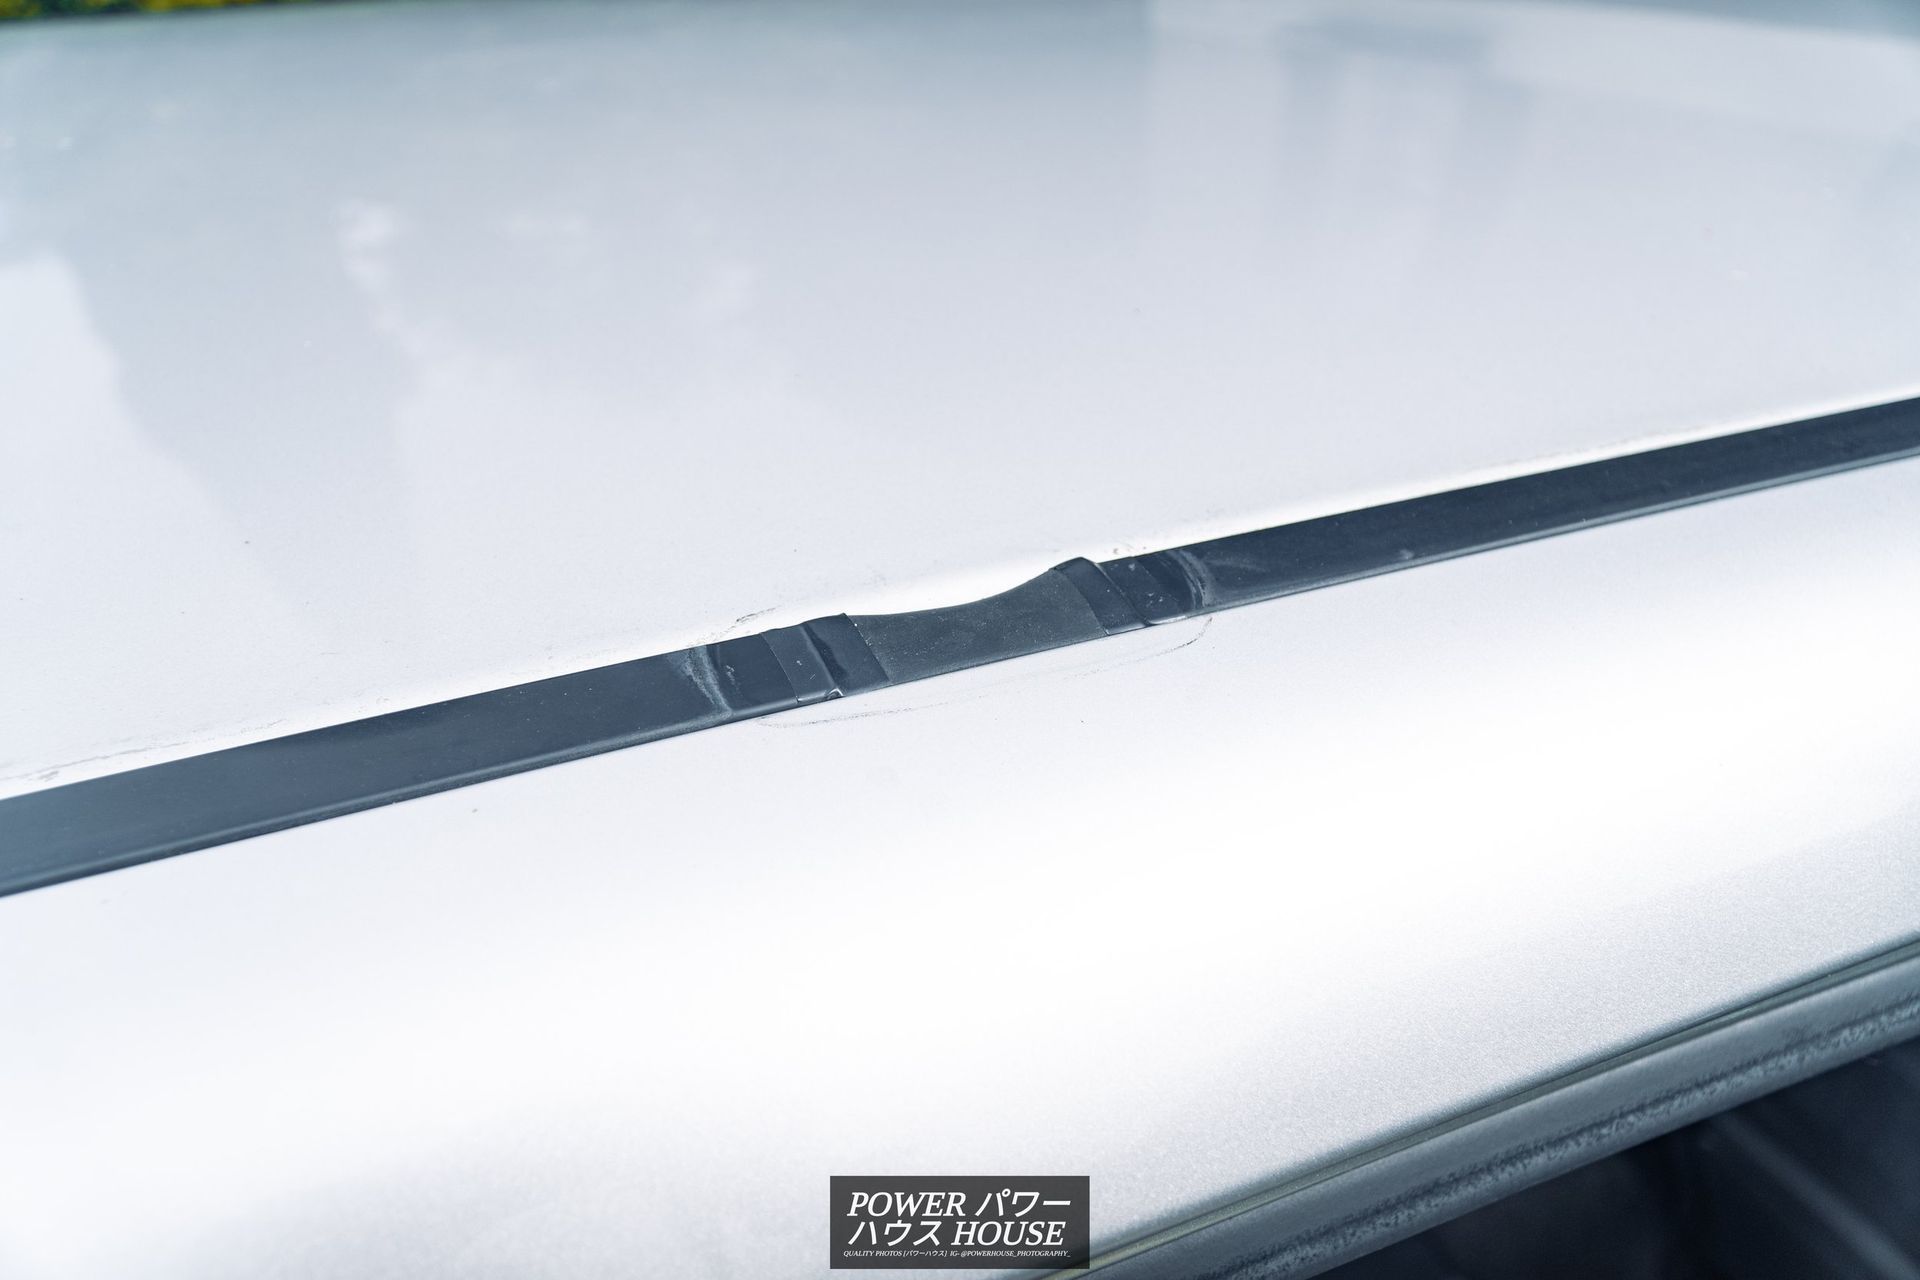
I cut the piece of sponge strip up and carved the back side until I got good fitment. I also wrapped the edges in electric tape for a slightly cleaner look. The next day, I woke up early as it had rained the last night but unfortunately, water was still leaking.
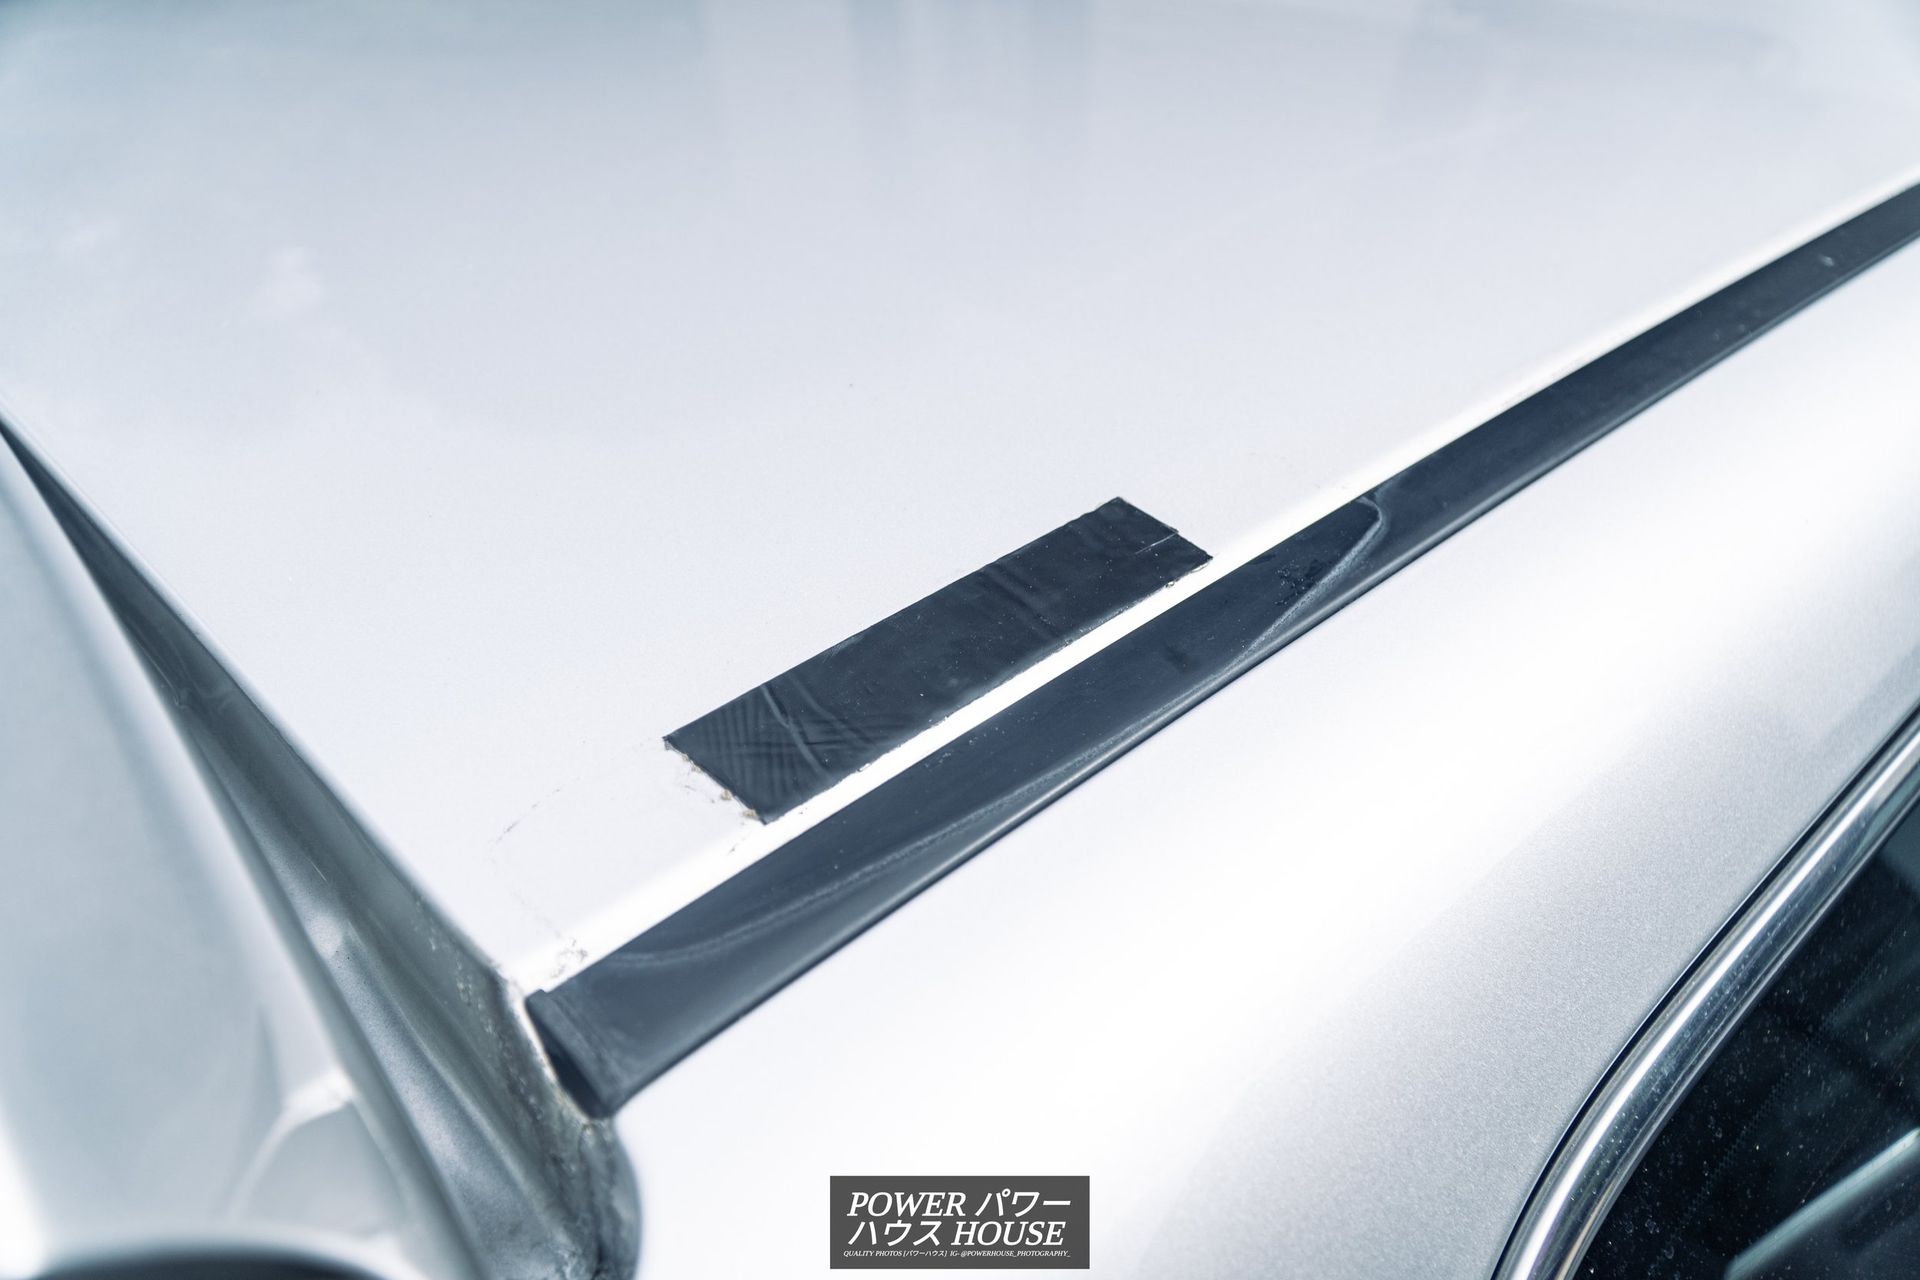
First up was to completely waterproof the bolt holes I had put grub screws into. To complete this, I removed the rubber caps I previously installed, and cut some Flex Tape up and covered up all the holes and bolts. My hope is that I can wrap the black Flex Tape in silver or something along those lines for a cleaner look. Maybe a colour-matched strip of rubber going from the front to rear, but before I could think about that, the leaks needed to stop. The next area to weather-proof were the seams behind the trunk door.
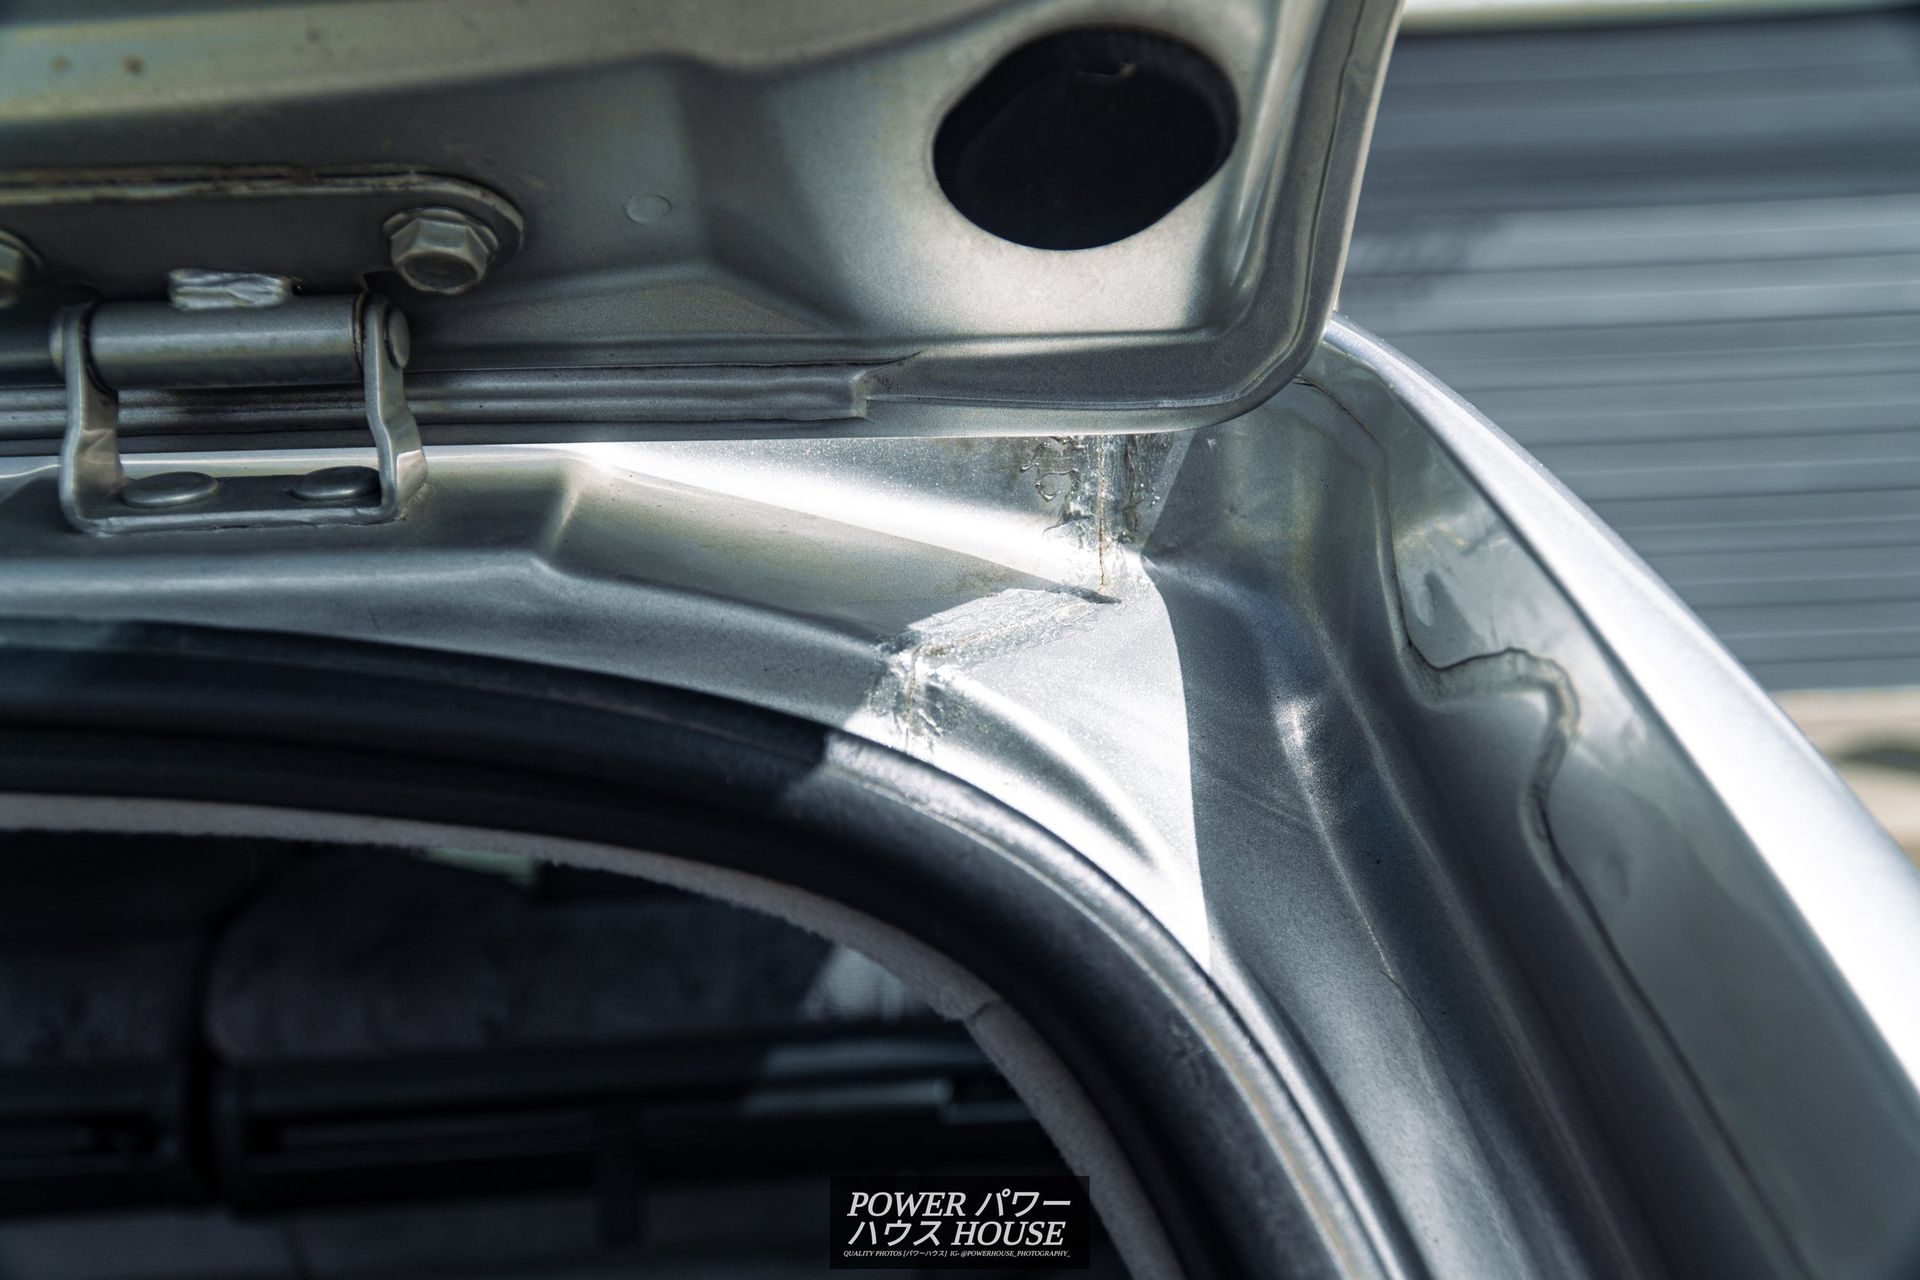
Although I was quite confident that these weren't the culprit, I heard that some similar cars suffered from this issue and I wasn't willing to take any risks. For this job, I used some old Selleys Storm Sealant from the Project Roadster rain rail project. Now that I think about it, rails on cars seem to really hate me. Luckily, the car passed the good 'ol water bottle test which means no more water leaks... for now. Since the Crown no longer leaked water, it was time to face the next problem, the hesitations.
After the second hour of driving back home, the check engine light came on, followed by a slight hesitation, and then the check engine light turning off after a couple of seconds. This happened a couple times afterwards as well, but the next day, it got a bit more severe. The car would no longer start.
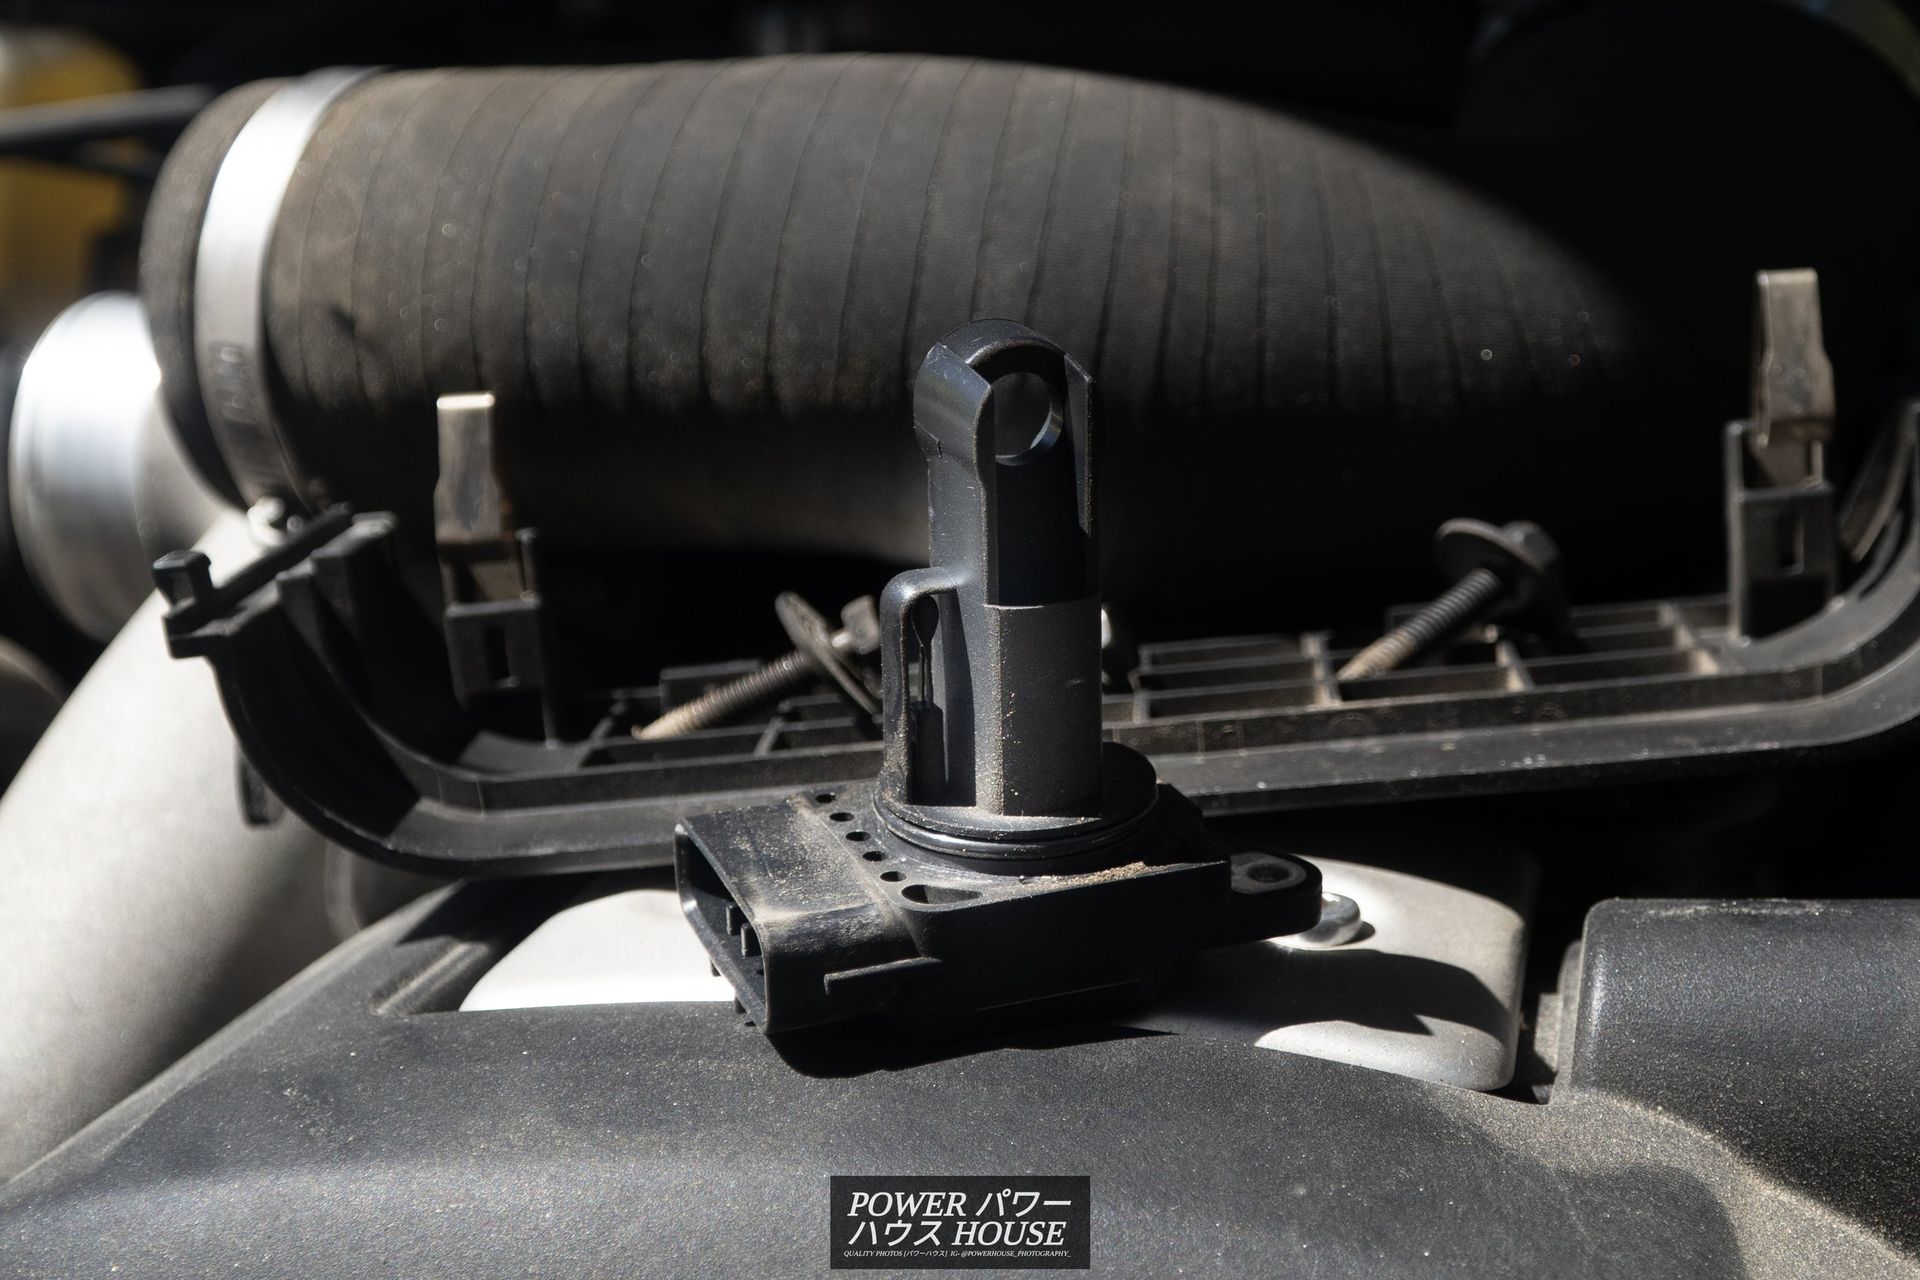
The first thing to do was to clean the MAF sensor. Although it was dirty, even after cleaning with CRC Mass Air Flow Sensor Cleaner, the car would still no longer start. At this point, a good friend Mike (who also has a Crown) came over to help diagnose the issue. We found that the OBDII scanner said that we had a ignitor circuit issue. Following this, we cleaned the connectors, and even swapped ignitors but it still wouldn't start. After that, we swapped MAF sensors and intakes but still, no cigar. The next step was to check the coil-packs and this was when we found a quite obvious issue. One of the connectors for the coil-pack was destroyed and was not even connected.
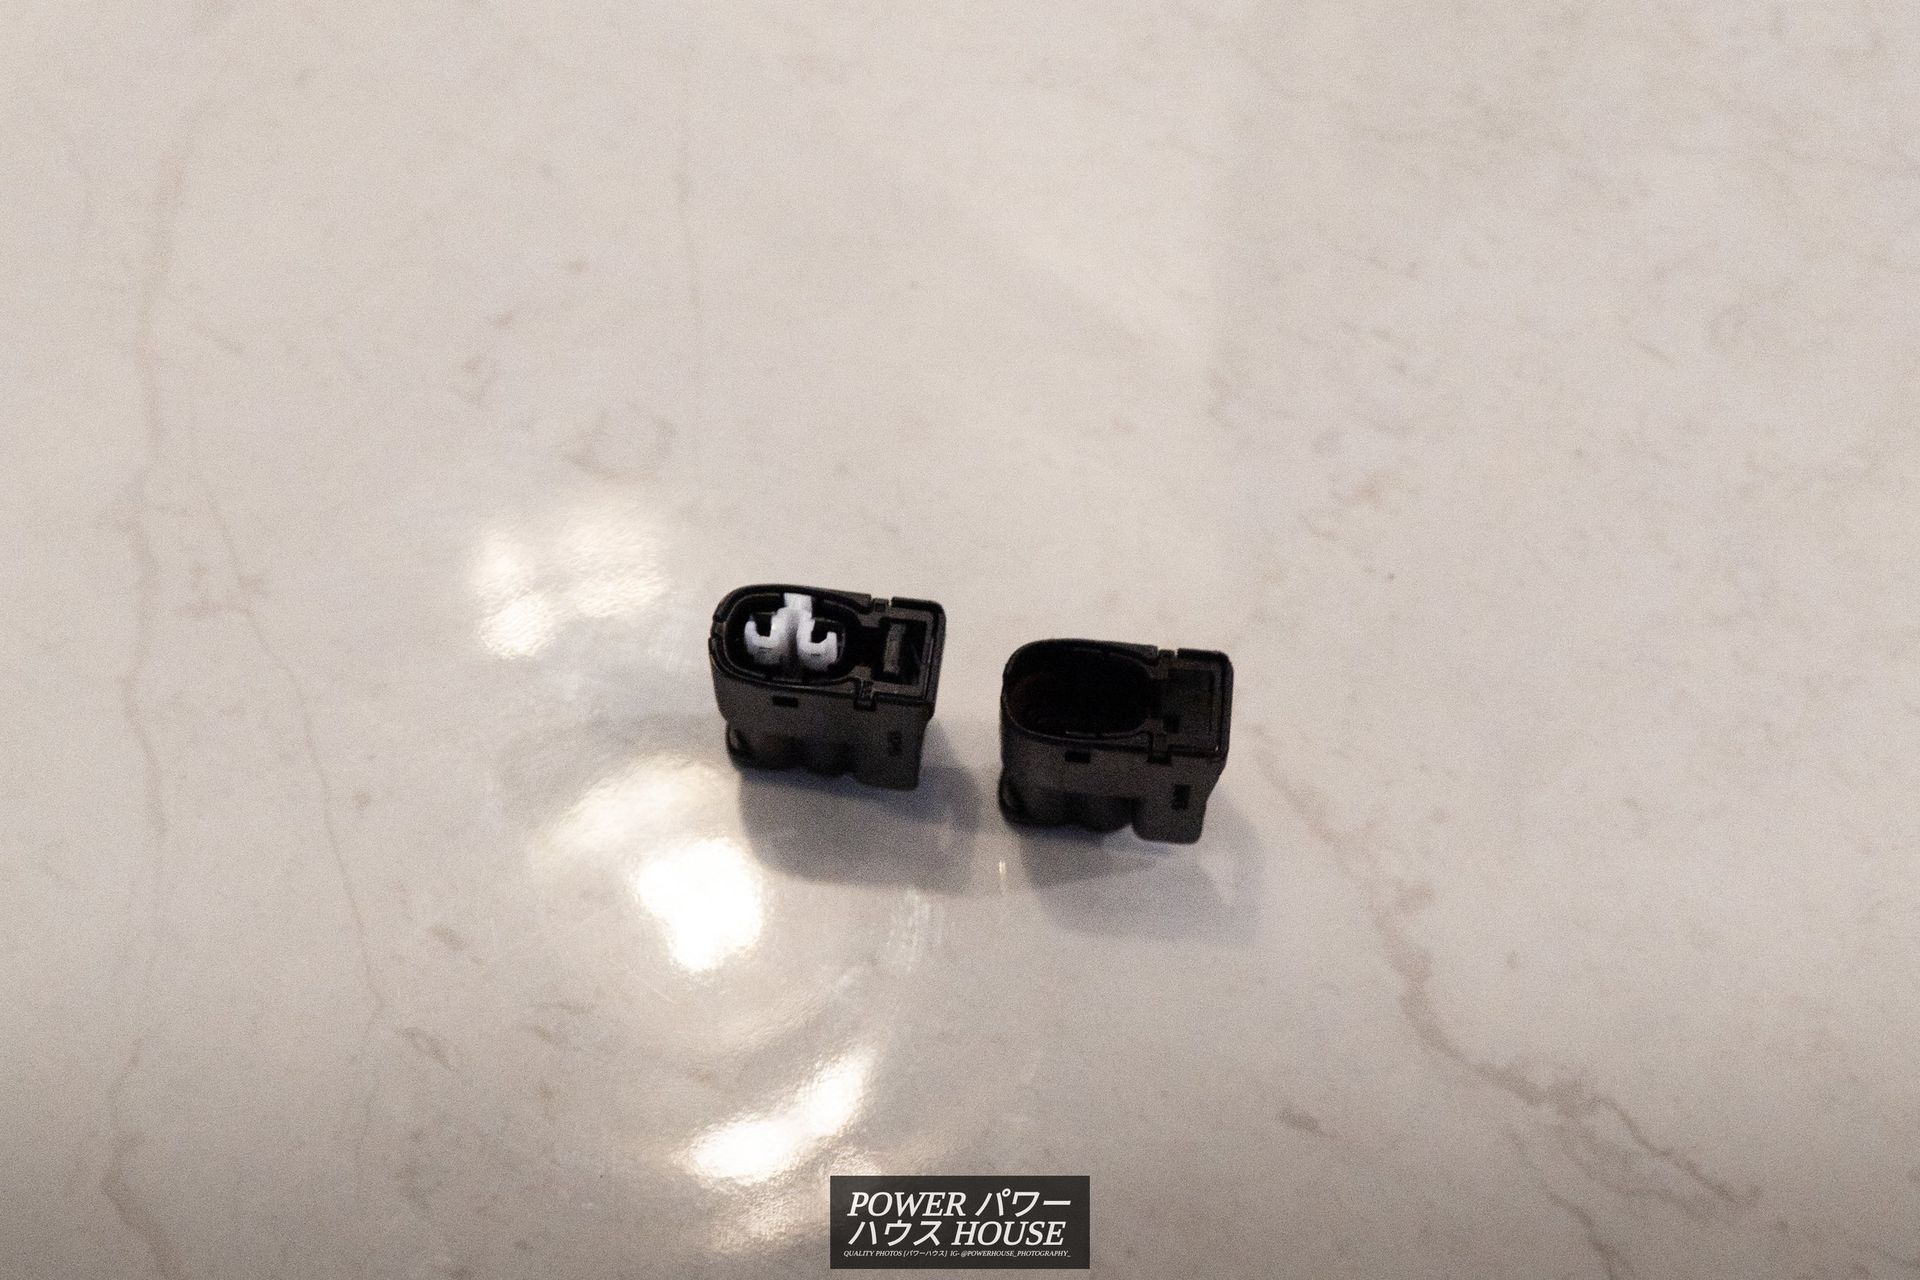
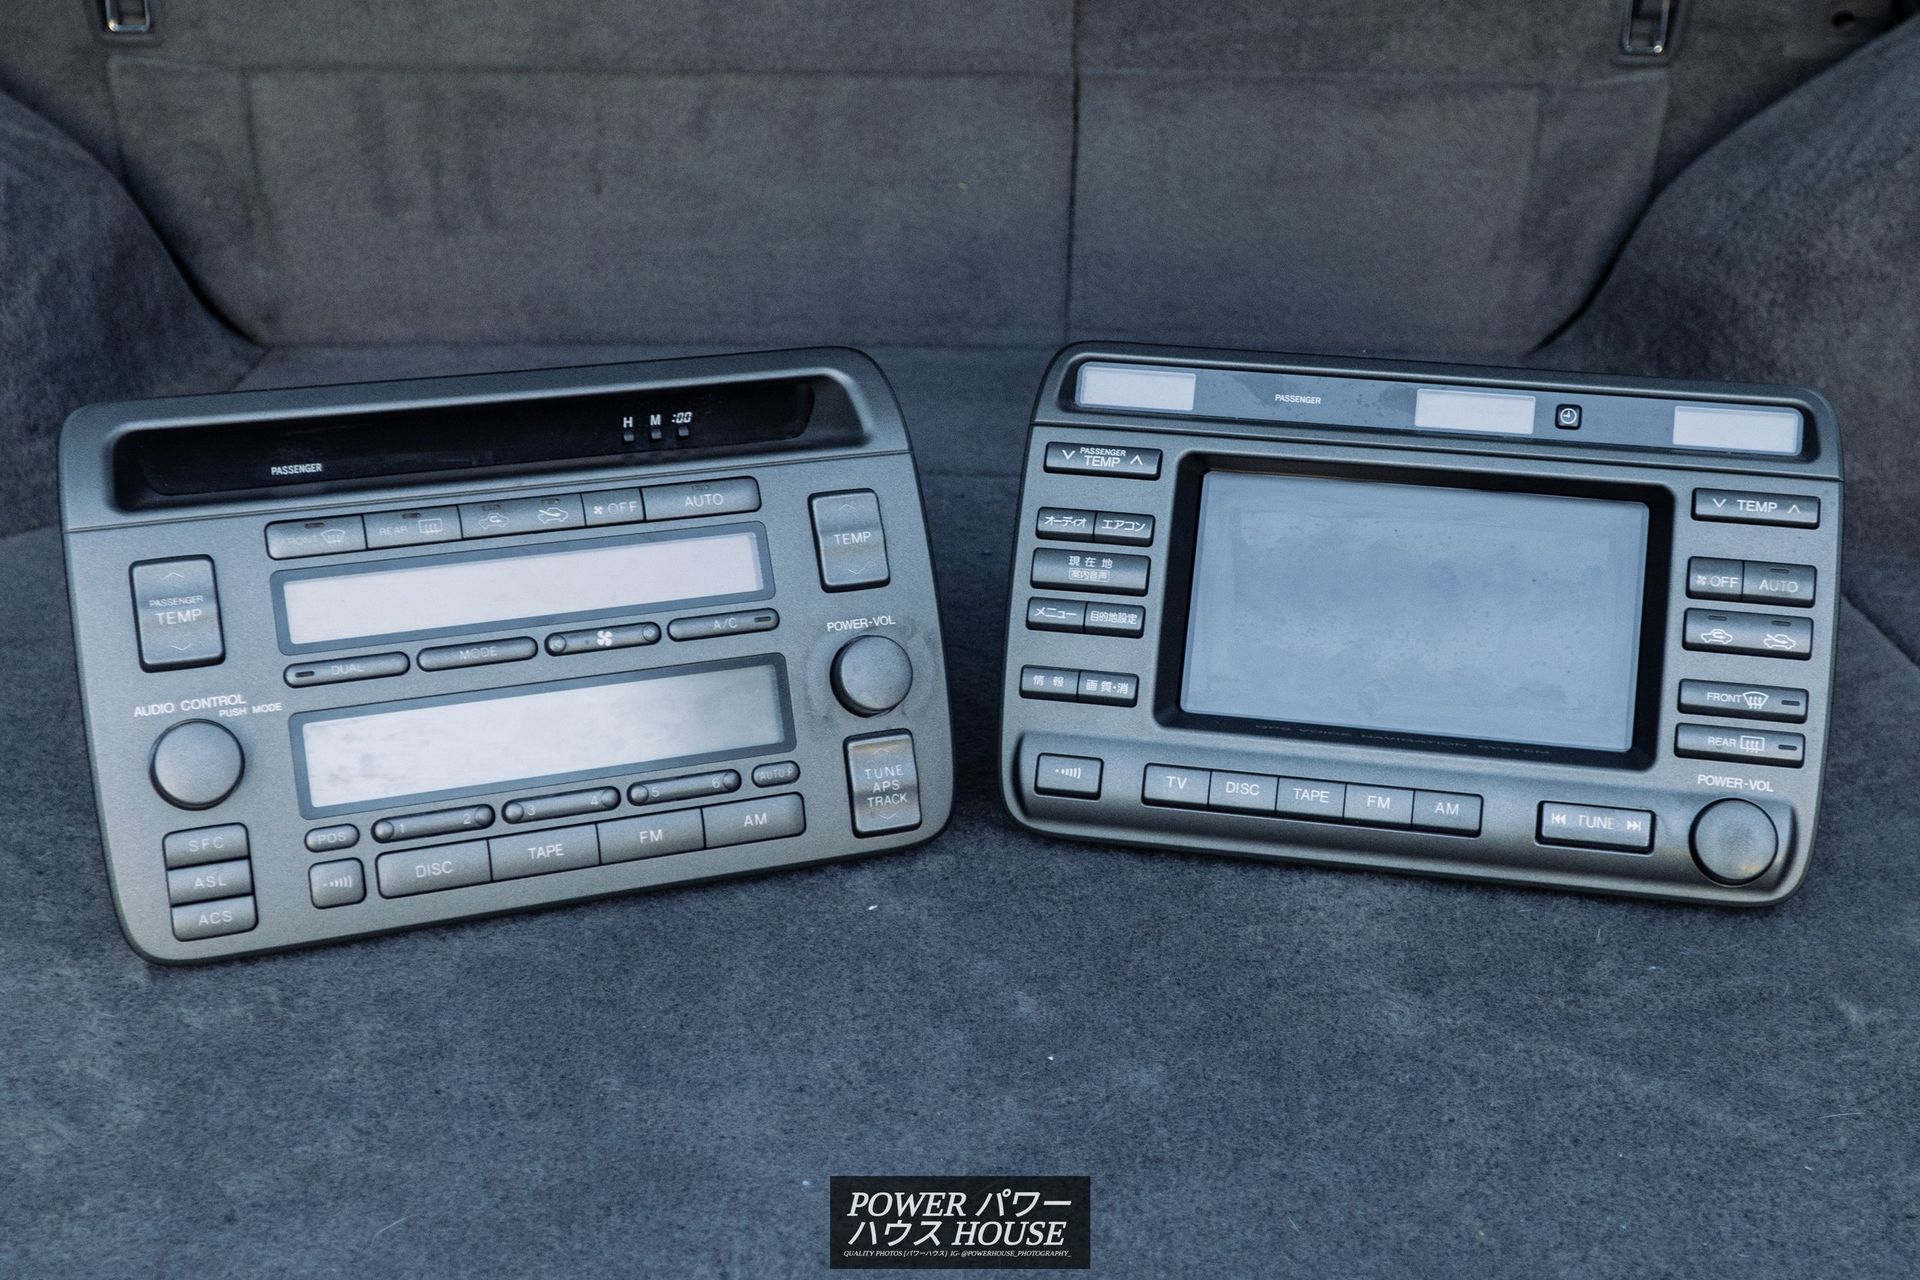
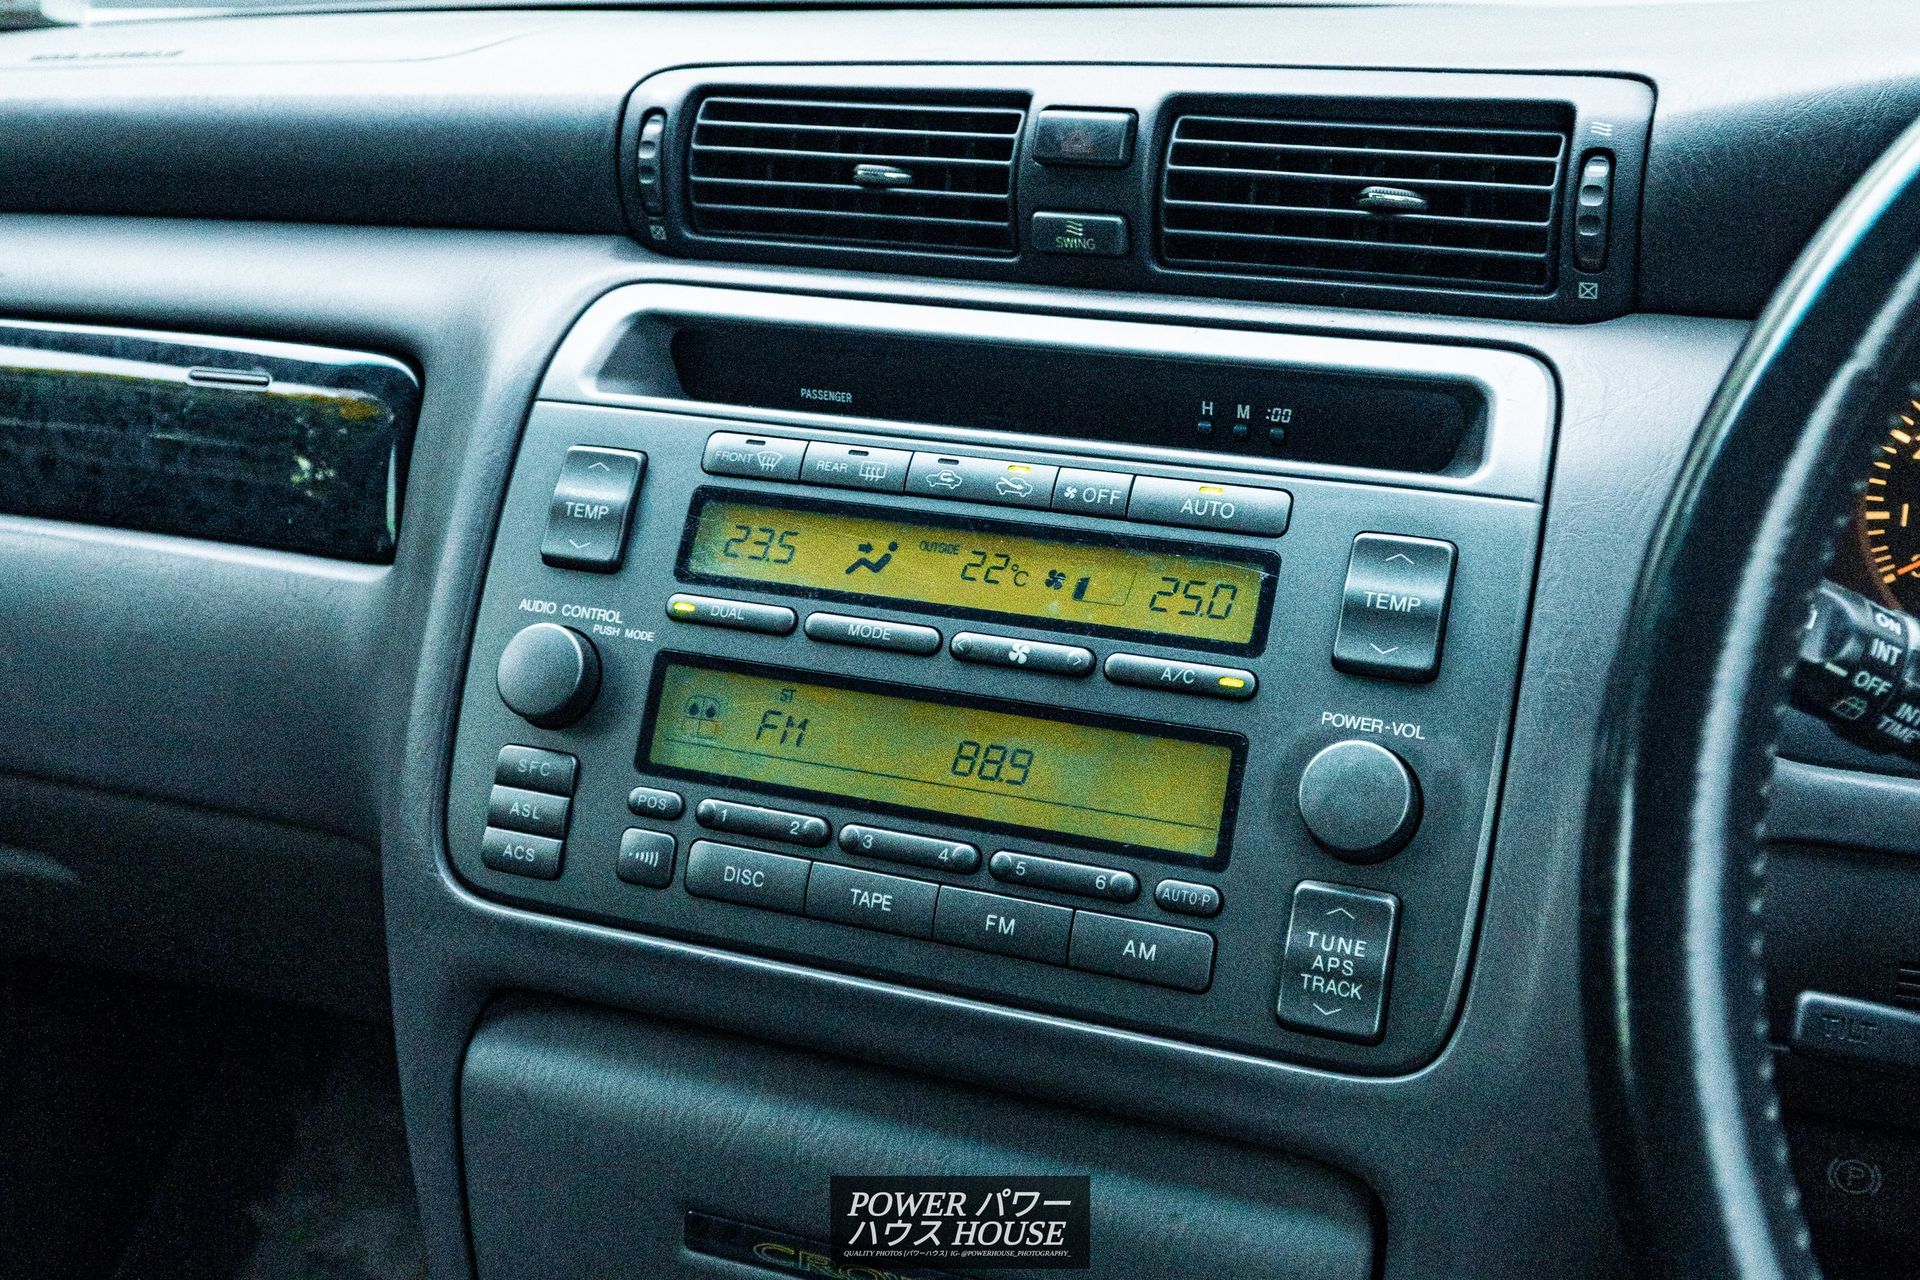
After buying a new $20 connector from NZEFI, we installed it, and the car ran perfectly with no hesitations. As you can see, the new one on the left looks quite different from the old one on the right. On the theme of never-ending issues, the optional EMV (Electro Multivision) touchscreen stopped working. This meant that if I wanted to see my gangsta swing vents, the A/C must always be on. Along with that, the screen keeps thinking I'm touching the buttons on the screen so it keeps beeping non-stop. The fact that I can't adjust the audio settings because of the touchscreen is also a big bummer because it means that the otherwise amazing optional 7-speaker 'Super Live Sound System' sounds lacking. To fix this, instead of replacing the screen with another one which could lead to more issues in the future, I just went ahead and bought a manual version. These have physical buttons instead of a finicky touchscreen meaning that (hopefully) it will never break. Unfortunately, they don't look as nice though. I guess function over form though.
For the installation, after unclipping the four clips on the corners of the centre console, I unclipped the surrounding fascia and then unbolted all four bolts holding the 6 disk CD changer. Once the CD changer was pulled out, I could reach under the touchscreen unit and remove the two bolts holding that on. Once that was done, it was just a matter of pulling the unit out with the four clips holding it on.
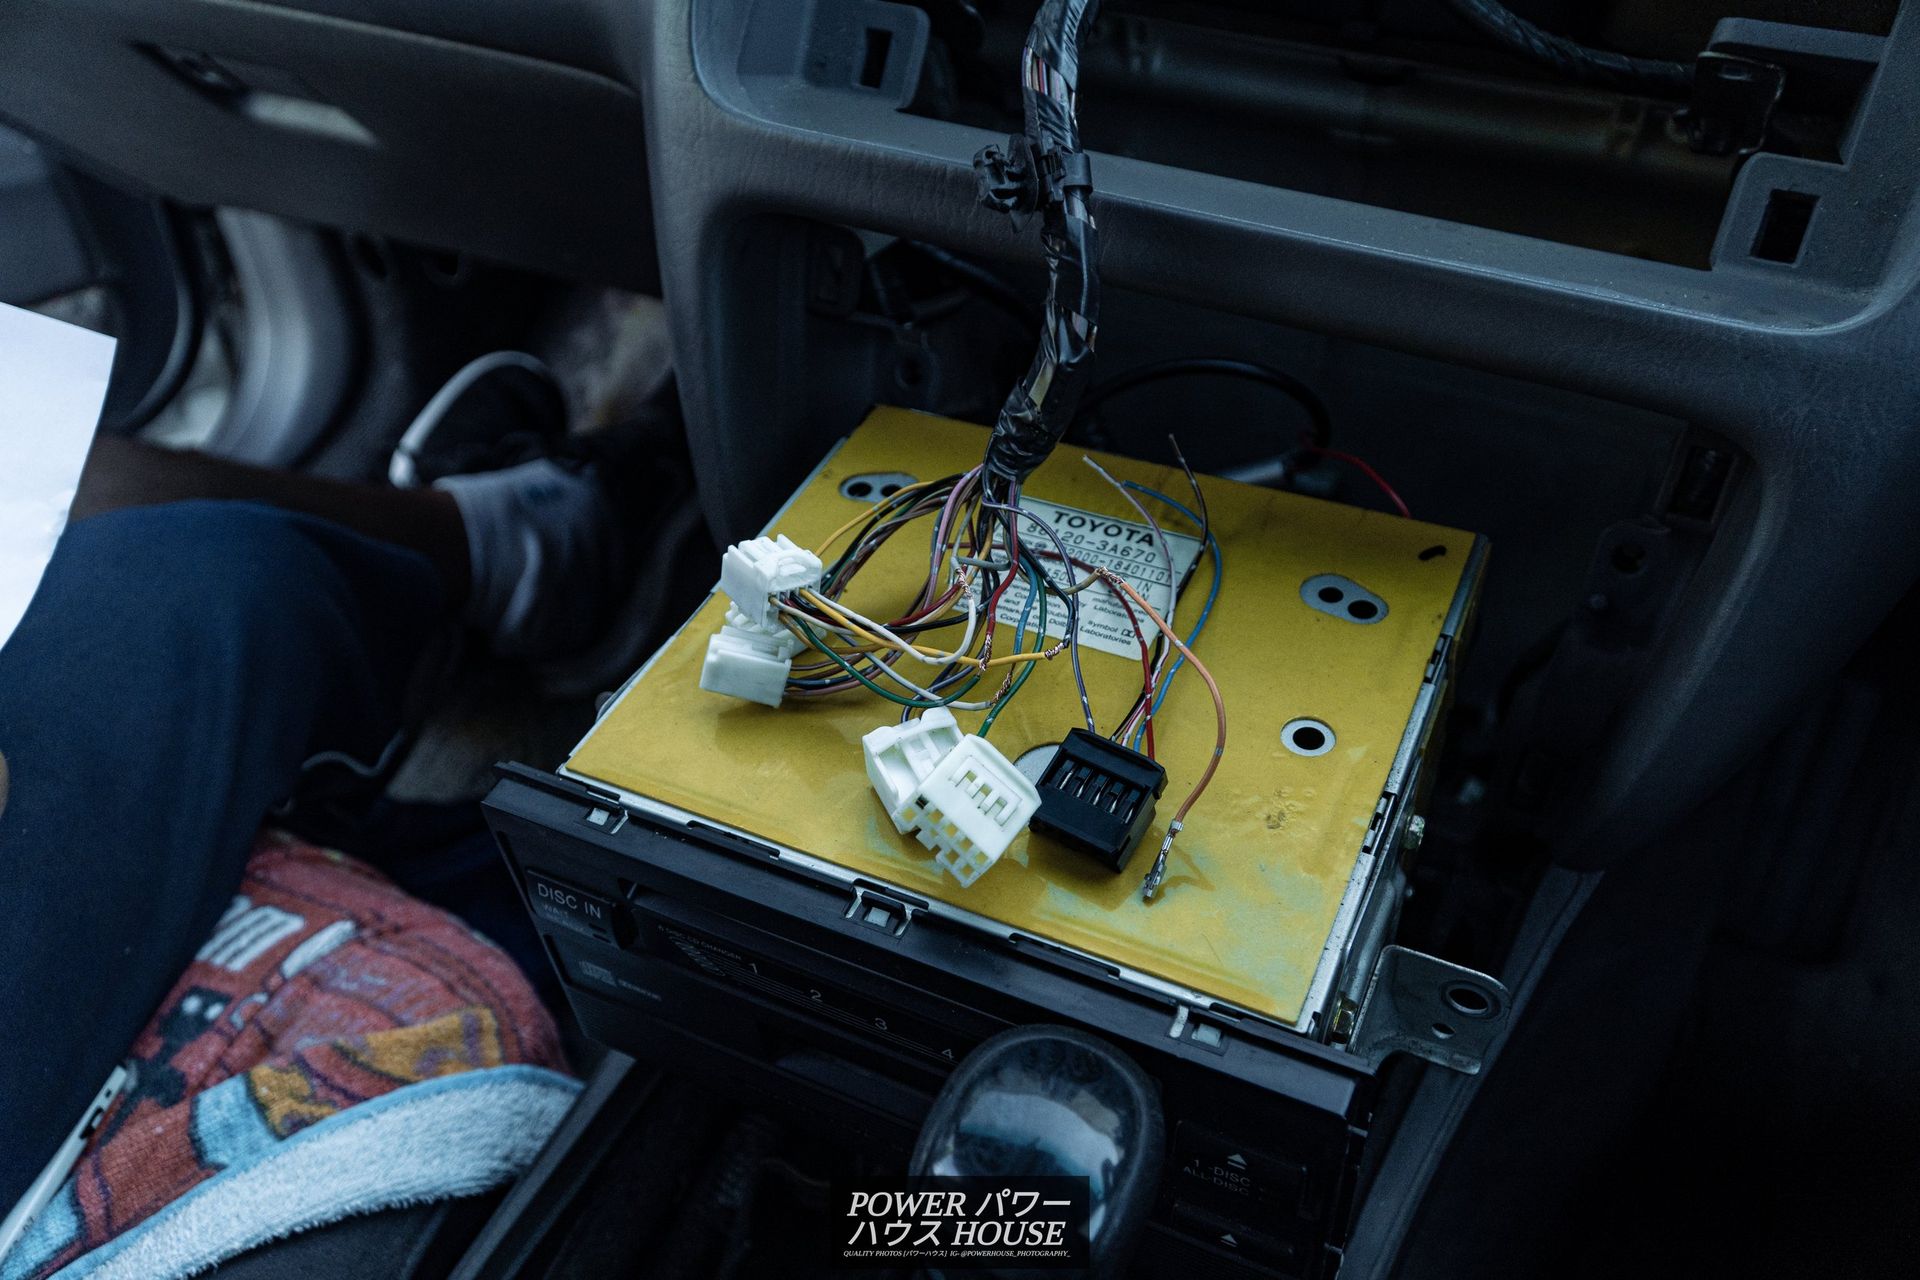
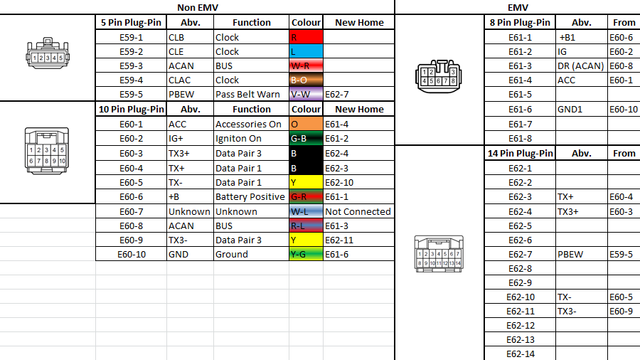
Once the unit was up, it was time for the wiring part of the conversion. After depinning all the plugs necessary we realized that it wasn't as easy as the internet told us. All the wires from plug E62 wouldn't fit because the metal pins were too big and would need to be cut and soldered with the wires and pins from the new unit. Other than that though, it was pretty simple and the wiring guide online was also pretty handy. I'm a lot happier with the new unit, especially since everything works now, just don't try look for the clock.
And here is the diagram I followed.
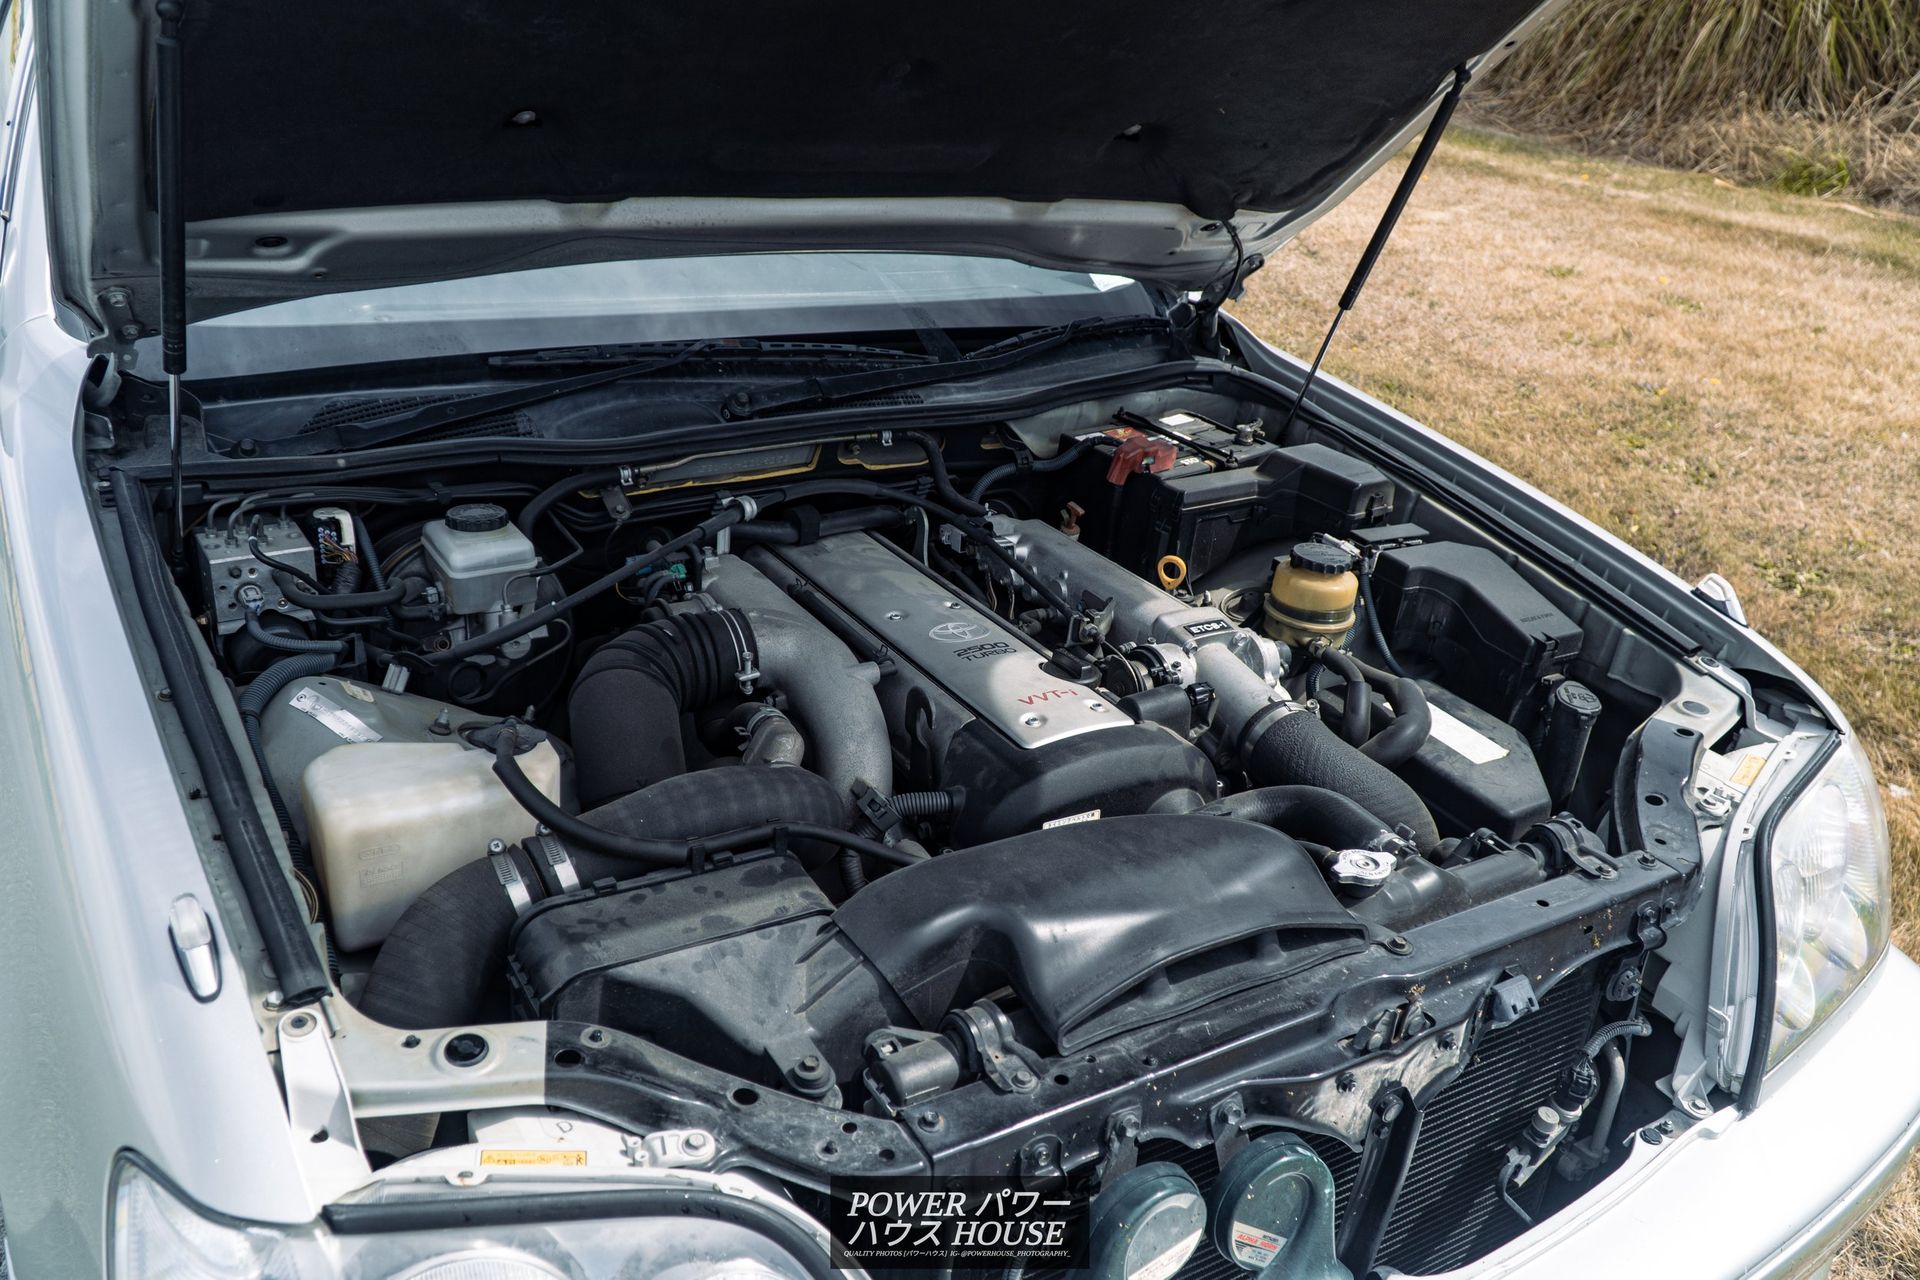
Next up was a well-overdue service.
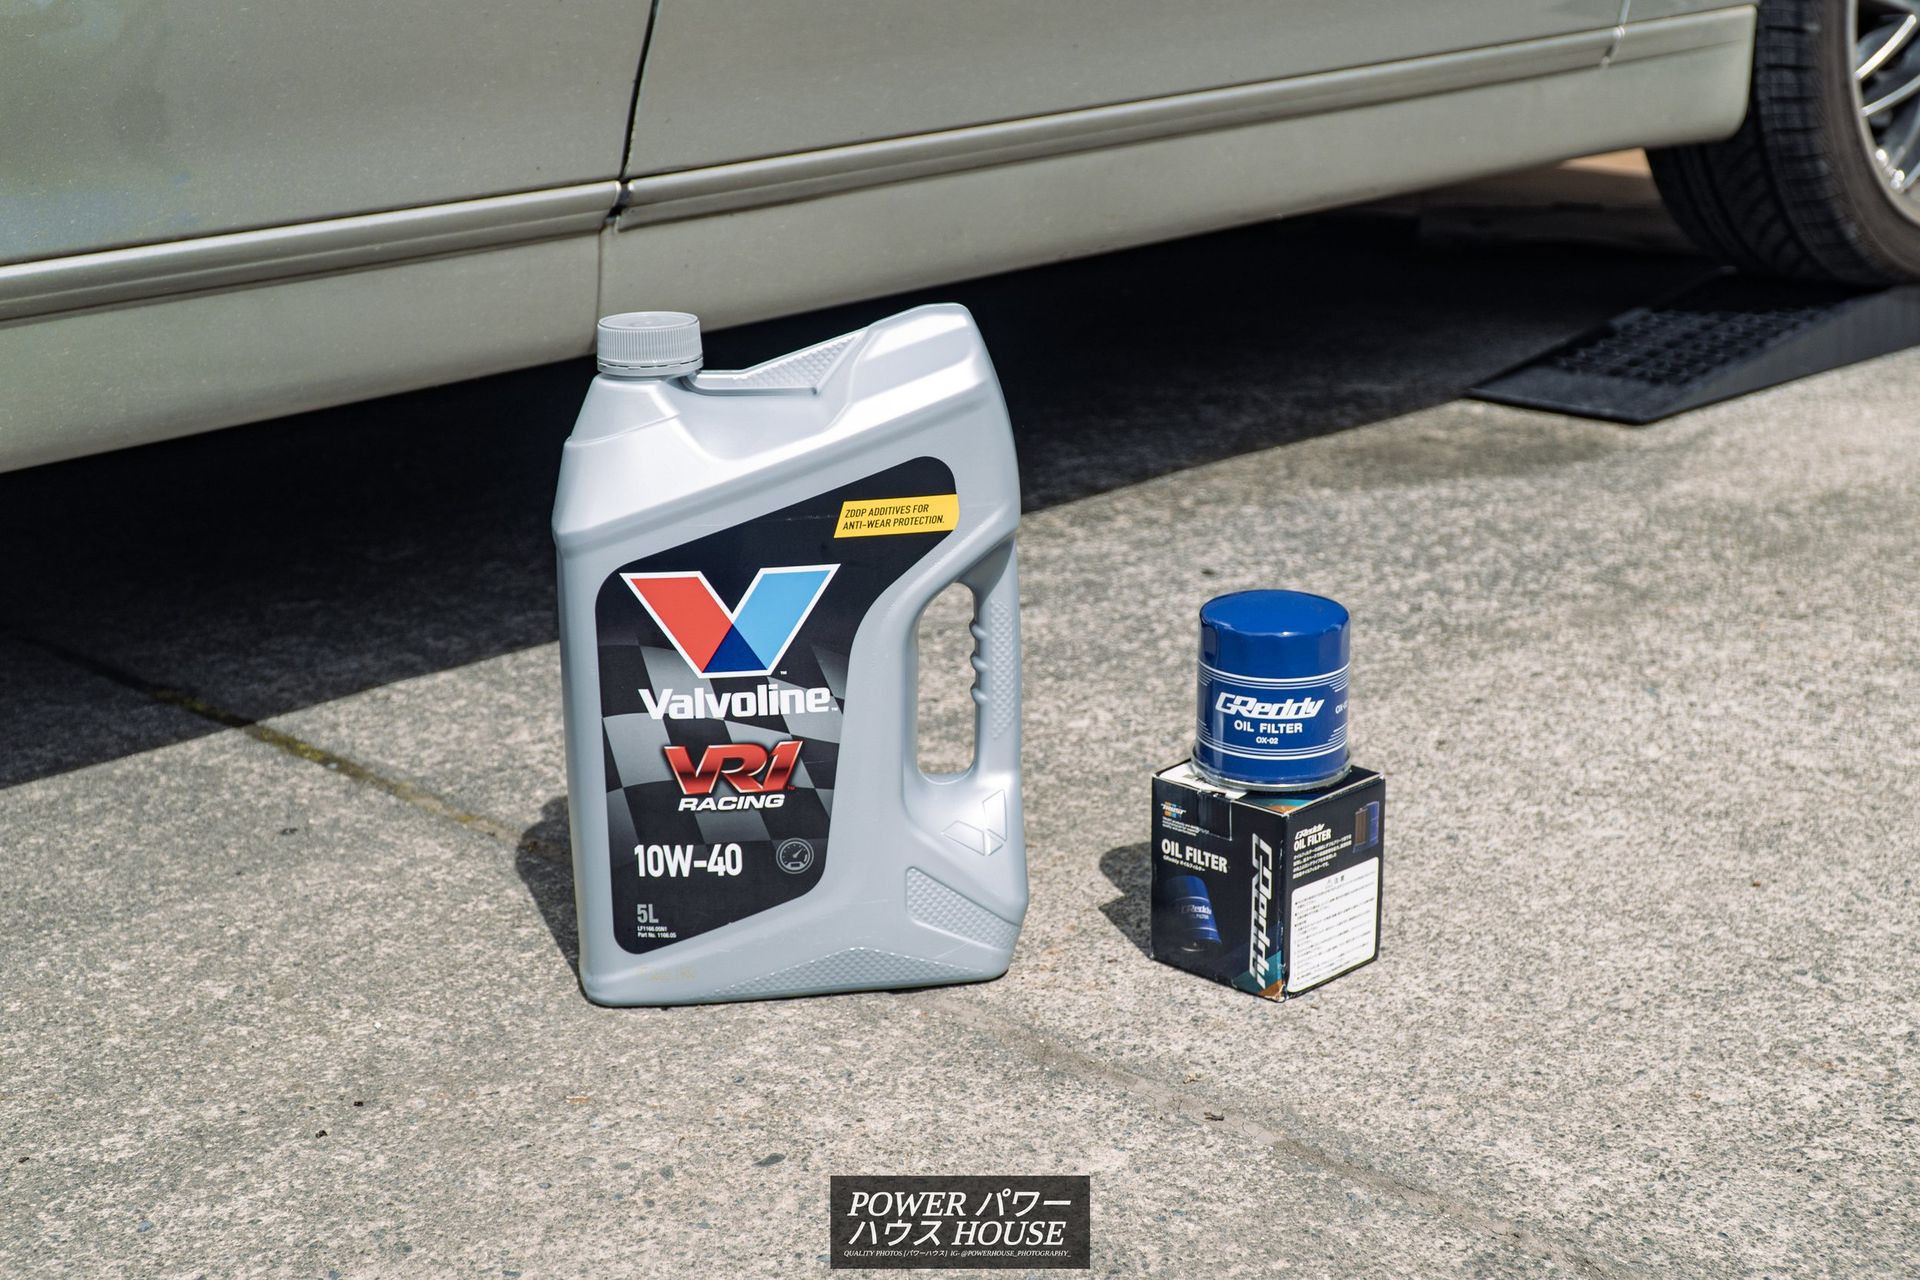
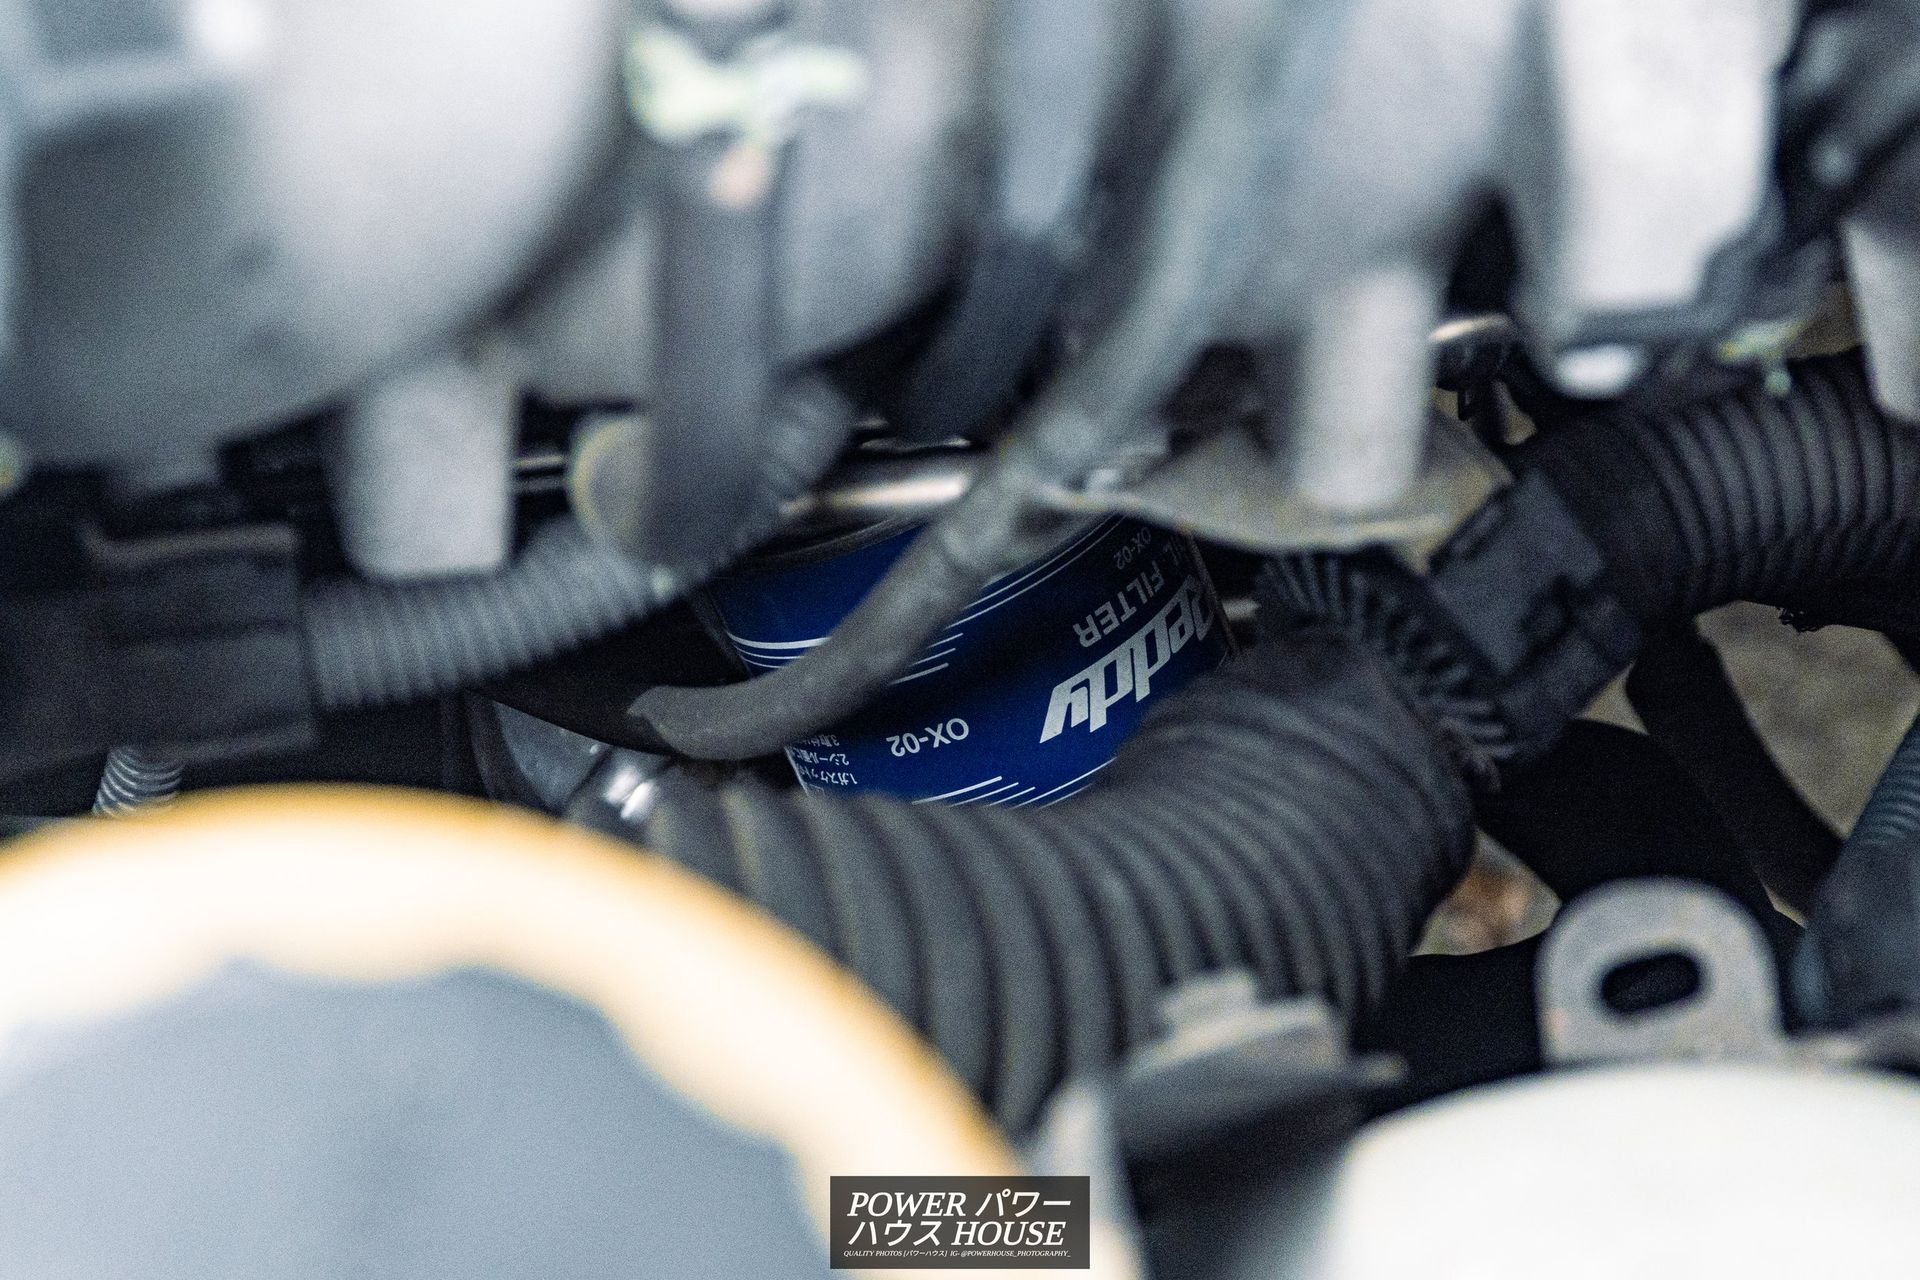
For the oil change, I got some Valvoline VR1 Racing 10W-40 oil and a GReddy OX-02 oil filter. Unfortunately, the oil change wasn't as easy as expected. This was for two reasons. The first reason is that Toyota mounted JZ oil filters in the world's stupidest location ever. The second is that the car yard that imported the car overtightened the life out of the poor old Ryco oil filter. After spending way too long trying to get the oil filter out and going through several different oil filter removal tools, the filter finally came off, but not without a fight. Oil went everywhere which made my hands slippery, resulting in me dropping the oil filter and oil getting all into my cuts. Not a big deal though, especially considering that just a simple service like this will keep the 1J running for as long as it can.
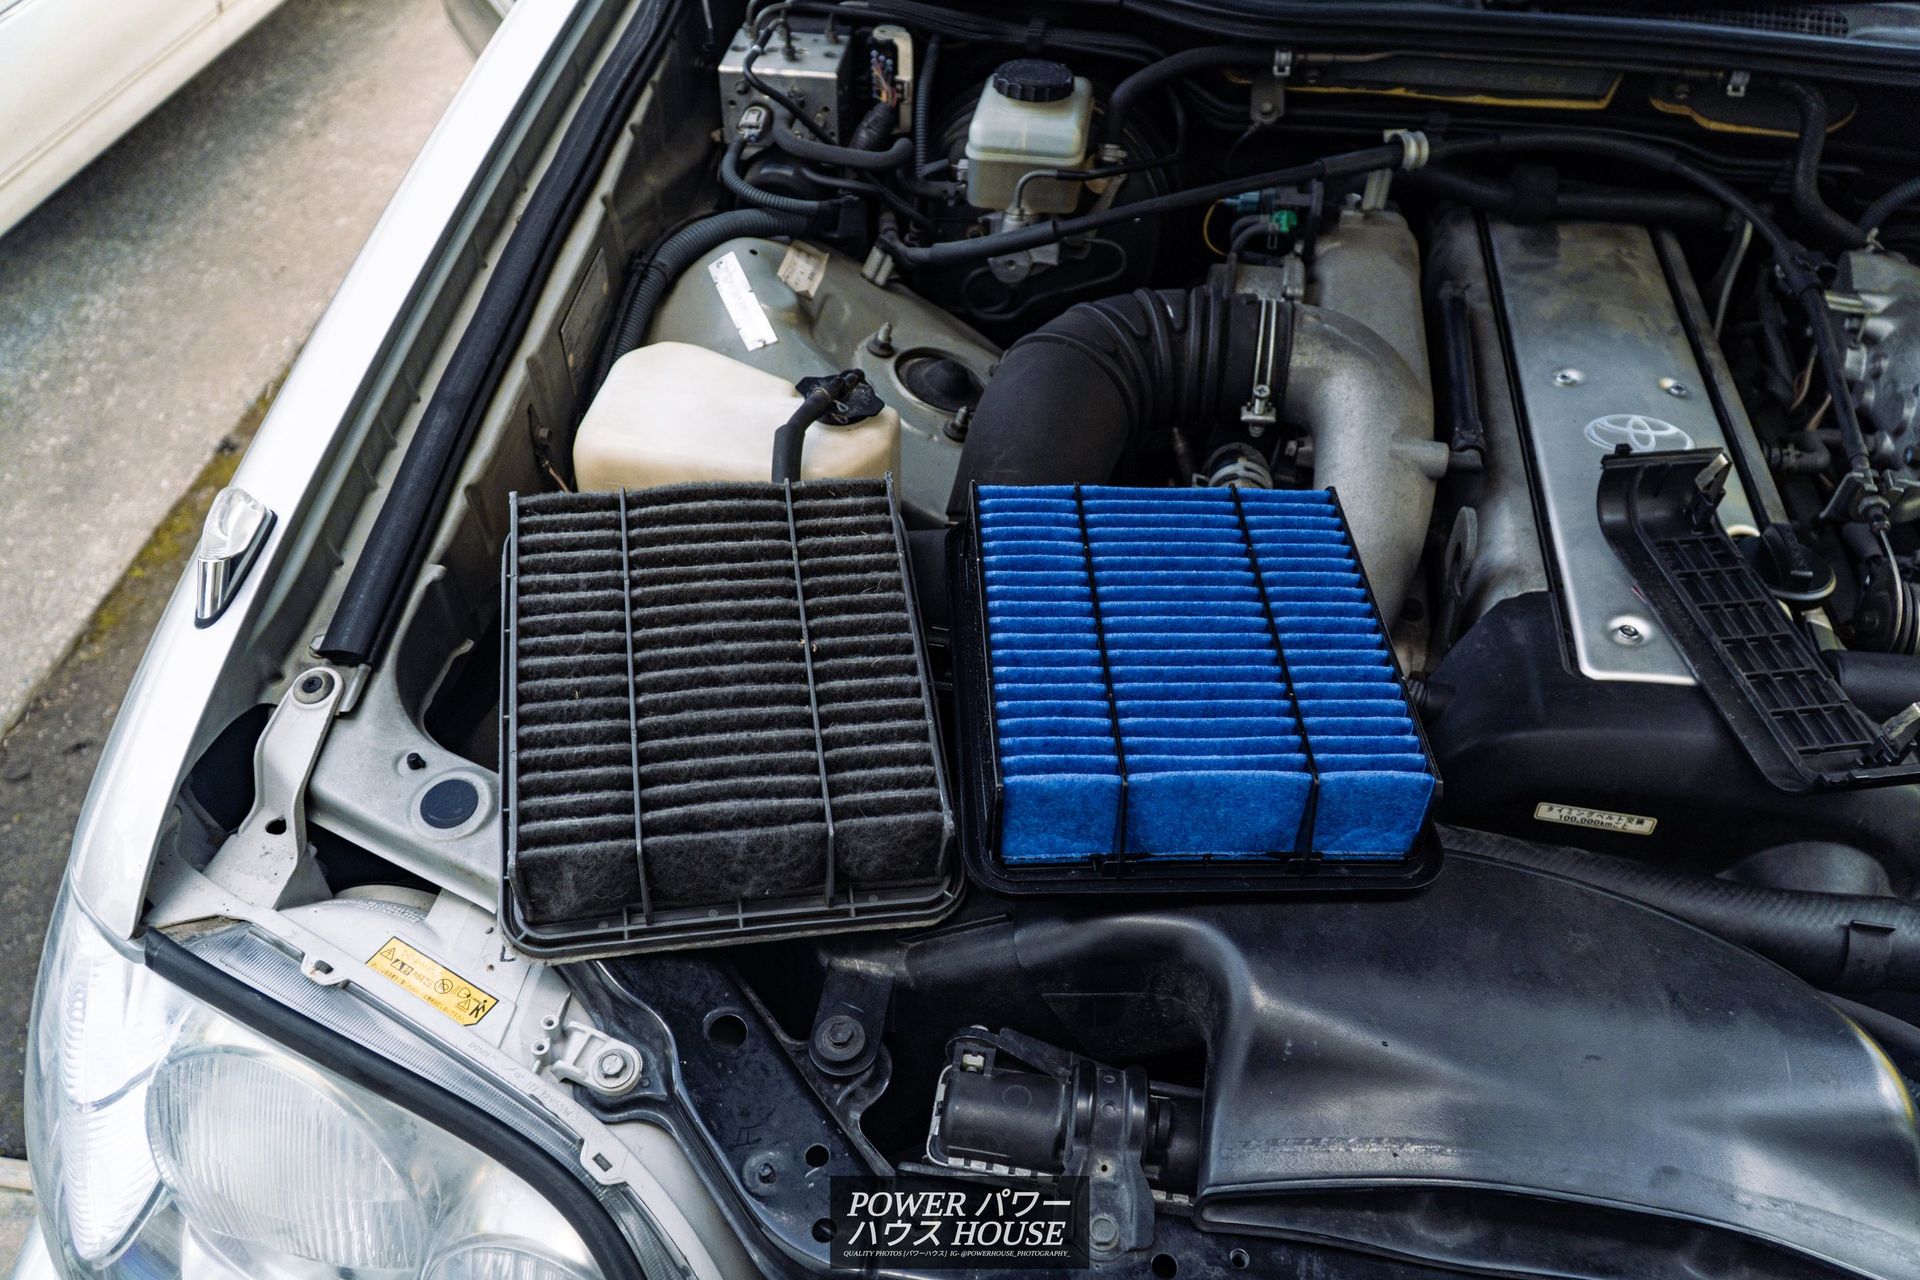
While doing all the maintenance, I also ordered a Blitz SUS Power LM 2-layer panel filter. After about a week's wait, it finally arrived from RHDJapan.
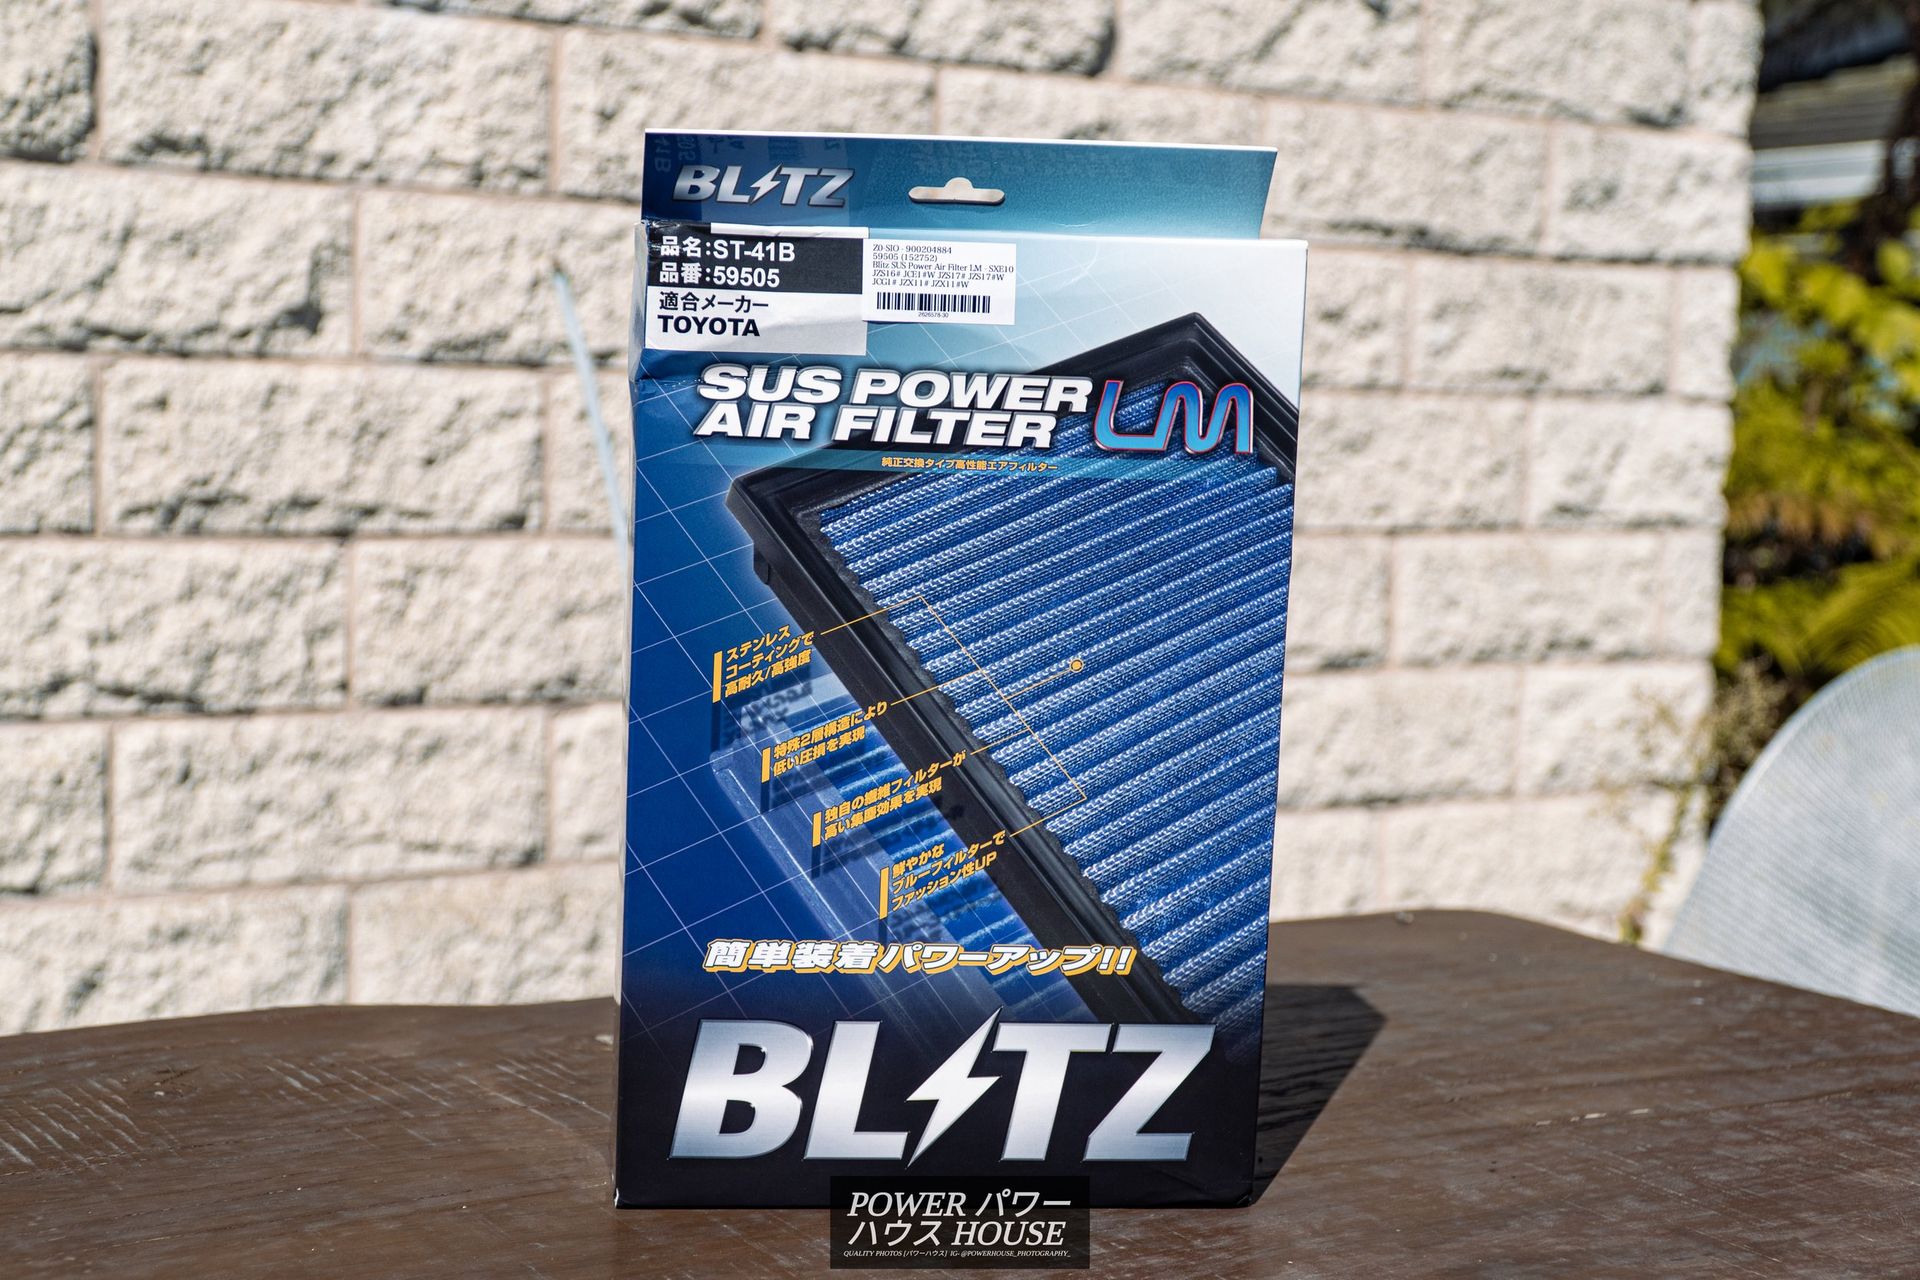

The installation was super easy as expected, and the turbo is even teeny weeny bit louder now!
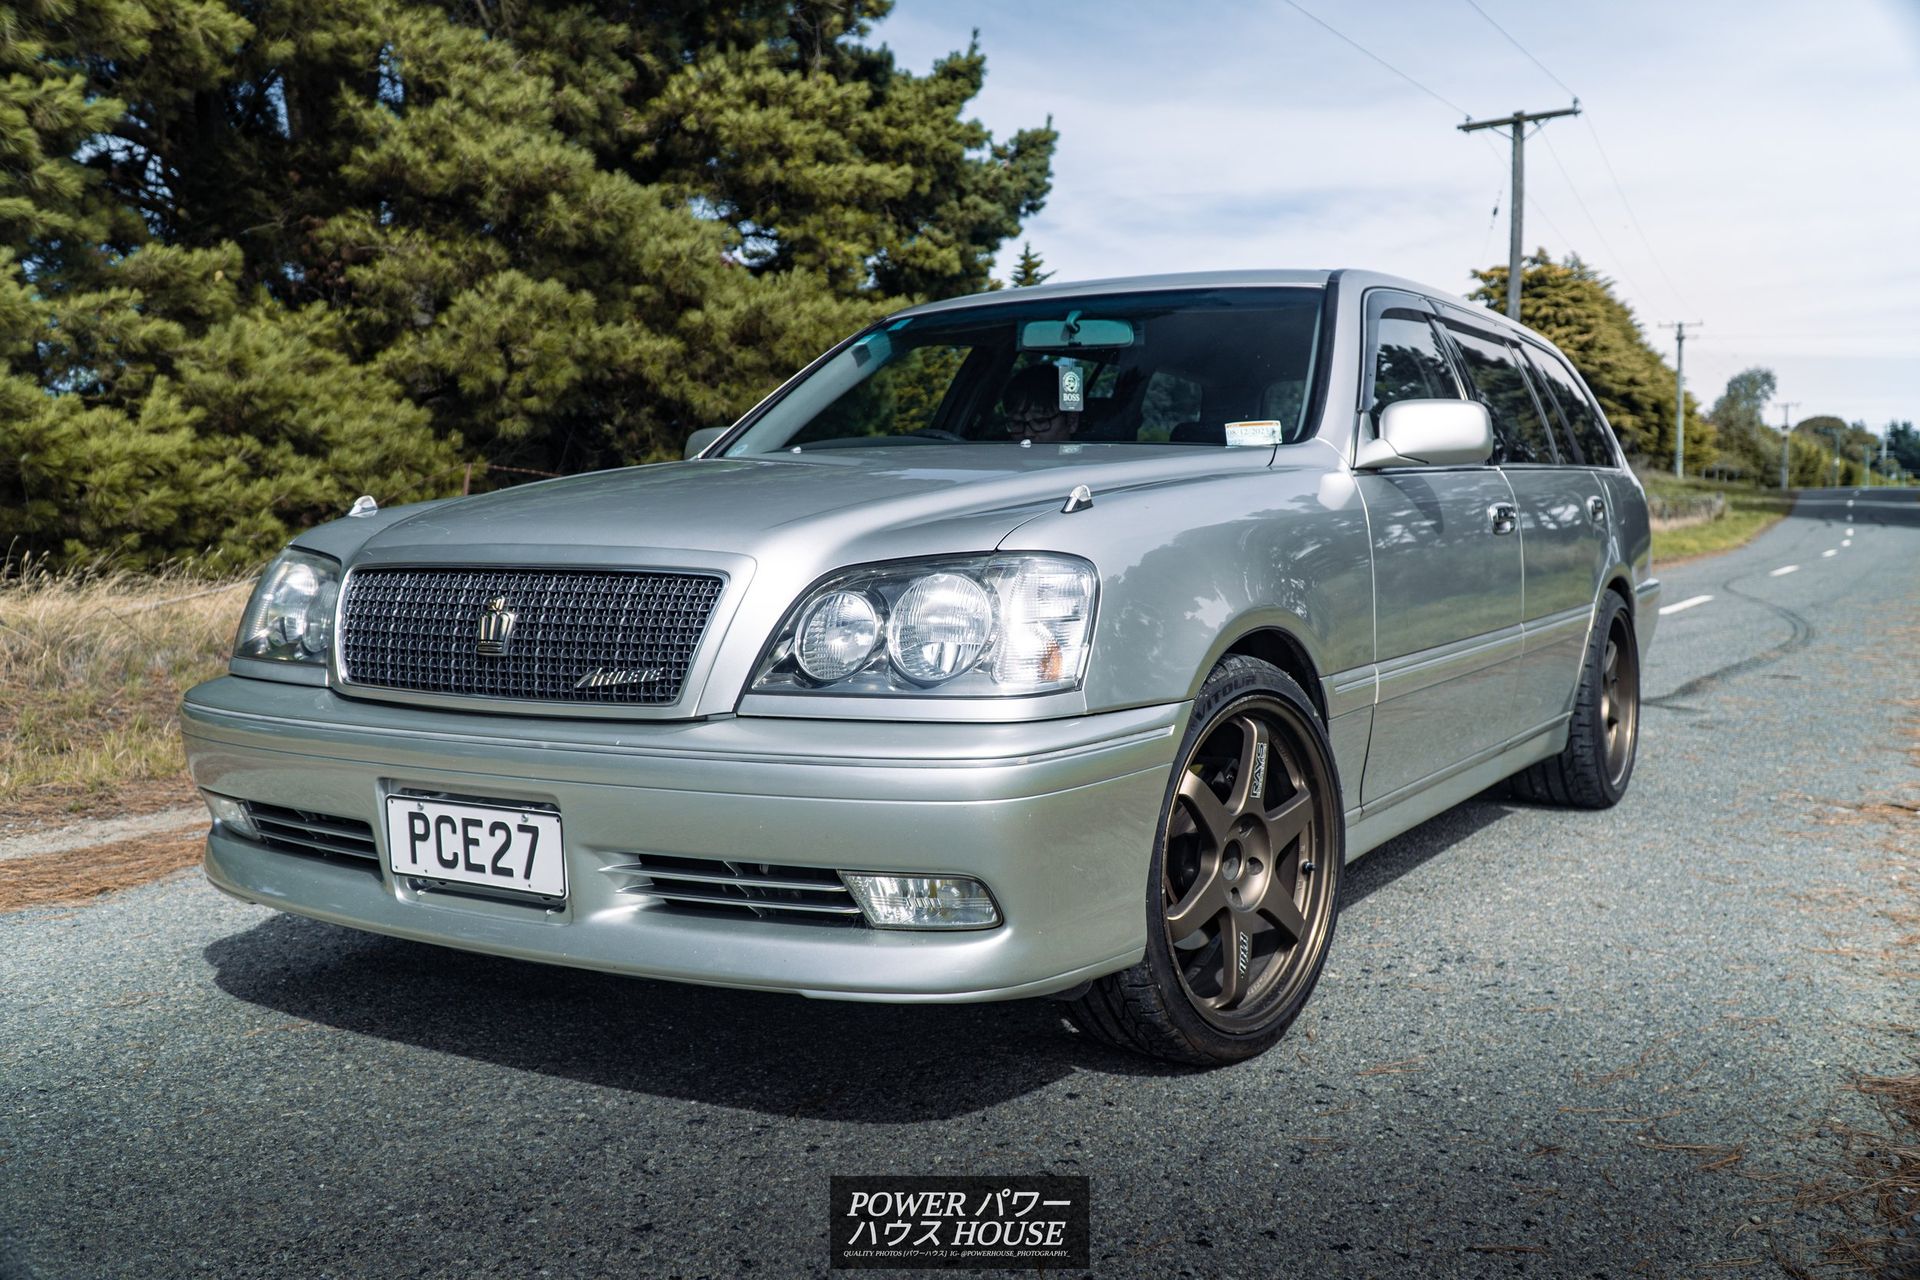
Now that the boring stuff is all done and over with, the time for mods had come. First up, was to get rid of the weak 18x7.5 (+45) Warwic Monza Mesh wheels.
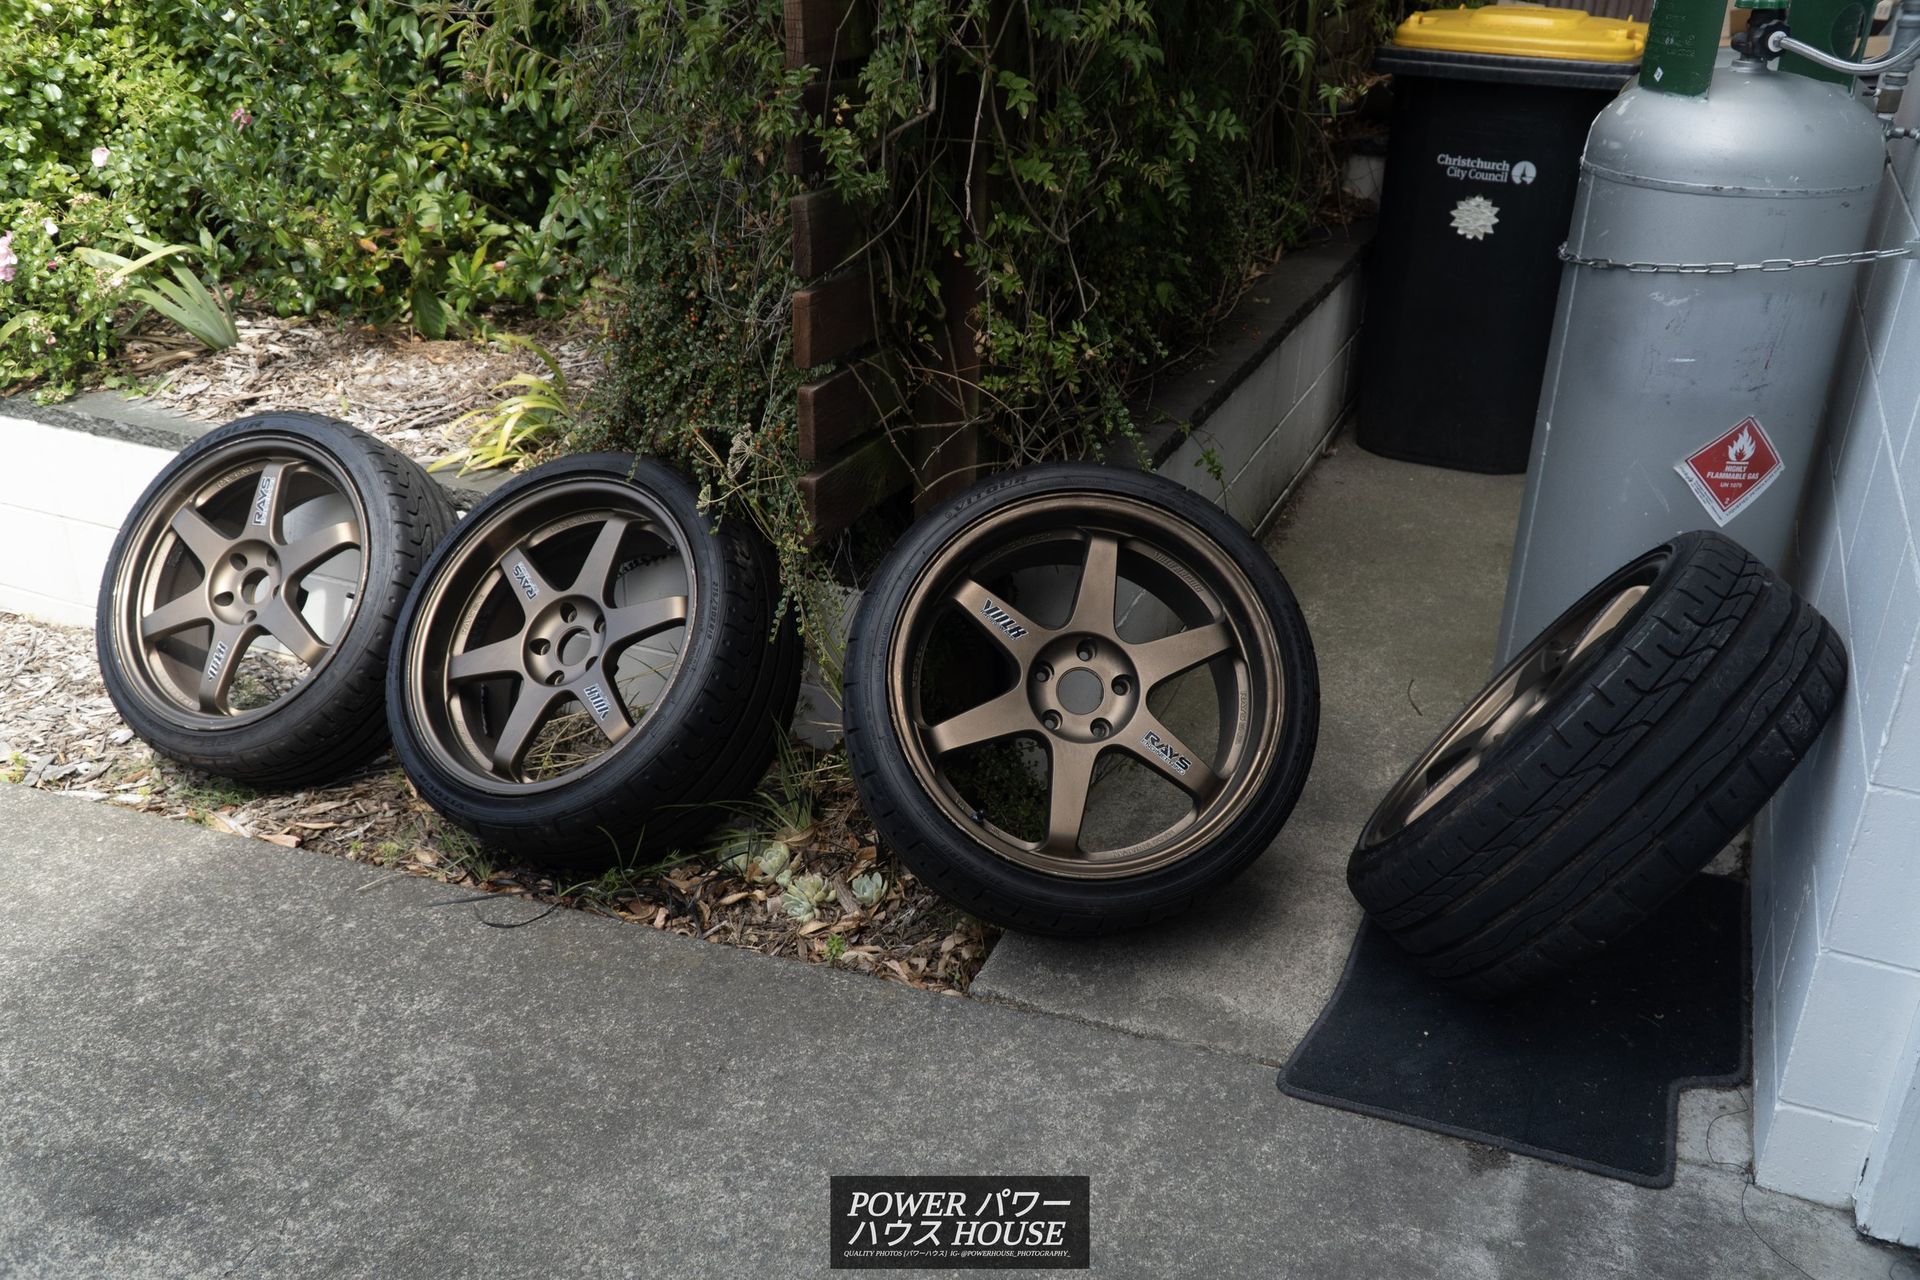
For those that didn't know, I've had a set of TE37s in the garage for a while now, and even better, these are perfect sizing for Crowns. Fronts are 19x8.5 (+29) and the rears are 19x9.5 (+34). Very unfortunately though, one of them has had damage to the lip and has had a poor attempt at fixing it which is why I was told they were unfixable by my local wheel repair shop. Luckily, I got a second opinion and Royce Clive said they could fix it.
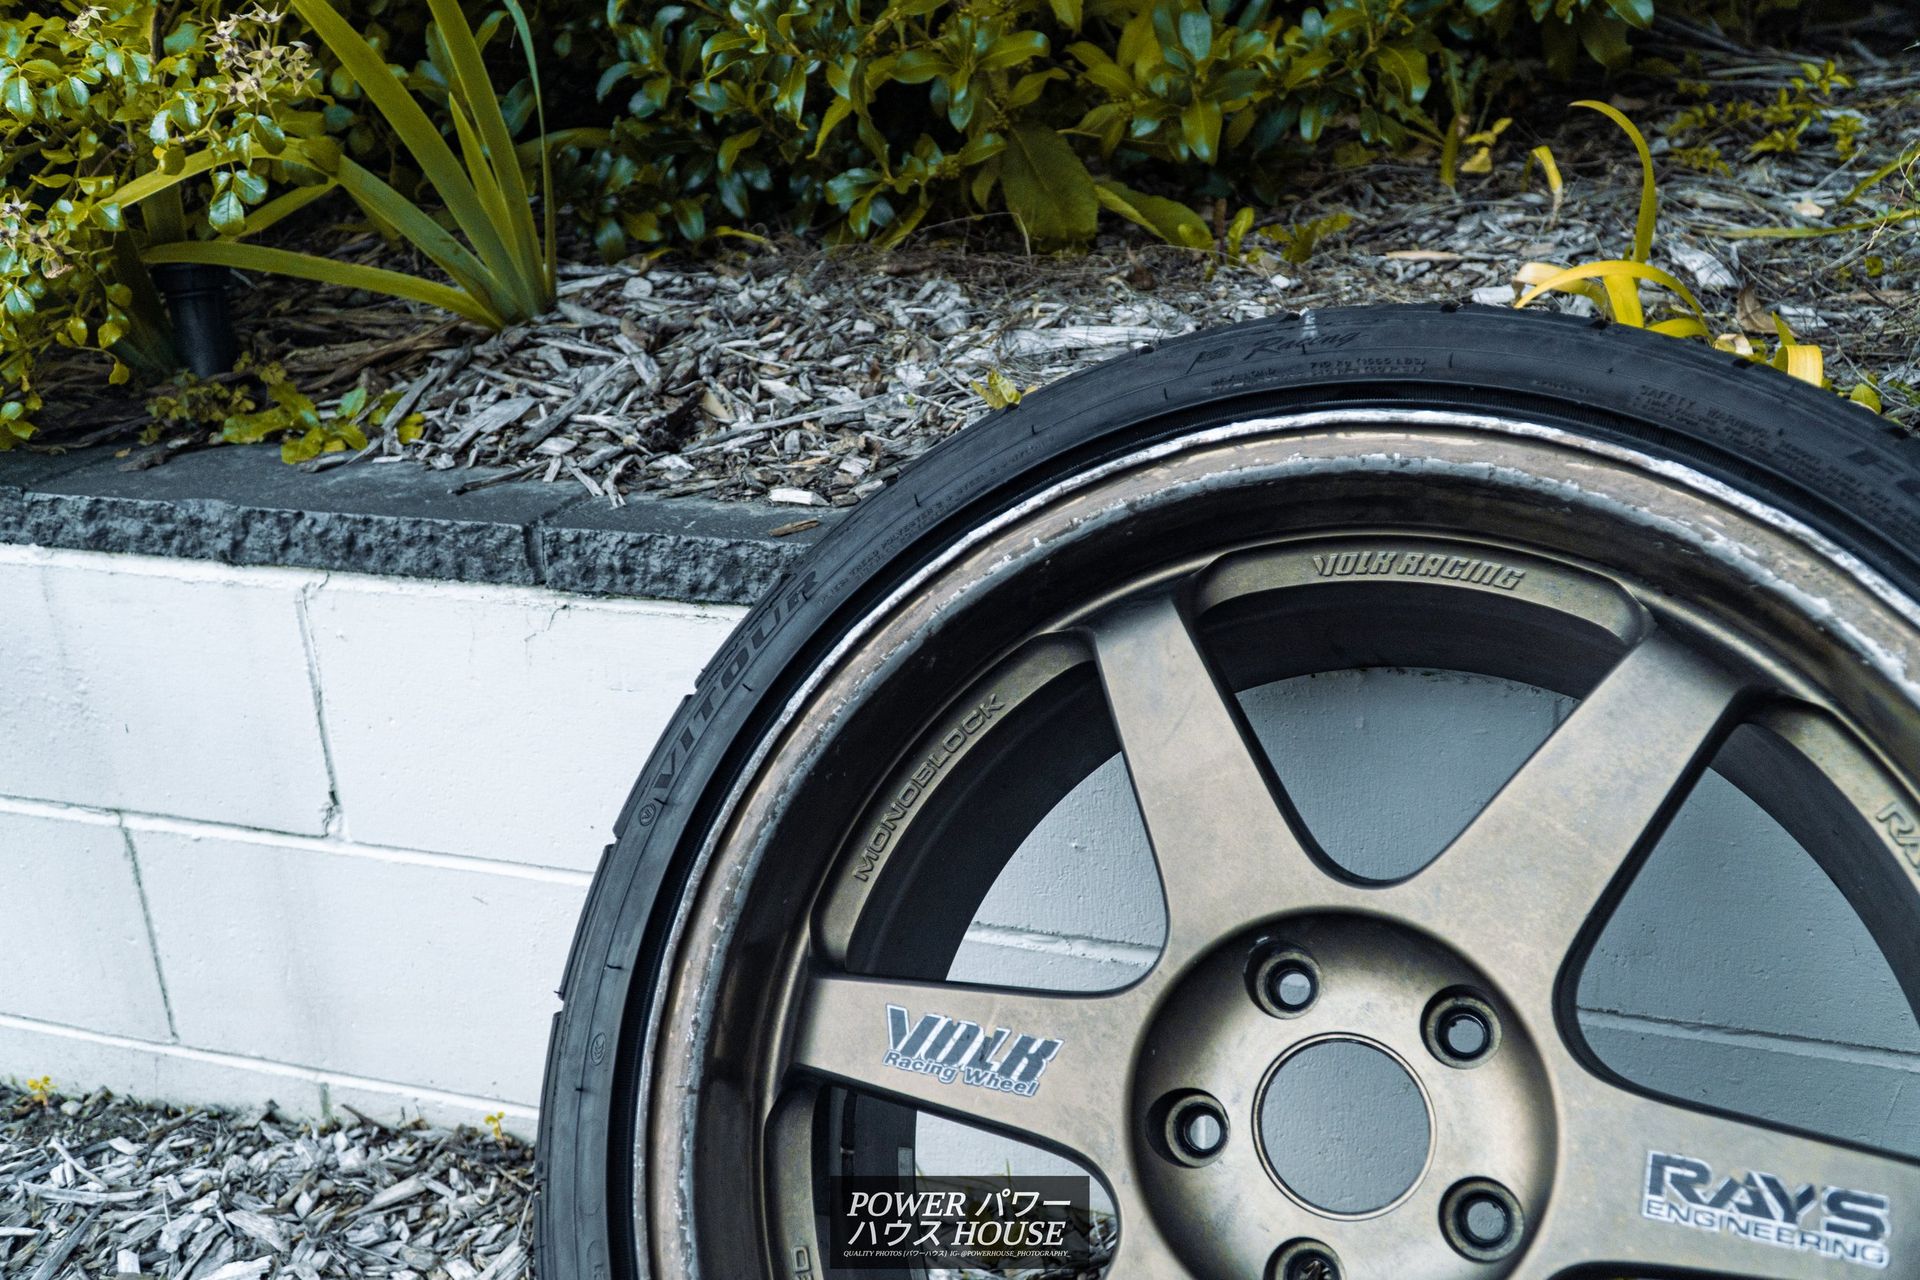
They said they did the best they could but that it isn't perfect. Seems a lot better than before though and at this point, as long as it didn't wobble, I was happy.
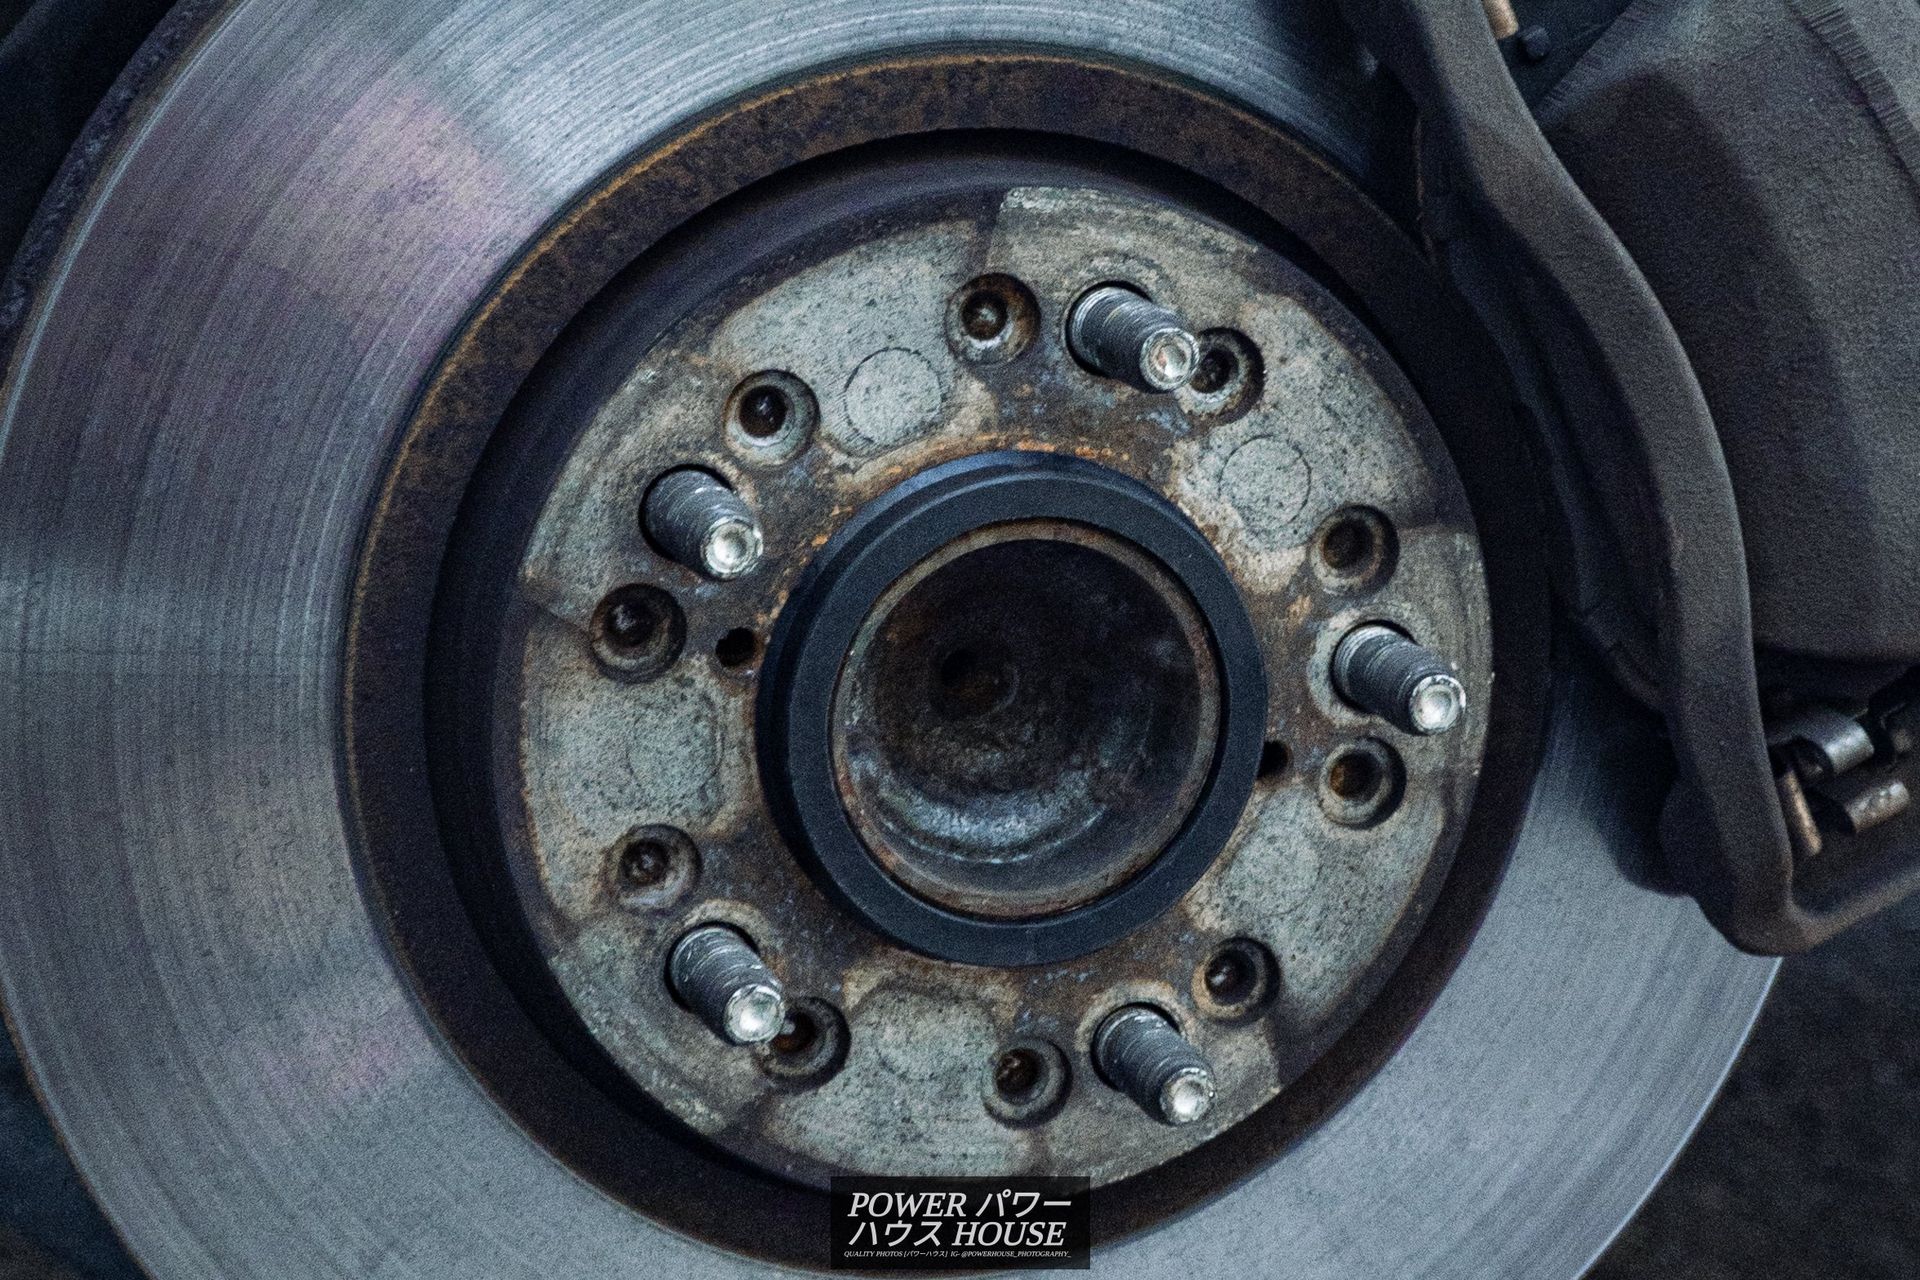
After fitting the wheels with some new hub-centric rings from Mag And Turbo, we went for a test drive, and luckily, no wobble! Definitely got to get some paint on the fixed lip though.