Project Crown: A Change in Plans
28 December 2023
Although I intended to sell the Crown, after being mucked around several times, and having a long time to think deeply, I have decided to keep it, at least for now. Therefore, I’ve started installing a few new mods, and fixing up some small errors that came about.

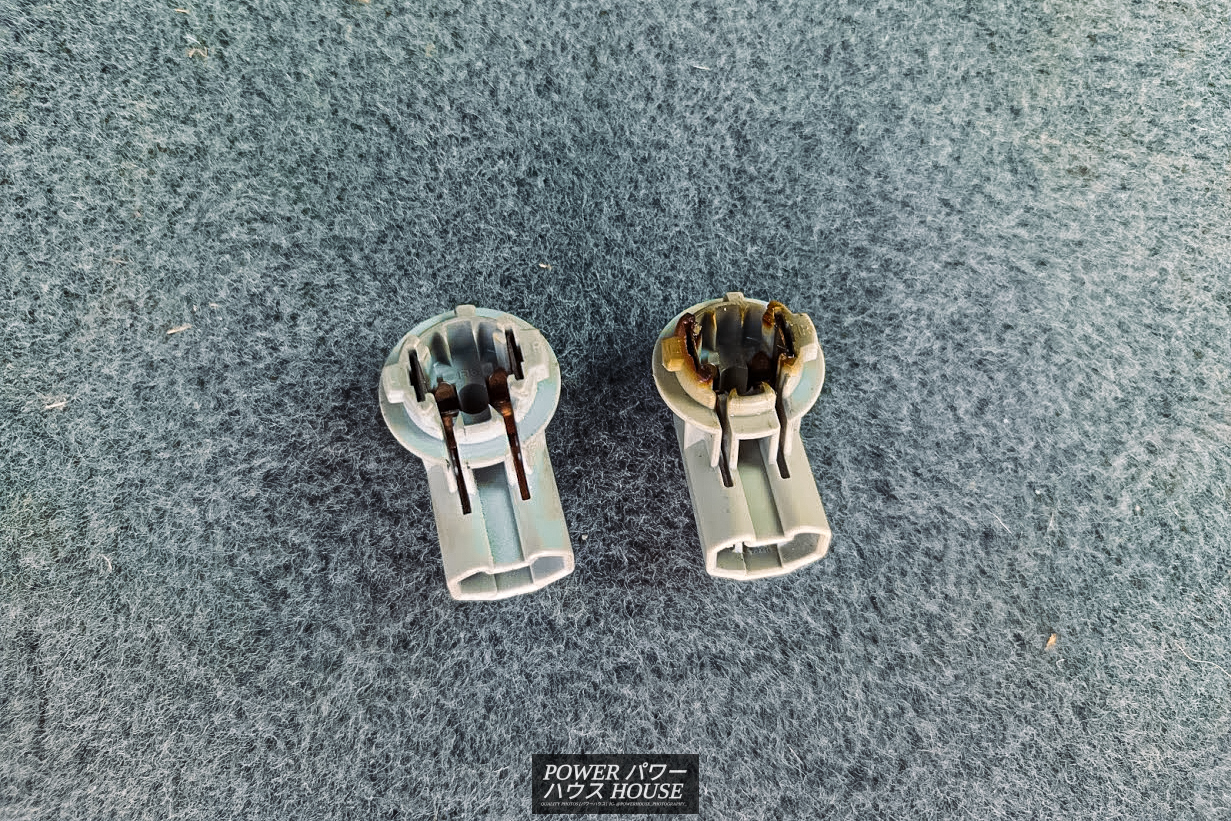
Firstly, the oh-so-common tail light dash warning light came up. After a bit of an inspection, I saw that the third brake light didn’t work. After wiggling the bulb, it started working again and so I took it off to find that the socket was completely burnt. Luckily, Toyota reused it for a lot of their cars during the early 2000s’ and so I got a good condition one from a Toyota Echo NCP13 at Pick-a-part. Unfortunately, when I fit it, the dash light remained on.
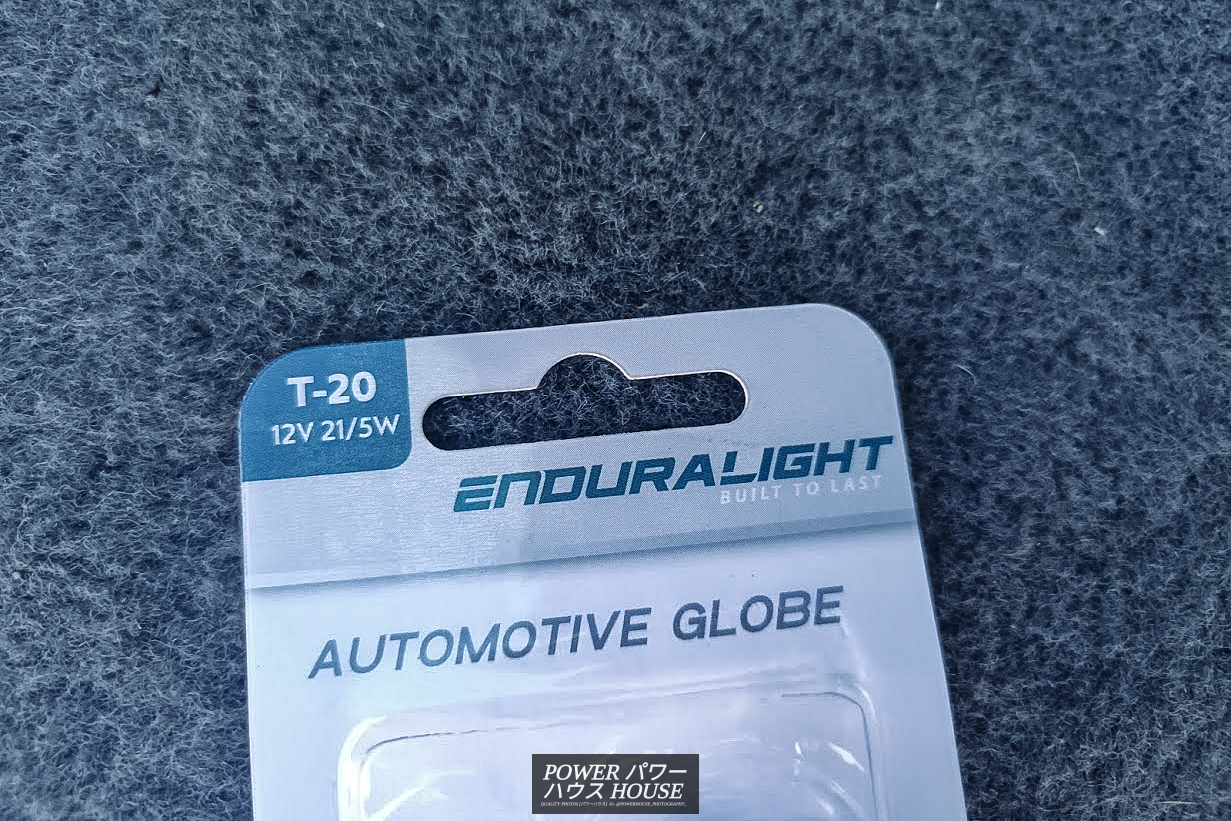
Next thing to try were the brake light bulbs as the forums said that even slight variations in voltage and wattage can cause the light to come on. After changing all the brake light bulbs with Enduralight T-20 12V 21/5W bulbs, the warning light momentarily disappeared, but disappointingly it came back on after a day.
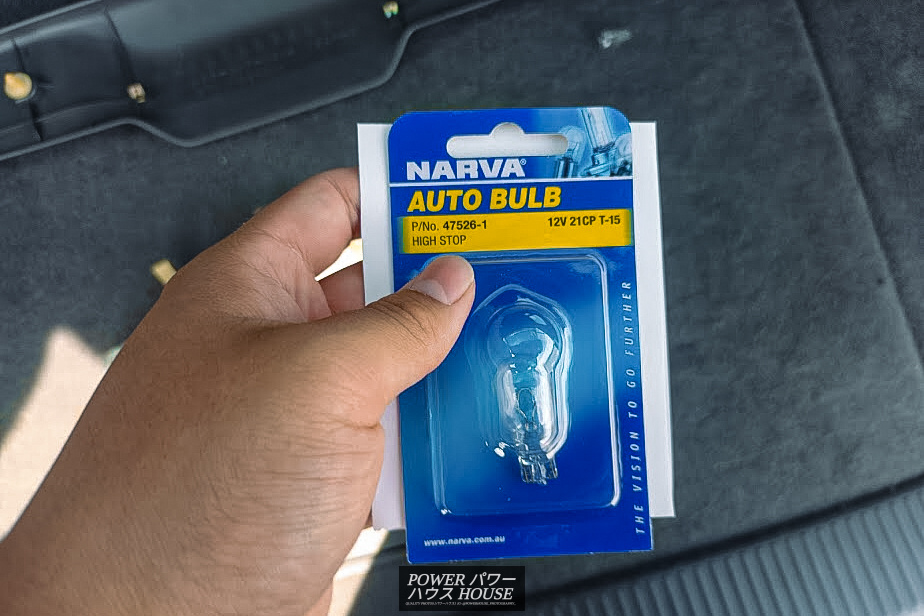
In the end, it turns out that the third brake light bulb connection on the physical bulb was loose which would cause it to randomly stop working, causing the dash light. After installing a Navara 47526-1 bulb in the third brake light which had the correct 16W wattage, the warning light finally permanently left.
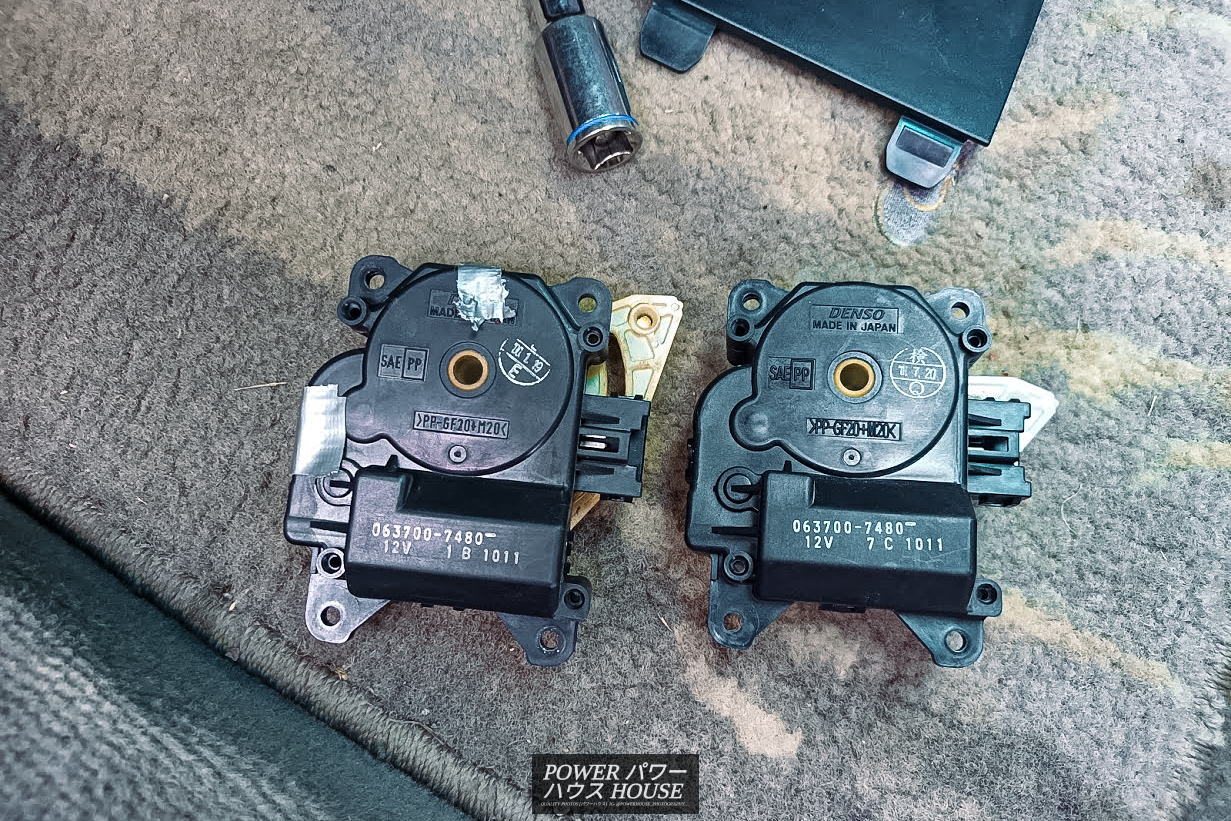
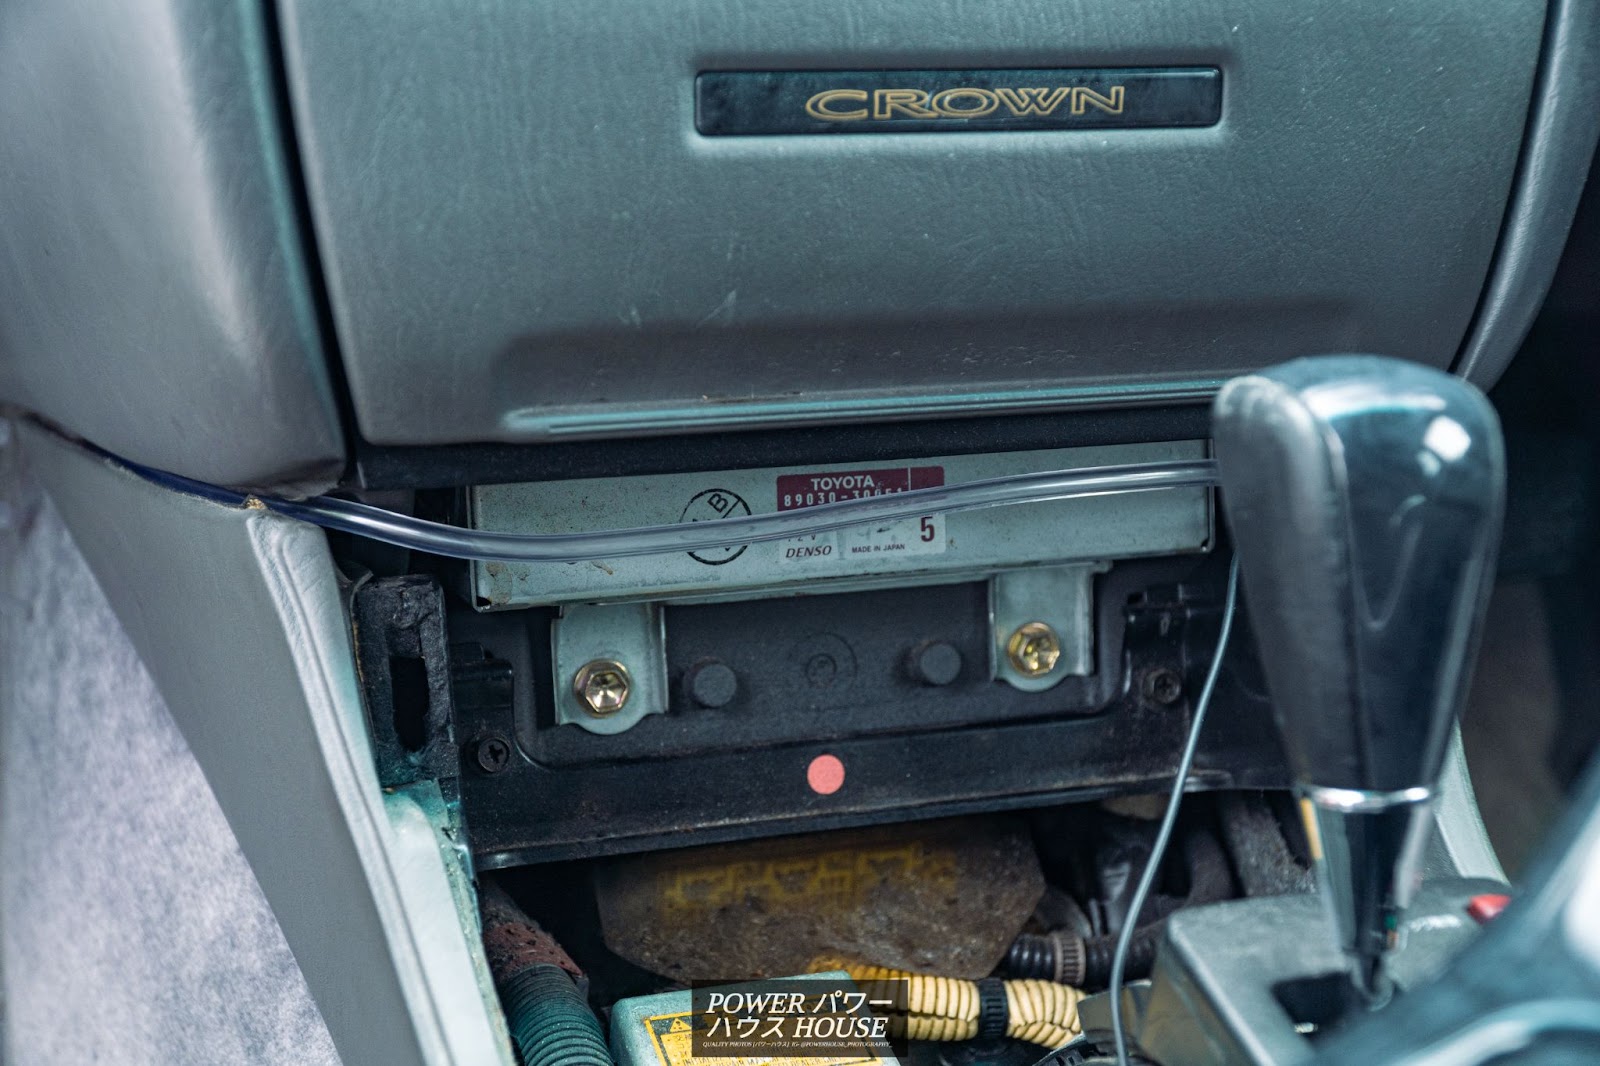
Now that the dash light was gone, it was time to fix another issue the Crown had. Unfortunately, the air was only directed to the defogger, no matter what was selected on the ‘Mode’. The cause of this common issue was the mode servo motor being stuck in a specific position. So once again, it was back to Pick-a-part for a new servo motor, this time off a Toyota Verossa JZX110. Installation was very easy as just a few screws held it on behind the glove box. Once installed, the air blew perfectly in every mode just like it should!
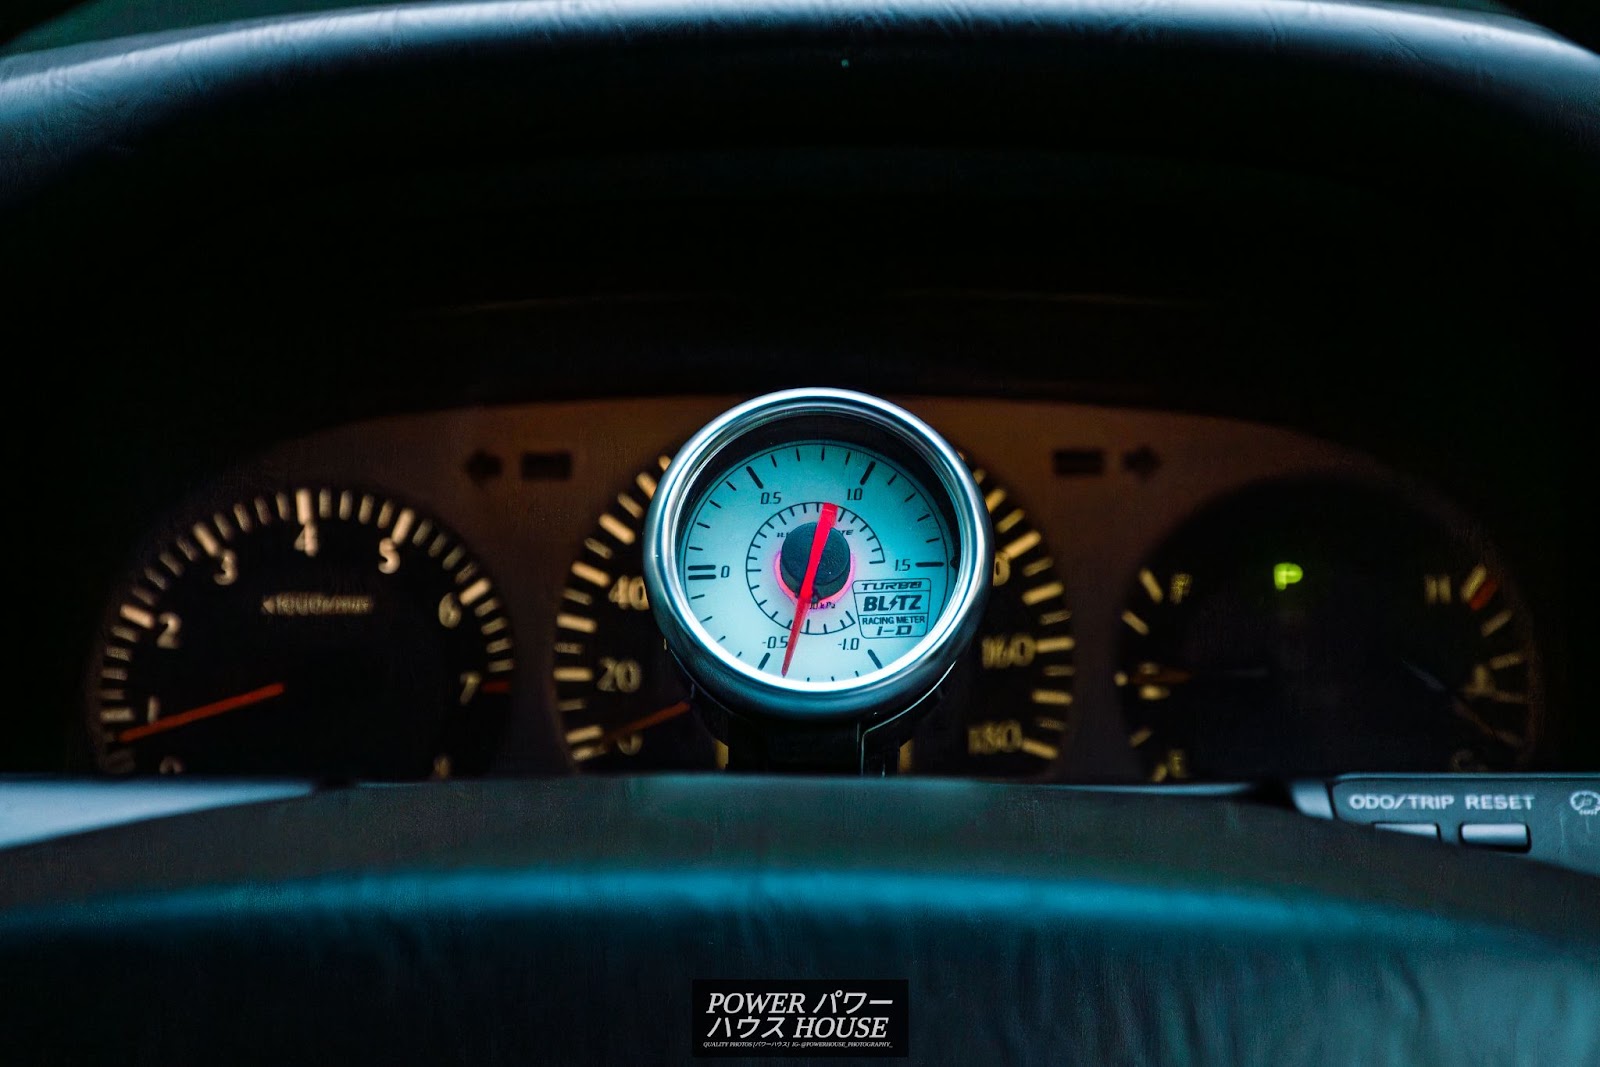
At this point, I realised that if I keep the Crown, I’d want to raise the boost, and therefore needed a boost gauge. Luckily, I’ve had one in my bedroom for the last year just collecting dust. It’s a Blitz Racing Meter i-D Illumi Drive 52mm mechanical boost gauge with the very 1990s’ white-face and blue backlighting.
 After some quite minimal thinking, I decided that I’d install it on the steering column. The installation was very straightforward and after a quick drive to Jaycar and Pararubber, I had all of the supplies I needed.
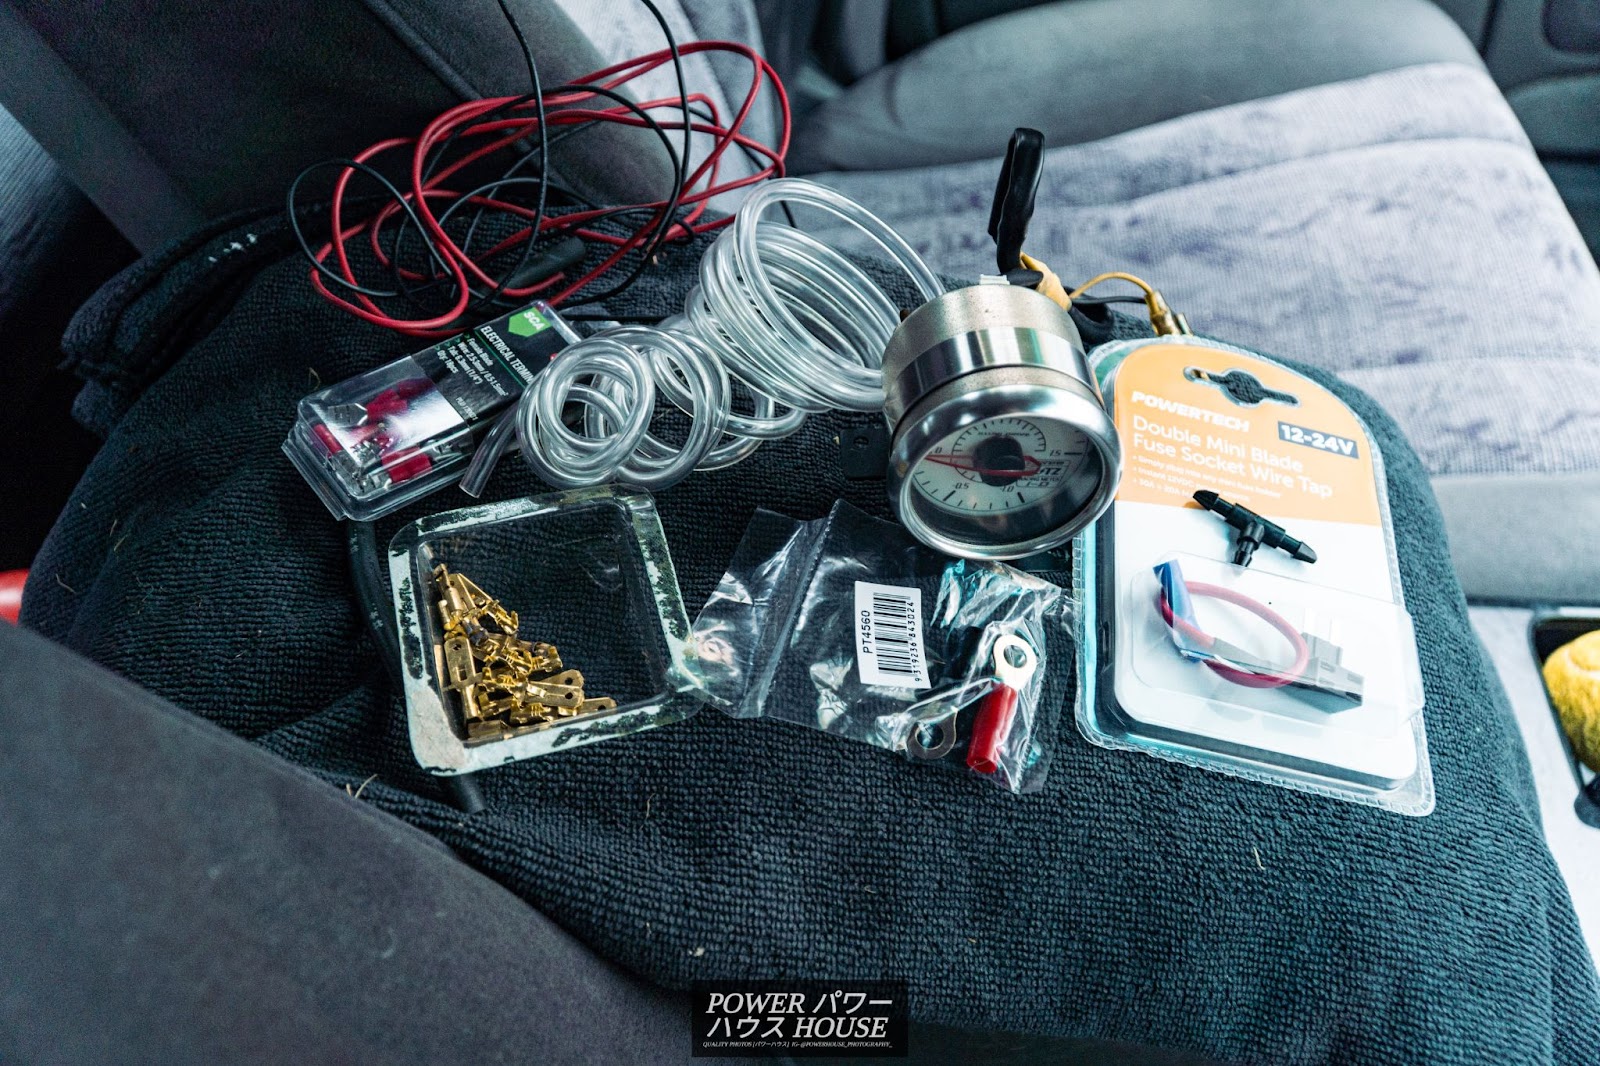
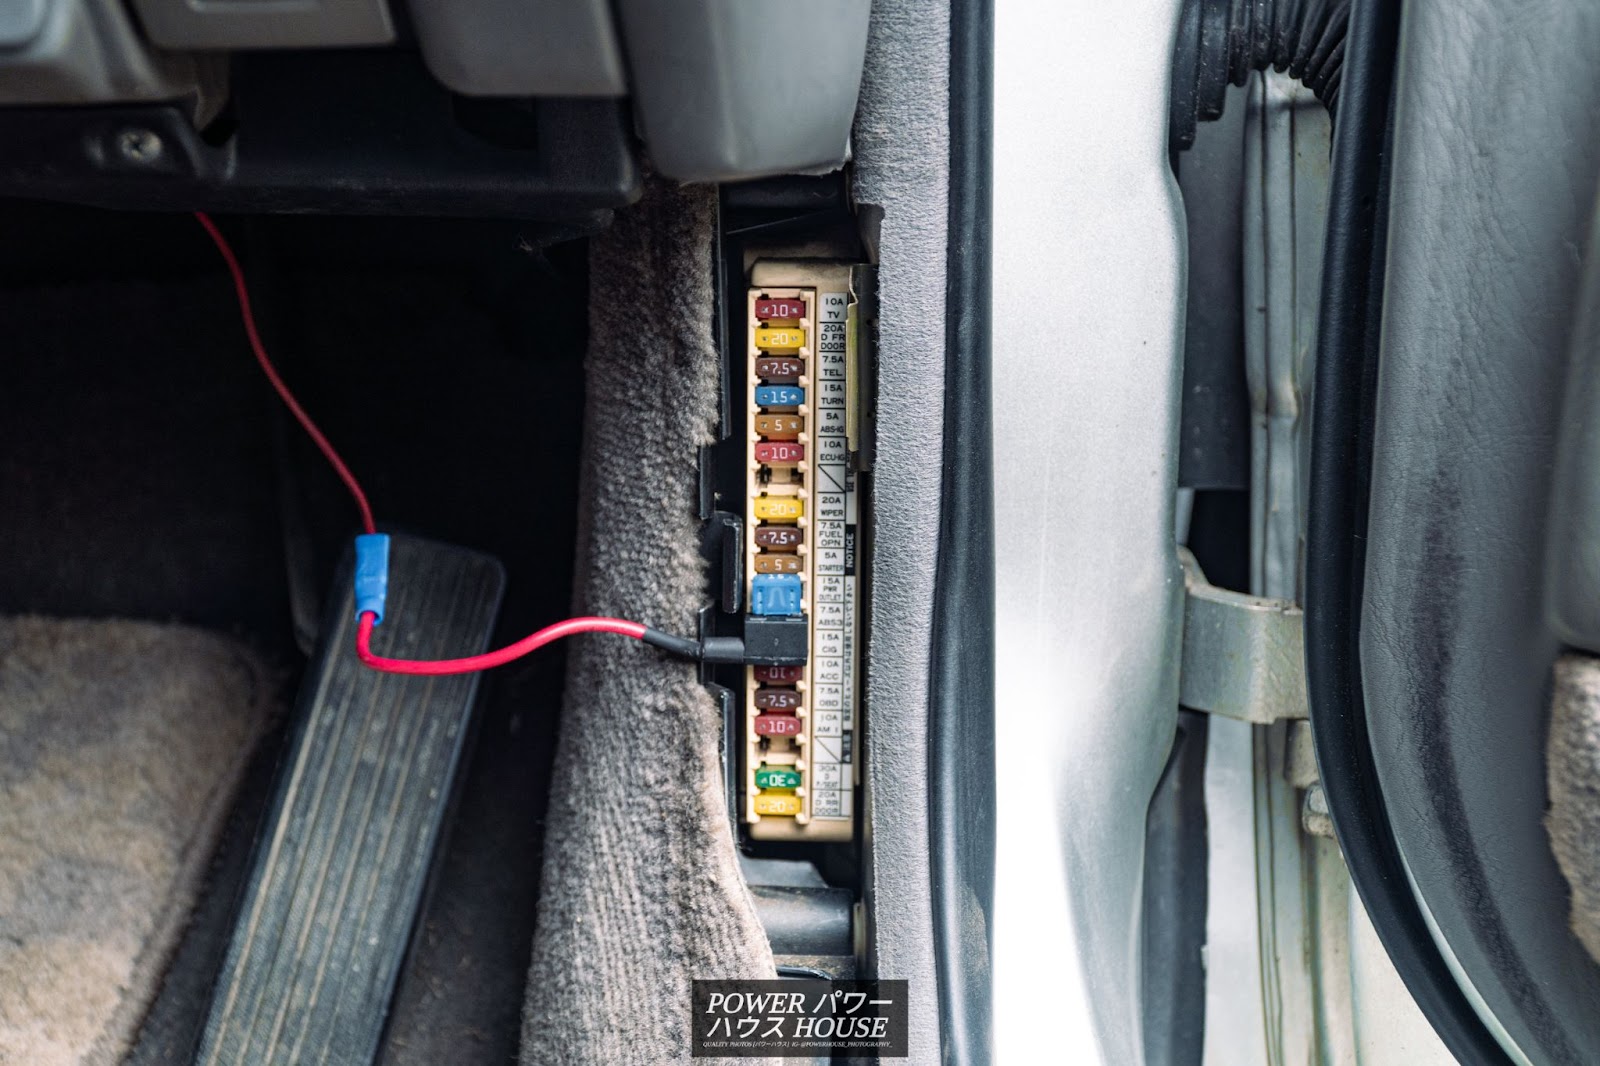
For my positive, I decided that instead of cutting any wires, it would be easier to use a fuse tap as the power. After grounding my multimeter to the ignition barrel, and then putting the positive lead on all the fuses, I found that the 15A CIG fuse provided 12 volts only when the ignition was turned on. Therefore, I tapped into that.
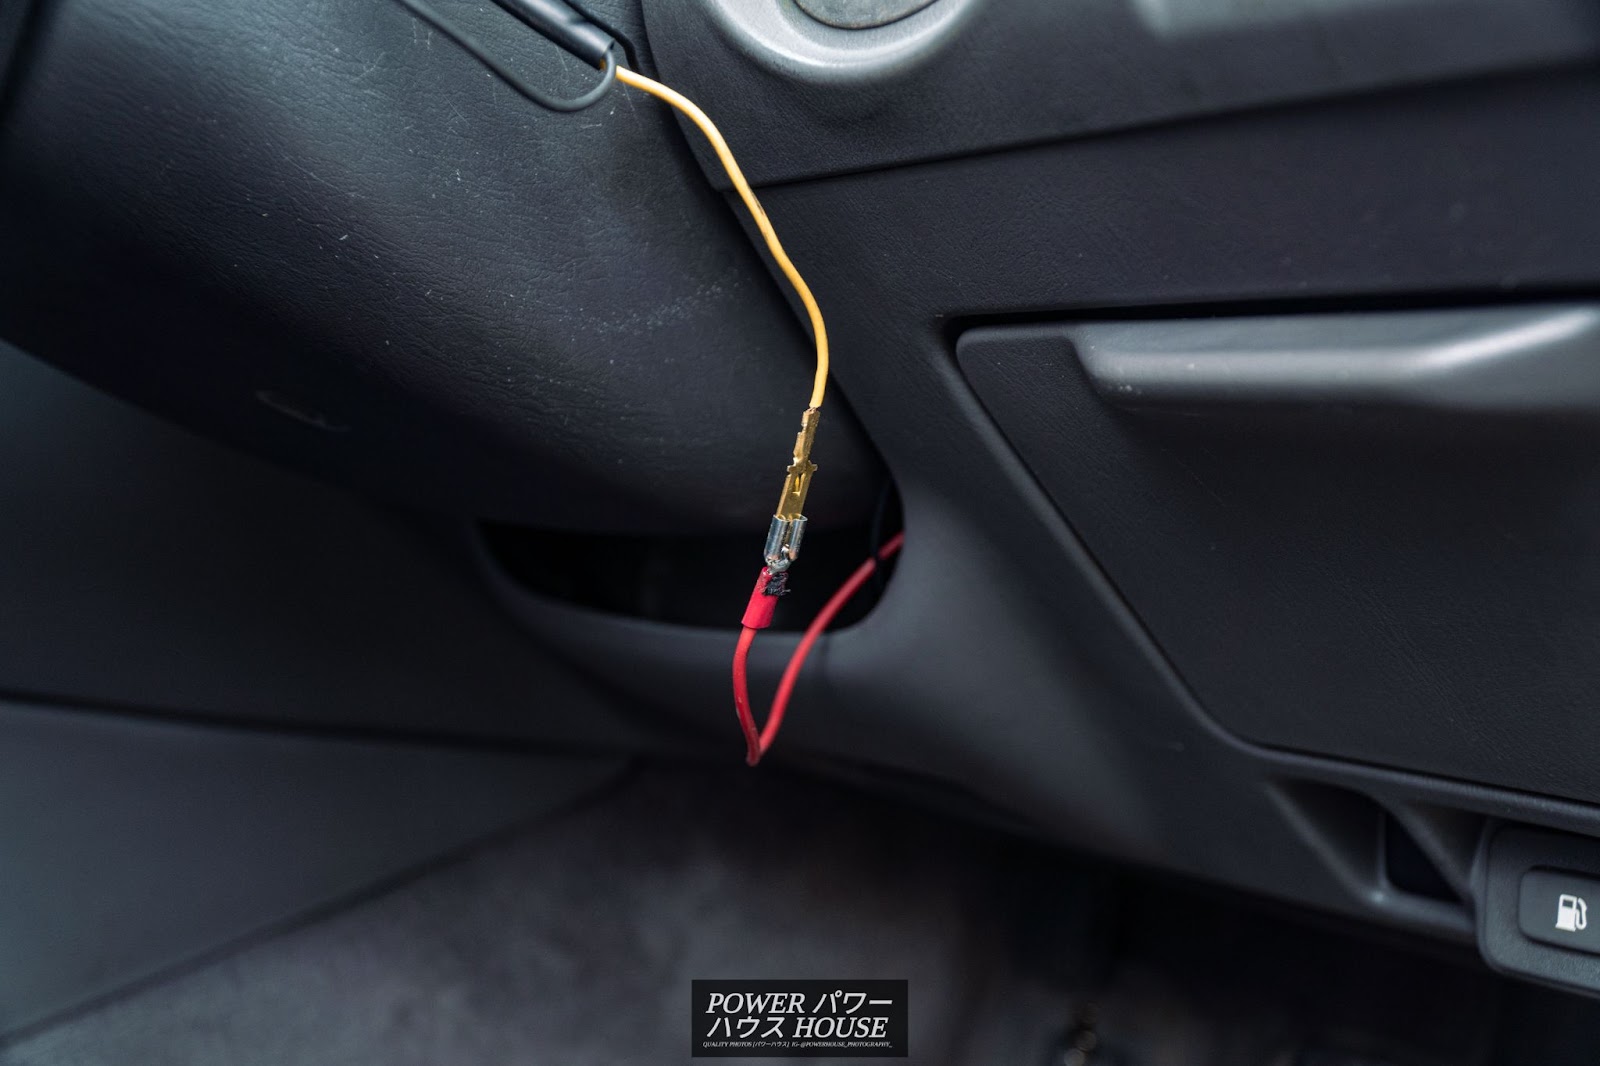
From there, I had to connect it to the positive wire on the back of the gauge and so used some spade connectors I found in the garage. After cutting the bullet connectors off, and crimping my new male connectors onto the wires, I soldered the connection to further strengthen it. From here, I got some additional wire to run the length from the driver's side fuse box to the back of the gauge.
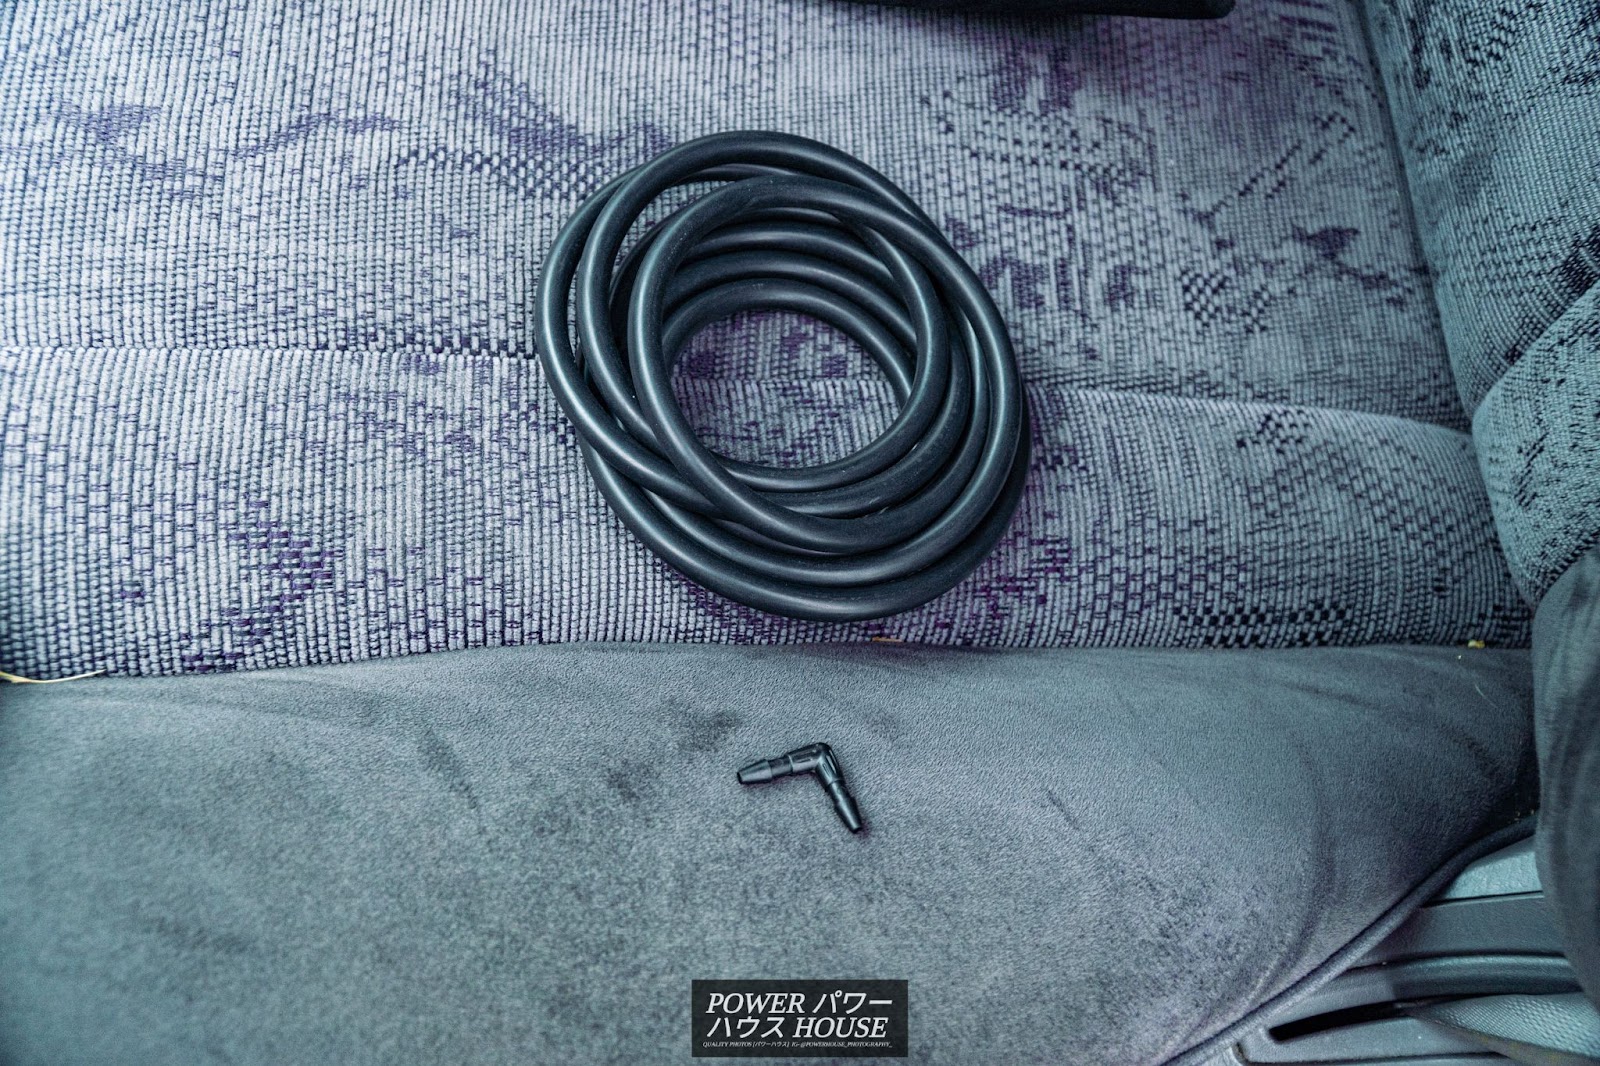
For the negative, I just got a ring terminal which went from the negative on the back of the gauge and grounded on a metal bracket under the centre shifter surround panel. After tucking all the wiring behind the dash panels, I reconnected the battery, and luckily, the back lighting turned on like it should. At this point, I could now start plumbing the vacuum hose. I found some old 3mm vacuum hose in the garage so I used that. Unfortunately, it was a little too small for the fitting on the back of the gauge so I needed to soften it with hot water to get it to fit.
After tucking it under the steering column, and through the centre shifter surround, I found that I had nowhere near enough hose to run to the engine bay and so had to go back to Pararubber and buy some more hose, this time 2m in the 4mm size, along with an L connector to connect the new hose to the old hose.
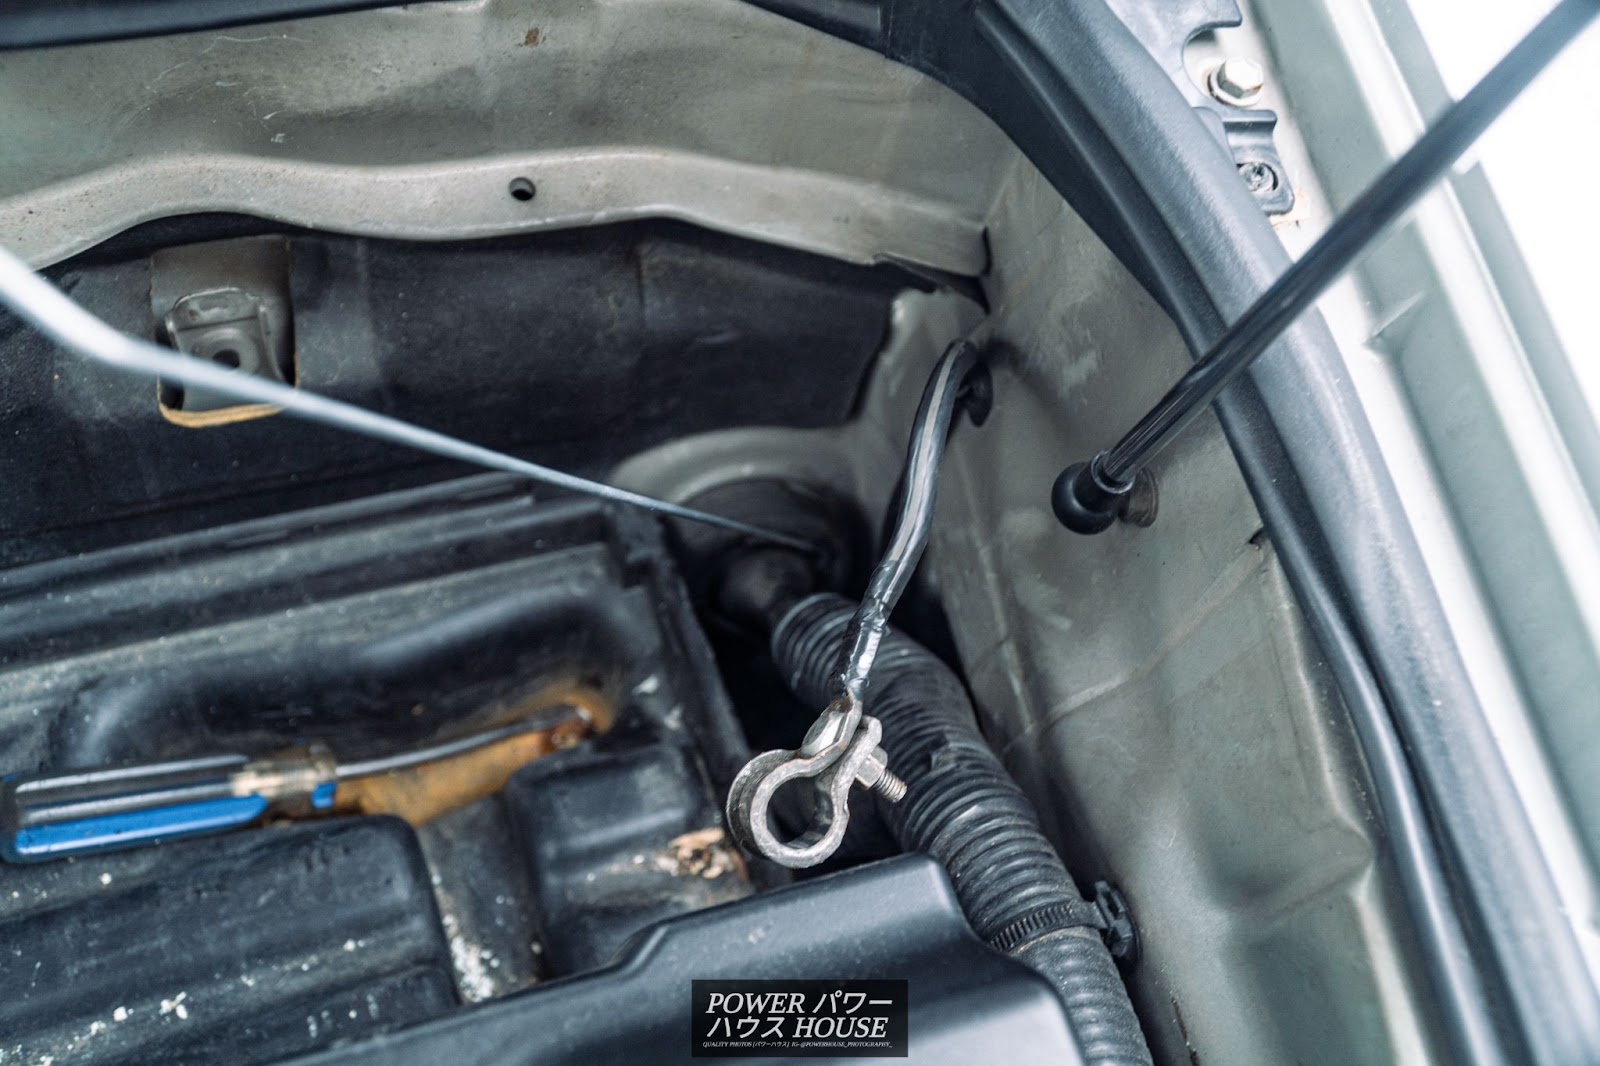
Getting the hose from the engine bay to the interior was an absolute pain. After poking a hole through the rubber surrounding an entry point behind the battery, I got a straightened coat hanger and routed it into the interior under the glovebox. From here, I lubed the hole up and slowly pushed the hose in through the hole. Eventually, enough came in and so I just simply used the L connector to connect it to the clear hose connected to the gauge.
In the engine bay, I found an existing vacuum hose on the intake manifold, and so connected a T connector into it and then pressed the new boost gauge line onto the third fitting point.
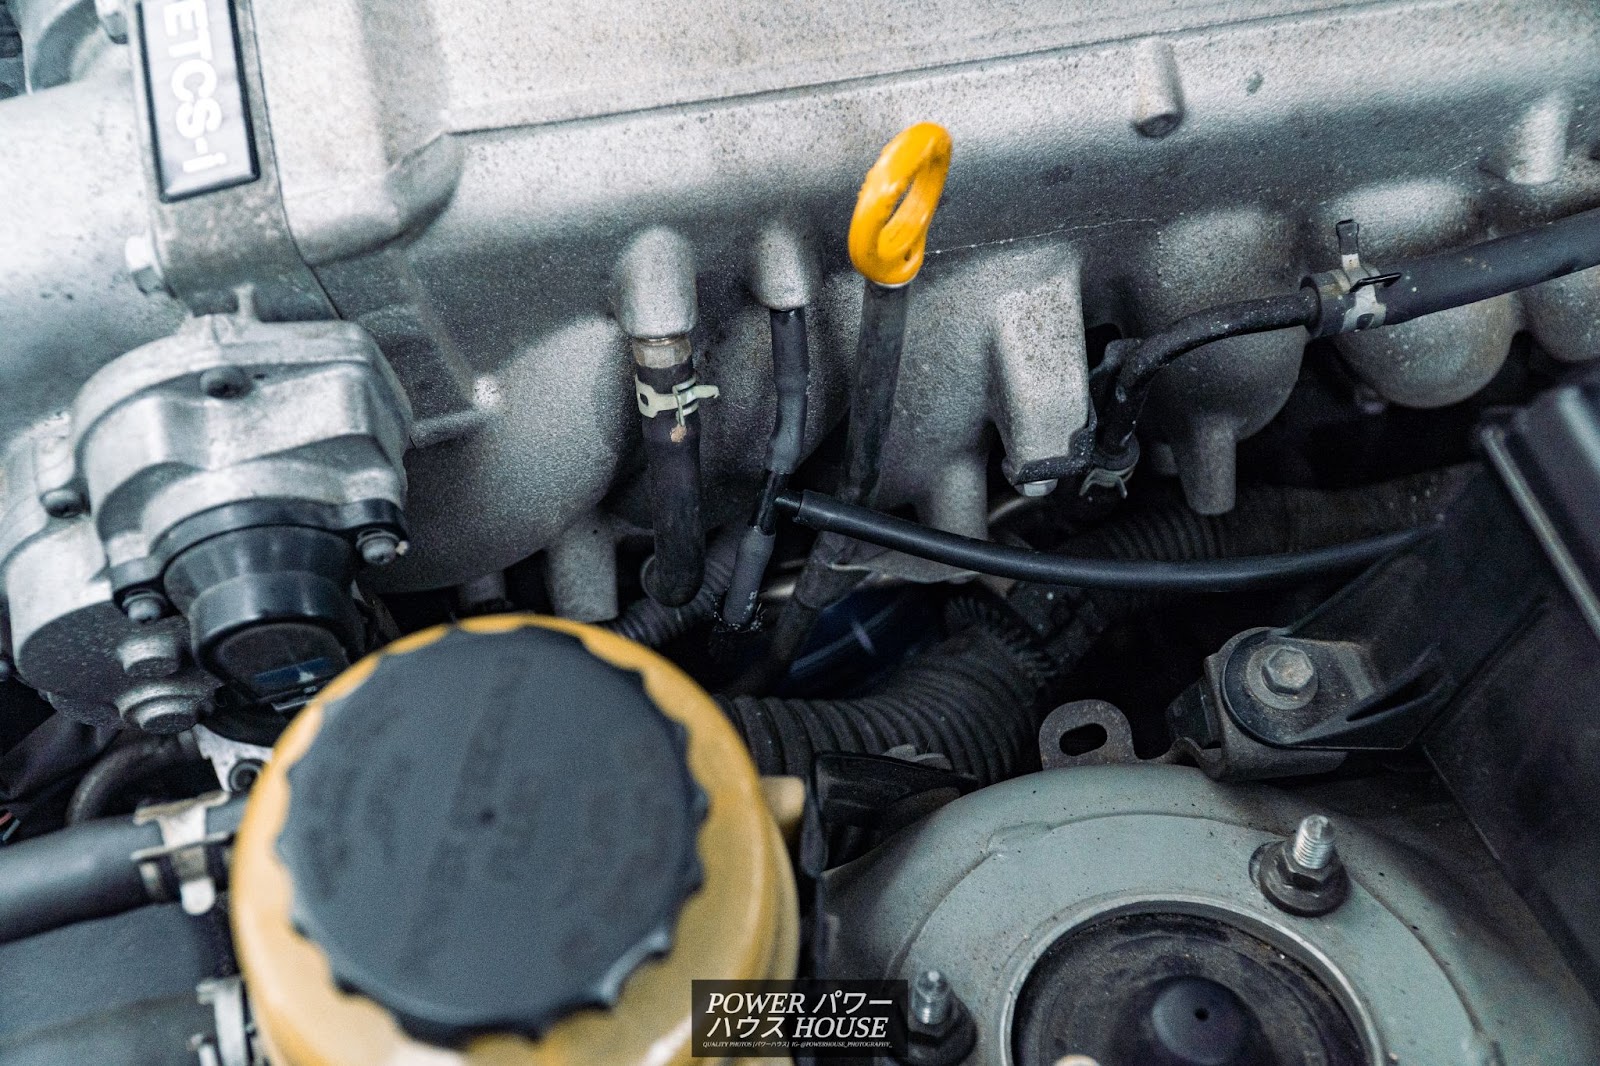
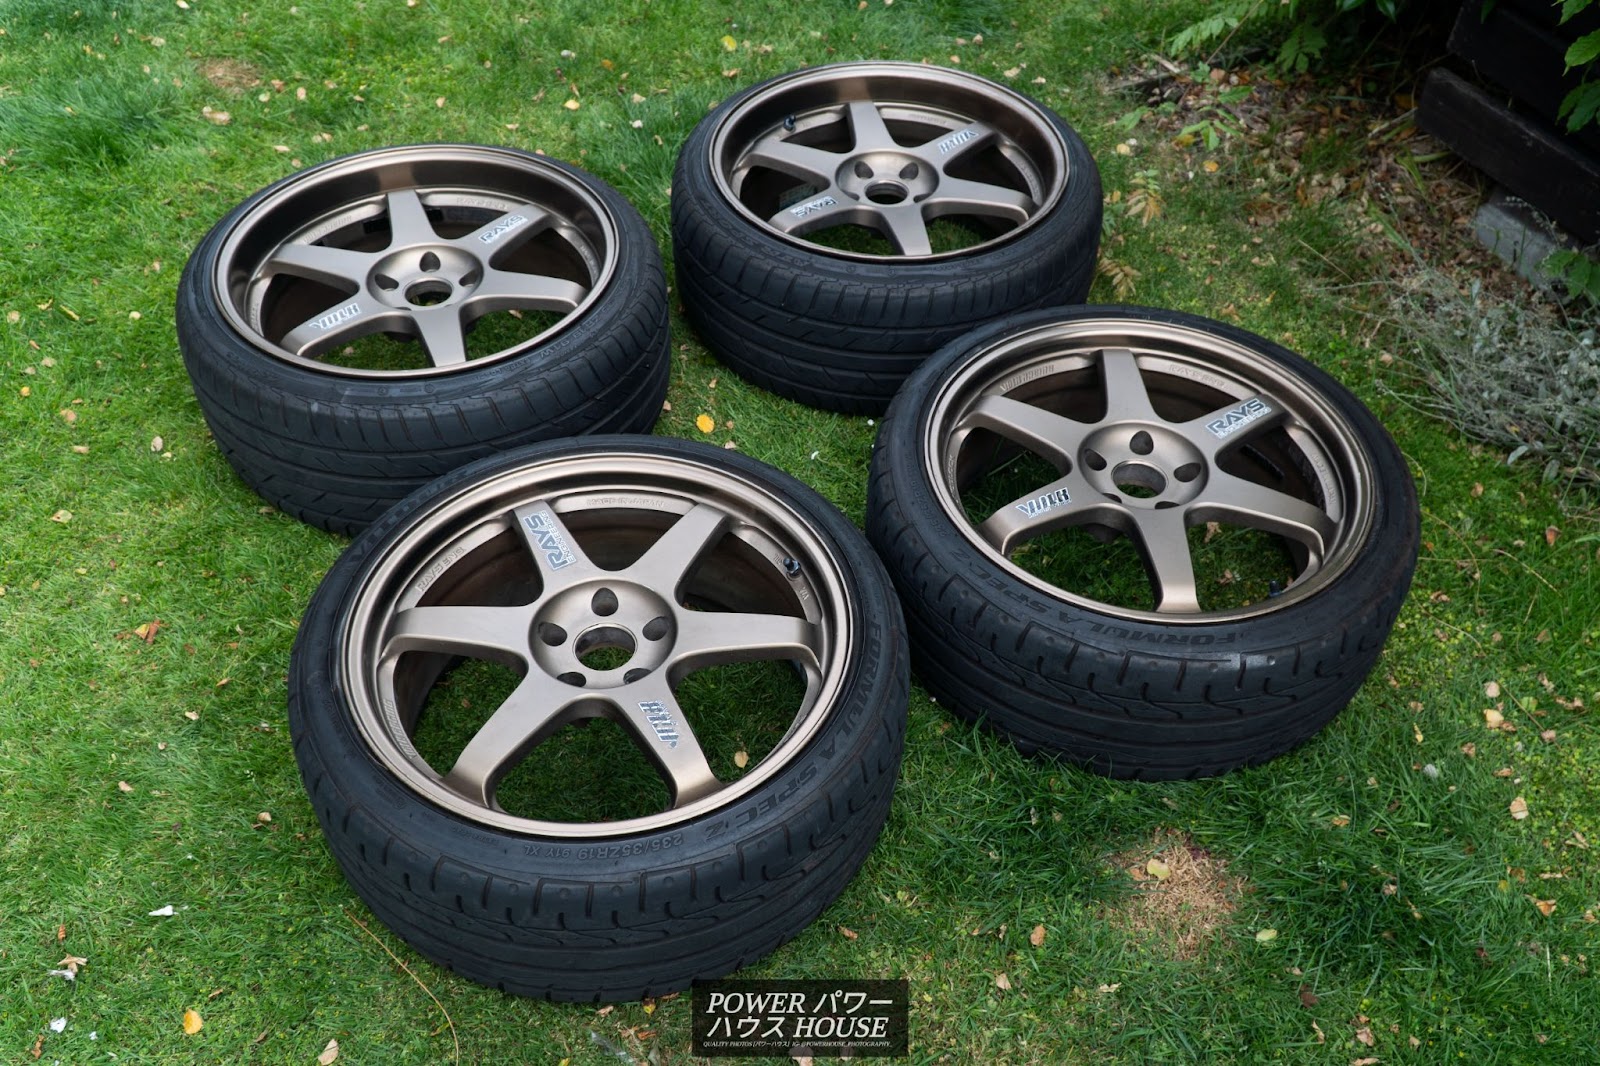
After trimming the hose down, zip-tying all the connections, and double sided taping the gauge pod, the boost gauge was finally installed, and I can now say that the Crown is making a healthy 0.7 bar of stock boost. Now, for the exterior, the biggest eye-sore was the damaged lip on one of my TE37’s. The other 3 also had some chipping and light curbing on them as well.
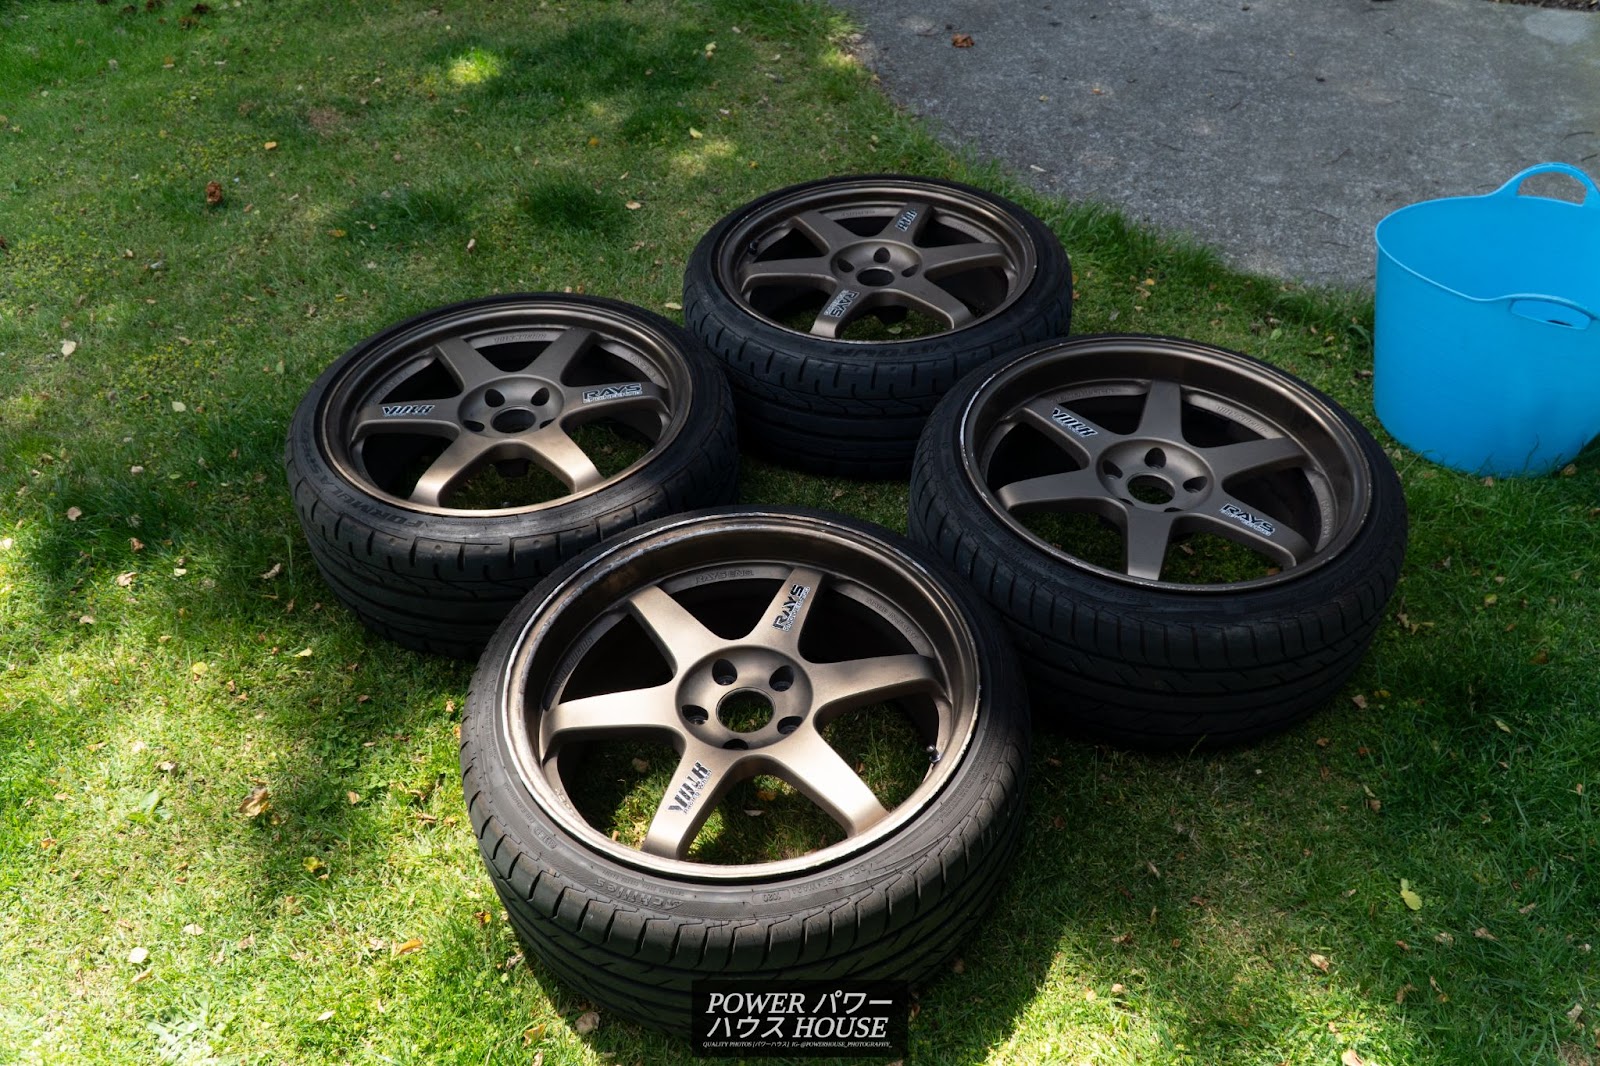
To fix this, I went to my local panel beater, Andrews & Gilmore Collision Centre, and we went through the colour swabs until we found one that was pretty spot on to the OG anodized bronze. I got this made into a spray can so I could easily spray it onto the lips.

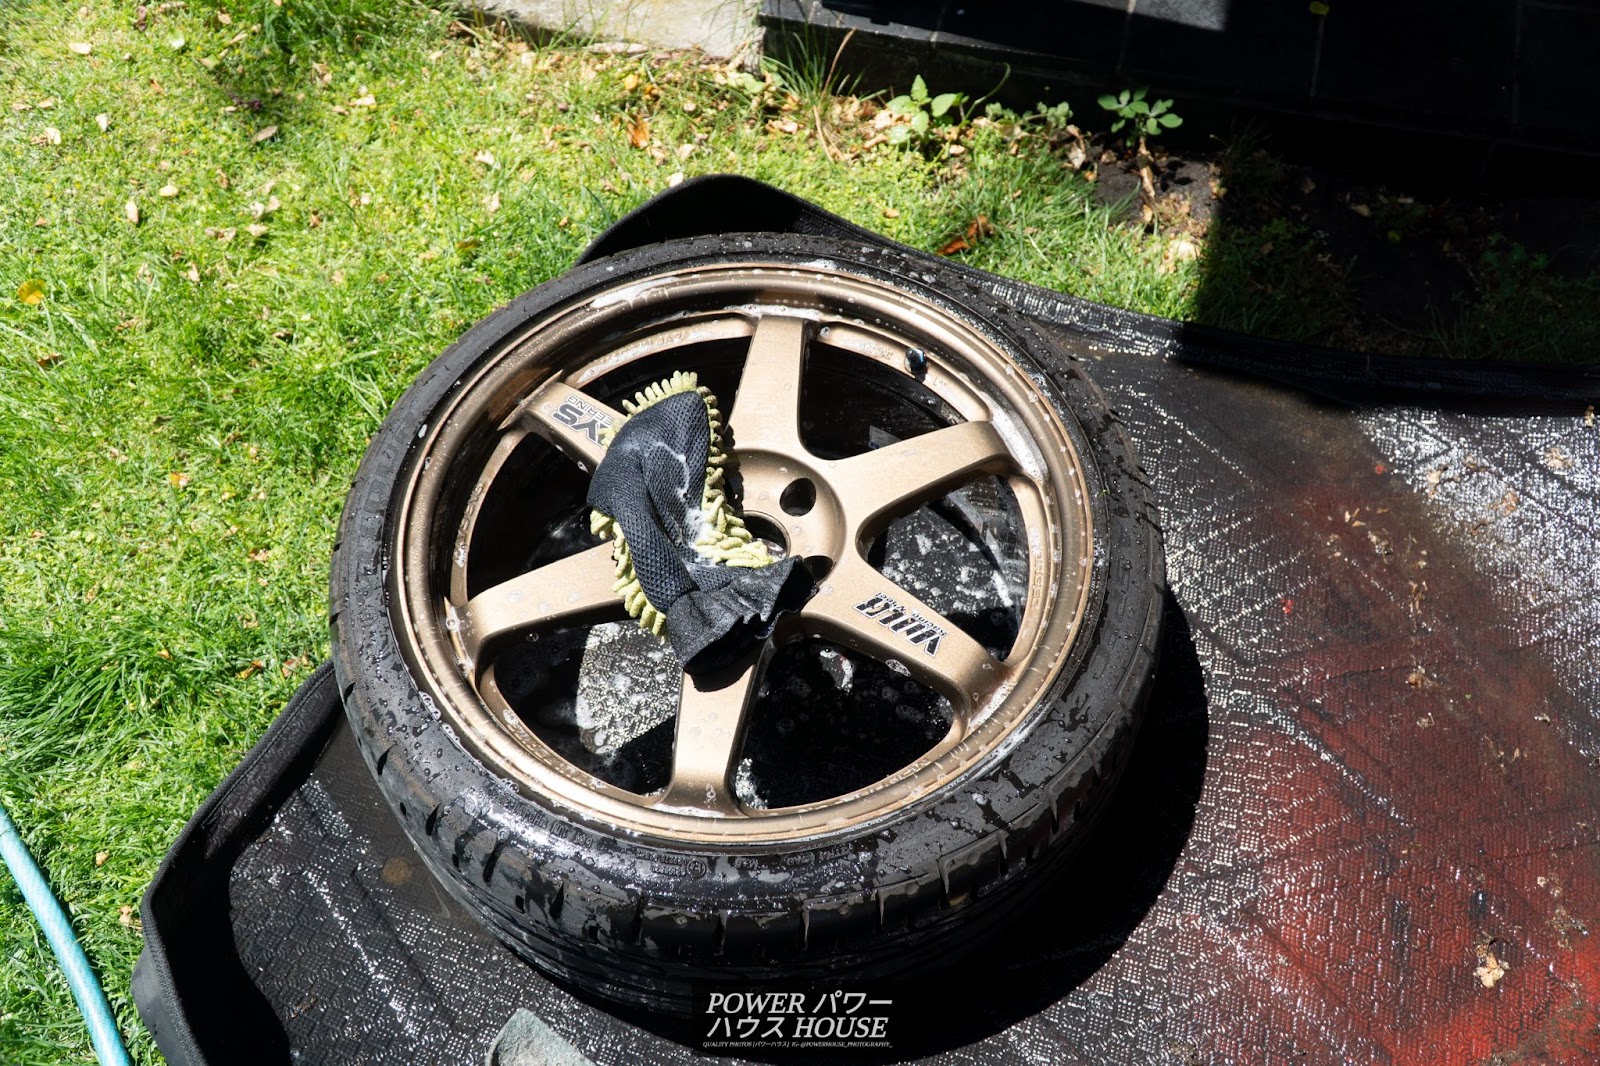
Once it arrived, I took all four wheels off and gave them a good clean, using car wash soap and a microfibre mitt on the faces, and the same car wash but with a scotch brite pad for the barrels.
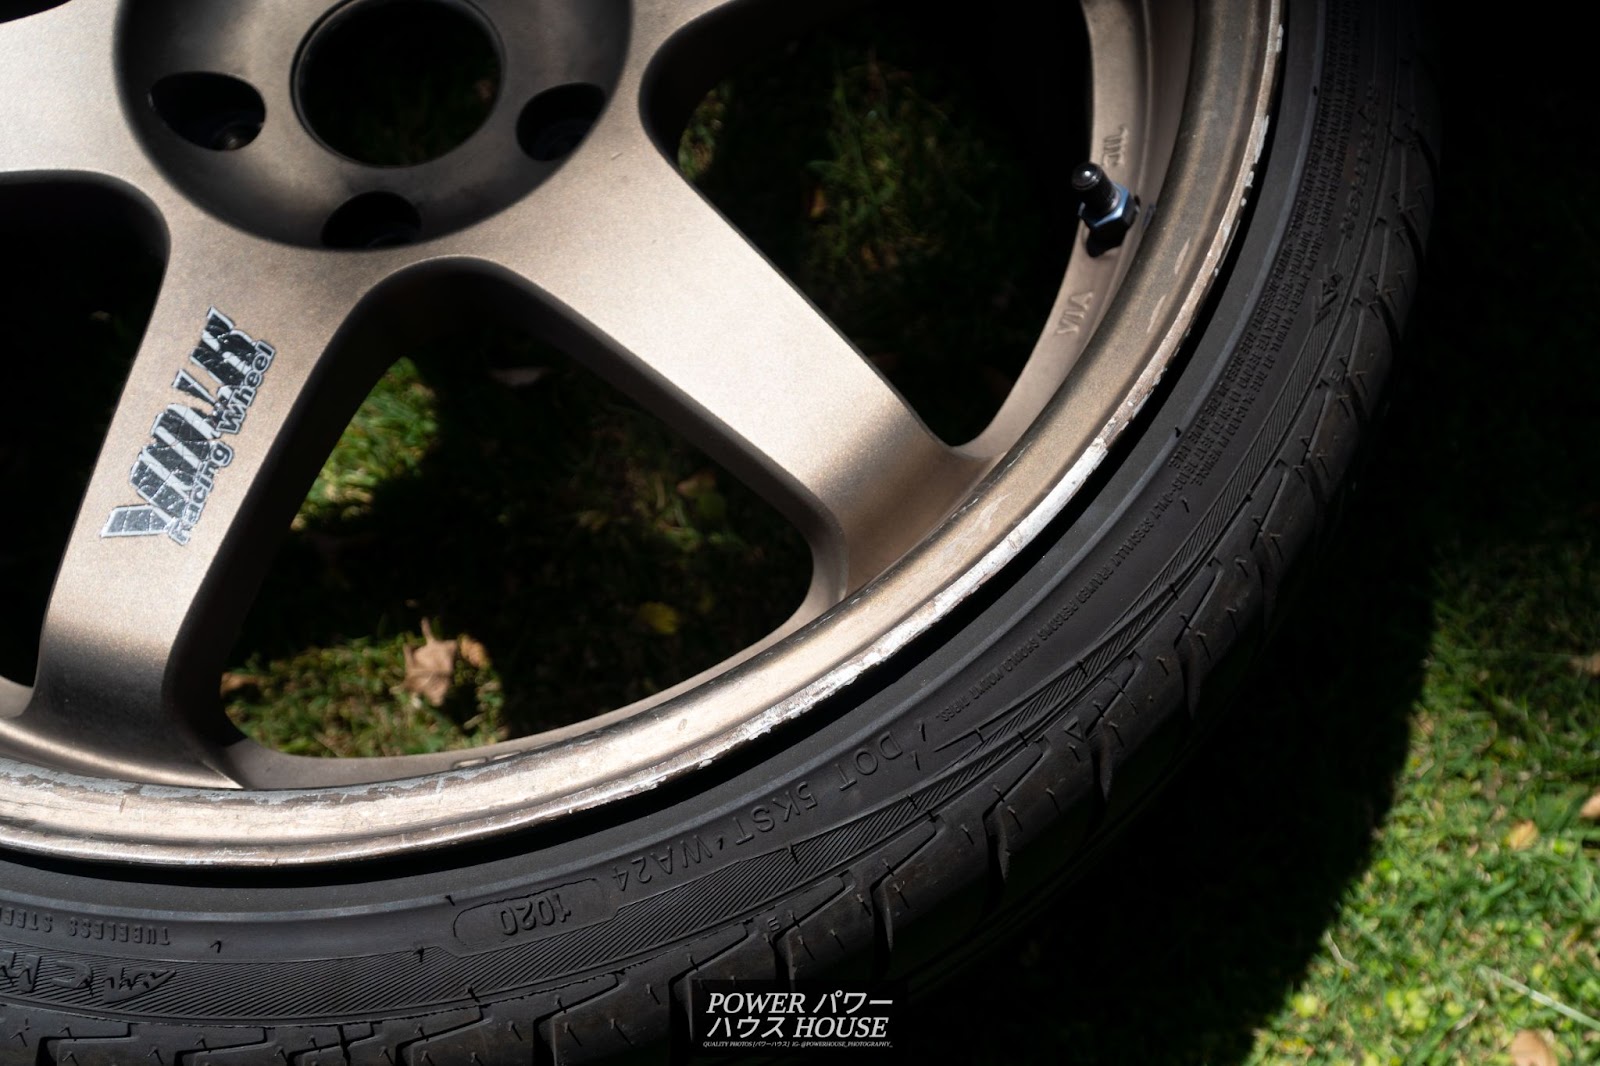
After they all dried, I was ready to paint the lips. After sanding down the only curb damage on all four wheels, I masked around it and painted it. After doing this to all the little chips, I realised that this method was extremely inefficient and so learnt to just paint the whole outer lip at once.
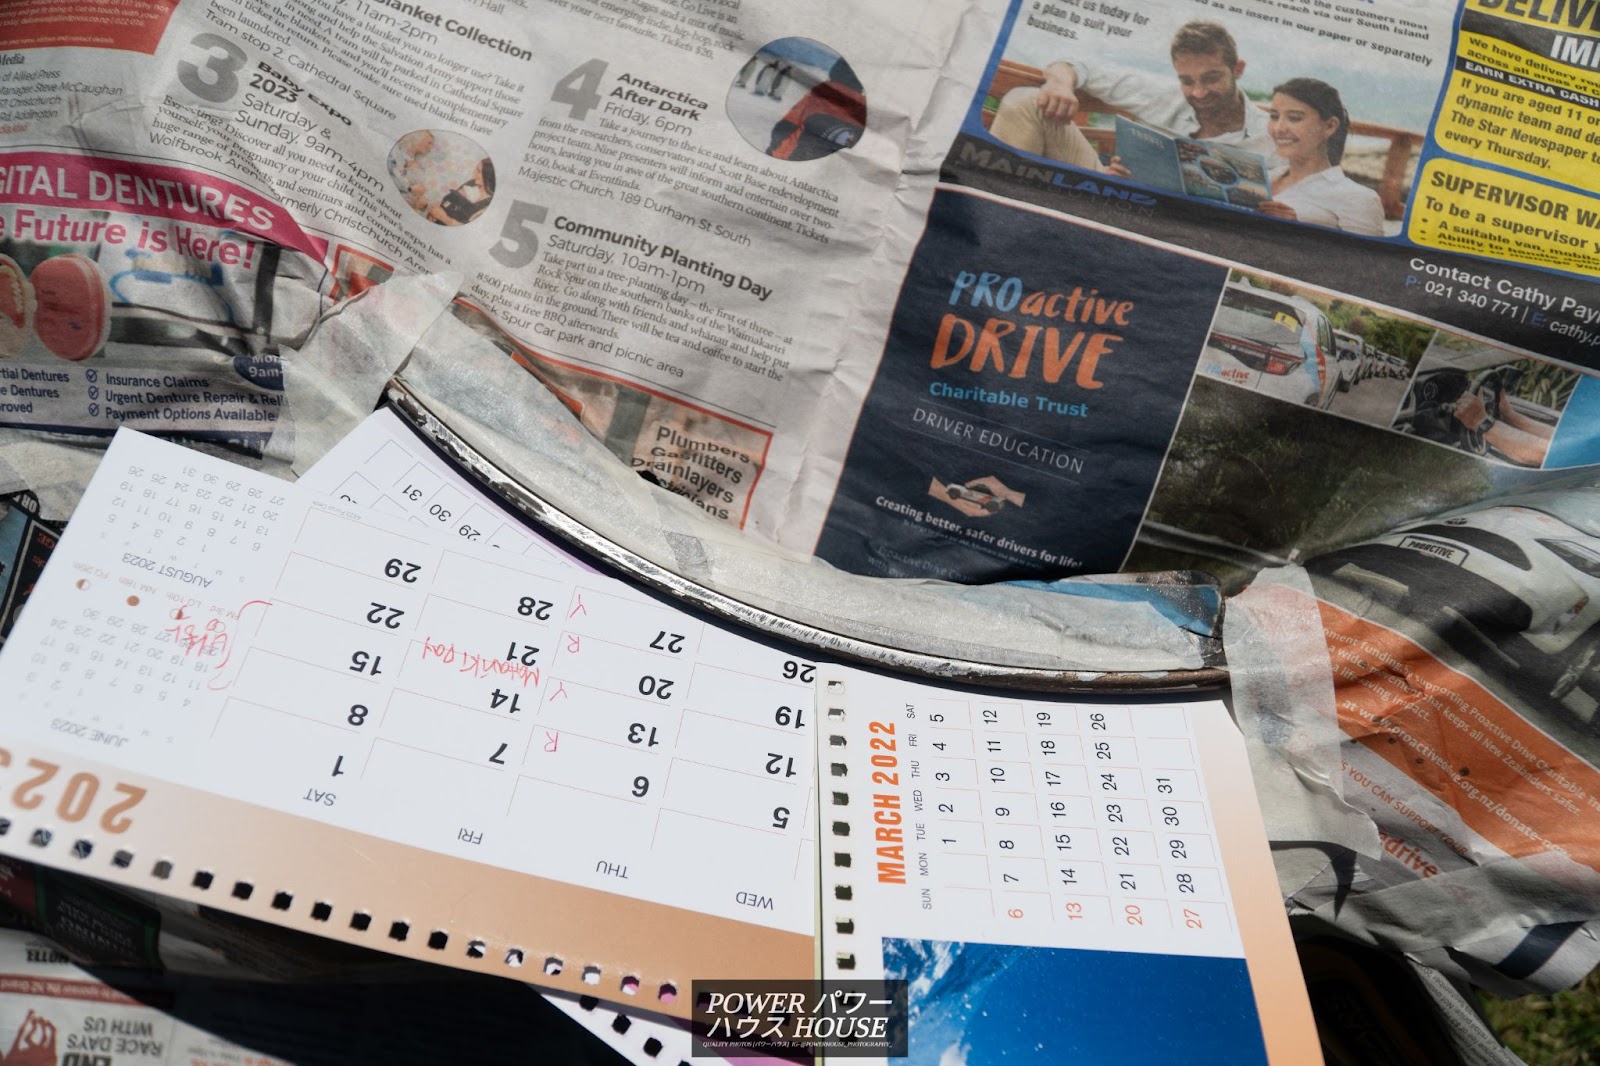
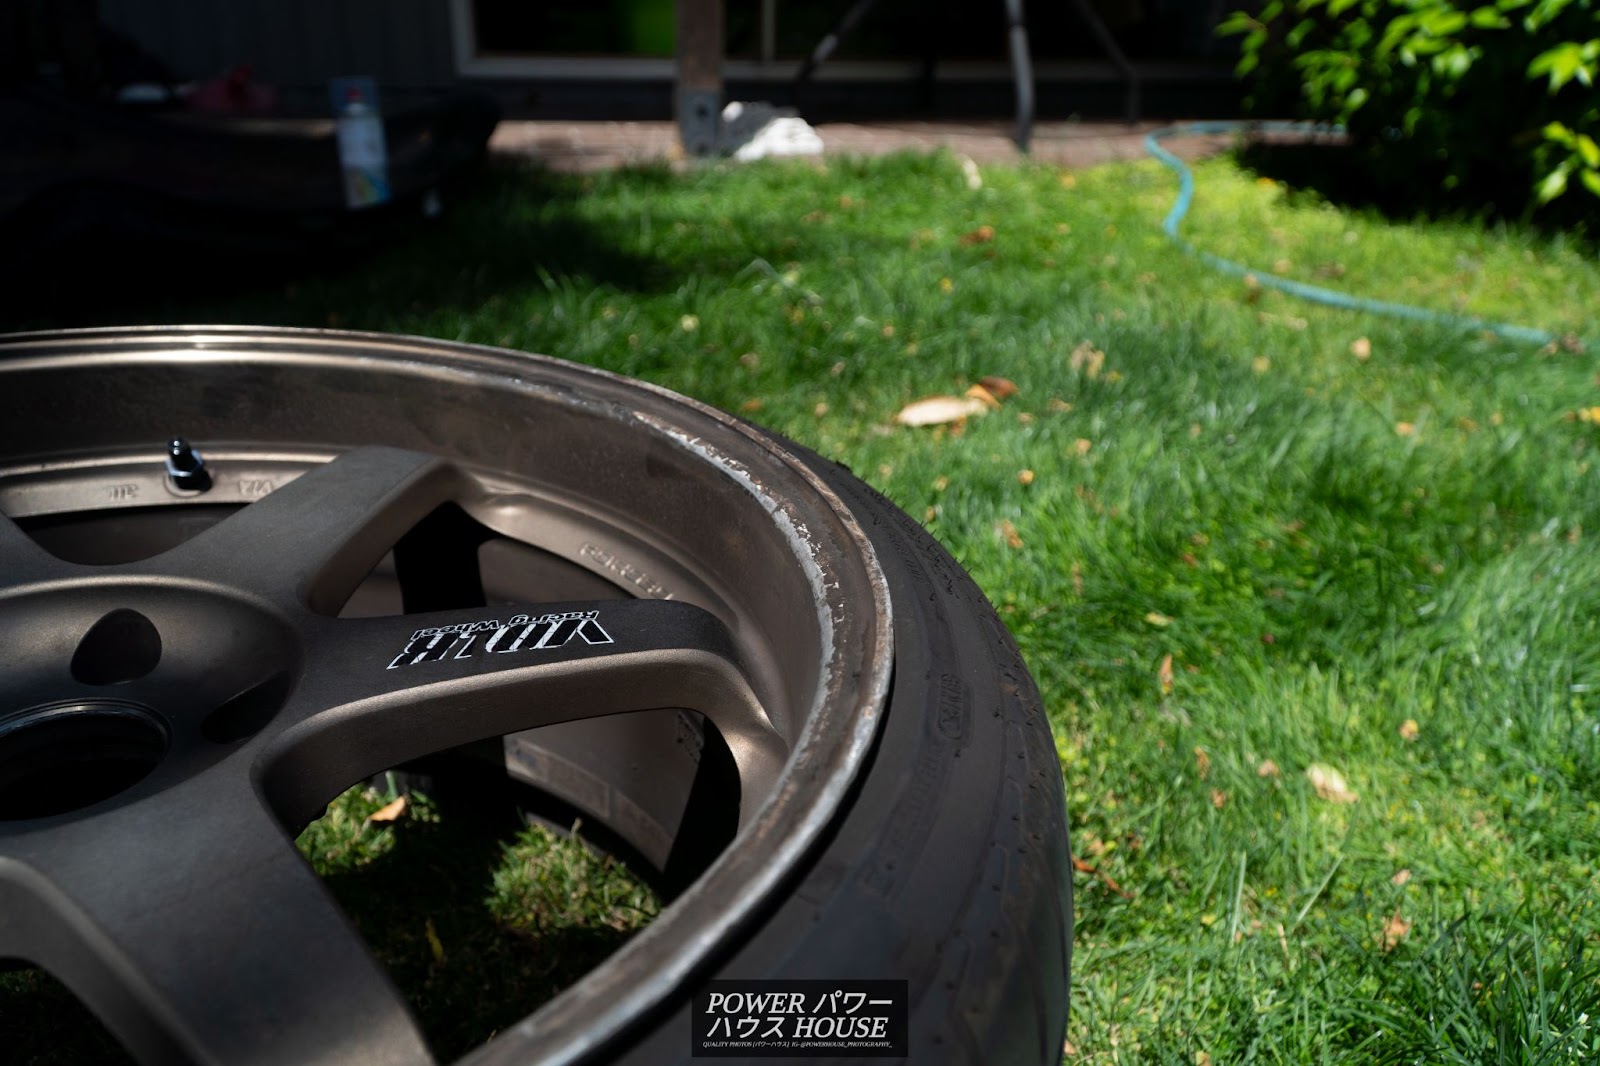
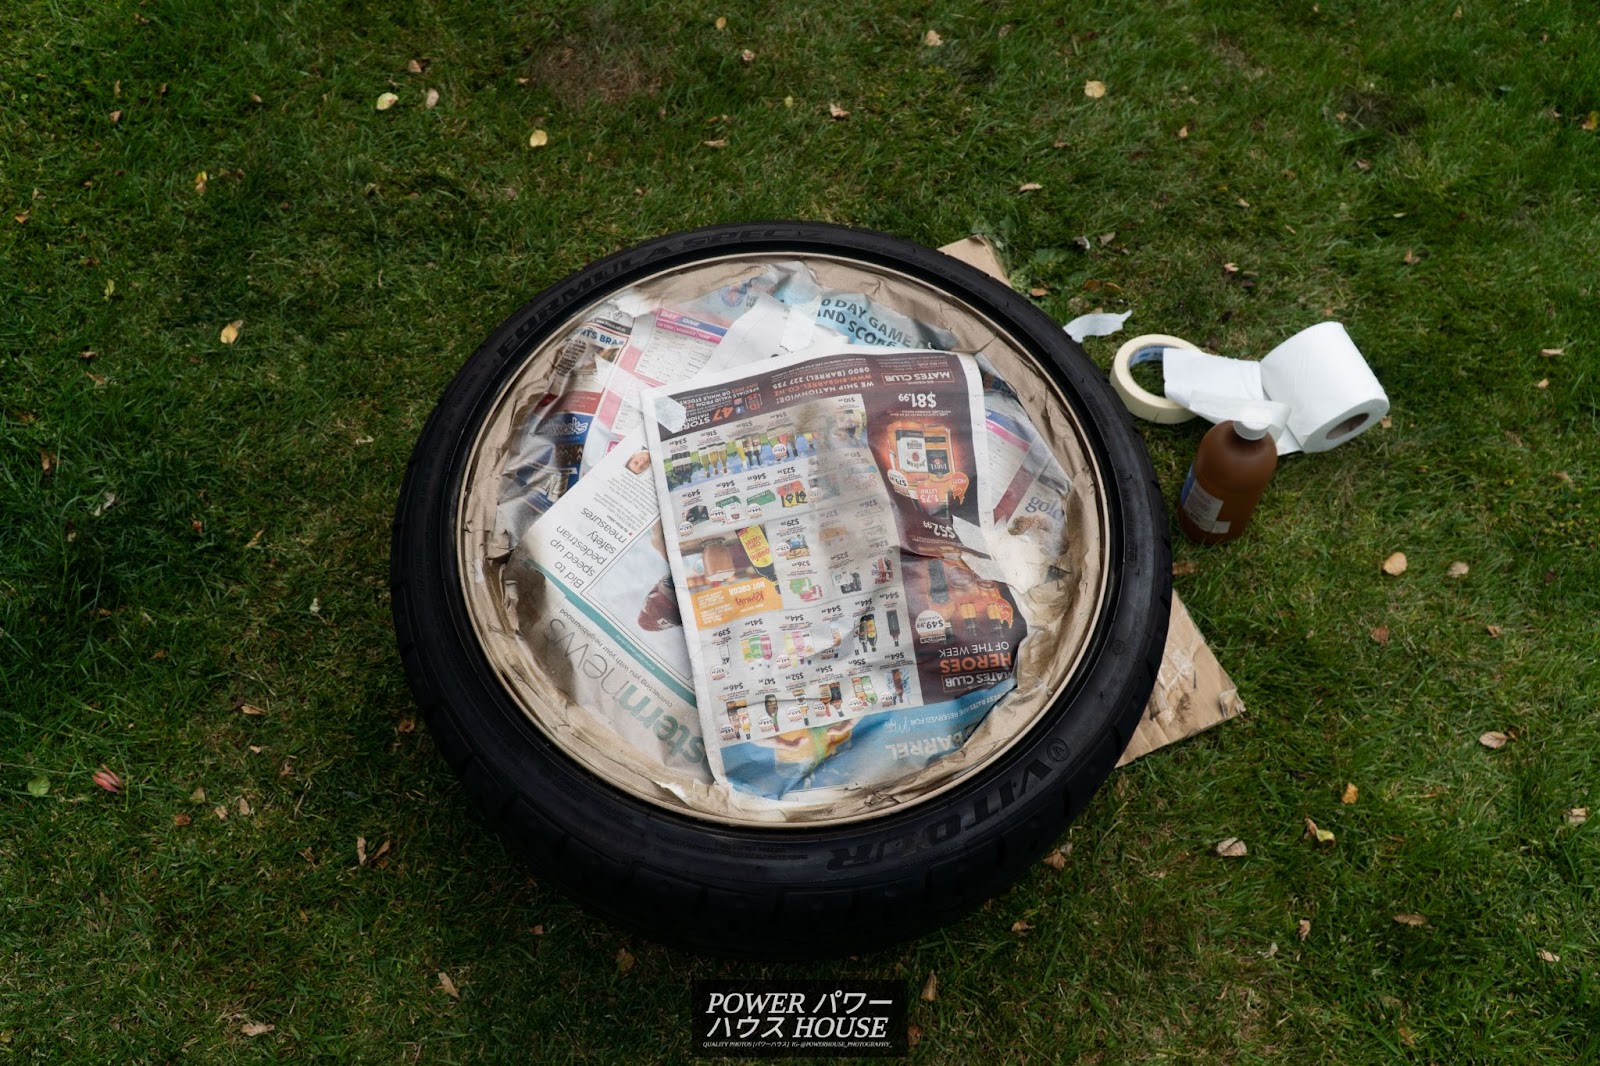
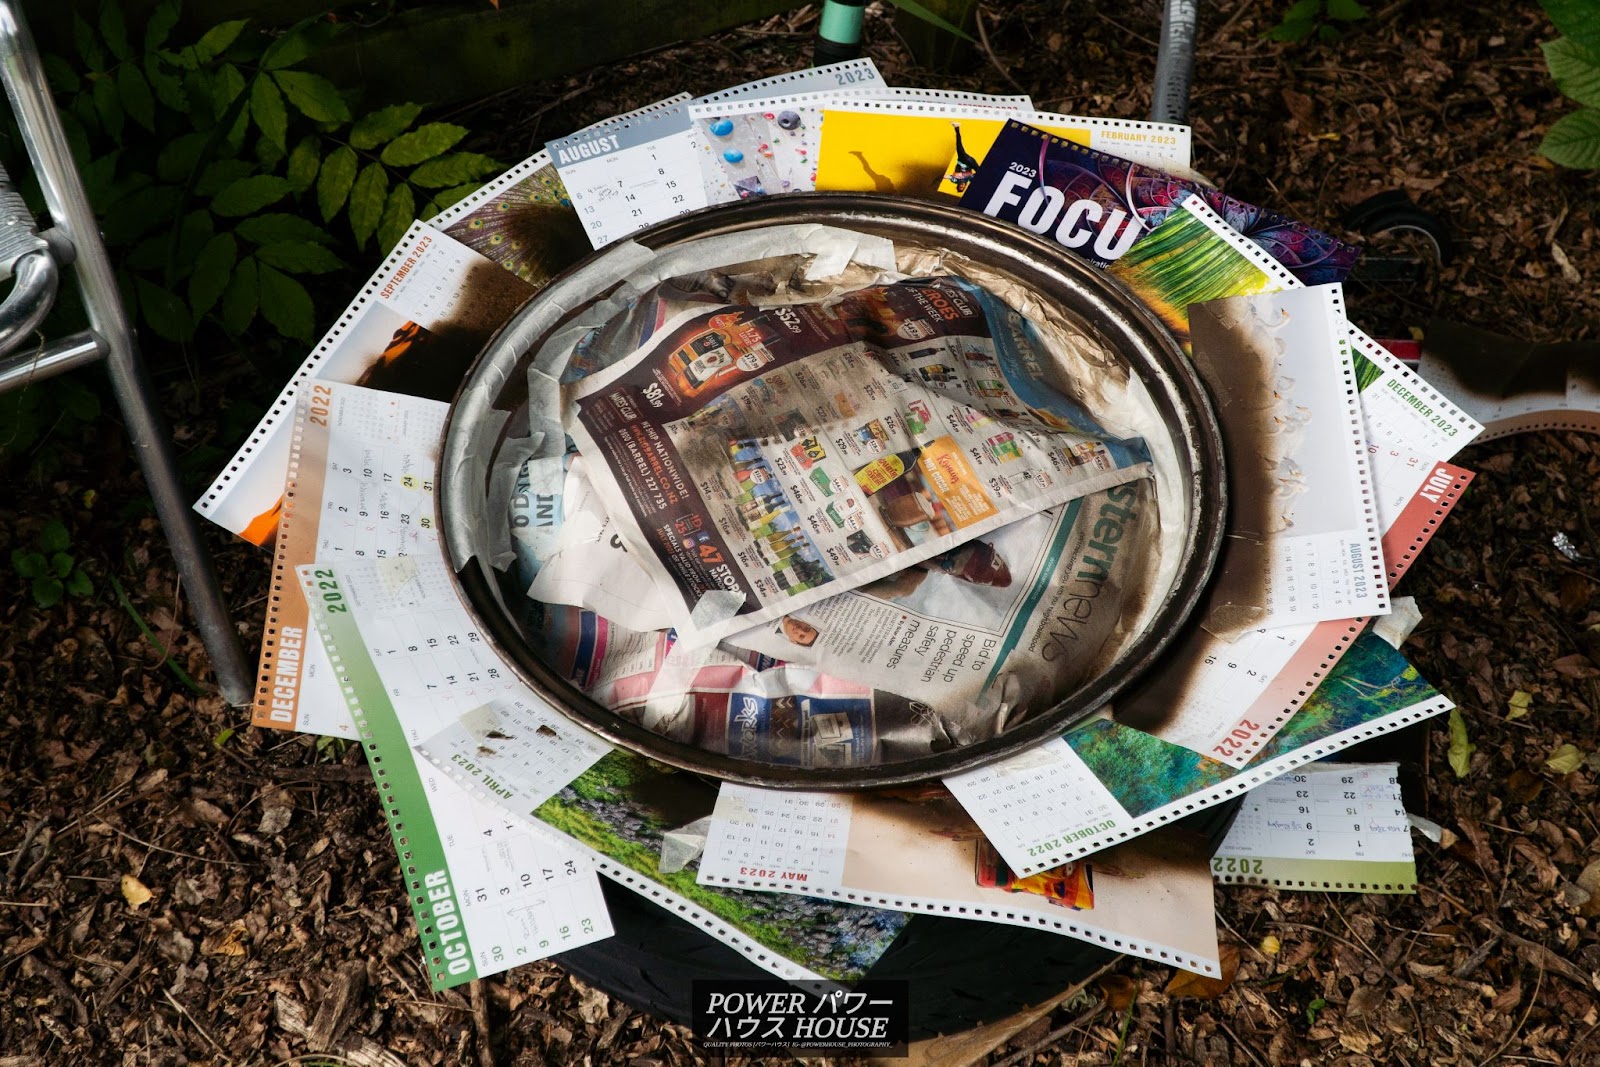
Using my newly gained knowledge, I went and masked the whole face of the next wheel off, just leaving the outer lip exposed. After wiping the lip down with isopropyl alcohol and using an old calendar wedged between the lip and tyre as masking the tyre off, I sprayed the wheel with my colour matched paint to get, in my eyes, near-perfect results.
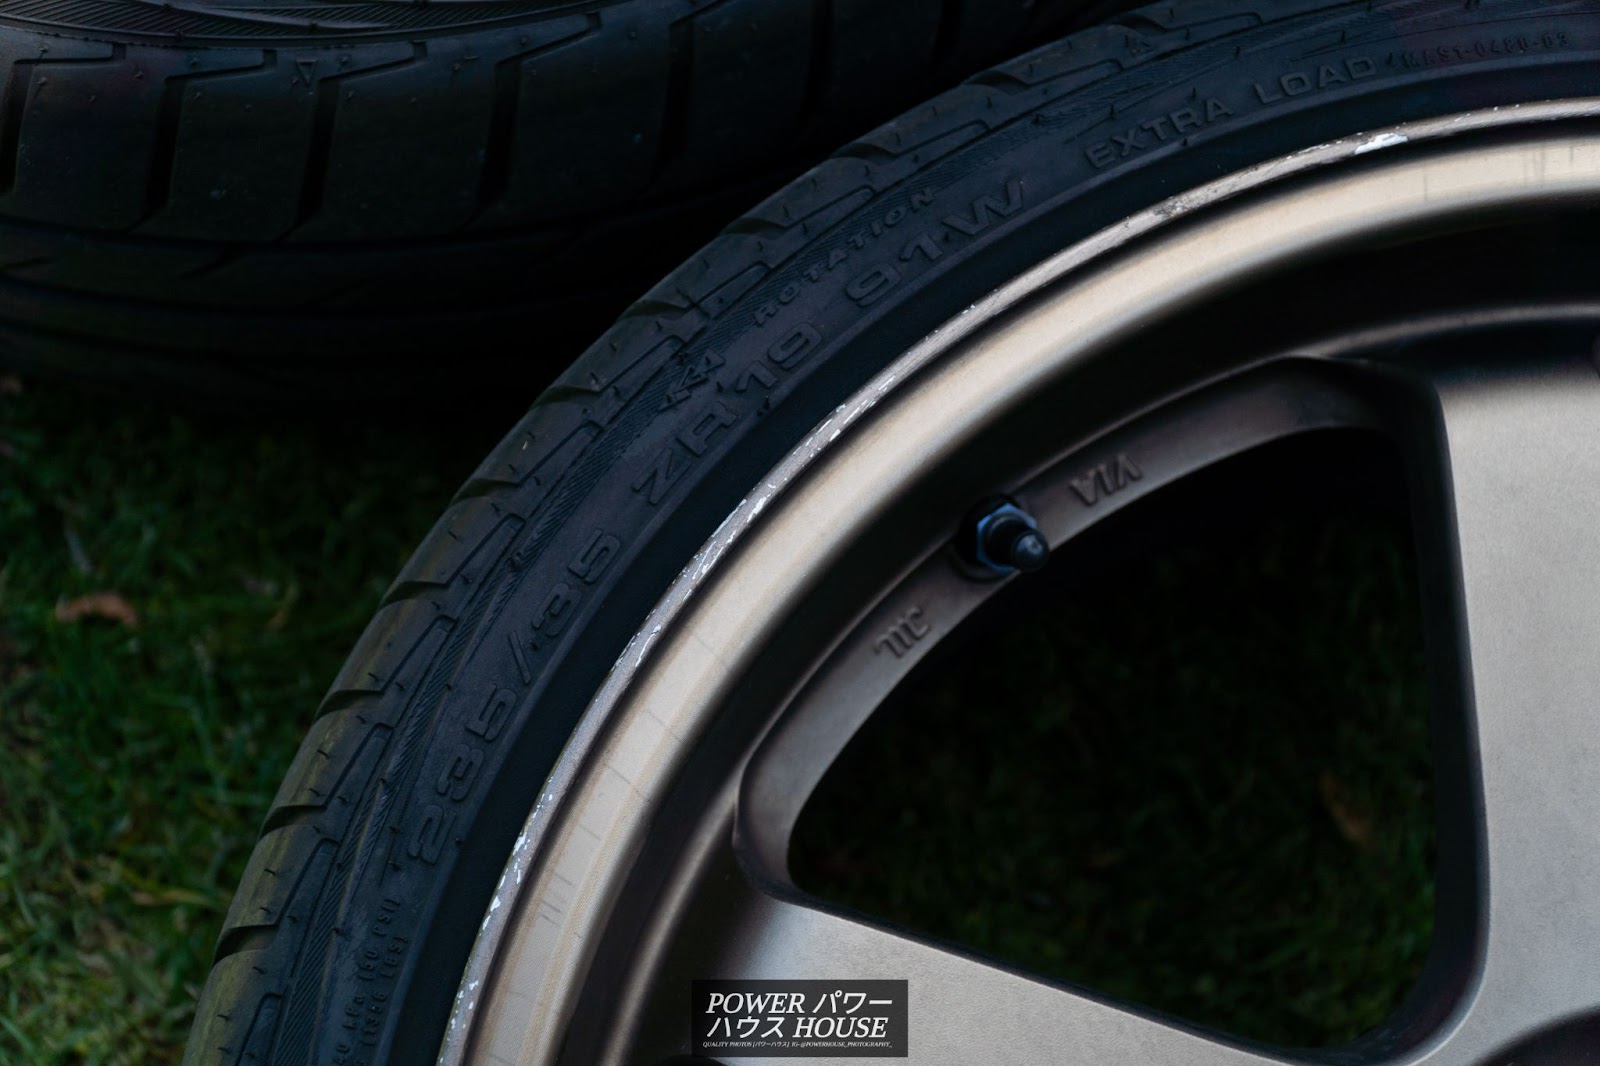
This technique worked well, but for my last wheel, the one with the past repair, I was going to need to do something a bit different as the damage was not just limited to the outer lip, but also into the deep part of the lip. Here, I masked the parts that were good off, and only painted the damaged areas. From here, I peeled the masking down and blended it into the existing finish.
The results are great, and way better than I expected, especially since the Ray’s anodized finishes are extremely hard to match.
Next time, I install some new JDM mods that I bought during my holiday in Japan. Stay tuned!